Written Recipes That Actually Cook: Your Kitchen Secret Weapon
Transform your home cooking with crystal-clear instructions, foolproof timing, and flavor-first planning that makes weeknights effortless.
You can cook like a pro without a culinary degree; you just need better playbooks. The difference between chaos and dinner-on-time is the way you write what you cook. When your instructions read like a GPS—short, precise, and unmissable—you stop guessing and start winning. Imagine your Tuesday night going from “what do I do first?” to “done by 7:15”; that’s the ROI. Spoiler: you don’t need more fancy ingredients—you need structure and clarity that turn ideas into plates.
What Makes This Recipe Awesome
This is the meta-meal: a recipe for crafting recipes that never let you down. We’re building a framework that trims fluff, kills confusion, and amplifies flavor—because great food starts with great instructions. Think of it as your repeatable template: write once, cook forever, and get consistent results without babysitting your stovetop.
Prep Time: 30 minutes (drafting and organizing)
Cook Time: 60 minutes (testing and refining)
Yield: One bulletproof dish plus a reusable template for all future meals
Skill Level: Beginner-friendly, chef-approved
Ingredients Breakdown
- 2 cups clarity: short sentences, active verbs, no fluff.
- 1 cup structure: sections for ingredients, steps, storage, and tips.
- 2 tablespoons precision: exact weights or volumes; avoid “a handful” unless defined.
- 1 tablespoon timing: minutes per step; include ranges when needed.
- 1 teaspoon heat cues: low/medium/high plus specific temperatures.
- 1 tablespoon sensory language: “simmer until glossy,” “edges deeply golden.”
- 2 teaspoons sequencing: what to prep first; logical order for minimal chaos.
- 1 pinch flexibility: safe swaps and alternatives, clearly labeled.
- 1 cup testing notes: what worked, what didn’t, how to fix common snags.
- 2 tablespoons safety: doneness checks, allergen flags, knife/heat reminders.
- 1 clean layout: readable font, white space, clear headings, consistent formatting.
- 1 serving size statement: how many people, and how to scale up or down.
- 1 yield metric: “makes 12 cookies” or “serves 4 generously.”
- 1 dash personality: brief headnote that sets expectations without rambling.
Cooking Instructions
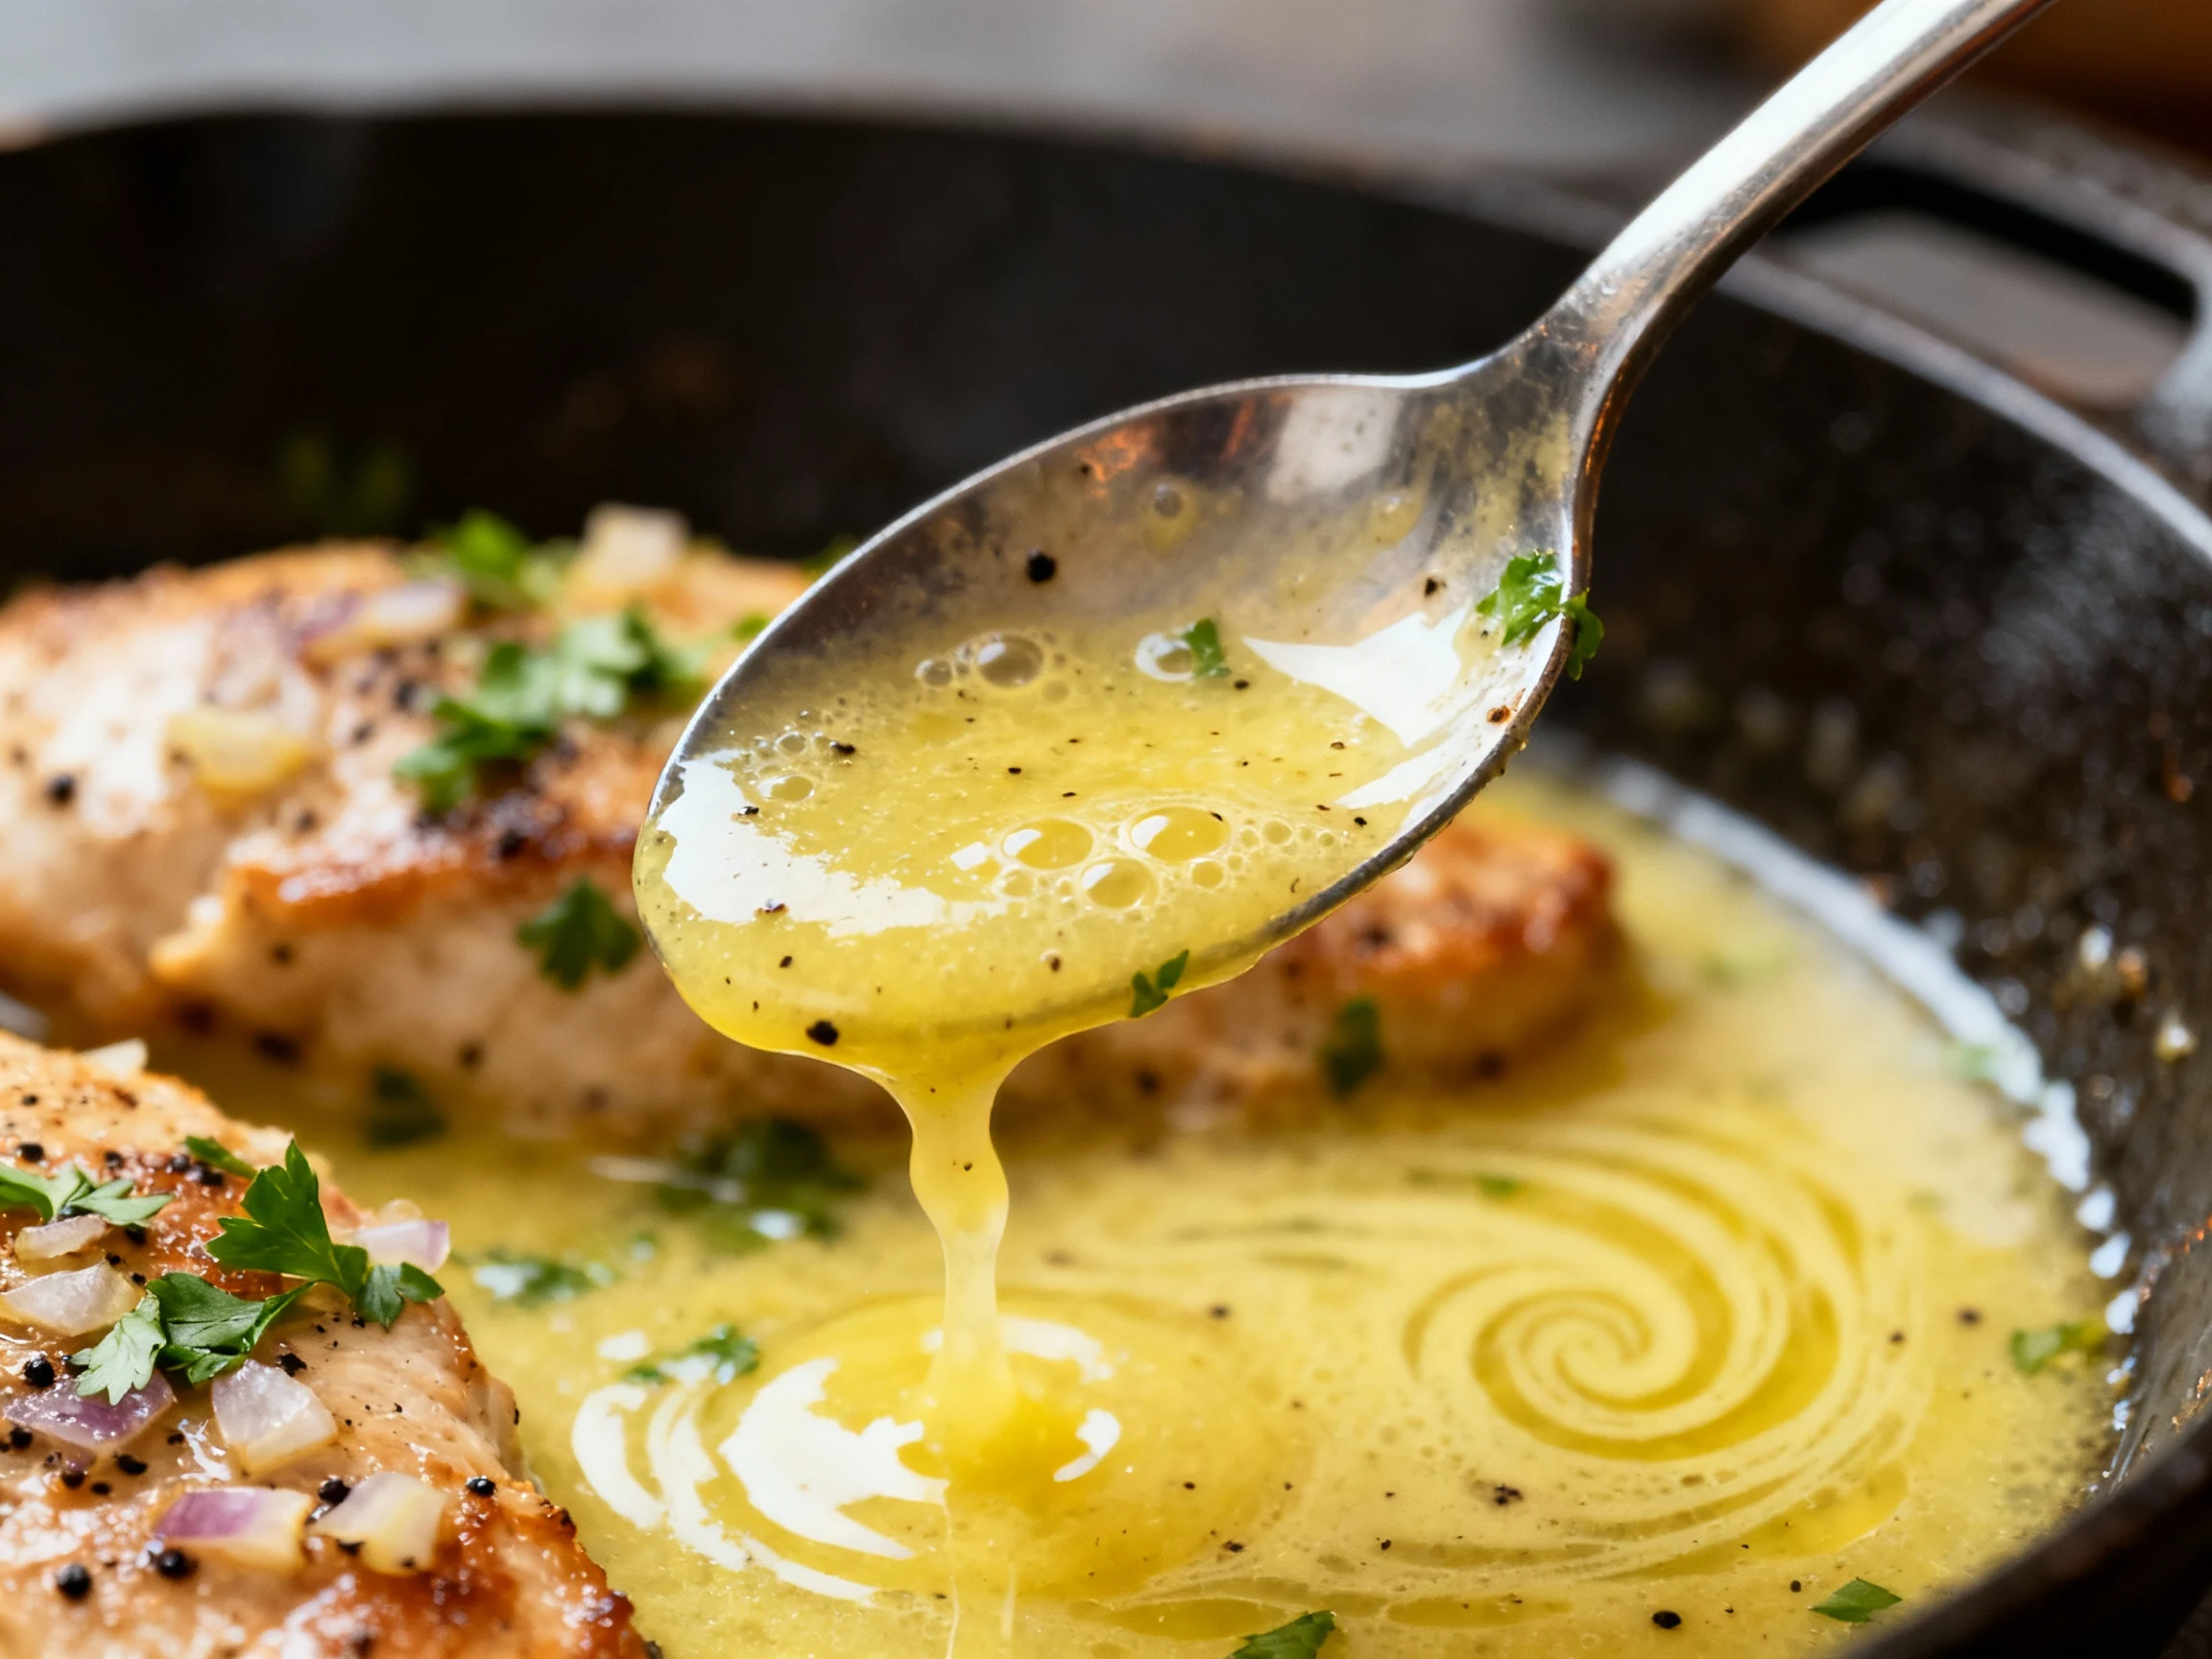
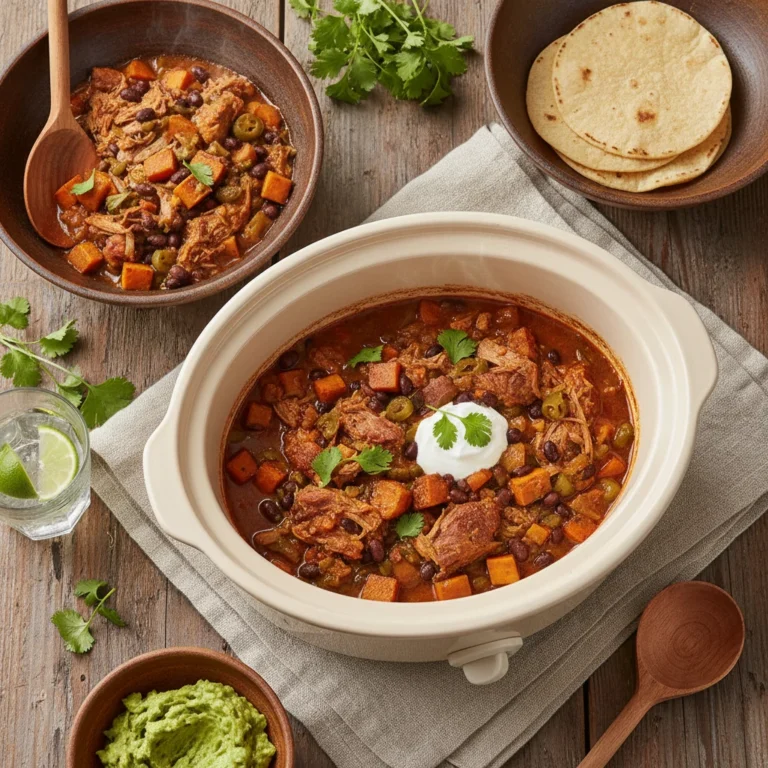
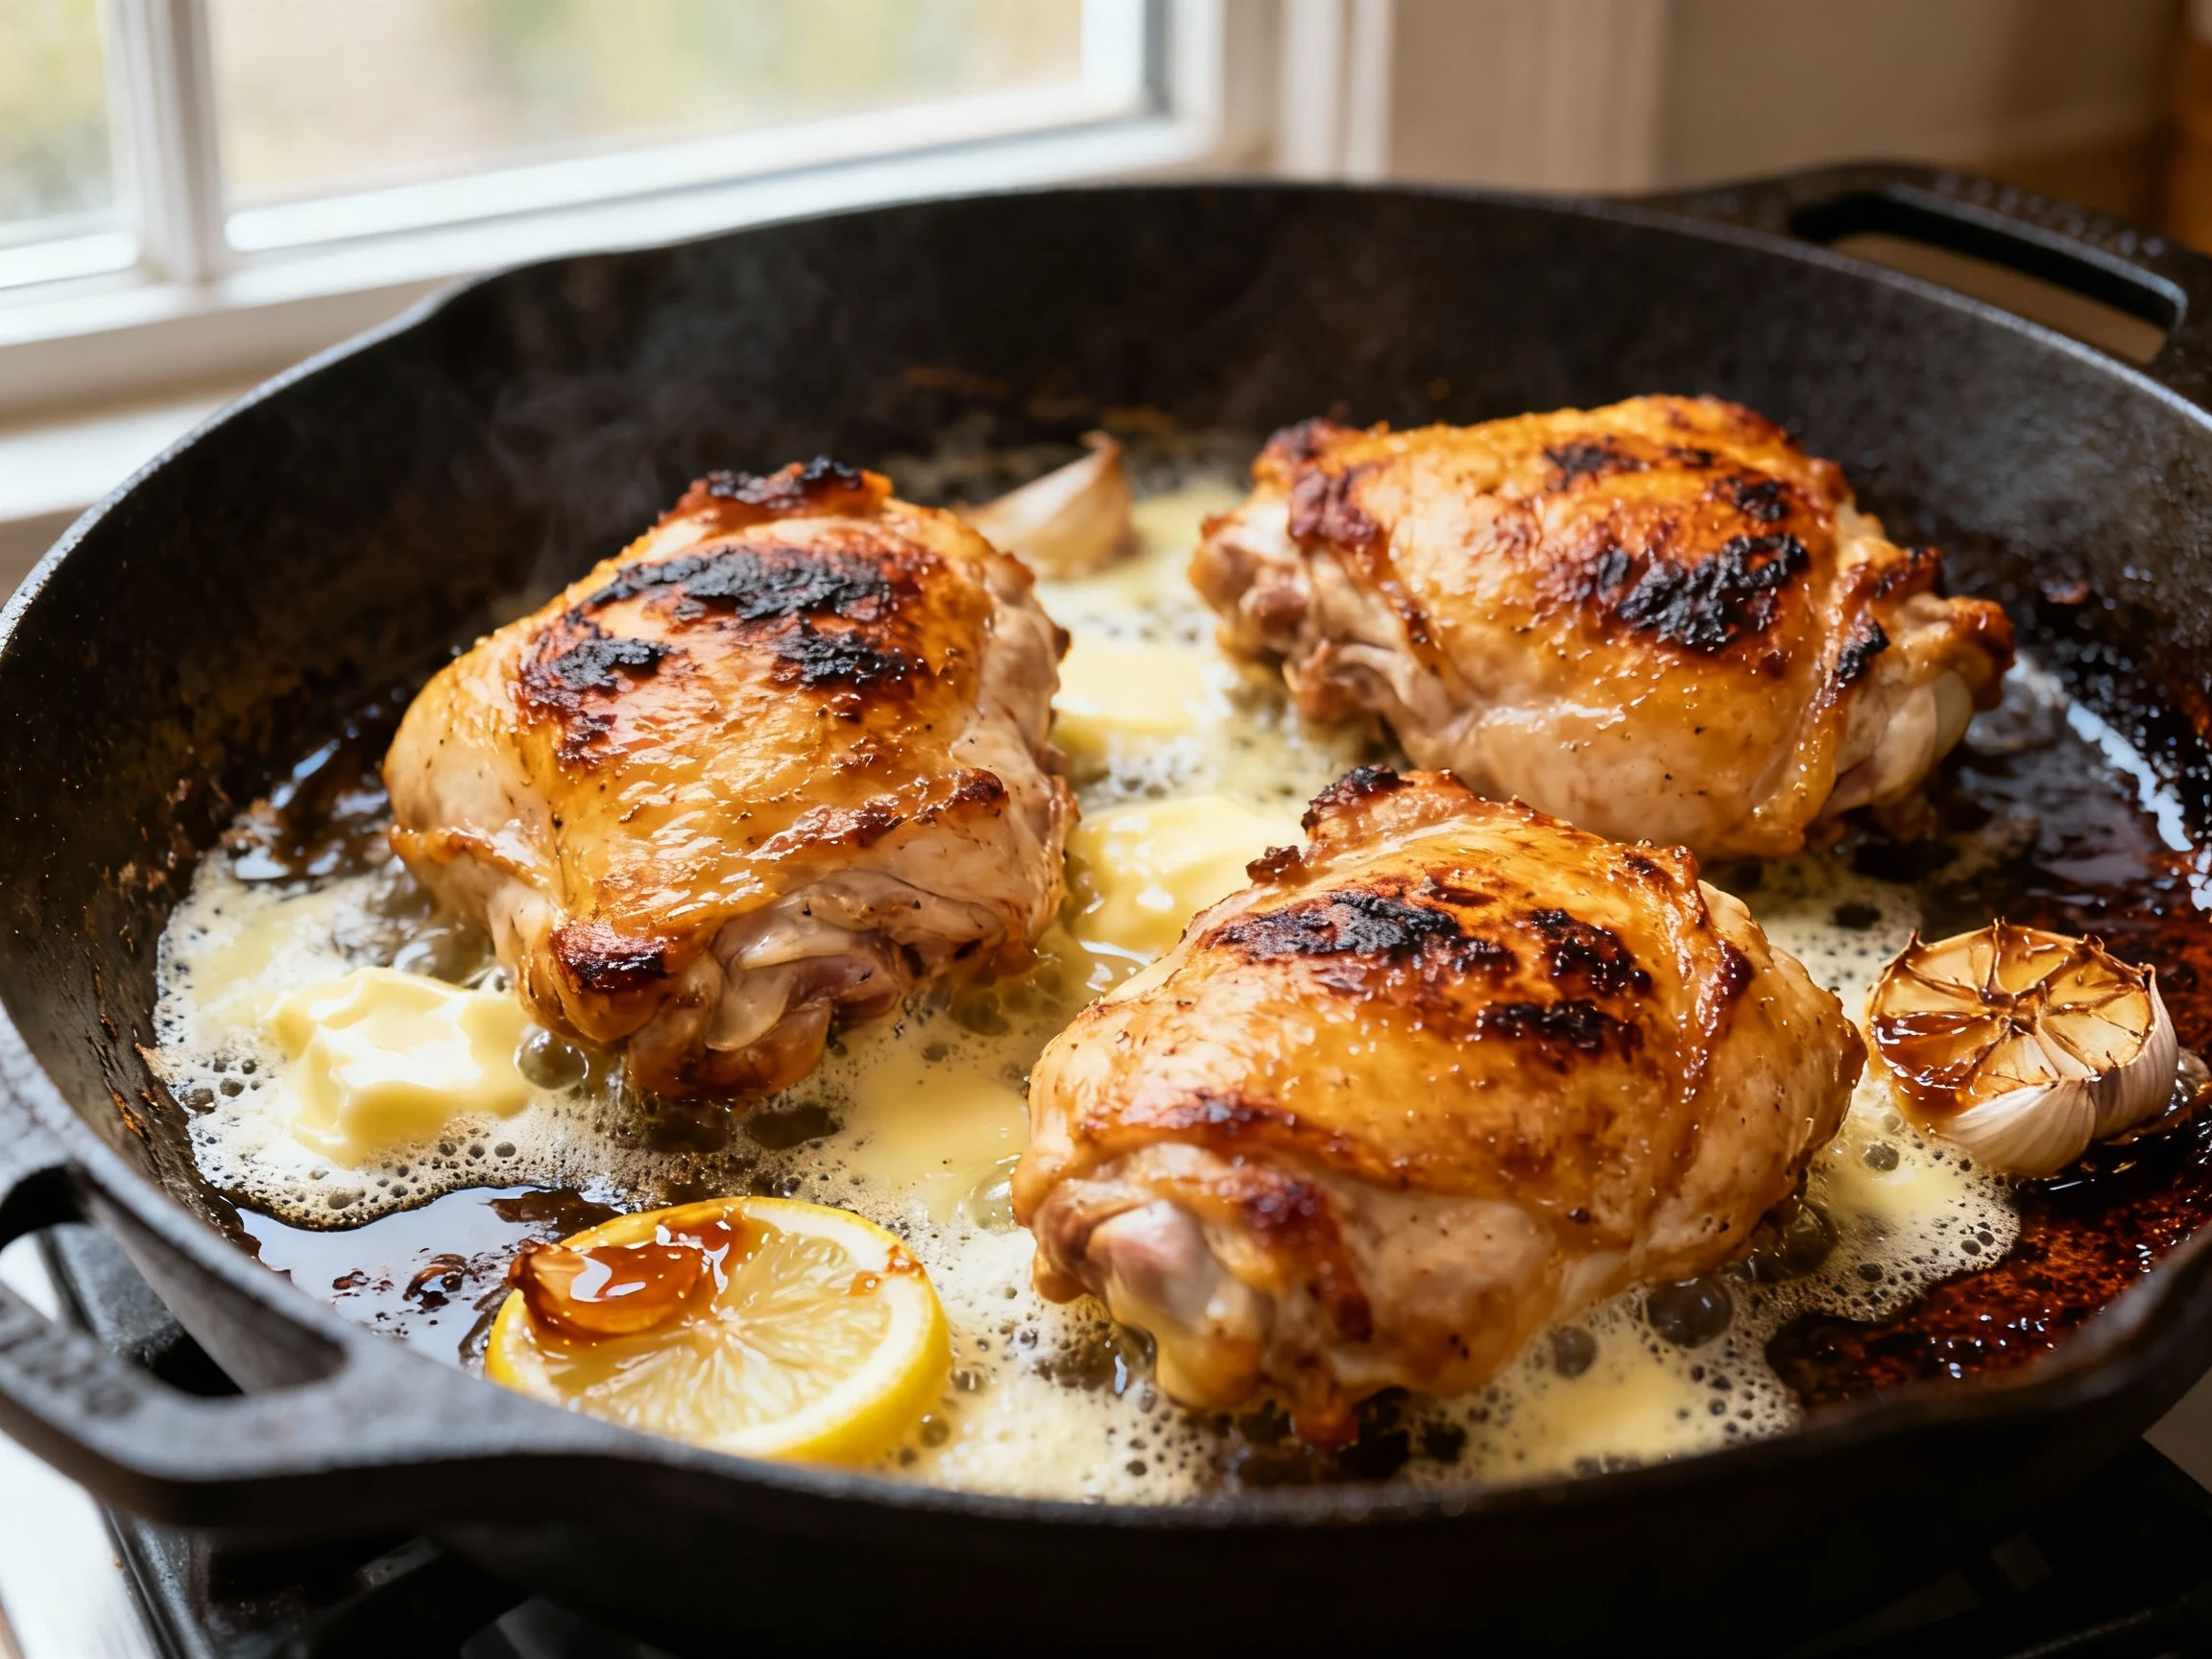
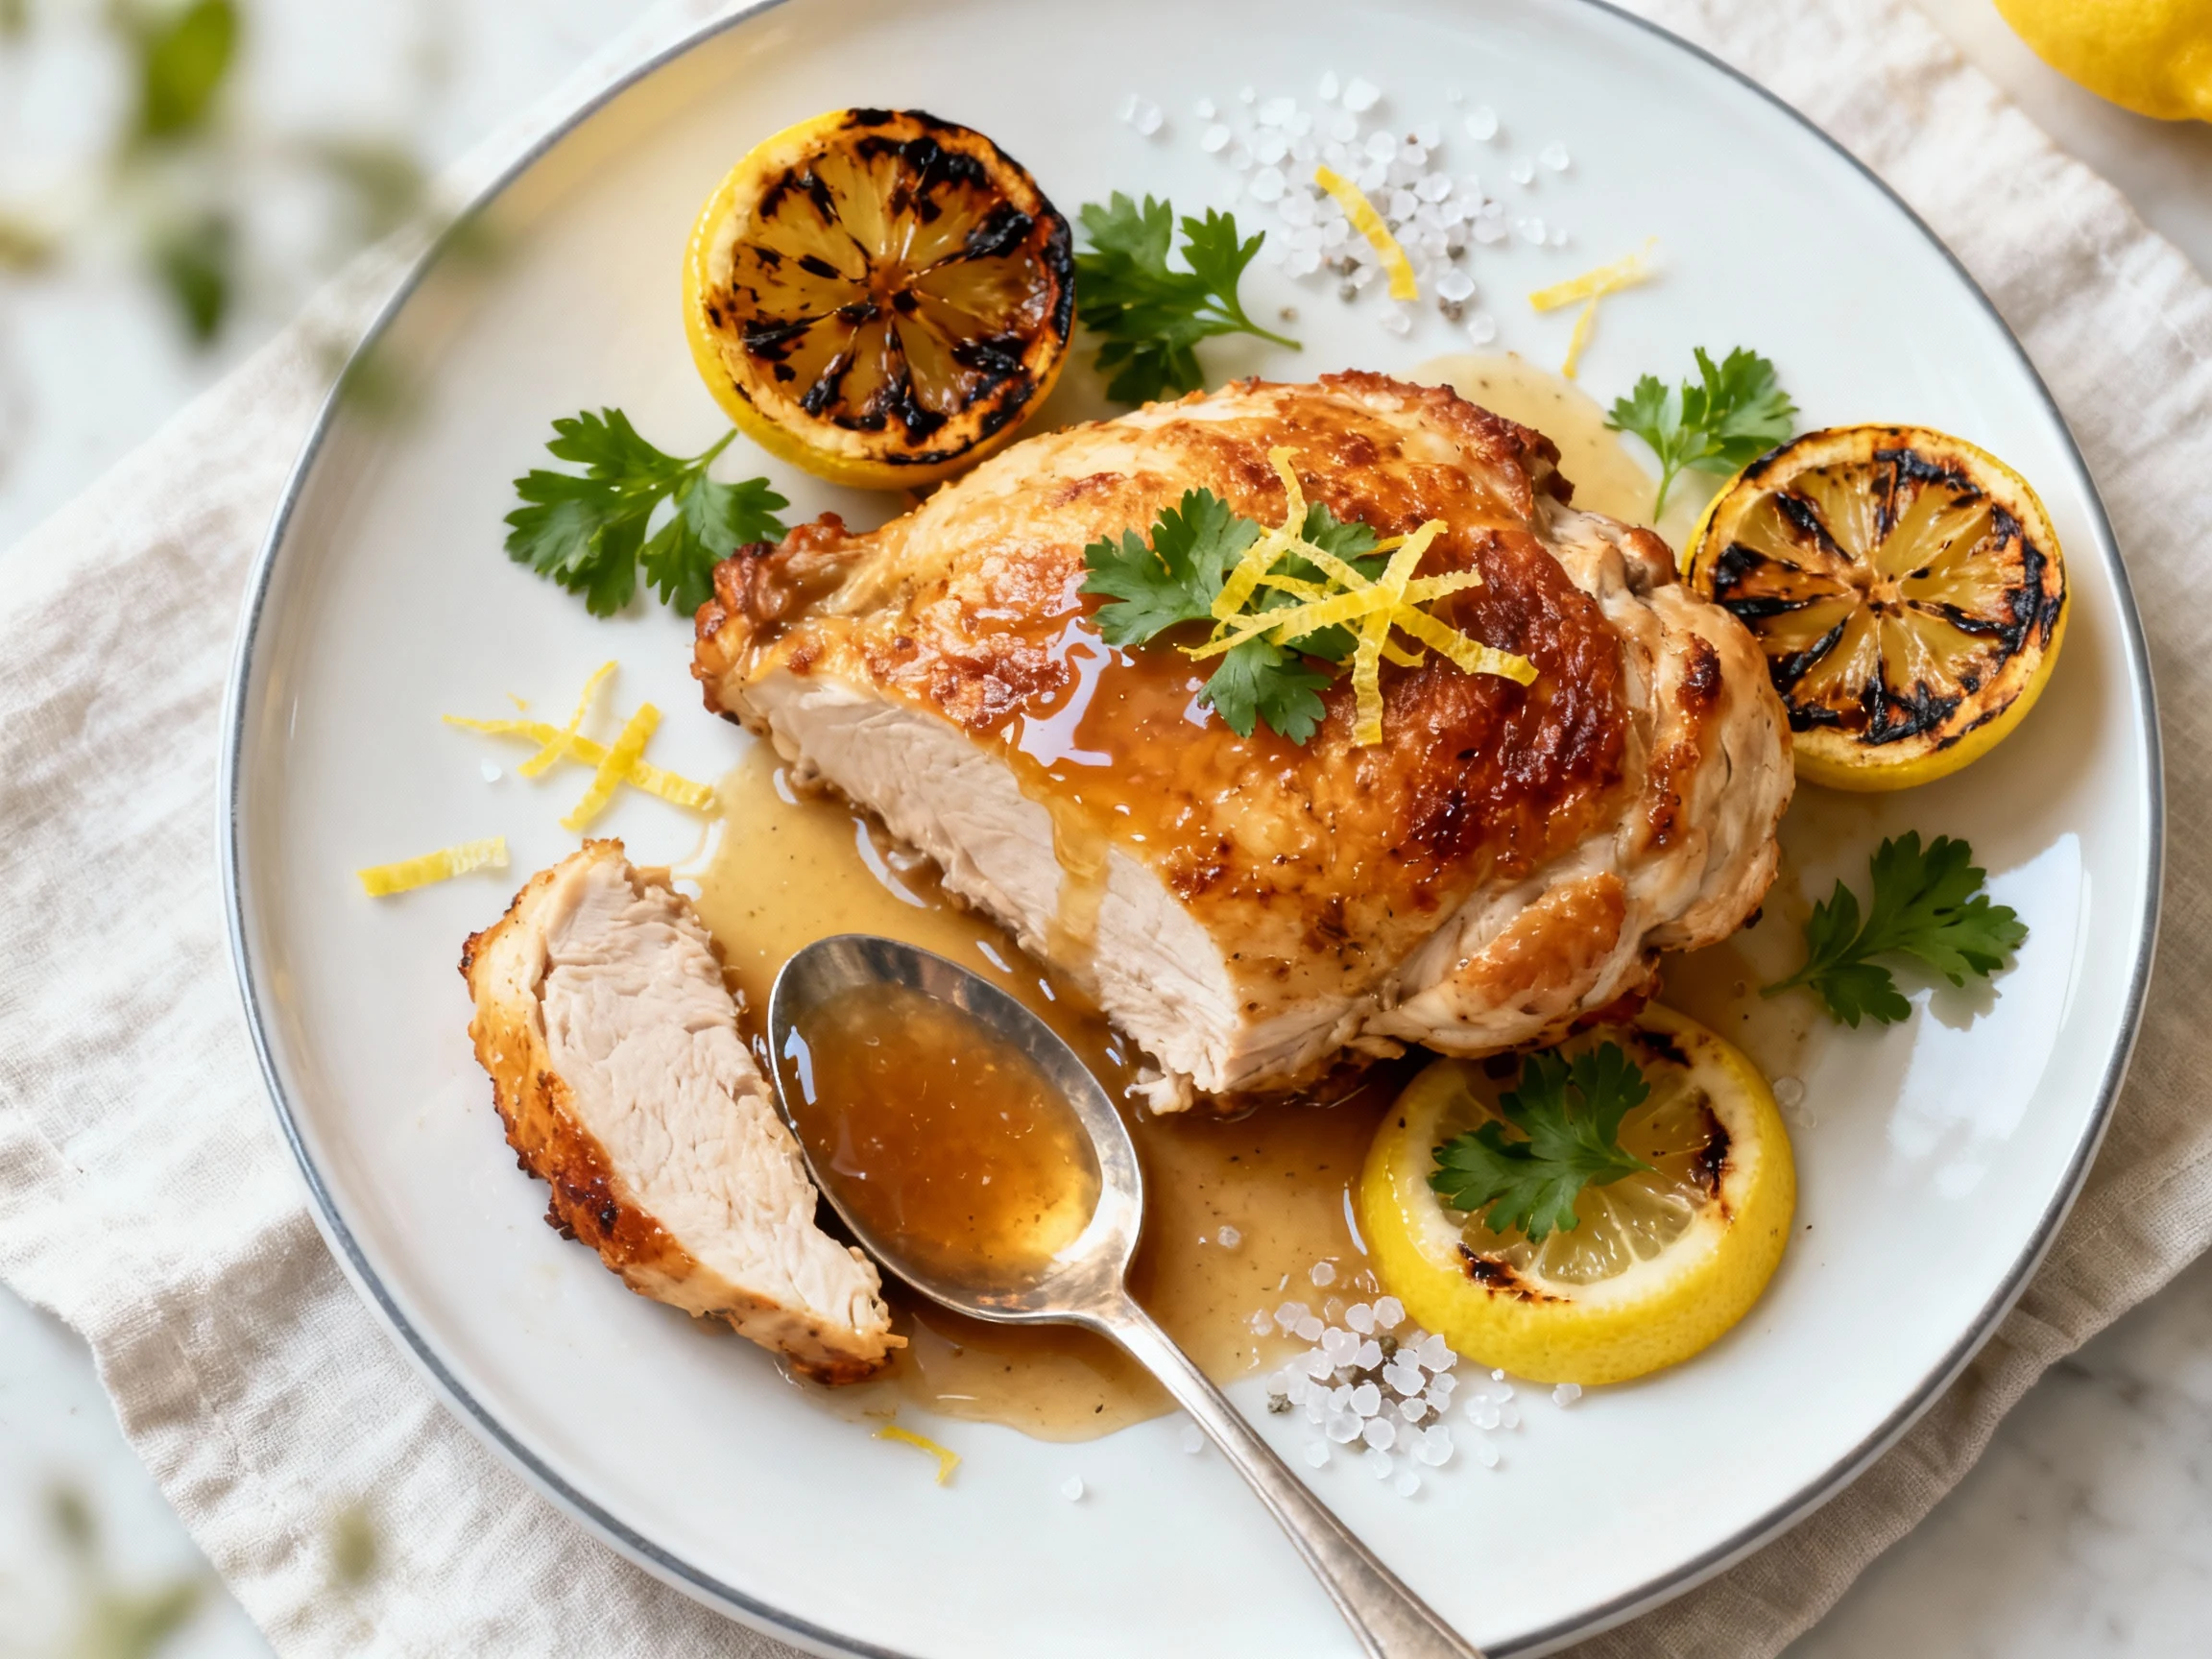
- Define the outcome. State the dish, texture, and flavor target. Example: “Crispy-skinned chicken with juicy interior and lemony pan sauce.”
- Set the metadata. Add prep time, cook time, yield, and skill level. This frames effort and expectations before anyone preheats the oven.
- List ingredients precisely. Use grams or cups consistently; include room-temp or chilled notes where needed. Order by usage, not by your pantry shelf.
- Sequence the steps logically. Start with mise en place: preheat, prep, chop, measure. Then move to cooking actions from longest to shortest so everything finishes together.
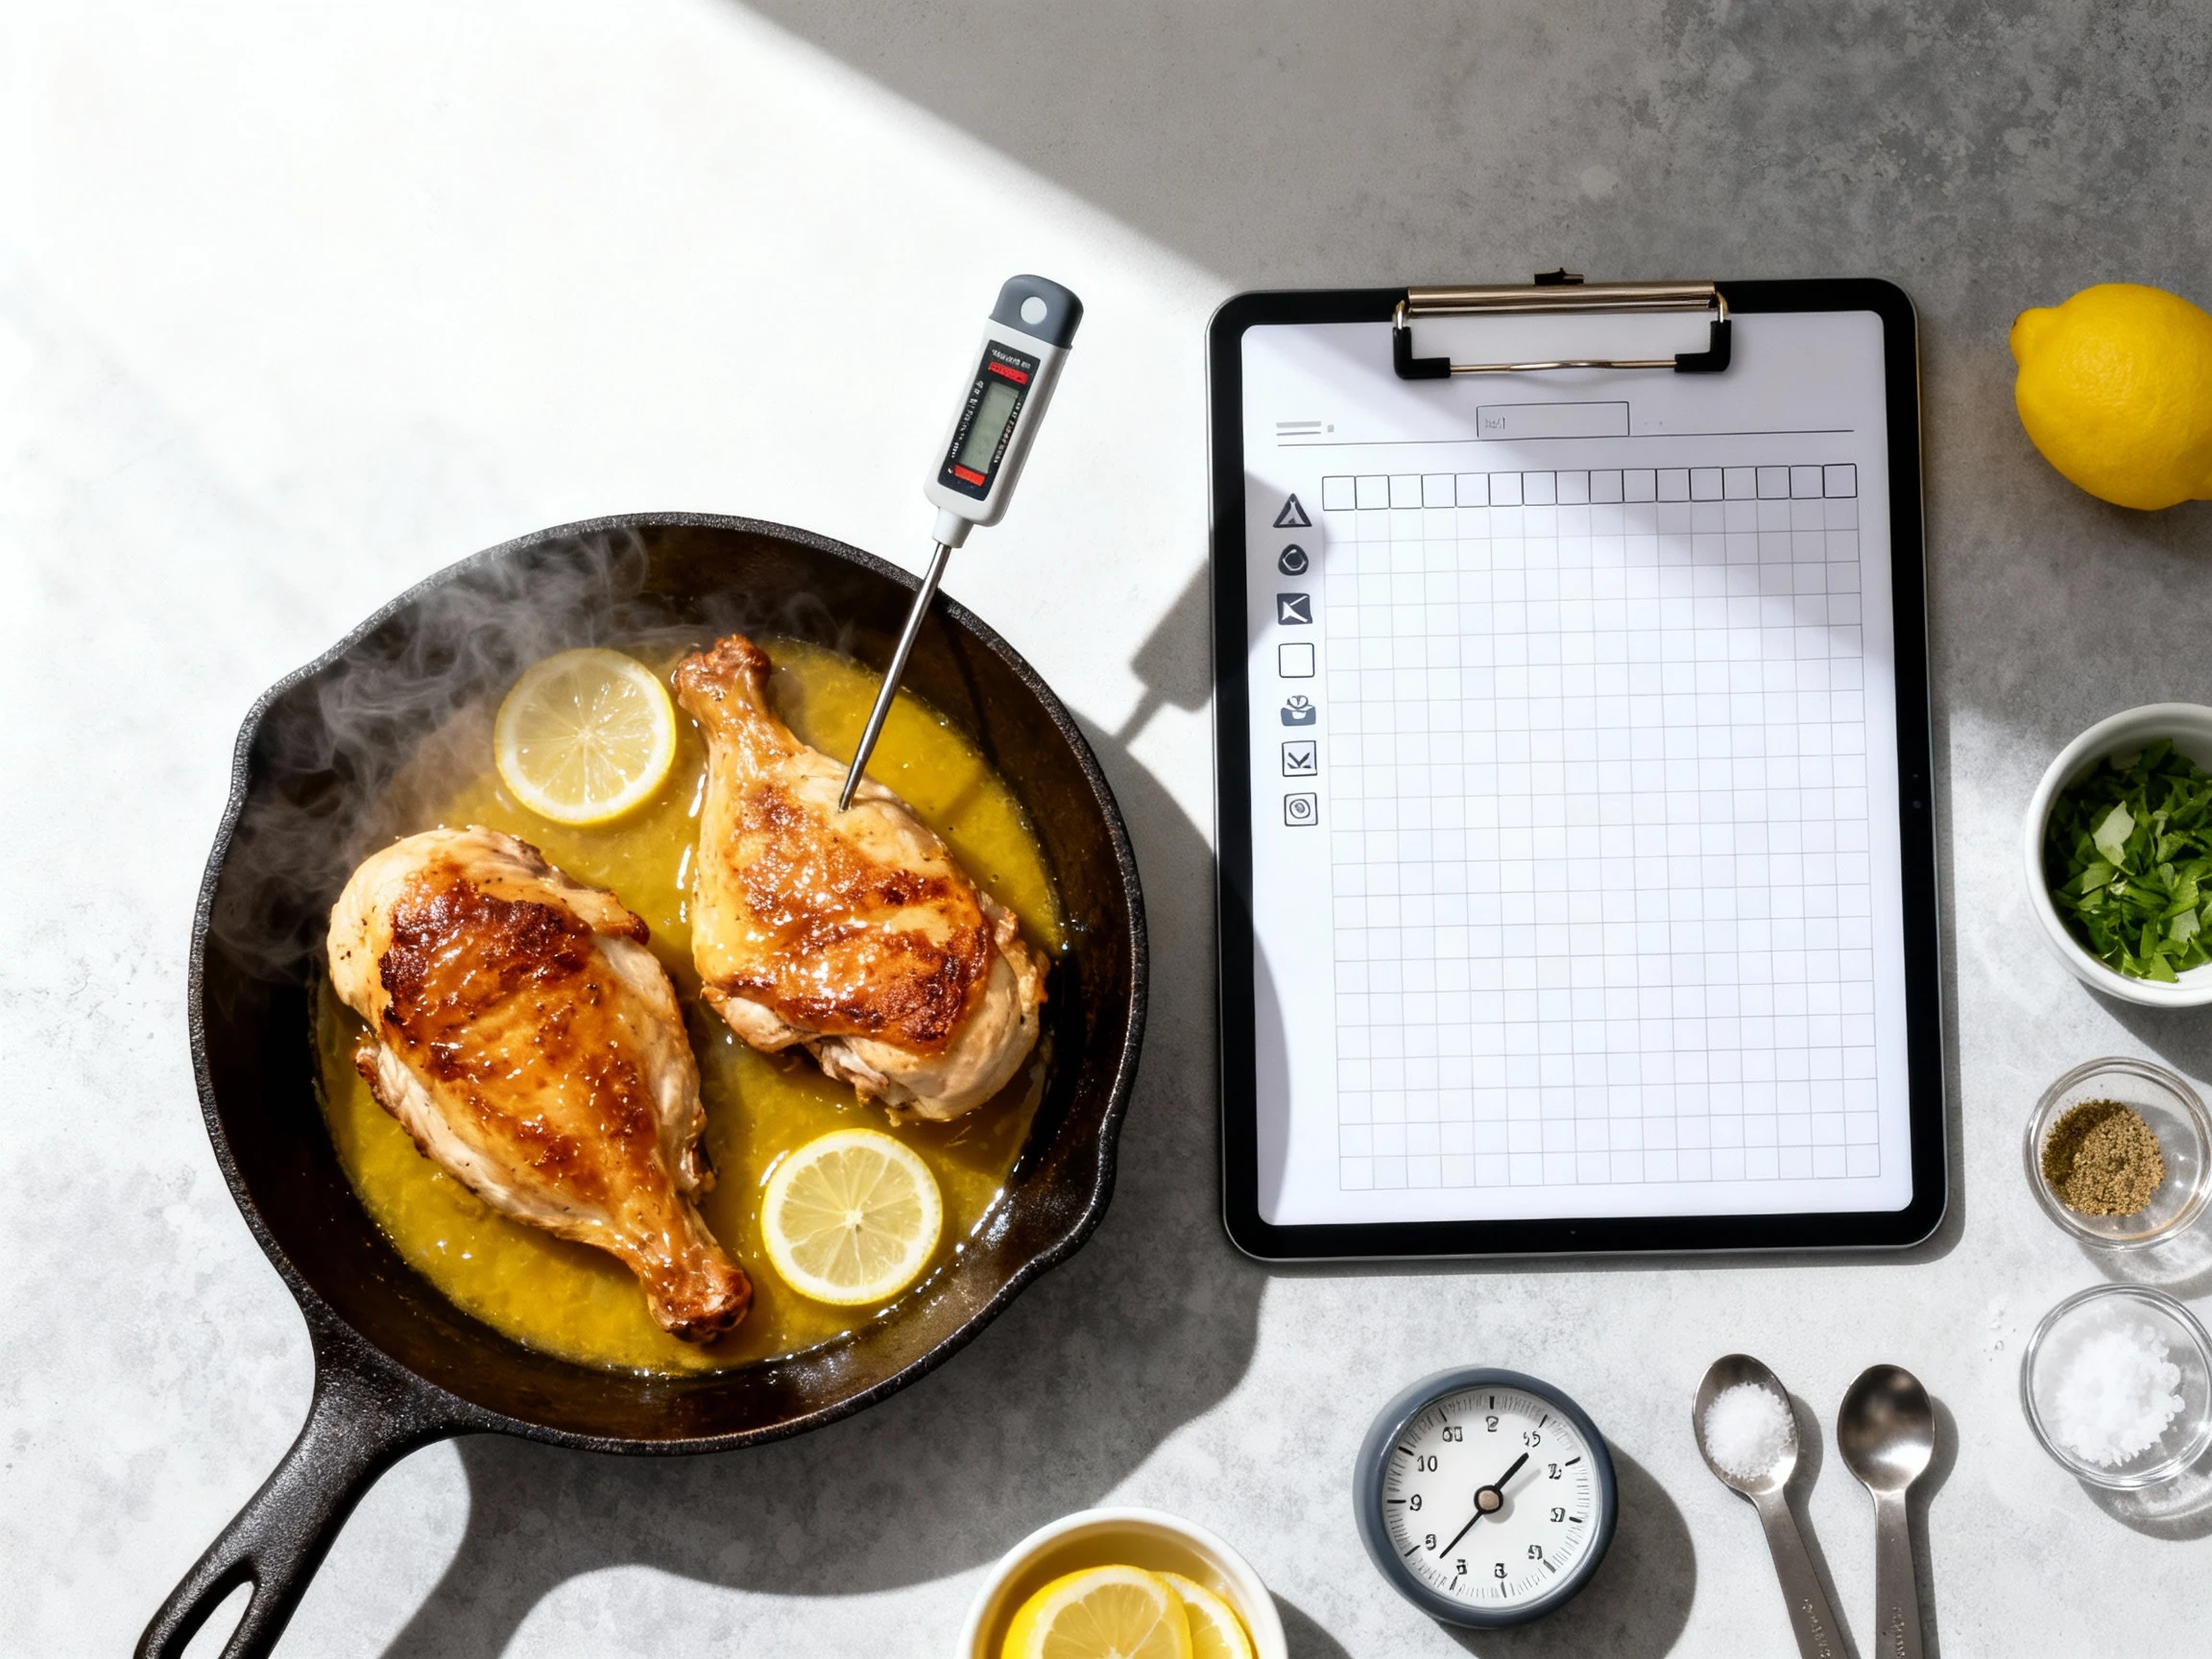
- Lock in timings and heat. Add ranges (“12–15 minutes”), temperatures (°F/°C), and cues (“until fragrant,” “until the center springs back”). People cook with senses, not just clocks.
- Embed checkpoints. Include doneness tests (temperature probe, toothpick, visual cues). Write what “good” looks like and what “not yet” looks like.
- Add fix-it options. If sauce breaks, whisk in a spoon of cold water. If pan is crowded, split batches. These save dinners—FYI, they also save reputations.
- Test the recipe. Cook it once like a beginner would. No chef hacks, no guesses. Note pain points, reword steps, tighten timings, and retest.
- Write storage and reheating instructions. Refrigeration windows, freezing guidance, and how to reheat without wrecking texture. Include what doesn’t reheat well.
- Polish for readability. Short sentences, active voice, consistent formatting. Remove anything that sounds like “trust me”—replace it with specifics. Then publish and watch people nail it on the first try.
Storage Instructions
For the dish: Spell out how to store, how long it stays good, and best reheating methods. Use specifics like “refrigerate in airtight container up to 4 days” or “freeze up to 2 months; thaw overnight.” Add texture warnings (e.g., “crispy becomes soft in the fridge—recrisp in a 425°F oven for 8 minutes”).
For the recipe file: Keep your template accessible and versioned. Save as a digital doc with timestamped updates, or a binder with tabs for mains, sides, and bakes. Back it up—yes, even paper; a quick photo saves you from sauce splatters and forgetfulness.
- Label clearly: dish name, date tested, version number.
- Track tweaks: what you changed and why; attach results.
- Keep a “win” folder: go-to recipes for weekdays and company.
- Create a scale chart: easy x0.5 and x2 conversions, clearly noted.
Why This is Good for You
Strong instructions slash decision fatigue. You stop second-guessing and start executing, which is the fastest way to put great food on the table. Consistency turns good nights into a lifestyle: same results, less stress, more flavor.
It also saves money. Clear timing and prep order mean fewer burnt pans, wasted produce, and emergency takeout. You’ll stretch ingredients, plan leftovers, and actually use that spinach before it becomes a science project.
Finally, it builds confidence. When your notes deliver repeat wins, you evolve from “hope it works” to “I got this.” Cooking becomes enjoyable again—and yes, that rubs off on the rest of your life. IMO, competence tastes better than any spice blend.
What Not to Do
- Don’t be vague: “cook until done” is not a step; it’s a shrug.
- Don’t bury timing: put minutes and temperatures where people need them.
- Don’t mix units: pick metric or imperial and stay loyal.
- Don’t assume gear: specify pan sizes, oven type, and alternatives.
- Don’t skip testing: untested instructions are why dinners fail.
- Don’t overtalk: one-line headnote, not a memoir about your summer in Tuscany.
- Don’t hide allergens: call out nuts, dairy, gluten, shellfish, soy.
- Don’t ignore scaling: doubling salt isn’t always right—adjust seasoning.
- Don’t forget texture: explain what the food should look and feel like.
- Don’t rely on “common sense”: write for the cook who’s new to the dish.
Different Ways to Make This
- Minimalist template: 10 ingredients or fewer, steps under 12, tight timings.
- Narrative style: short paragraphs that flow like a story; include cues in-line.
- Step-by-step with photos: visual checkpoints for tricky textures and shapes.
- Weight-first format: prioritize grams/ounces for baking and precision.
- One-pan bias: structure to finish hot components together for fewer dishes.
- Diet-specific: labels and swaps for vegetarian, vegan, gluten-free, dairy-free.
- Batch-cook mode: instructions for x2/x3 yields, portioning, and freezer notes.
- Weeknight speed: mise en place first, parallel tasks, under-30-minute promise.
FAQ
How do I choose between metric and imperial measurements?
Pick one system and stick with it throughout a recipe. Baking prefers metric for precision; savory dishes can go either way, but consistency matters more than the choice itself. If you include both, put one in parentheses and keep the primary unit bold and upfront.
What’s the best way to write timing so people don’t overcook?
Use ranges plus sensory cues: “Sear 3–4 minutes per side, until deeply brown.” Add doneness tests wherever possible (internal temperature, clean toothpick, jiggle vs. set). Timers are helpful, but senses are the real guardrails.
How should I format ingredients to be easiest to follow?
Order ingredients by appearance in the steps, not by your shopping list. Group subcomponents under mini-headings (e.g., “Sauce,” “Topping”) and mark state clearly: “room temperature butter,” “finely chopped parsley.” Don’t hide the salt—seasoning belongs in the list with amounts.
Can I offer substitutions without confusing people?
Yes—label them cleanly: “Optional: replace yogurt with sour cream (similar tang, slightly richer).” Keep swaps to one or two per ingredient and note any timing or texture differences. Separate the substitutes from the main list if it gets cluttered.
How do I write reheating instructions that actually work?
Pair a method with a texture goal: “Reheat in a 375°F oven 8–10 minutes for crisp edges; microwave 60–90 seconds for soft texture.” If something doesn’t reheat well, say so and suggest cold or repurpose options. Include container and portion guidance for even heating.
What’s the right length for a headnote or intro?
One to three sentences that set expectations: flavor profile, effort level, and a hook. Skip life stories; keep it useful. Example: “Weeknight-friendly, punchy lemon chicken with crispy skin and a pan sauce you’ll want to drink.”
How many steps is too many for a weeknight recipe?
Try to cap it at 10 steps, with several being low-effort (e.g., “rest chicken, make sauce”). If you need more, group micro-actions under a single step. The goal is momentum, not micromanagement.
Do I need photos for every recipe?
Not mandatory, but photos of tricky textures or shapes reduce mistakes. A single hero shot plus two process photos (browning level, sauce thickness) can be enough. If you go text-only, double down on descriptive cues.
My Take
Cooking greatness isn’t talent—it’s systems. When your instructions tell the truth, nothing stands between you and a plate worth bragging about. Build your template once, refine it with every cook, and treat each dish like a product release: clear specs, real testing, honest notes. TBH, that’s how you turn “I hope this works” into “of course it works.” Now write it tight, cook it right, and let your kitchen run like a well-oiled—okay, well-buttered—machine.
Printable Recipe Card
Want just the essential recipe details without scrolling through the article? Get our printable recipe card with just the ingredients and instructions.