Thick Beef Stew — Ultra Rich Flavor in Less Time
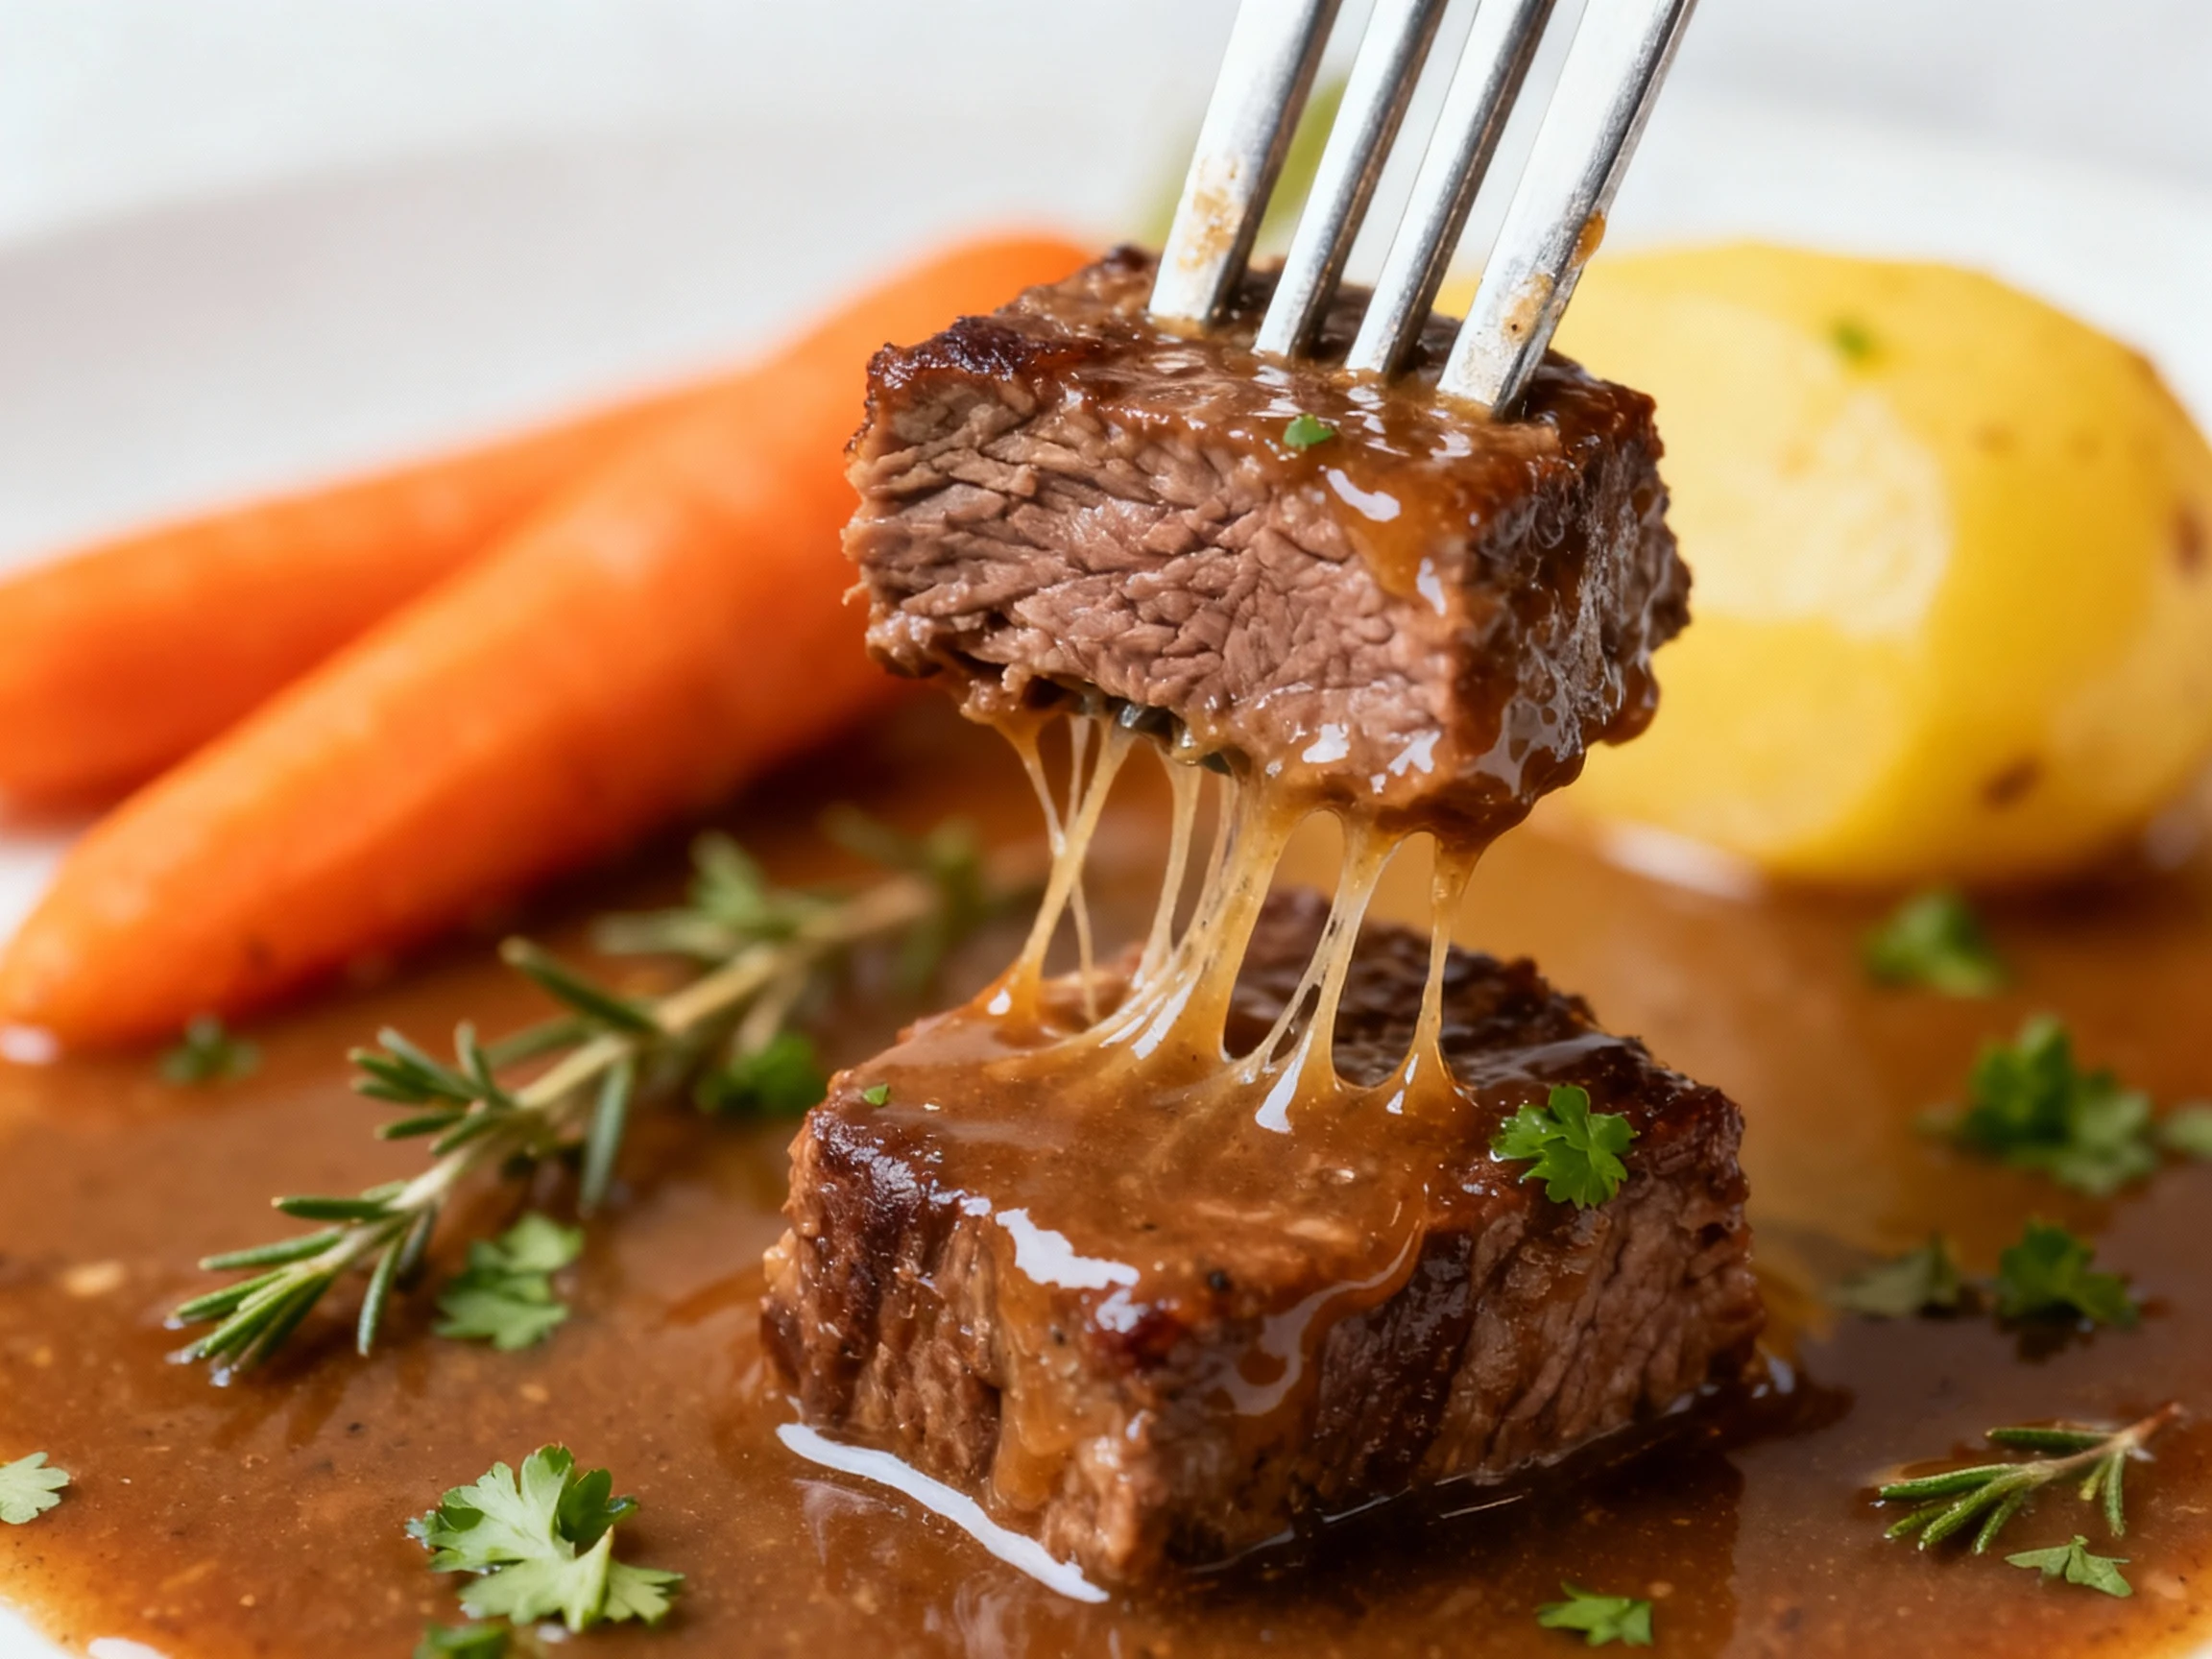
Spoon-coating gravy, fork-tender chuck, and deep flavor in 90 minutes—one pot, minimal babysitting, weeknight-friendly.
You know that watery, sad stew that pretends to be dinner? Hard pass. What you want is a glossy, spoon-coating sauce and beef that breaks apart with a nudge, not a knife. The good news: you don’t need a Sunday-long simmer or a culinary degree to get there. You just need a few clutch moves that multiply flavor and texture fast. Keep reading—this is the pot of comfort you’ll make on repeat.
The Secret Behind This Recipe
Great stew isn’t luck. It’s science and patience—mostly science. We pick the right cut, build big flavor with browning, and control liquid like misers. The result: a deeply savory sauce that clings to every chunk of beef and veg.
First, choose well-marbled chuck. Chuck brings collagen that melts into natural gelatin. That gelatin gives the sauce body and that coveted “luxurious” mouthfeel. Lean cuts? They dry out and pout.
Second, we create serious fond—those browned bits on the bottom of the pot. That’s your flavor vault. We brown in batches, resist the urge to stir, and let the surface do the work. Then we deglaze so none of that flavor gets left behind.
Third, we bloom tomato paste and toast flour. Tomato paste turns sweet and umami-rich when it caramelizes. Flour cooks off its raw taste and sets you up for controlled thickening later. No chalky vibes, promise.
Fourth, we layer umami. A touch of Worcestershire, a splash of soy sauce, and optional miso or anchovy paste take this from “nice” to “whoa.” You won’t taste fish; you’ll taste richness.
Finally, we manage liquid and time. We use just enough stock to barely surround the beef, then simmer low. We add root veg later so they don’t disintegrate. If you want extra body, a packet of unflavored gelatin brings restaurant-level silk. And FYI, a short rest before serving—10 minutes—makes the sauce thicken and calm down.
Shopping List – Ingredients
Yield: 6 hearty servings • Total time: About 90–120 minutes (most of it hands-off)
- 2 lb (900 g) beef chuck, cut into 1.5-inch cubes, patted dry
- 2 tsp kosher salt, plus more to taste
- 1 tsp freshly ground black pepper
- 2–3 tbsp neutral oil (canola, avocado, or grapeseed)
- 1 large yellow onion, diced
- 2 medium carrots, cut into 1-inch chunks
- 2 ribs celery, sliced
- 4 cloves garlic, minced
- 2 tbsp tomato paste
- 3 tbsp all-purpose flour
- 1 cup (240 ml) dry red wine (optional; sub more stock)
- 3 cups (720 ml) beef stock (low-sodium preferred)
- 1 tbsp Worcestershire sauce
- 1 tbsp soy sauce (low-sodium)
- 1 tsp Dijon mustard
- 1 bay leaf
- 3 sprigs fresh thyme (or 1 tsp dried)
- 1 sprig fresh rosemary (or 1/2 tsp dried)
- 1 lb (450 g) waxy potatoes (Yukon Gold), cut into 1.5-inch chunks
- 1 cup (150 g) mushrooms, halved (optional but recommended)
- 1 cup (140 g) frozen peas (stir in at the end)
- 2 tbsp butter (for finishing; optional)
- 1 tsp sugar or a splash of balsamic (to balance acidity; optional)
- 1 packet (7 g) unflavored gelatin (optional, for extra body)
- Fresh parsley, chopped, for garnish
Optional umami boosters (choose one): 1 tsp miso paste or 1/2 tsp anchovy paste. Tiny amount, big impact.
Let’s Get Cooking – Instructions
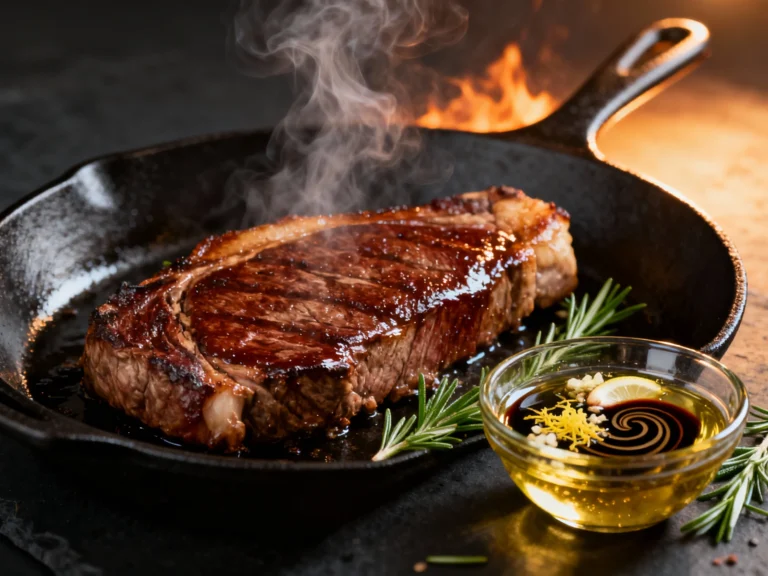
- Season the beef. Toss the beef cubes with salt and pepper. Pat them dry again. Dry beef browns; wet beef steams.
- Brown in batches. Heat 1 tablespoon oil in a heavy Dutch oven over medium-high. Add a single layer of beef without crowding. Sear 3–4 minutes per side until deeply browned. Transfer to a bowl. Repeat with remaining oil and beef. Don’t rush—this step builds flavor.
- Sweat the aromatics. Lower heat to medium. Add onion, carrot, and celery with a pinch of salt. Cook 5–6 minutes, scraping the fond with a wooden spoon as the veg releases moisture.
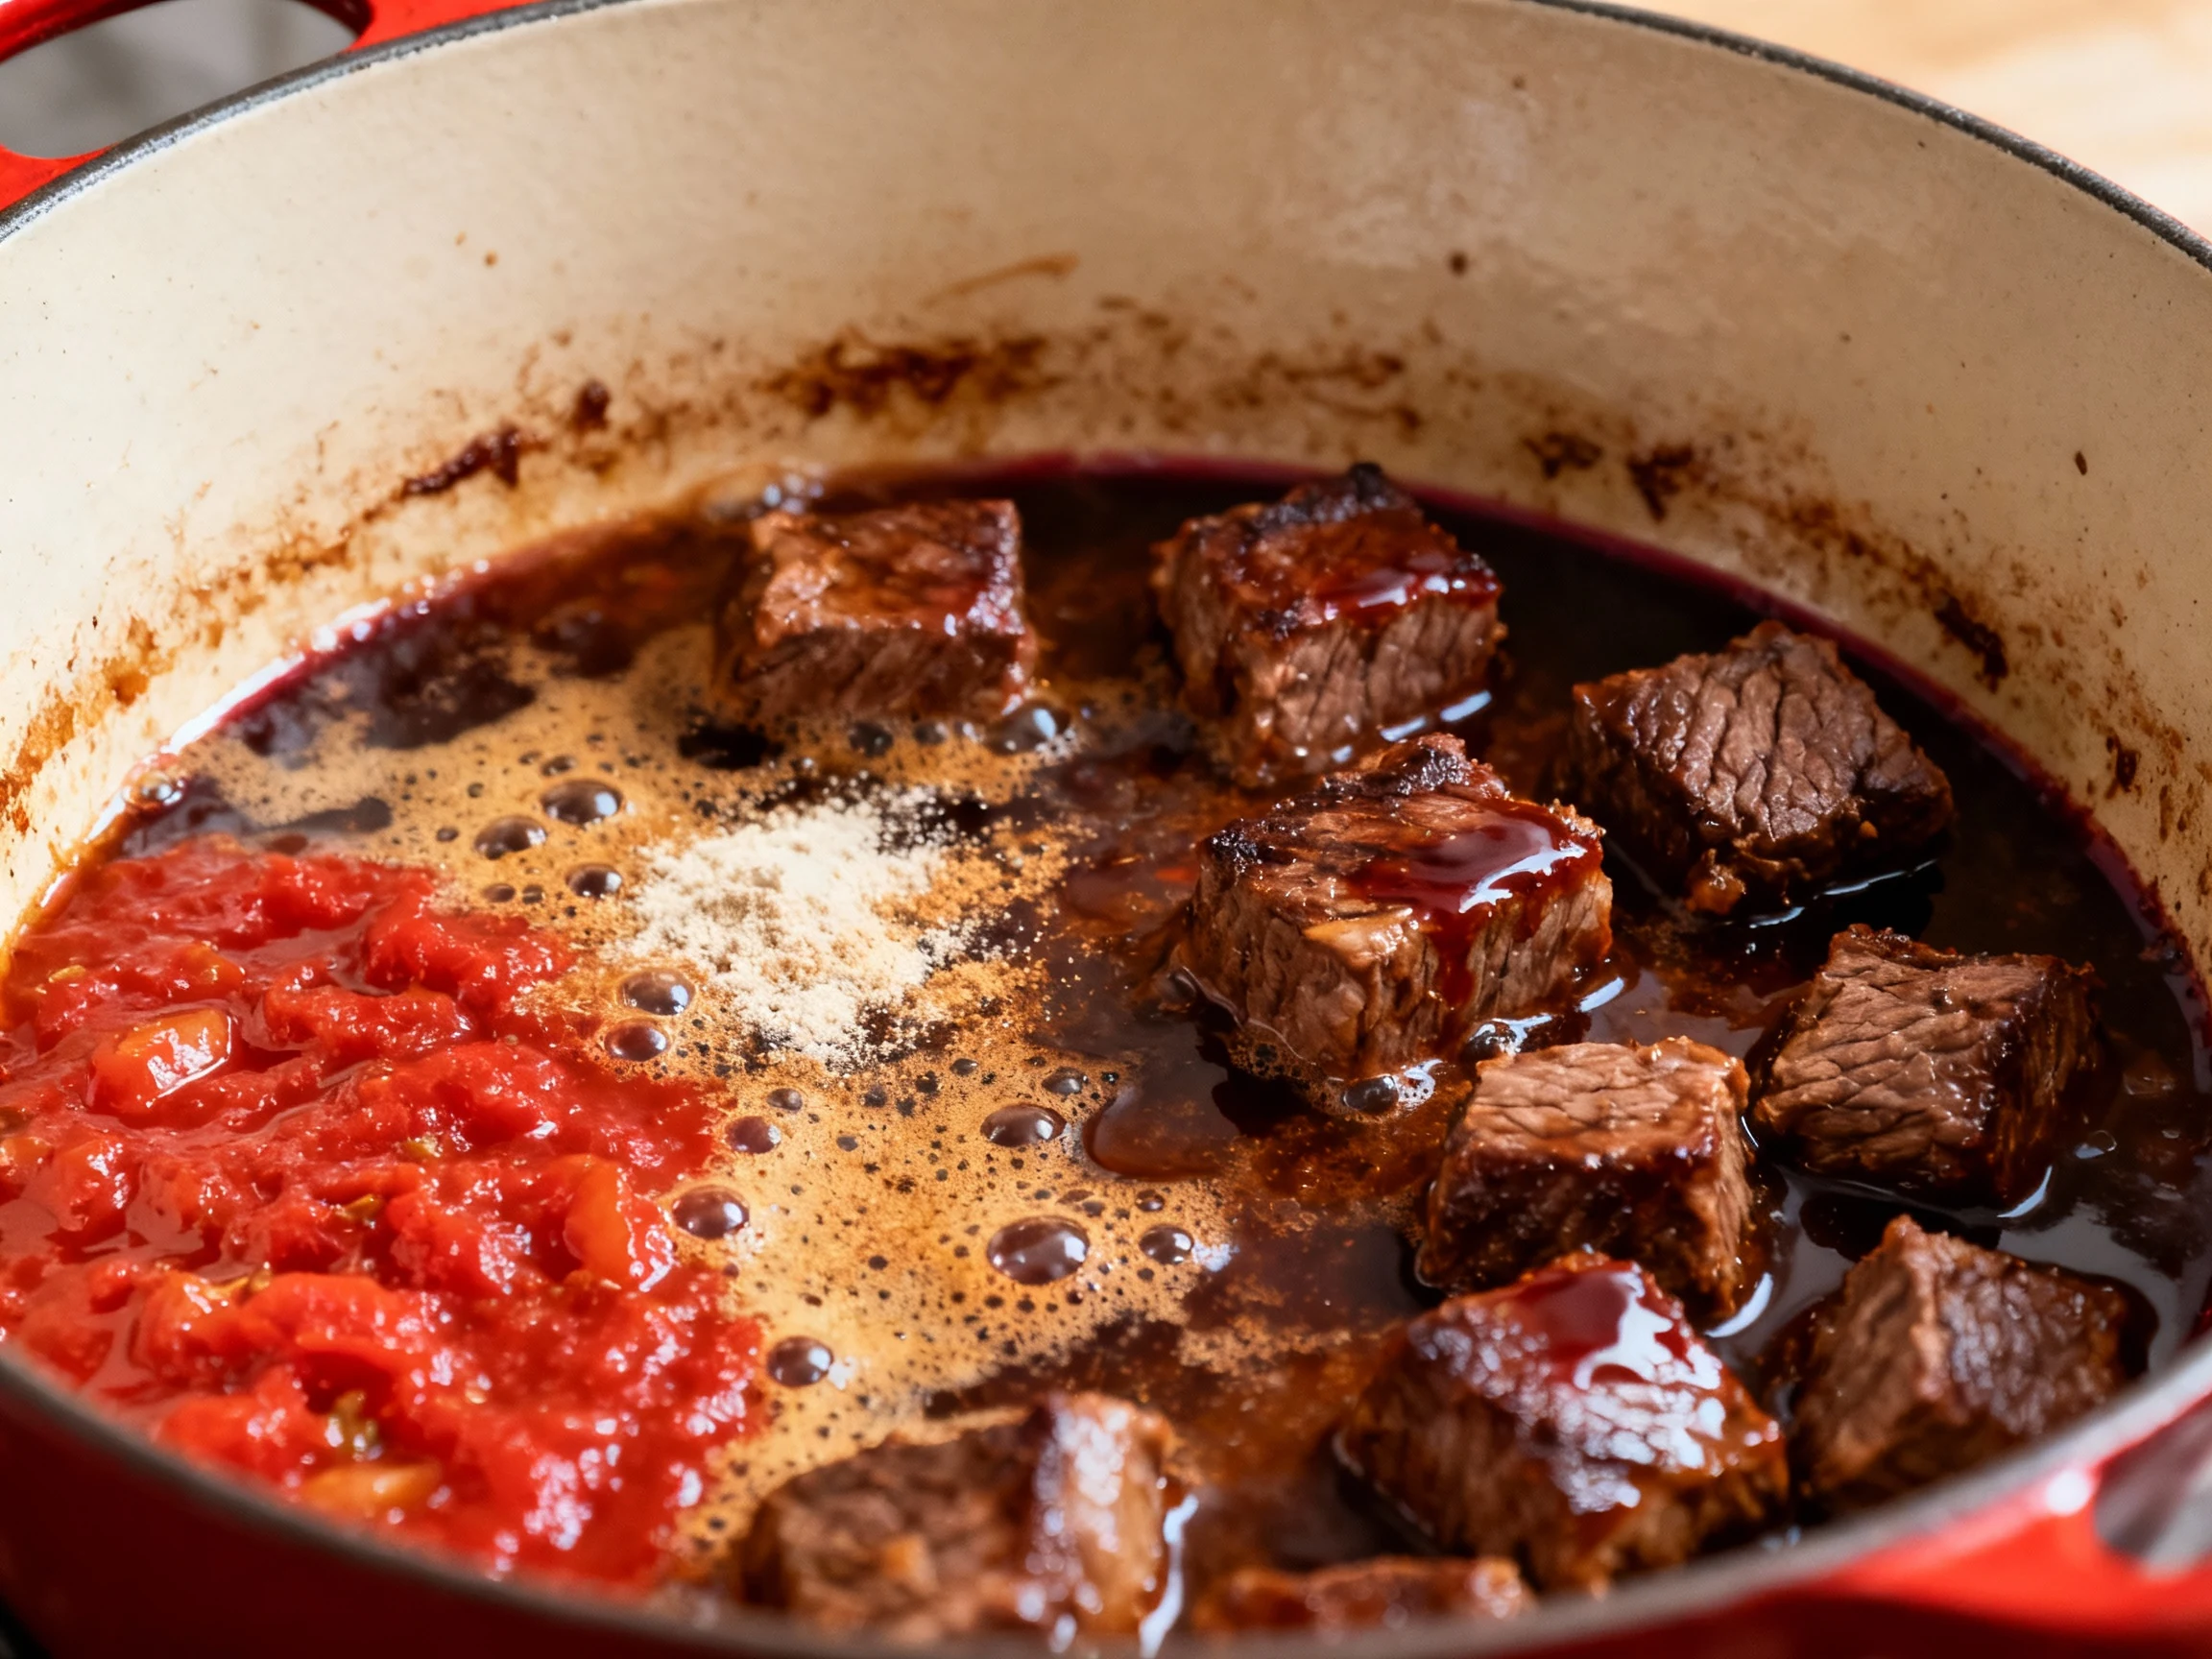
- Add garlic and tomato paste. Stir in garlic for 30 seconds, then tomato paste. Cook 2 minutes until the paste turns brick red and smells sweet and concentrated.
- Toast the flour. Sprinkle in flour. Stir constantly for 1–2 minutes to coat the veg and cook off raw flour taste. This sets up a silky, thick sauce later.
- Deglaze with wine (or stock). Pour in wine while scraping up every browned bit. Let it bubble for 2–3 minutes to reduce by about half. If skipping wine, use stock and add a teaspoon of vinegar later to mimic brightness.
- Build the braising base. Add beef stock, Worcestershire, soy sauce, Dijon, bay leaf, thyme, and rosemary. If using gelatin, bloom it in 1/4 cup cold water for 5 minutes, then stir it in now. Add optional miso or anchovy paste here.
- Return the beef. Add the browned beef and any accumulated juices. The liquid should barely cover the meat. If not, add a splash of stock or water. Bring to a simmer.
- Simmer gently. Reduce heat to low, cover partially, and simmer 45 minutes. Keep it at a lazy burble—not a boil. Violent boiling toughens meat. IMO, patience pays here.
- Add potatoes and mushrooms. Stir in the potatoes and mushrooms. Continue simmering 25–30 minutes, uncovered, until the beef is fork-tender and potatoes are just cooked.
- Adjust thickness. Check consistency: you want a sauce that slowly coats a spoon. If it’s too thin, simmer uncovered for 5–10 minutes. If it’s too thick, add a splash of stock or water.
- Finish and balance. Stir in peas and butter. Taste. Add salt as needed. If the acidity needs rounding, add the sugar or a small splash of balsamic. Remove herb stems and bay leaf.
- Rest briefly. Kill the heat and let the pot stand 10 minutes. The sauce thickens and flavors settle. TBH, that short wait makes a big difference.
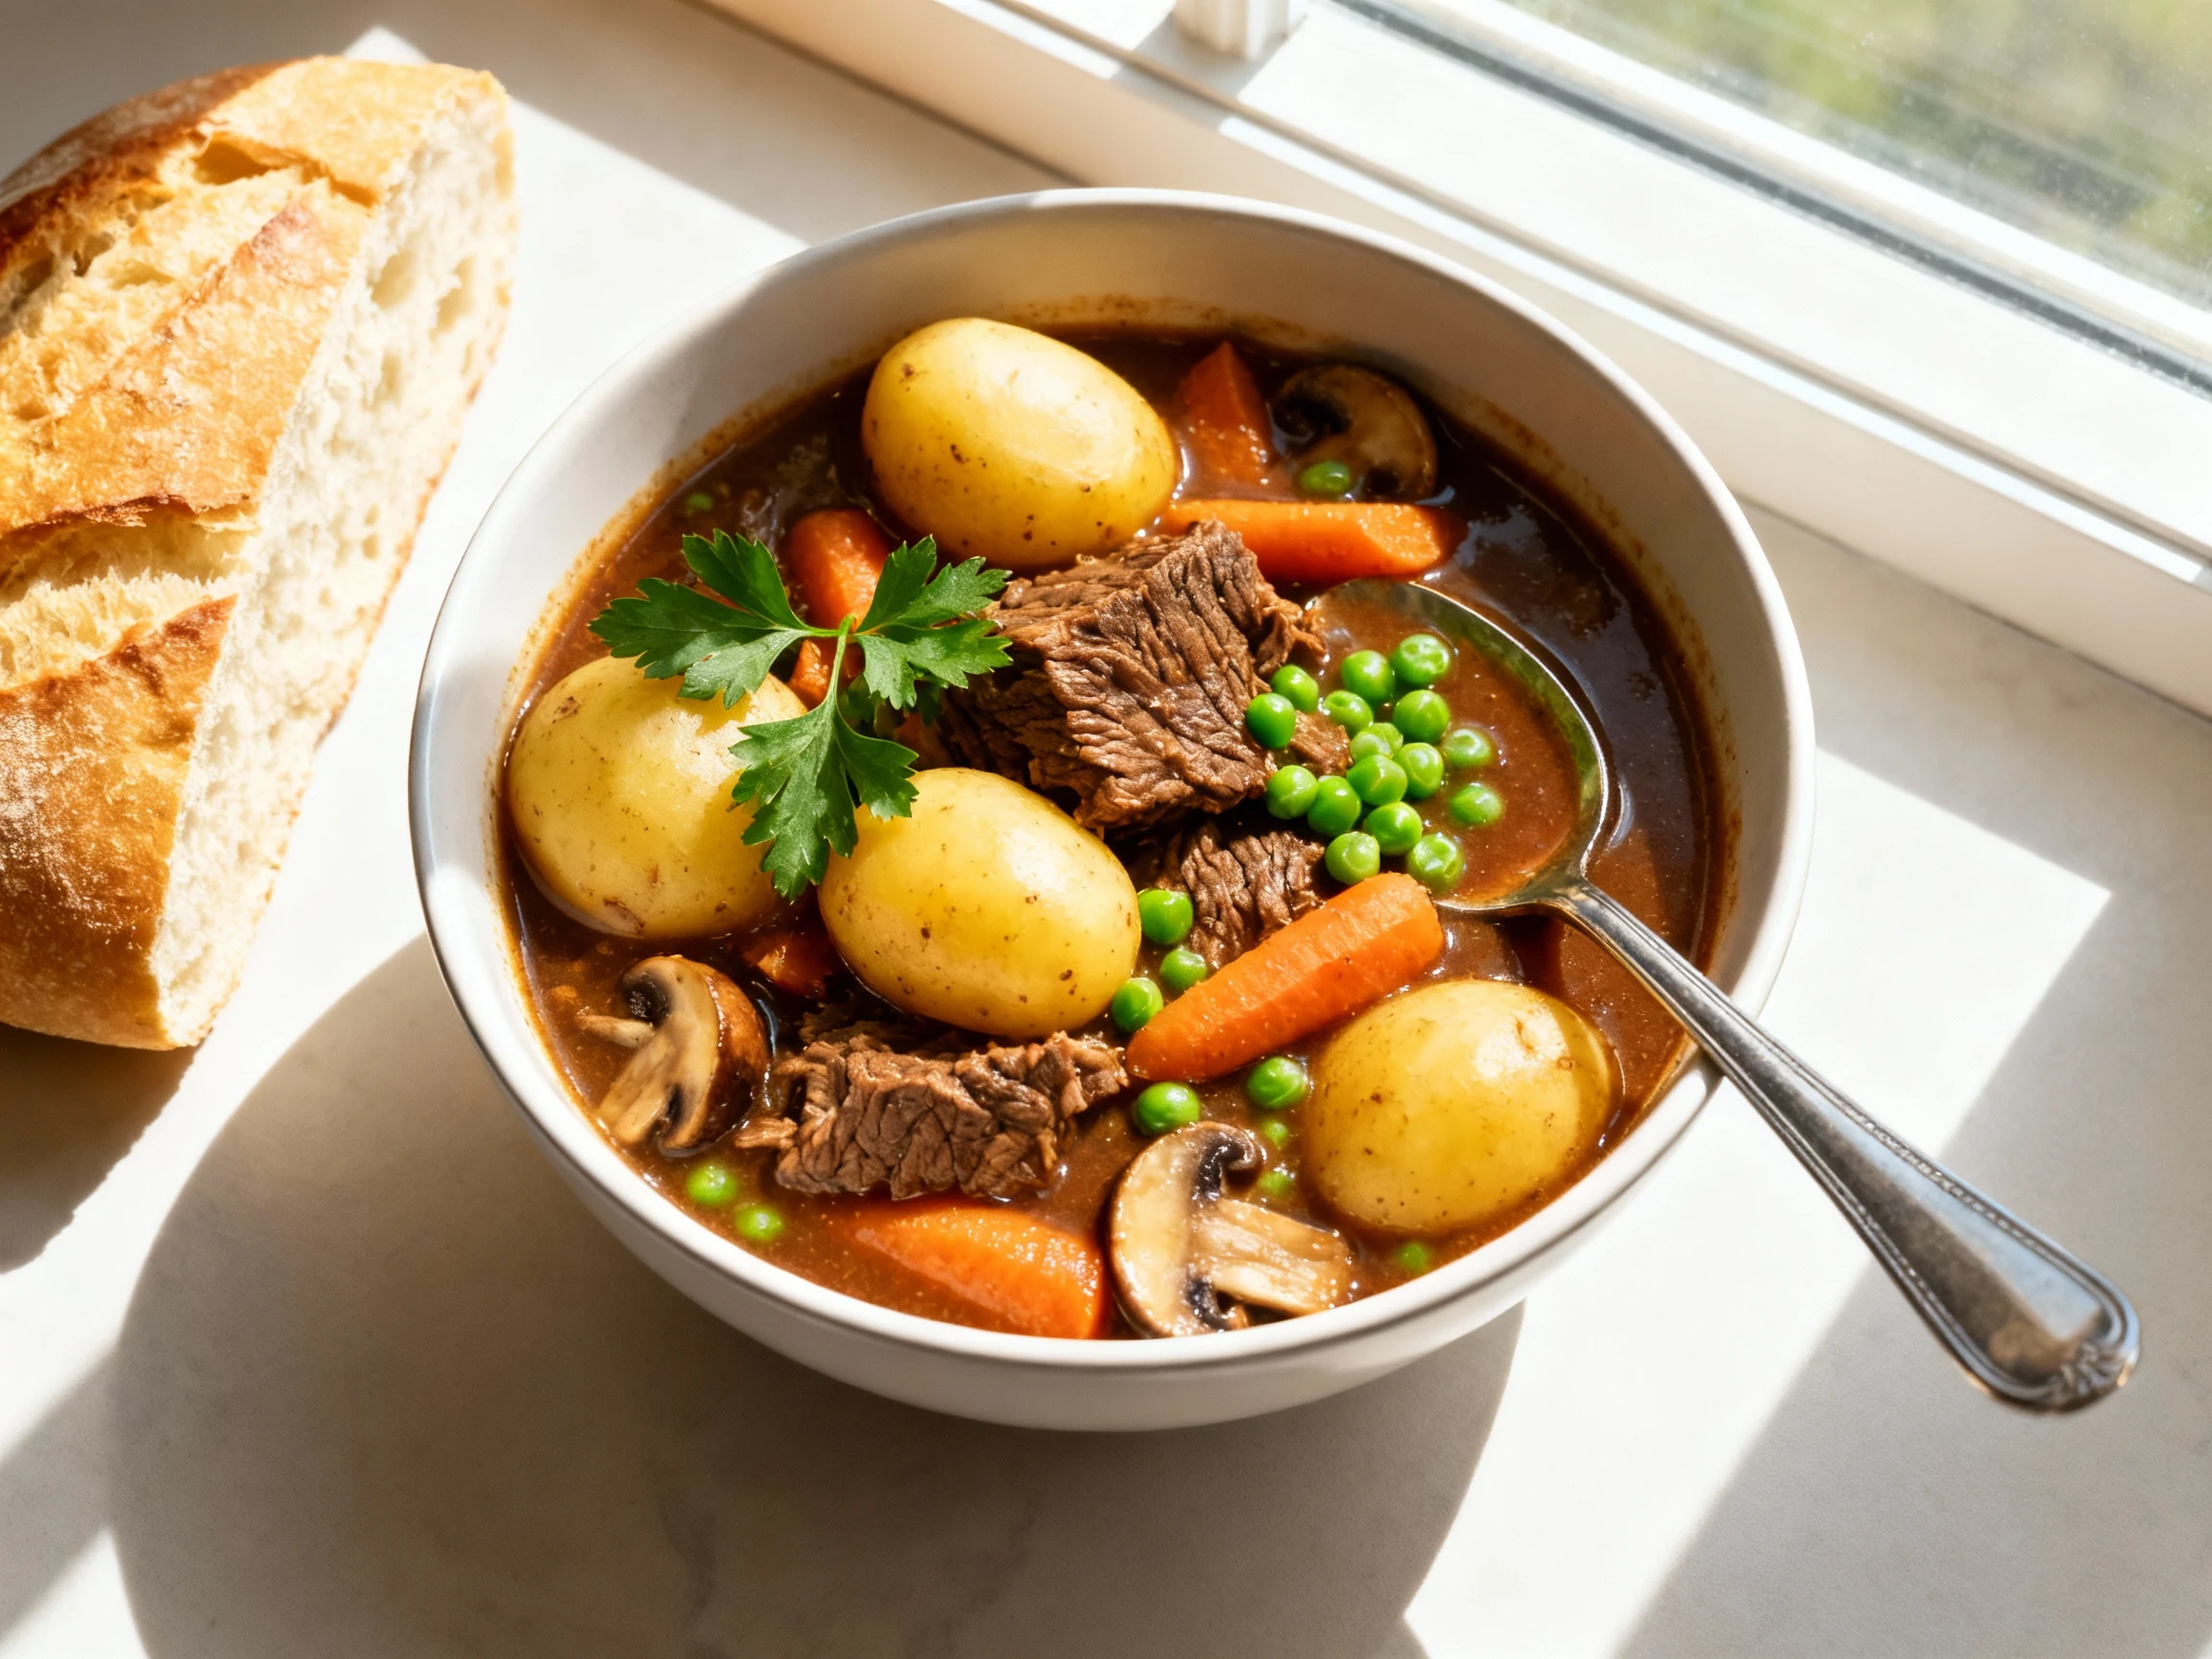
- Serve. Ladle into warm bowls and shower with fresh parsley. Crusty bread on the side isn’t optional—at least not in my kitchen.
Storage Tips
Cool it fast. Spread stew in a shallow container so it drops below 70°F quickly, then refrigerate. Don’t let it linger on the counter.
Refrigerate: Up to 4 days. The sauce thickens more overnight thanks to gelatin and starch—tomorrow’s lunch may taste even better.
Freeze: Up to 3 months. For best texture, freeze without potatoes (they can turn mealy). Add fresh-cooked potatoes when reheating, or accept a slightly softer spud—your call.
Reheat gently: Low heat on the stovetop works best. Add a splash of stock or water to loosen. Avoid a rolling boil, which can make beef stringy and the sauce gummy.
Health Benefits
- Protein for recovery: Beef packs complete protein to support muscles and satiety.
- Iron and B vitamins: Helps energy production and oxygen transport—perfect for the 3 p.m. slump.
- Collagen-derived gelatin: Chuck’s connective tissue breaks down into gelatin, which adds a satisfying body and may support joint health.
- Vegetable fiber: Carrots, celery, peas, and potatoes bring fiber, potassium, and antioxidants.
- Balanced macros: Pair with a salad or steamed greens to lighten the plate without losing comfort vibes.
- Smart sodium strategy: Low-sodium stock and measured seasoning deliver flavor without wrecking your daily intake.
Common Mistakes to Avoid
- Crowding the pot: Overcrowded beef steams, doesn’t brown. Brown in batches for that deep crust.
- Skipping tomato paste caramelization: Raw paste tastes flat. Cook it until brick red and fragrant.
- Dumping in too much liquid: You’re not making soup. Use just enough to barely surround the beef.
- Boiling hard: Aggressive bubbling tightens meat. Keep it at a gentle simmer.
- Adding potatoes too early: They’ll turn mushy. Drop them in later so they finish with the beef.
- Forgetting to season in layers: Salt early (beef and veg) and adjust at the end. One big salt dump at the finish tastes off.
- Not deglazing properly: Fond = flavor. Scrape every bit free when you add wine or stock.
- Skimping on the rest: Ten minutes off the heat thickens and melds flavors. It’s worth it.
Recipe Variations
- Guinness pub style: Swap the wine for stout. Add a teaspoon of brown sugar and a dollop of whole-grain mustard.
- Gluten-free: Use cornstarch instead of flour. Skip step 5’s flour and thicken at the end with a 1:1 cornstarch slurry.
- Miso-mushroom umami bomb: Double the mushrooms and add 1 tablespoon white miso. Earthy, deep, and ridiculously satisfying.
- Smoky chipotle: Add 1–2 teaspoons minced chipotle in adobo and a pinch of cumin. Warm heat, huge flavor.
- Mediterranean twist: Swap rosemary/thyme for oregano, add olives near the end, and finish with lemon zest and parsley.
- Root-veg heavy: Add parsnips and turnips; cut potatoes by half. More sweetness, more texture.
- Slow cooker: Brown beef and aromatics on the stove; transfer to slow cooker with reduced liquid (2 cups stock). Cook on LOW 6–8 hours; add potatoes for the last 2 hours.
- Instant Pot: Use Sauté to brown. Pressure cook 30 minutes with 2 cups stock; quick release, add potatoes and mushrooms, simmer on Sauté 10–12 minutes.
FAQ
What’s the best cut of beef for this stew?
Chuck roast wins. It offers marbling and collagen that render into tender bites and a naturally thick, plush sauce. Skip lean cuts like sirloin, which dry out in long simmers.
Can I make it without wine?
Yes. Use more beef stock and add 1–2 teaspoons red wine vinegar or balsamic at the end to replicate the wine’s brightness. You’ll still get a rich, savory base.
How do I thicken the sauce without flour?
Use a cornstarch slurry (1 tablespoon cornstarch + 1 tablespoon water), stir into the simmering pot, and cook 1–2 minutes. Gelatin also boosts body without changing flavor; add a bloomed packet earlier in the cook.
Why is my beef tough?
It needs more time or a gentler simmer. Collagen melts around 190–200°F but only if you keep heat low and give it time. If you boiled it hard, the fibers tightened; lower the heat and cook a bit longer.
Can I prep this ahead?
Absolutely. This stew tastes even better the next day. Chill overnight, skim any hardened fat, and reheat gently. The sauce thickens with time and becomes ultra-cozy.
What if the stew is too thick?
Add small splashes of stock or water until it’s just spoon-coating. Taste and re-season; dilution can mute salt and acidity, so adjust as needed.
What if the stew is too thin?
Simmer uncovered to reduce, stir occasionally, and watch the thickness. Or whisk in a cornstarch slurry in 1-teaspoon increments. A knob of butter at the end can help with sheen and mouthfeel.
Can I use pre-cut “stew meat” from the store?
You can, but it’s a mixed bag of cuts that cook at different rates. If possible, buy a whole chuck roast and cube it yourself for consistent texture and juiciness.
Do I really need all those umami boosters?
No, but a teaspoon of soy sauce and Worcestershire go a long way. They don’t make it taste “Asian”—they amplify beefiness and round out the sauce. Small additions, big results.
My Take
This is the kind of stew that makes people think you cooked all day—without you actually cooking all day. The combo of high-heat browning, smart liquid control, and a few umami helpers turns a simple pot into a glossy, hearty meal. It’s comfort with intention, not chaos. Keep the method, tweak the accents, and you’ll have a signature cold-weather classic that always hits. Enjoy, and save a slice of bread for me.
Printable Recipe Card
Want just the essential recipe details without scrolling through the article? Get our printable recipe card with just the ingredients and instructions.