Sourdough Bread Recipes That Actually Work for Busy Bakers
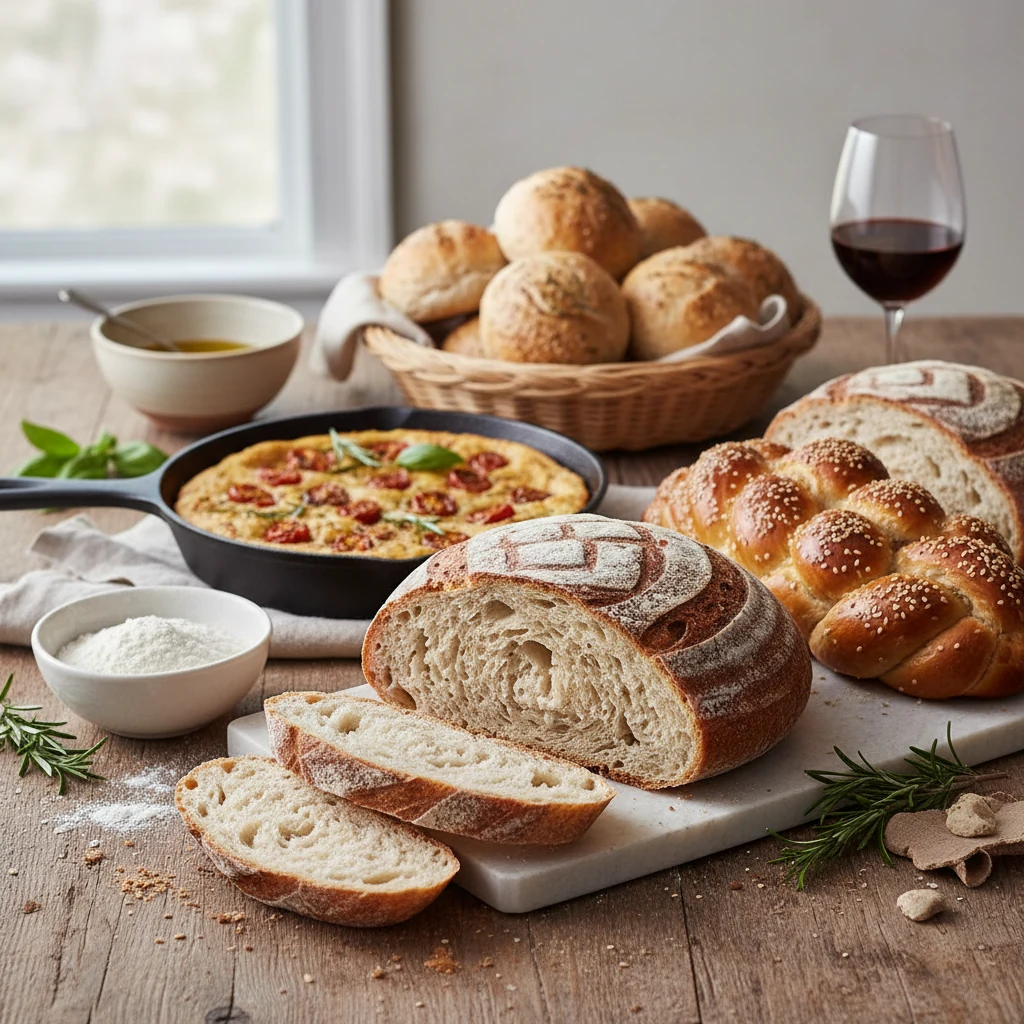
From crusty boules to weeknight sandwich loaves, get clear steps, timings, and pro tips for consistent, bakery-level results at home.
Your loaf should be loud—the kind of crackle that makes your kitchen sound like a campfire. Most people overcomplicate it with mystic jargon and 27-step rituals, then wonder why the crumb is gummy. Here’s the truth: a few precise ratios, a consistent schedule, and a hot oven will beat “artisan vibes” every time. If you can keep a houseplant alive, you can keep a starter happy. Ready to bake bread that actually gets eaten (and not just photographed)?
Why You’ll Love This Recipe
- Predictable results: Clear hydration, timings, and cues so you don’t guess at “is this ready?”
- Flexible schedule: Room-temp same-day or overnight cold proof—choose what fits your life.
- Crazy-good crust + tender crumb: Steam, heat, and shaping methods that deliver that signature ear.
- Beginner-friendly, bakery-worthy: Minimal ingredients, pro techniques, and options for boules or sandwich loaves.
- Scalable: Double it for a bake sale; halve it for a cozy weekend—ratios make it easy.
What Goes Into This Recipe – Ingredients
Base dough (makes 1 medium boule or 1 sandwich loaf):
- 500 g bread flour (about 4 cups; can sub up to 25% whole wheat)
- 350 g water at room temp, ~70–75°F (about 1 1/2 cups)
- 100 g active, bubbly starter at 100% hydration (about 1/2 cup; fed 4–12 hours prior)
- 10 g fine sea salt (about 1 3/4 tsp)
- Optional: 10 g olive oil (about 2 tsp) for a softer sandwich-style crumb
Optional add-ins (choose 1–2, keep total add-ins to up to 20% of flour weight):
- Seeds: 50–80 g mix of sesame, sunflower, flax (soak in hot water 20 minutes, drain)
- Whole grains: up to 125 g whole wheat or rye in place of equal flour
- Herbs & aromatics: 2–3 tsp dried rosemary, thyme, or 2–3 cloves roasted garlic
- Cheese: 60–80 g grated Parmesan or cheddar
- Sweet swirl: 80 g raisins + 1 tsp cinnamon (for a breakfast loaf)
Equipment:
- Dutch oven with lid (or baking stone + steam tray)
- Large bowl or dough tub, bench scraper, kitchen scale, razor for scoring
- Proofing basket (banneton) or a bowl lined with a floured towel
- Parchment paper (optional but helpful)
Cooking Instructions
- Mix the dough (10 minutes): In a large bowl, combine 350 g water and 100 g active starter. Stir to dissolve. Add 500 g flour and mix until no dry bits remain. Cover and rest for 30–45 minutes (autolyse).
- Add salt (2 minutes): Sprinkle in 10 g salt. Pinch and fold the dough until the salt disappears. If using oil, add it now and work it in. The dough will feel tacky but cohesive.
- Strengthen the dough (2 hours): Over the next 2 hours, perform 3–4 sets of stretch-and-folds or coil folds every 30 minutes. Each set is 4–6 gentle stretches. Keep your hands damp to prevent sticking.
- Bulk fermentation (2–4 hours): Let the dough rise at 75°F until it looks puffy, has visible bubbles, and increases by about 60–80%. Total bulk time from mixing: typically 4–6 hours, depending on room temp and starter strength. Trust the cues, not the clock.
- Pre-shape (5 minutes): Lightly flour the surface. Turn out the dough, gently degas, and tighten into a round with a bench scraper. Rest uncovered for 20 minutes to relax.
- Final shape (5 minutes): For a boule: fold the edges to the center, flip, and tension by pulling toward you to create a taut surface. For a batard: fold top third down, sides in, then roll. Place seam-side up in a floured banneton.
- Proof (room temp 45–90 minutes or overnight): Option A: Proof at room temp until the dough slowly springs back when poked and the surface looks slightly domed. Option B: Cover and refrigerate 8–18 hours for deeper flavor and easier scoring.
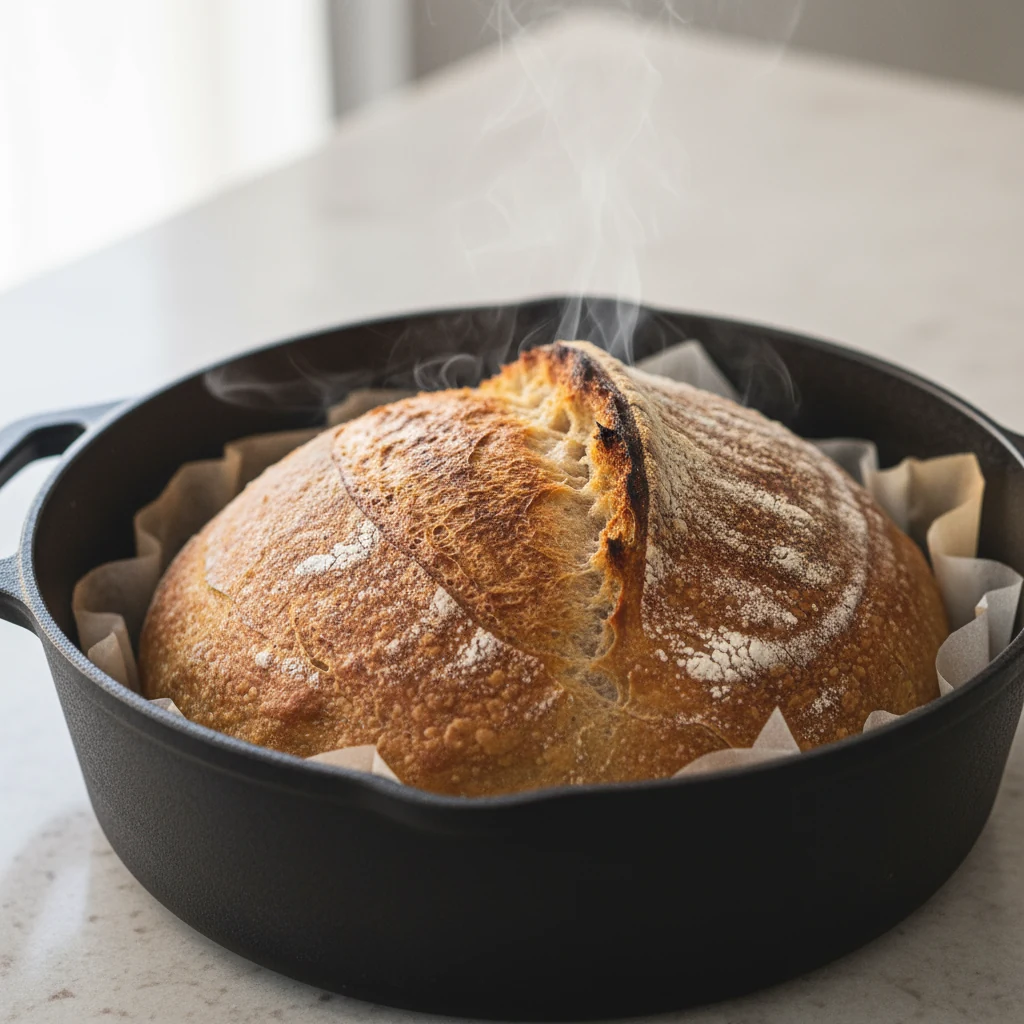
- Preheat the oven (45–60 minutes): Put your Dutch oven inside and preheat to 500°F for at least 45 minutes. Hot metal equals big oven spring, period.
- Score and load (2 minutes): Invert the dough onto parchment (seam down), dust lightly with flour, and score a 1/2-inch deep slash at a shallow angle. Use a swift, confident cut—hesitation = jagged tear.
- Bake covered (20 minutes): Lower oven to 475°F, place the dough into the preheated Dutch oven, cover, and bake 20 minutes to trap steam.
- Finish uncovered (20–25 minutes): Remove the lid, reduce to 450°F, and bake until deep golden, internal temp 208–212°F, and the ear is crisp, about 20–25 minutes. For extra color, add 5 more minutes.
- Rest (at least 1 hour): Transfer to a rack and let it cool completely. Cutting early invites a gummy crumb—patience is the secret ingredient, FYI.
Keeping It Fresh
Once fully cool, store your loaf at room temp in a paper bag or a bread box. Avoid sealing it in plastic unless you prefer a softer crust. For longer storage, slice, then freeze in a zip-top bag; you can toast slices straight from frozen.
To revive a day-old loaf, spritz the crust with water and bake at 350°F for 8–10 minutes. The crust re-crisps and the interior warms without drying out. If the crumb feels dry, it’s been cut too early or stored too bare—adjust next time.
Nutritional Perks
- Better digestibility: Natural fermentation helps break down some gluten and FODMAPs, making it gentler for many folks.
- Micronutrient availability: Organic acids may improve mineral absorption (think iron and zinc) compared to quick-yeast breads.
- Lower perceived sweetness: Slower fermentation yields balanced flavor with fewer sugar spikes, IMO.
- Simple ingredient list: Flour, water, salt, culture—no additives needed for structure or shelf life.
Common Mistakes to Avoid
- Underfed starter: If it doesn’t double in 4–8 hours and smell pleasantly tangy, it’s not ready. Weak starter = flat loaf.
- Overproofing in bulk: Waiting for a full double is a trap. Aim for 60–80% rise and visible bubbles, not a balloon.
- Adding too much flour while shaping: Excess bench flour prevents tension. Light dusting only; use a scraper and damp hands.
- Cold oven or cool Dutch oven: Insufficient heat kills oven spring. Preheat until your smoke detector gets suspicious (kidding… kind of).
- Shallow or timid scoring: A clean, confident 1/2-inch slash directs expansion. Featherlight scratches won’t cut it—literally.
- Slicing too soon: Steam finishes the crumb as it cools. Cutting hot bread compresses the structure and turns it gummy.
Variations You Can Try
- Seeded country loaf: Add 70 g soaked mixed seeds and roll the shaped dough in more seeds before proofing.
- 30% whole wheat: Swap 150 g of bread flour for whole wheat; increase water by 10–20 g to keep the dough supple.
- Rye spice: Replace 100 g with rye flour and add 1 tsp caraway. Expect a slightly denser, aromatic crumb.
- Garlic-herb: Fold in 2–3 cloves roasted garlic and 2 tsp rosemary during the first fold. The kitchen will smell like a trattoria.
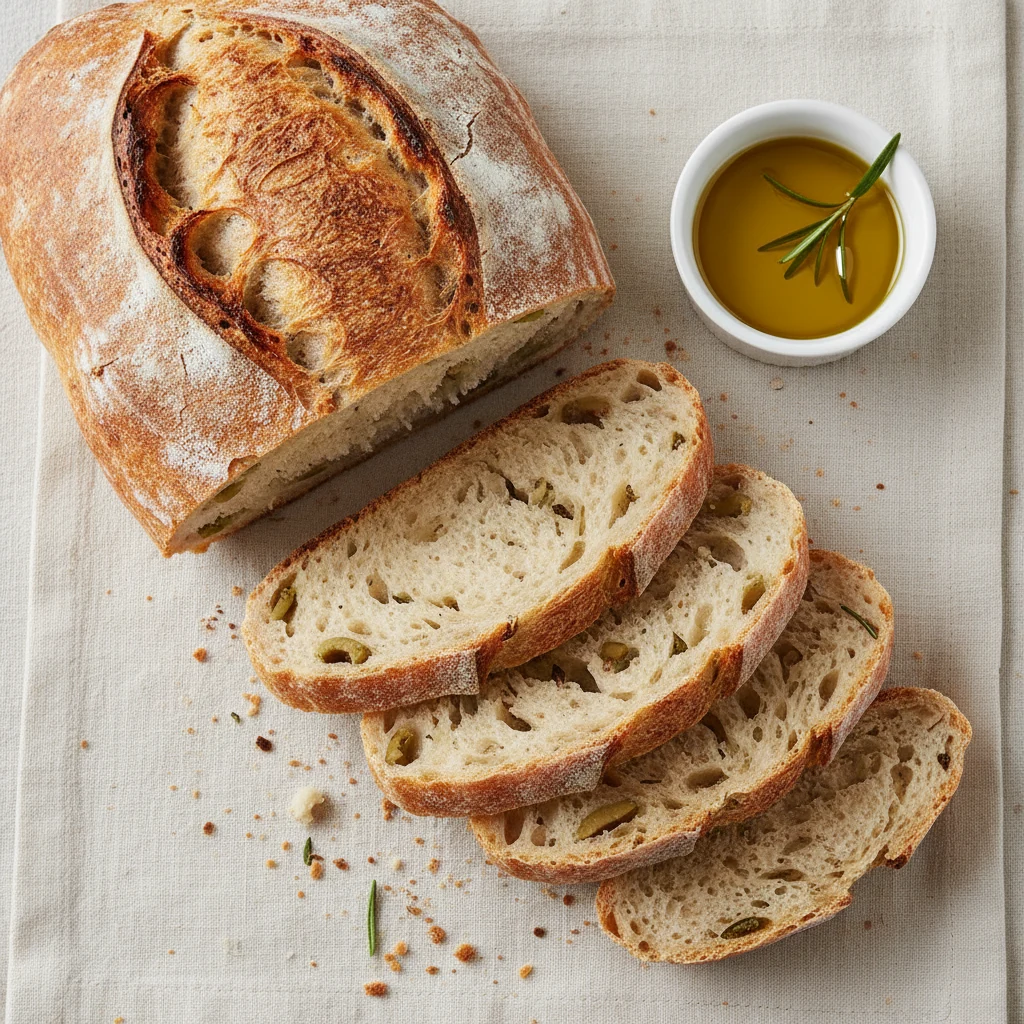
- Olive + rosemary batard: Gently incorporate 80 g chopped, well-drained olives and 2 tsp rosemary after autolyse.
- Cinnamon-raisin swirl: Mix 80 g raisins and 1 tsp cinnamon at the final fold. Great for toast; skip the garlic unless chaos is your brand.
- Sandwich pan loaf: Brush a 9×5-inch pan with oil, shape into a log, and proof seam-down. Bake at 425°F for 35–40 minutes.
- No Dutch oven method: Preheat a baking stone/steel at 500°F. Add a preheated tray with 1 cup hot water for steam; vent after 15 minutes.
FAQ
How do I know my starter is ready to bake with?
It should double in size within 4–8 hours of feeding, smell pleasantly tangy, and pass the float test in water. Bubbles should be abundant, not shy. If it’s sluggish, give it a few warm feed cycles (1:2:2 or 1:3:3) to strengthen.
Can I use all-purpose flour instead of bread flour?
Yes, but reduce the water by 10–20 g to start since AP absorbs less. Expect a slightly softer crust and more tender crumb. It still makes an excellent loaf, especially for sandwiches.
What if my dough is super sticky?
Sticky usually means it’s well-hydrated or warm—both okay. Use damp hands, a bench scraper, and short rest periods between folds to build strength. If it’s soup, add a touch more flour (10–20 g), but avoid chasing “non-sticky” perfection.
Do I need a Dutch oven to get good oven spring?
No, but it’s the easiest way to capture steam. Alternatively, use a preheated baking steel/stone and a tray of boiling water for the first 15–20 minutes. High heat + steam = lift and shine.
Is cold proofing necessary?
Not required, but it’s a flavor and scheduling win. An overnight fridge proof (8–18 hours) tightens the shape, makes scoring cleaner, and enhances tang. Room-temp proof works fine if you’re short on time.
How do I scale the recipe?
Everything is based on baker’s percentages. Keep the same ratios—70% water, 20% starter, 2% salt—and multiply to your flour weight. Bigger loaf? Use 750 g flour and scale the rest accordingly.
Why did my crust turn pale instead of golden?
Either the oven wasn’t hot enough, steam escaped too soon, or the bake time was short. Keep the lid on for the full steam phase and finish uncovered until deep color develops. A final 5–10 minutes can make all the difference.
My crumb is gummy—what went wrong?
Most often: underbaked or sliced too early. Bake to an internal temp of 208–212°F and cool at least 1 hour. Overproofing can also lead to a pasty texture; watch the visual cues during bulk.
How should I store sliced bread for daily use?
Keep the cut side down on a cutting board and loosely cover with a clean towel for 24 hours. For longer, slice and freeze; toast straight from frozen. Avoid the fridge—it accelerates staling, FYI.
Can I swap commercial yeast for the starter?
You can, but it won’t be the same flavor profile. Use about 1/2 tsp instant yeast, increase water slightly, and expect faster fermentation. Great for emergencies, but your starter deserves the spotlight.
In Conclusion
Great bread isn’t magic—it’s repeatable systems and a hot oven. Use tight ratios, watch the dough (not the clock), and give it the heat and steam it needs. The first ear that lifts like a sail will make you forget every store-bought loaf. Bake once, impress yourself; bake twice, and your friends “just happen” to drop by around mealtime.
Printable Recipe Card
Want just the essential recipe details without scrolling through the article? Get our printable recipe card with just the ingredients and instructions.