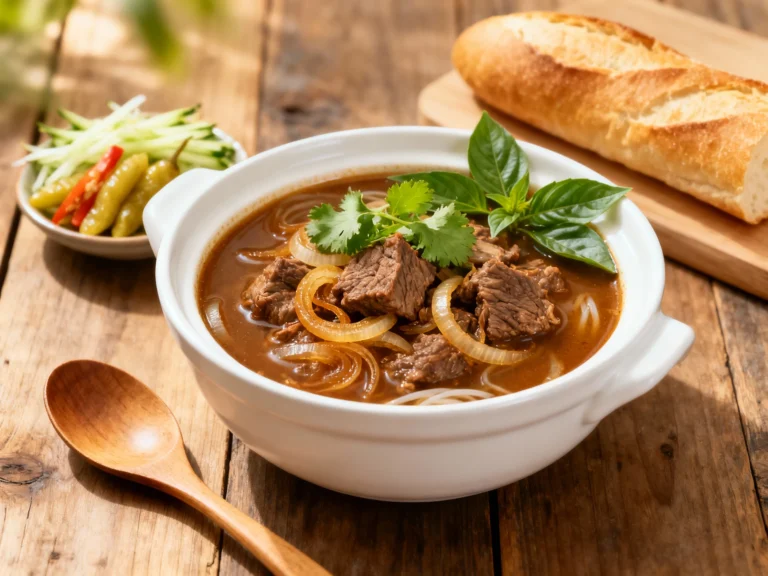
Simple Beef Stew That Wins Weeknights and Warms Weekends
Fast prep, slow comfort: a cozy pot for busy nights, budget-friendly, kid-approved, and perfect for leftovers or meal prep.
You don’t need a culinary degree to make a pot of stew that tastes like a hug. You need a plan, a cheap cut of beef, and patience that pays 10x. The trick? Build flavor in layers and let time do the heavy lifting while you do literally anything else.
Most folks overcomplicate this classic. We’re going lean: a hot sear, a smart deglaze, and a calm simmer that turns tough cubes into buttery bites. The result is rich, savory, and wildly forgiving. Crusty bread is optional, but let’s be honest—also non-negotiable.
What Makes This Recipe Awesome

This is comfort food with a bias for action. Minimal ingredients, maximum payoff, and a method that works every single time. Sear hard, simmer slow, season smart—that’s the playbook.
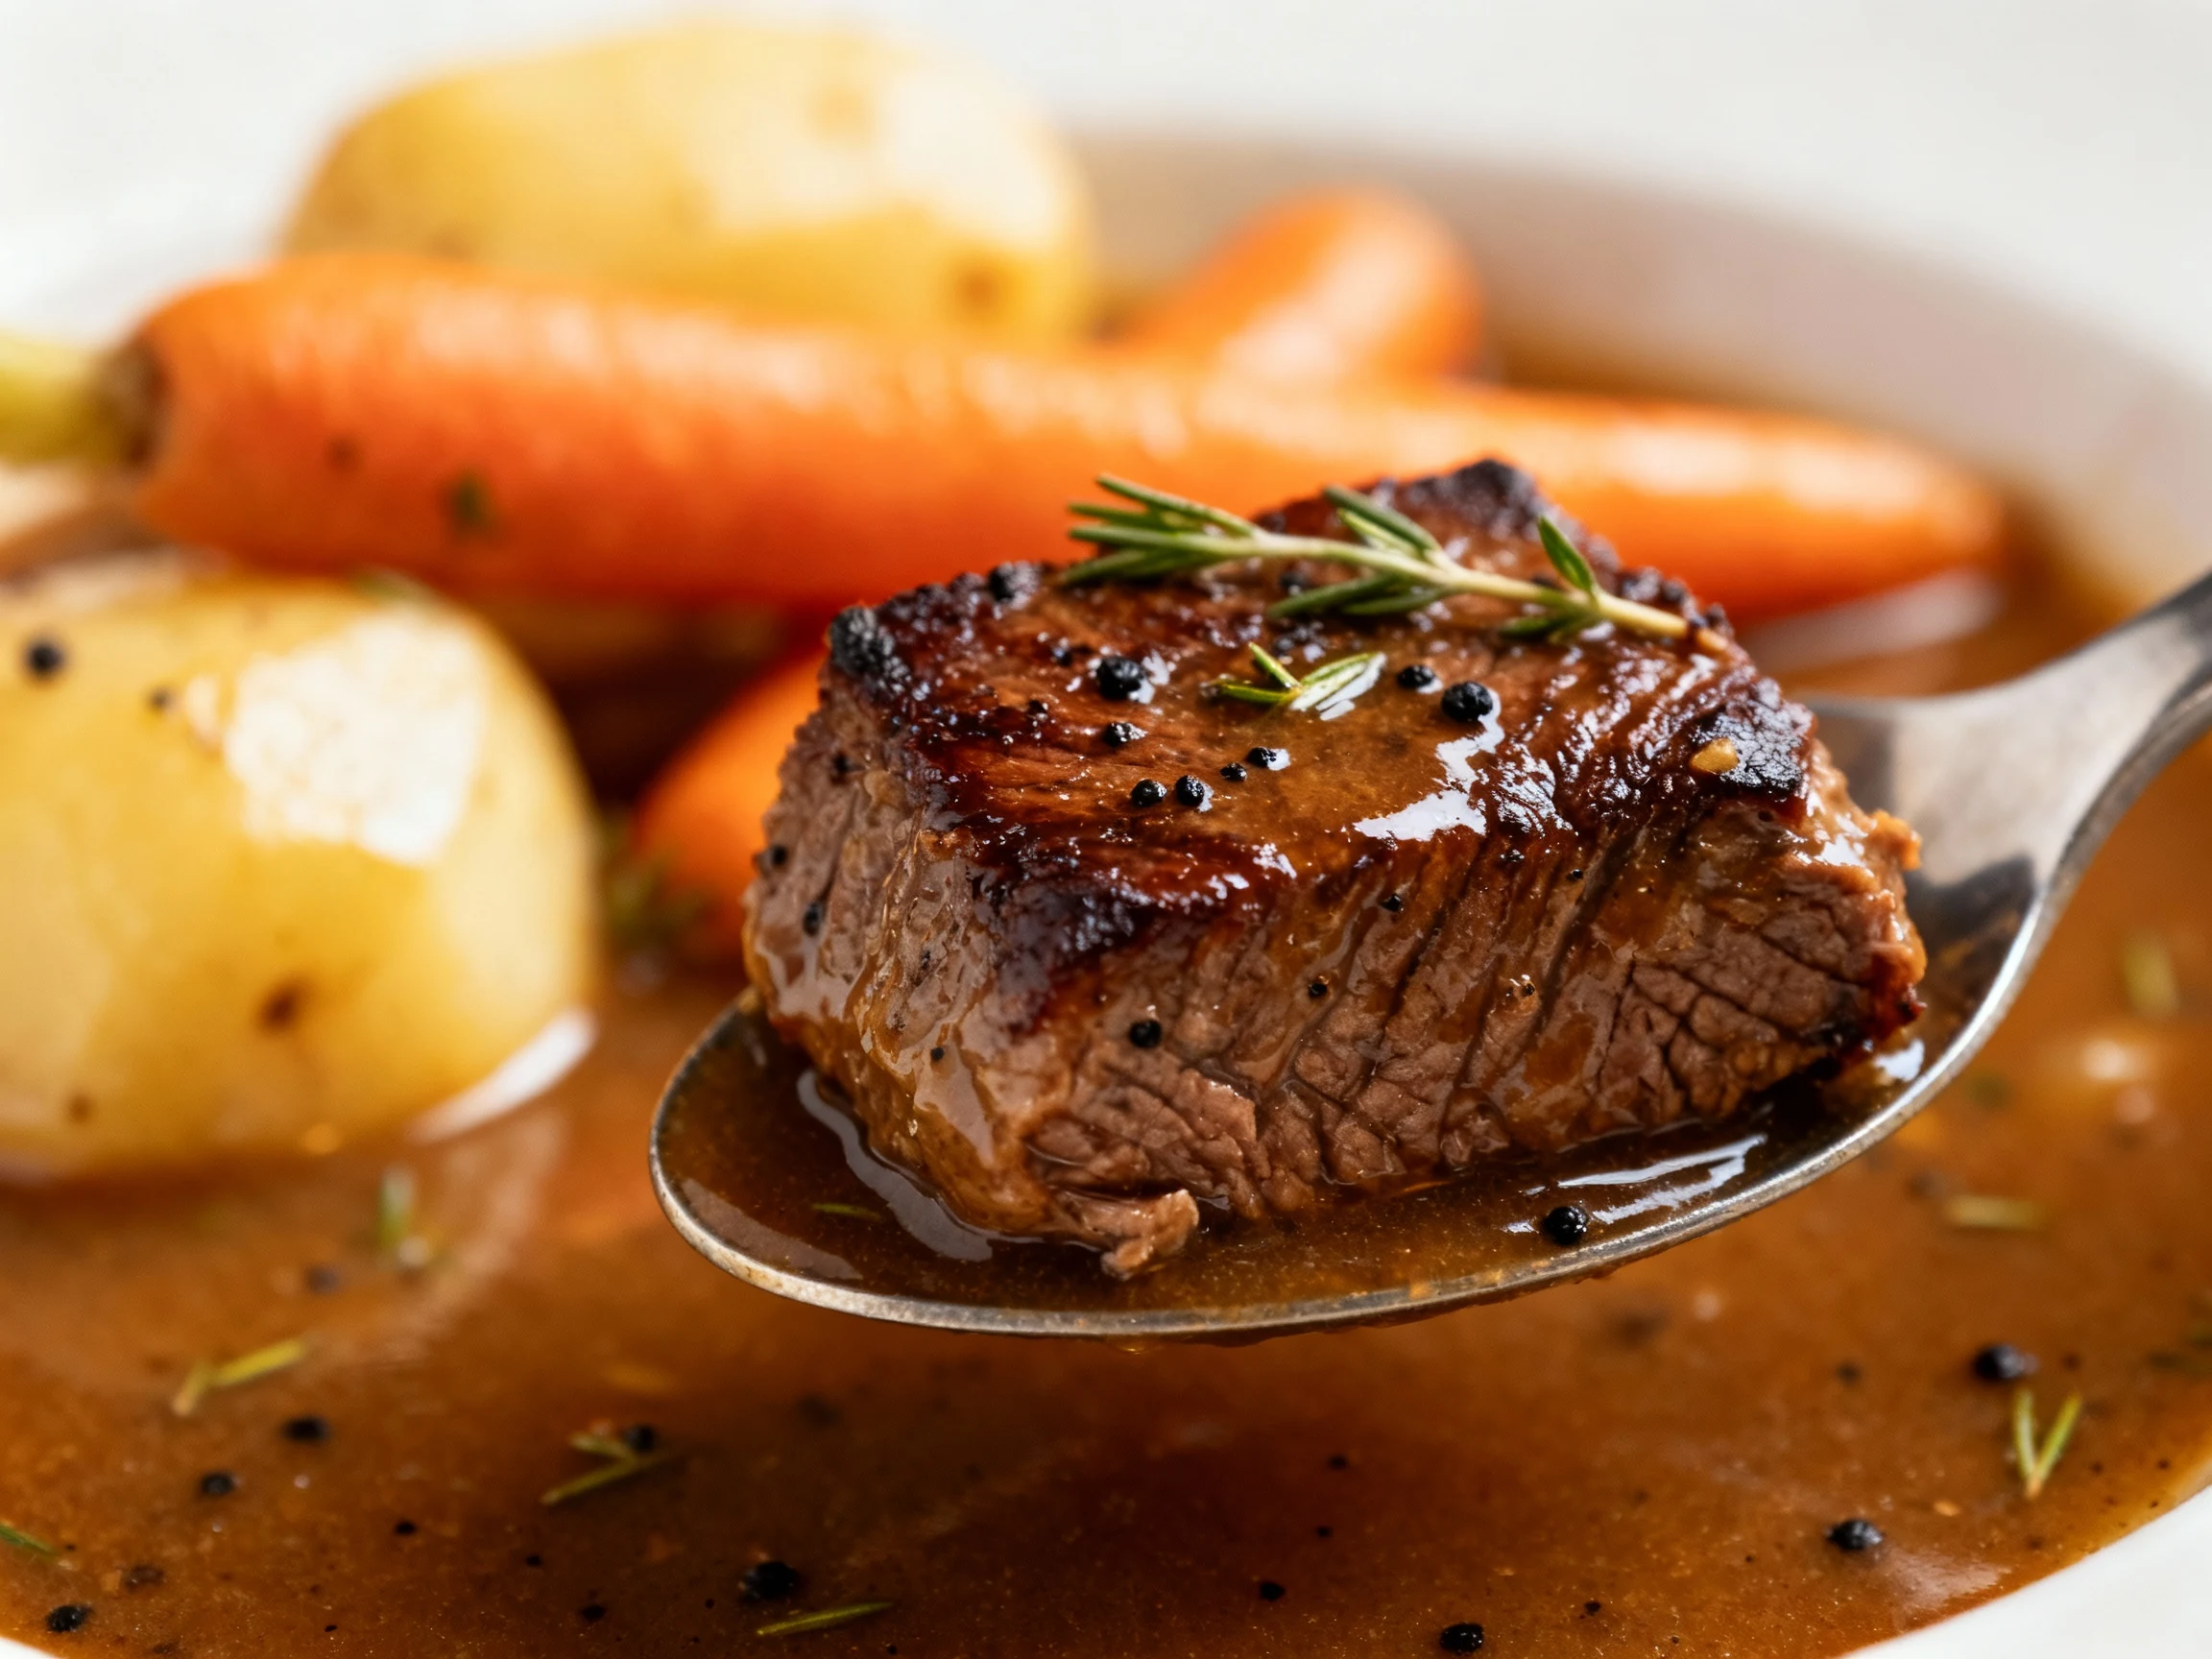
- Foolproof tenderness: Chuck roast transforms into spoon-tender bites with a low-and-slow simmer.
- Big flavor, small effort: Tomato paste, Worcestershire, and a splash of wine (optional) create depth fast.
- Budget-friendly: Uses affordable cuts and pantry staples. Your wallet can relax.
- Customizable: Change the veg, skip the flour, swap the liquid—this stew bends, not breaks.
- Meal-prep gold: Tastes even better on day two. FYI, it freezes like a champ.
Ingredients
- 2 pounds beef chuck, cut into 1.5-inch cubes, trimmed of big fat pieces
- 2 teaspoons kosher salt, plus more to taste
- 1 teaspoon black pepper
- 1/4 cup all-purpose flour (optional, for dredging; see GF swap below)
- 2 tablespoons neutral oil (canola, avocado, or light olive oil)
- 1 large yellow onion, chopped
- 3 cloves garlic, minced
- 2 tablespoons tomato paste
- 1 cup dry red wine (optional; sub more broth if skipping)
- 4 cups low-sodium beef broth
- 2 bay leaves
- 1 teaspoon dried thyme (or 4–5 fresh thyme sprigs)
- 2 tablespoons Worcestershire sauce
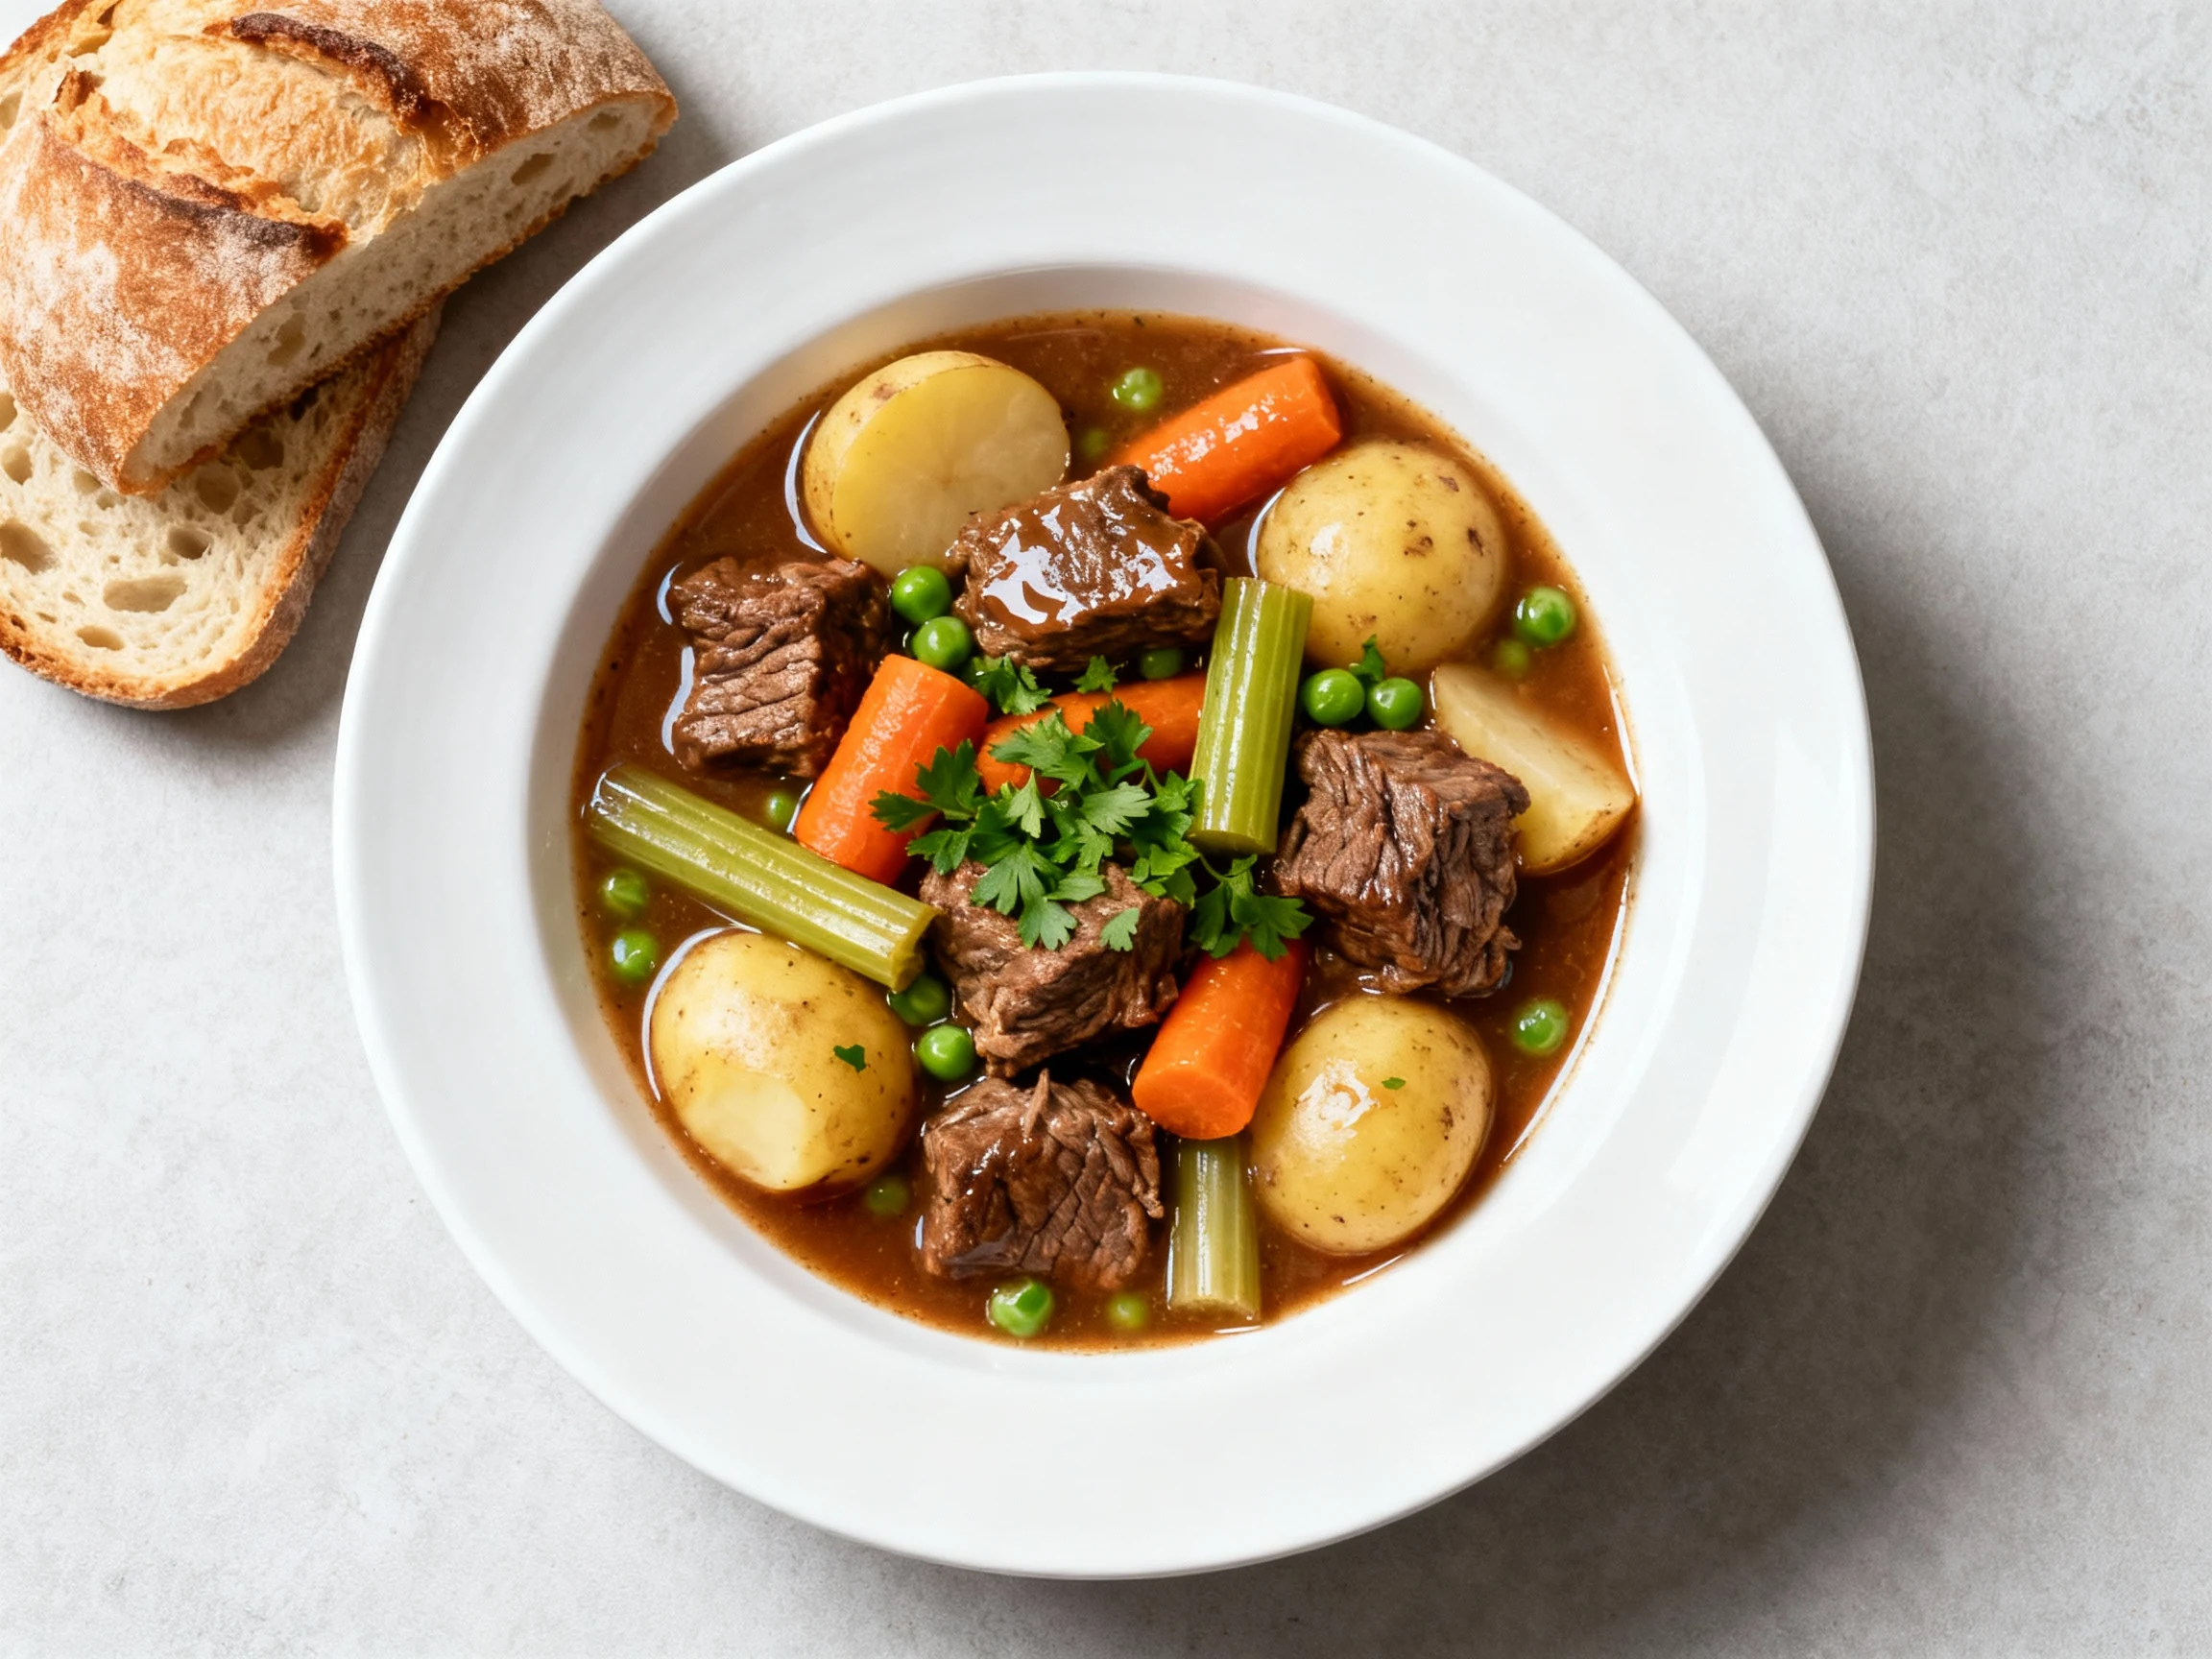
- 4 carrots, peeled and cut into chunky pieces
- 1.5 pounds waxy potatoes (Yukon Gold or red), cut into 1.5-inch chunks
- 2 celery stalks, sliced thick
- 1 cup frozen peas (optional, for the finish)
- 2 tablespoons chopped fresh parsley, for garnish
- Optional thickeners: 1 tablespoon cornstarch mixed with 1 tablespoon water for a slurry, if needed
Gluten-free swap: Skip the flour dredge and thicken at the end with the cornstarch slurry.
How to Make It – Instructions
- Prep the beef: Pat the beef very dry with paper towels—moisture kills browning. Toss with salt, pepper, and flour (if using) until lightly coated. Shake off the excess.
- Get the pot ripping hot: Heat the oil in a heavy Dutch oven over medium-high until shimmering. Work in batches so the meat sears, not steams.
- Sear like you mean it: Add a single layer of beef and leave it alone for 3–4 minutes per side. You want a deep brown crust. Transfer browned beef to a plate and repeat with remaining batches.
- Sweat the aromatics: Lower heat to medium. Add onion and a pinch of salt, scraping up brown bits. Cook 4–5 minutes until translucent. Stir in garlic for 30 seconds.
- Tomato paste time: Add tomato paste and cook 1–2 minutes until it darkens slightly. This quick “fry” develops serious umami.
- Deglaze: Pour in the wine (if using), scraping up every last fond bit. Let it bubble for 2–3 minutes to reduce by about half. If skipping wine, use 1 cup broth and reduce 2–3 minutes.
- Build the base: Return beef and any juices to the pot. Add broth, bay leaves, thyme, and Worcestershire. Bring just to a simmer.
- Low and slow: Reduce heat to low, cover partially (lid slightly ajar), and gently simmer 60 minutes. You’re coaxing collagen into gelatin—no rolling boil, please.
- Add the veg: Stir in carrots, potatoes, and celery. Continue to simmer 30–45 minutes, until vegetables are tender and beef is fork-soft.
- Finish and thicken (if needed): If the stew looks thin, stir in the cornstarch slurry and simmer 2–3 minutes until glossy and slightly thick. Fold in peas for the last 2 minutes.
- Taste and adjust: Remove bay leaves and thyme stems. Season with additional salt and pepper as needed. A tiny splash of Worcestershire or a squeeze of lemon can brighten everything.
- Serve: Ladle into warm bowls and top with chopped parsley. Excellent with crusty bread or over buttery mashed potatoes. Seconds are not optional.
Target total cook time: About 2–2.5 hours including simmering. Worth it? Absolutely.
Keeping It Fresh
Stew laughs at the clock. It actually tastes better the next day as flavors marry. Store it right and you’ve got several low-effort meals in the bag.
- Fridge: Cool completely, then refrigerate in airtight containers for up to 4 days.
- Freezer: Portion into freezer-safe containers, leaving headspace. Freeze for up to 3 months. Label dates because Future You will forget.
- Reheat: Warm gently on the stovetop over medium-low, adding a splash of broth or water if thick. Microwave in 60–90 second bursts, stirring between.
- Fat cap hack: After chilling, lift off the solidified fat. Removing some keeps it hearty without feeling heavy.
Why This is Good for You
Comfort food can still be a smart play. You’re getting high-quality protein from the beef, plus fiber and micronutrients from the veggies. Potatoes bring potassium; carrots and peas deliver vitamins A, C, and K.
Using a leaner trim and skimming excess fat keeps calories in check. Opt for low-sodium broth to control salt, and balance your bowl with a crisp salad. IMO, it’s the ultimate “feel-good, feel-full” meal.
What Not to Do
- Don’t rush the sear: Pale beef equals pale flavor. Brown means flavor—full stop.
- Don’t boil aggressively: A hard boil tightens meat and clouds broth. Gentle simmer or bust.
- Don’t overcrowd the pot: Sear in batches so steam doesn’t sabotage your crust.
- Don’t add veggies too early: They’ll turn mushy. Add them during the last 30–45 minutes.
- Don’t skip seasoning at the end: Salt and acidity need a final check once everything marries.
Mix It Up
- Guinness and mushrooms: Swap wine for stout; add 8 ounces sliced cremini. Deep, roasty vibes.
- Mediterranean twist: Add olives, rosemary, and a strip of lemon zest. Finish with olive oil.
- Smoky chipotle: Stir in 1–2 chopped chipotles in adobo and a teaspoon of cumin. Corn and black beans optional.
- Herb garden: Finish with tarragon and chives instead of parsley for a bright, springy finish.
- Low-carb: Replace potatoes with rutabaga or cauliflower florets added in the last 15 minutes.
- Gluten-free: Skip the flour and thicken with a cornstarch or arrowroot slurry.
- Slow cooker: Sear beef and aromatics first, then cook on LOW for 7–8 hours or HIGH for 4–5. Add peas at the end.
- Instant Pot: Sauté to sear, pressure cook 35 minutes, natural release 10 minutes. Add veg and simmer on Sauté until tender.
FAQ
What’s the best cut of beef for stew?
Chuck roast wins because it’s well-marbled with lots of connective tissue that melts into tenderness during a long simmer. Round can work but is leaner and less forgiving. If you see “stew meat,” check the mix—uneven cuts can cook at different rates.
Can I make this without wine?
Absolutely. Use more beef broth and add a teaspoon of soy sauce or a splash of balsamic for depth. You’ll still get a rich, savory base without the wine’s acidity.
How do I keep the beef from turning tough?
Keep the simmer gentle and give it time. Toughness means either it wasn’t cooked long enough to break down or the heat was too high. Also, avoid boiling after adding the meat back to the pot—steady and low is the move.
How do I thicken stew without flour?
Use a cornstarch slurry (equal parts cornstarch and cold water) stirred in at the end and simmered a few minutes. You can also reduce the liquid with the lid off until it naturally thickens. Mashed potatoes stirred in can rescue a too-thin stew in a pinch.
Can I make this ahead?
Yes, and it’s arguably better. Cool, chill overnight, and reheat the next day. Flavors deepen and the texture improves—this is one of those IRL leftovers that beats day-one.
What if my stew is bland?
Layer in finishing touches: more salt (carefully), a splash of Worcestershire, a squeeze of lemon, or a pad of butter to round out the edges. Fresh herbs at the end wake everything up. Taste, tweak, taste again.
My stew is too thick. How do I fix it?
Stir in warm broth or water, a half cup at a time, until you hit your desired consistency. Re-season after thinning—it’s easy to dilute salt and acidity without noticing.
What if it’s too thin?
Simmer uncovered to reduce for 10–15 minutes, or add a small cornstarch slurry and simmer a couple minutes until glossy. Don’t overdo it—stew should coat a spoon, not stand up straight in it.
Can I skip searing to save time?
You can, but you’ll lose a lot of flavor. Searing builds fond—the browned bits that become your sauce’s backbone. If time is tight, at least brown half the meat for a solid flavor boost.
What’s a good potato to use?
Waxy varieties like Yukon Gold or red potatoes hold their shape and won’t turn mealy. Russets can work but tend to break down, which is great if you like a thicker, creamier stew.
Final Thoughts
This is the kind of pot that earns real estate on your weekly rotation. It’s straightforward, deeply satisfying, and flexible enough to meet you where you are—weeknight chaos included. Build that crust, trust the simmer, and finish smart.
Make it once and you’ll memorize the moves. Make it twice and you’ll riff like a pro. And when the table goes quiet? That’s the sound of a recipe doing its job, no sales pitch required.
Printable Recipe Card
Want just the essential recipe details without scrolling through the article? Get our printable recipe card with just the ingredients and instructions.