Pot Roast Recipes — Weeknight Wins With Weekend Flavor
Get rich, slow-braised results fast: perfect for busy weeknights, cozy Sundays, and feeding a hungry crowd without stress.
You want a dinner that makes people go quiet at the table. Not from boredom—because they’re too busy eating. Pot roast hits that nerve: big flavor, low effort, high payoff. The trick? Stack umami, lock in crust, and pick the right heat strategy so you get fork-tender meat without babysitting a pot for 6 hours.
Here’s the play: a quick sear for flavor, a smart braise with flavor boosters, and a cook method that matches your schedule—oven, slow cooker, or pressure cooker. It’s flexible, it’s forgiving, and it turns budget beef into a signature meal. If you love efficient wins that taste like you worked all day (you didn’t), welcome to your new go-to.
What Makes This Recipe Awesome
- Hands-off cooking: After a fast sear, the heat does the heavy lifting while you get on with life.
- Serious umami: Tomato paste, Worcestershire, soy (optional), and a splash of balsamic make the gravy addictive.
- Flexible method: Oven for classic vibes, slow cooker for set-it-and-forget-it, or pressure cooker for speed.
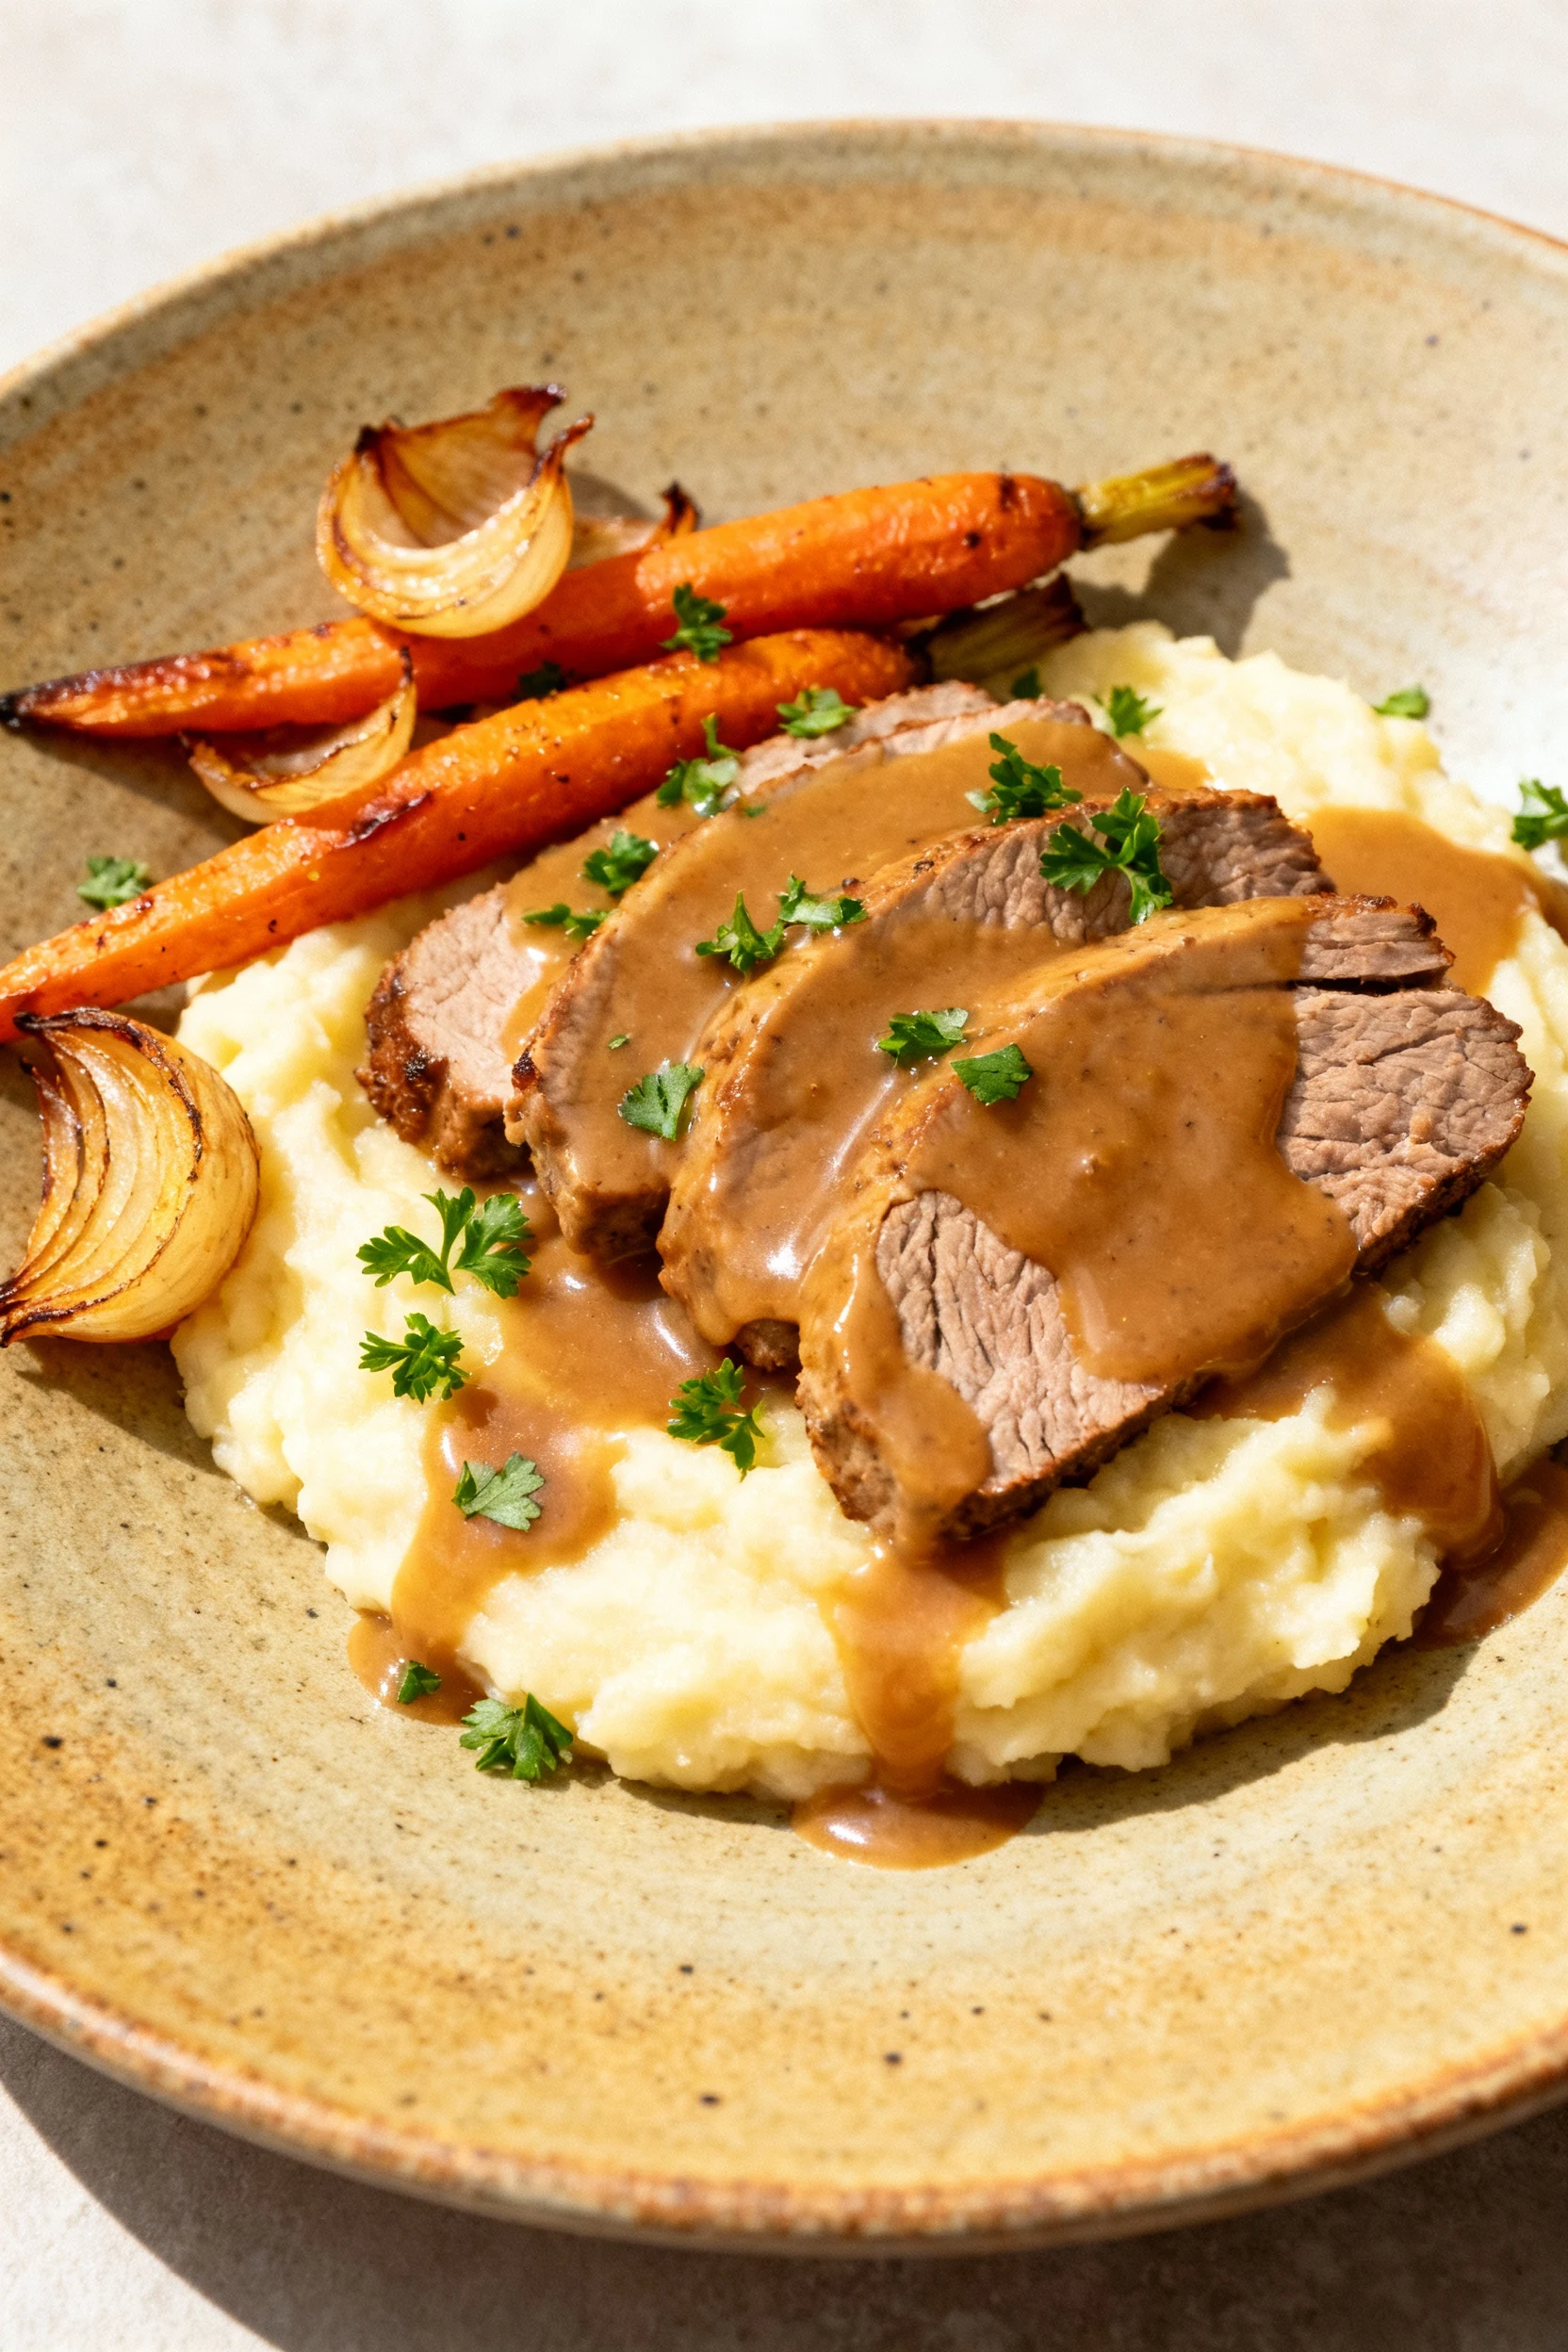
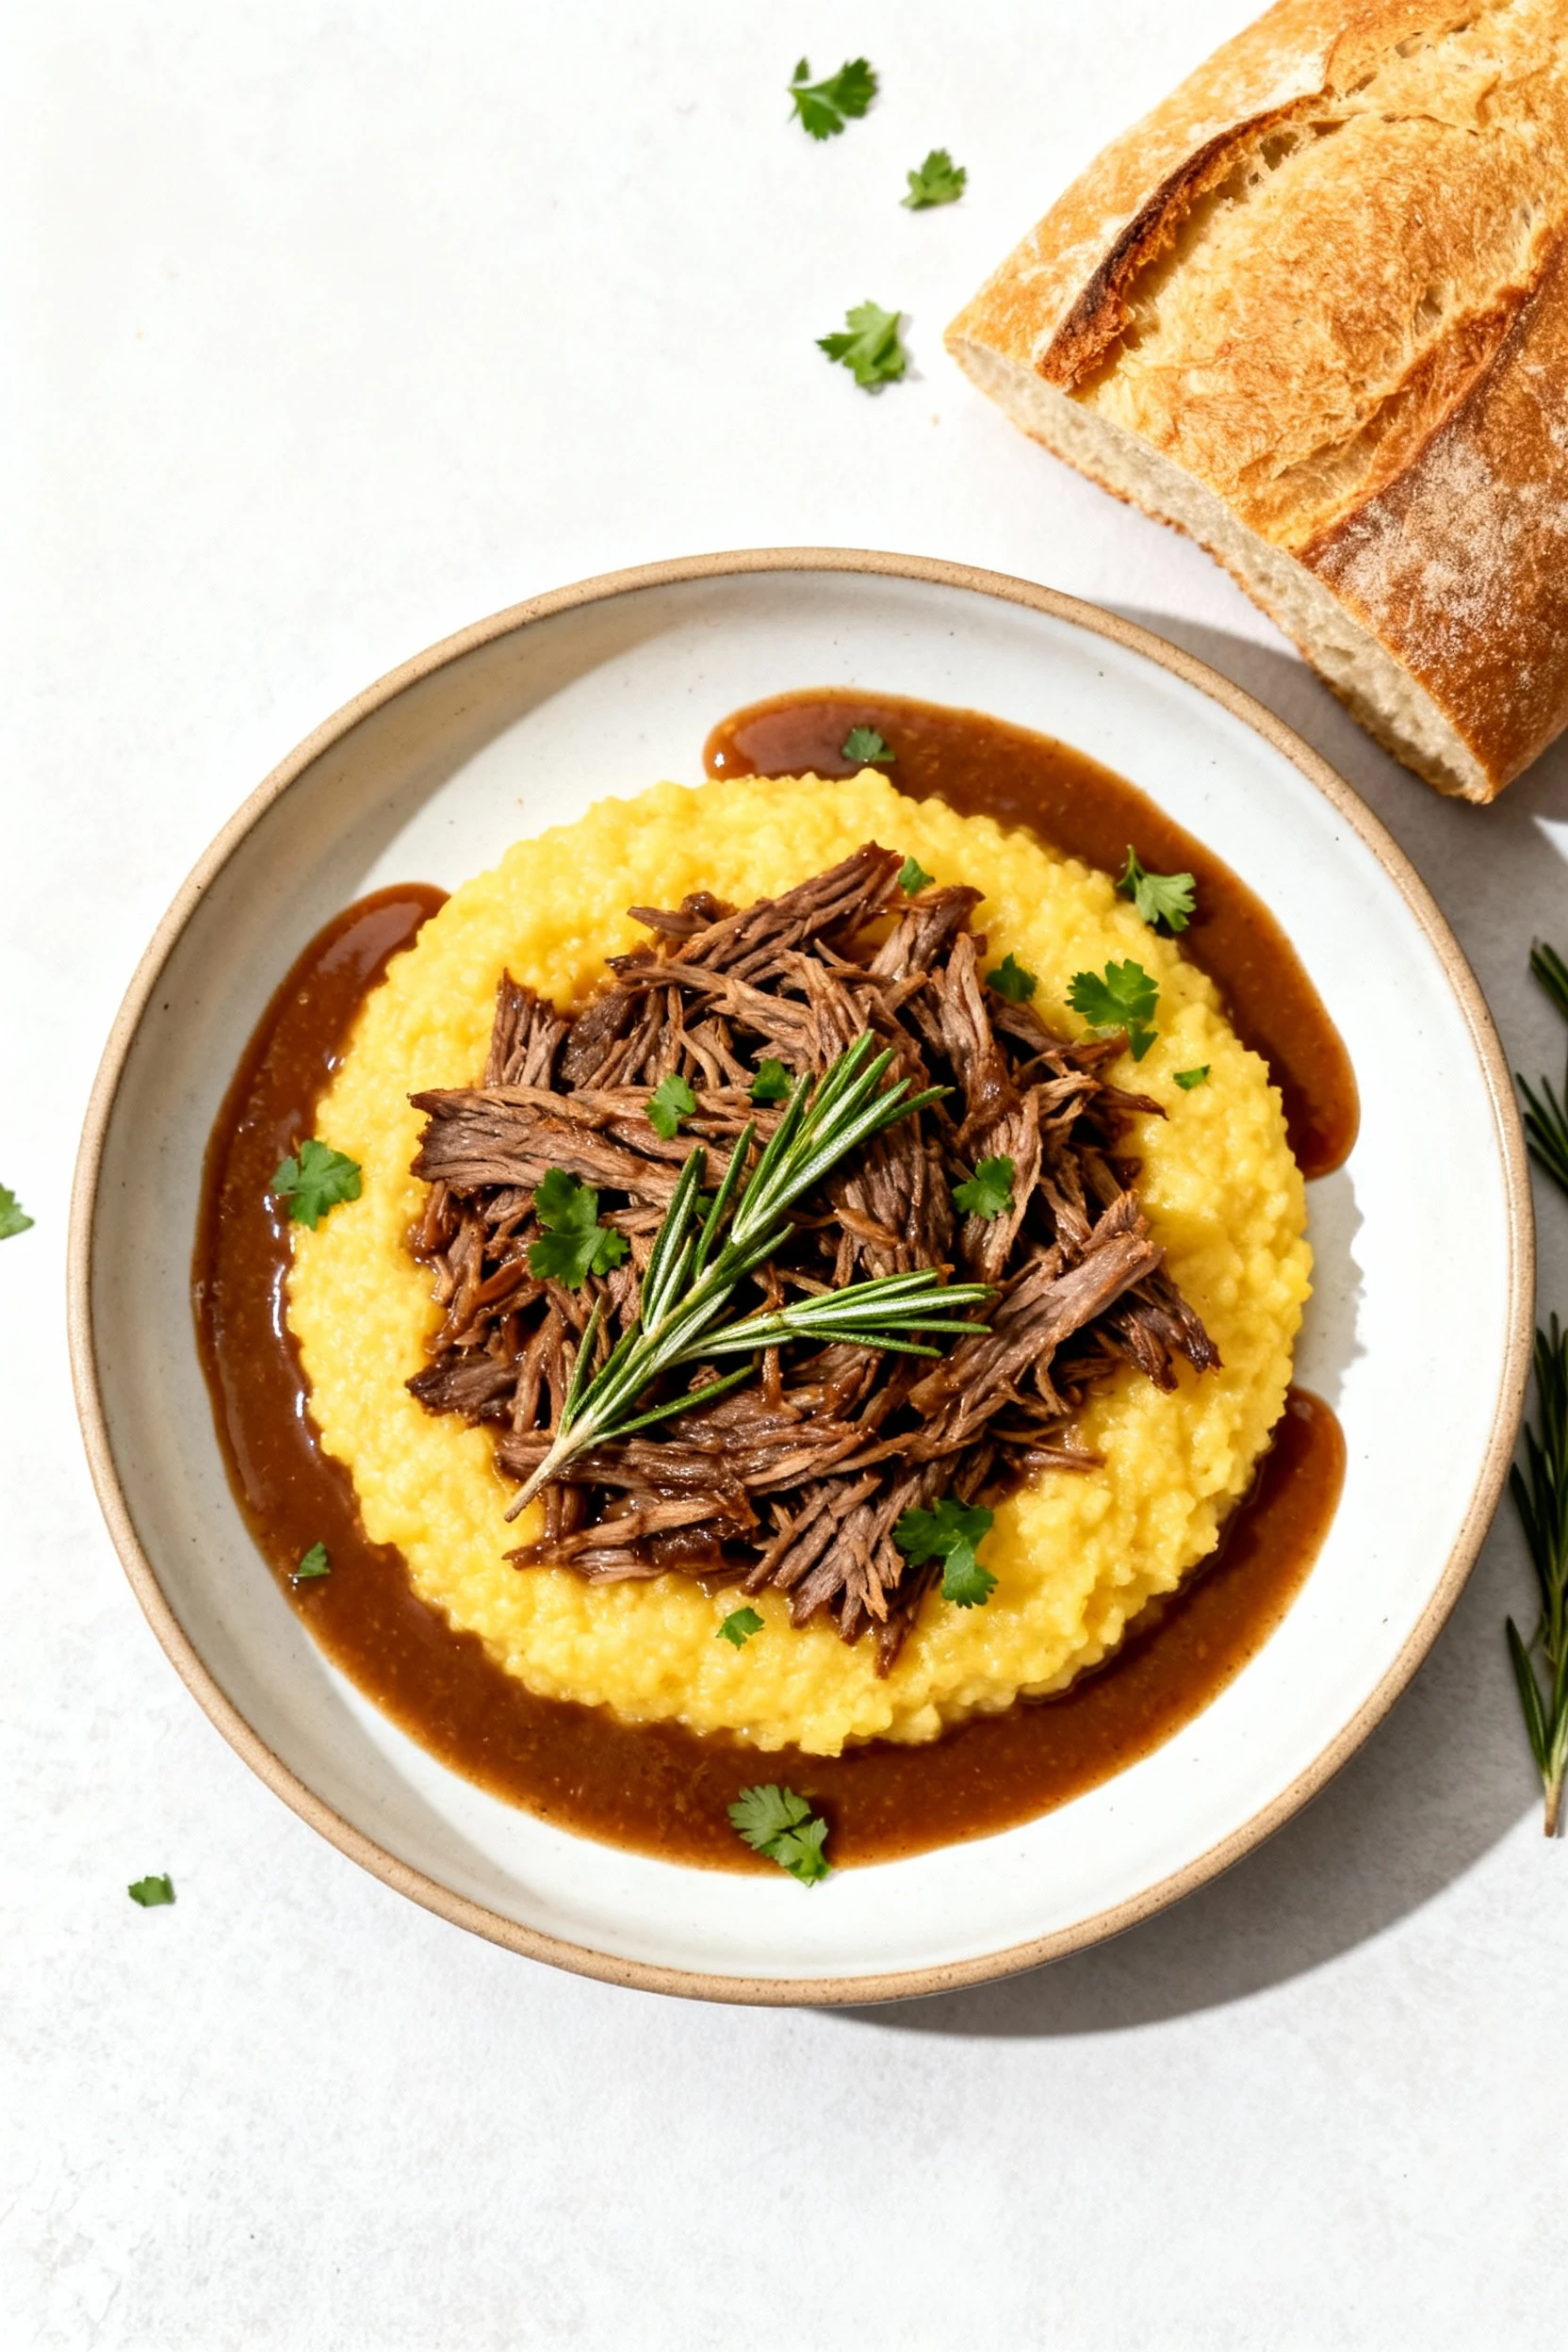
- Family-friendly: Built-in veggies and a silky gravy that plays nice with mash, polenta, or crusty bread.
- Foolproof tenderness: Chuck roast and low, moist heat. You get shreddable meat that doesn’t dry out.
- Make-ahead magic: Great on day one, borderline legendary on day two. FYI, leftovers reheat like a dream.
- One-pot cleanup: Less mess, more flavor. Searing and braising in the same vessel keeps things simple.
What You’ll Need (Ingredients)
- 3–4 lb boneless beef chuck roast (well-marbled; blade or shoulder works)
- 2 tsp kosher salt (plus more to taste)
- 1½ tsp freshly ground black pepper
- 1 tsp paprika (sweet or smoked)
- 1 tsp garlic powder
- 2 tbsp neutral oil (avocado, canola, or light olive)
- 2 large yellow onions, sliced thick
- 4 carrots, peeled and cut into 2-inch chunks
- 3 celery stalks, cut into 2-inch chunks
- 1½ lb baby potatoes (optional), halved
- 6 garlic cloves, smashed
- 2 tbsp tomato paste
- 1 cup dry red wine (optional; sub with more broth)
- 3 cups beef broth (low-sodium preferred)
- 1 tbsp Worcestershire sauce
- 1 tbsp soy sauce (optional, for extra umami)
- 1 tbsp balsamic vinegar
- 1 tsp dried thyme or 4 fresh sprigs
- 1 fresh rosemary sprig
- 2 bay leaves
- 1–2 tbsp cornstarch mixed with 2 tbsp cold water (slurry, optional for thicker gravy)
- Fresh parsley, chopped (for garnish)
How to Make It – Instructions

- Preheat: For oven method, set to 325°F. If using slow cooker or pressure cooker, skip preheat.
- Prep the roast: Pat dry. Season all sides with salt, pepper, paprika, and garlic powder. Don’t be shy—seasoning builds crust.
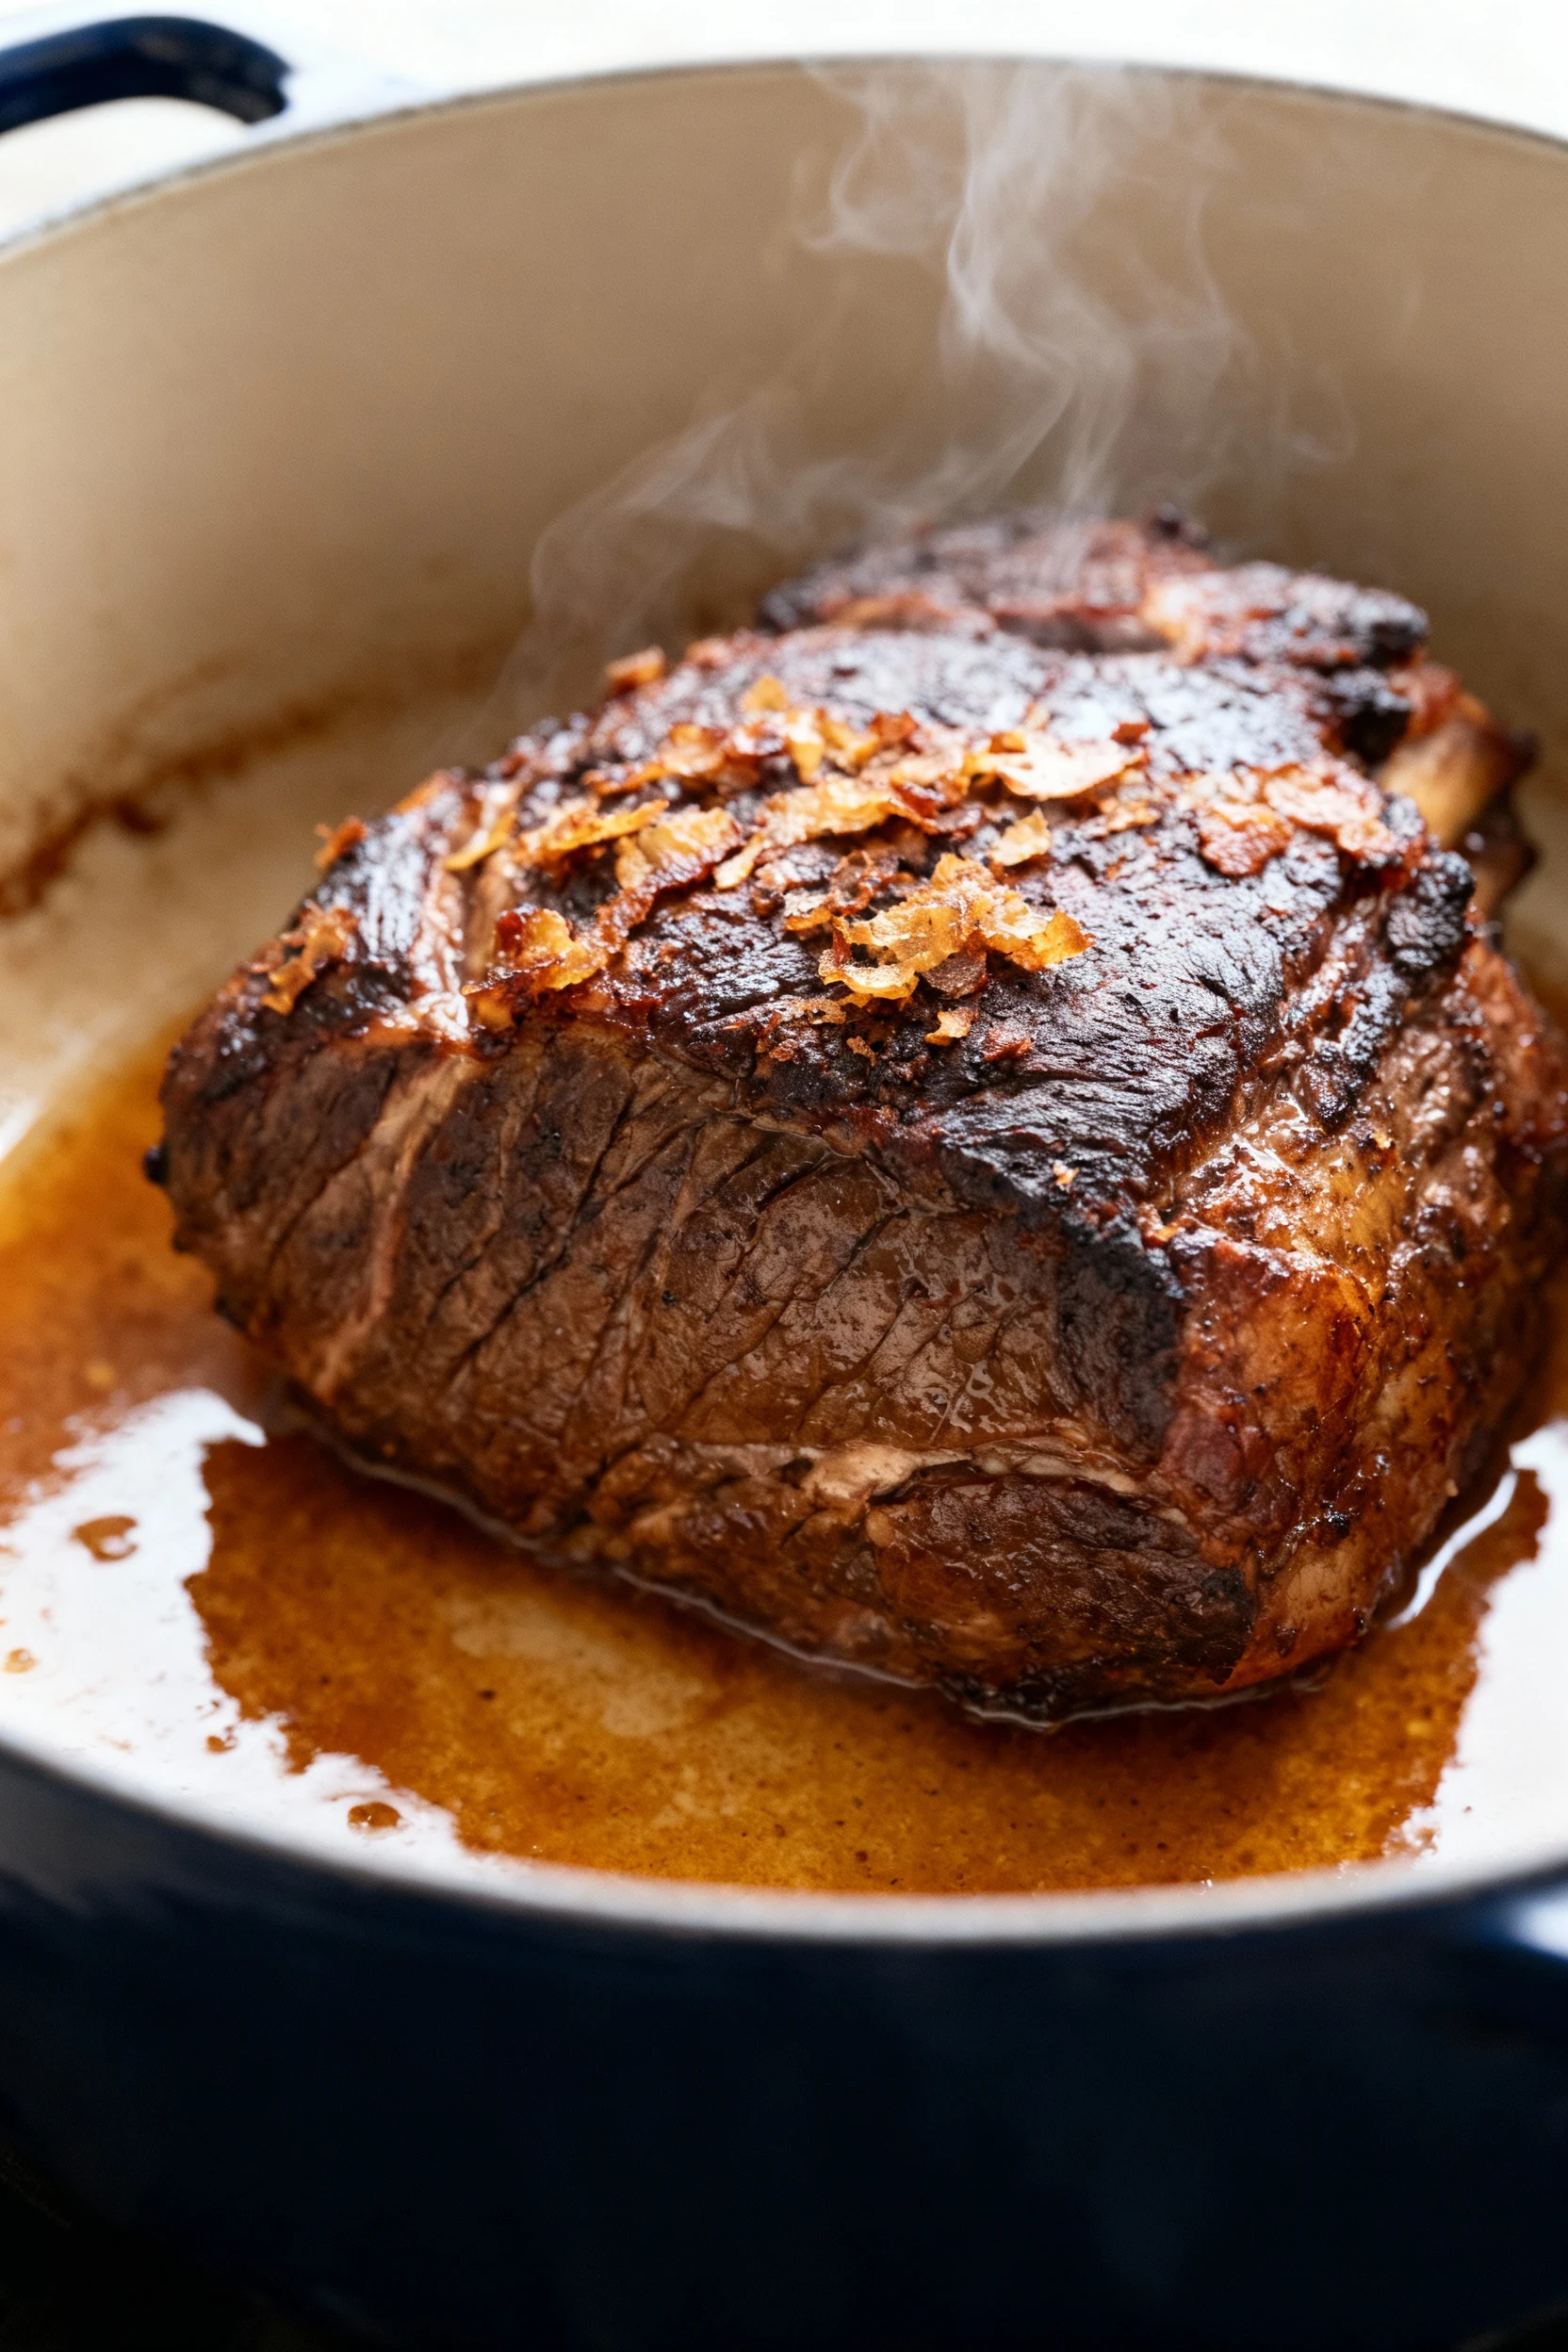
- Sear: Heat oil in a heavy Dutch oven over medium-high. Sear roast 3–4 minutes per side until deep brown. Remove to a plate.
- Sweat aromatics: In the same pot, add onions, carrots, celery, and garlic. Cook 5–6 minutes, stirring, until onions soften and fond loosens.
- Tomato paste blitz: Stir in tomato paste and cook 1 minute. You’ll see it darken—that’s flavor.
- Deglaze: Pour in red wine (or ½ cup broth). Scrape up browned bits. Simmer 2 minutes.
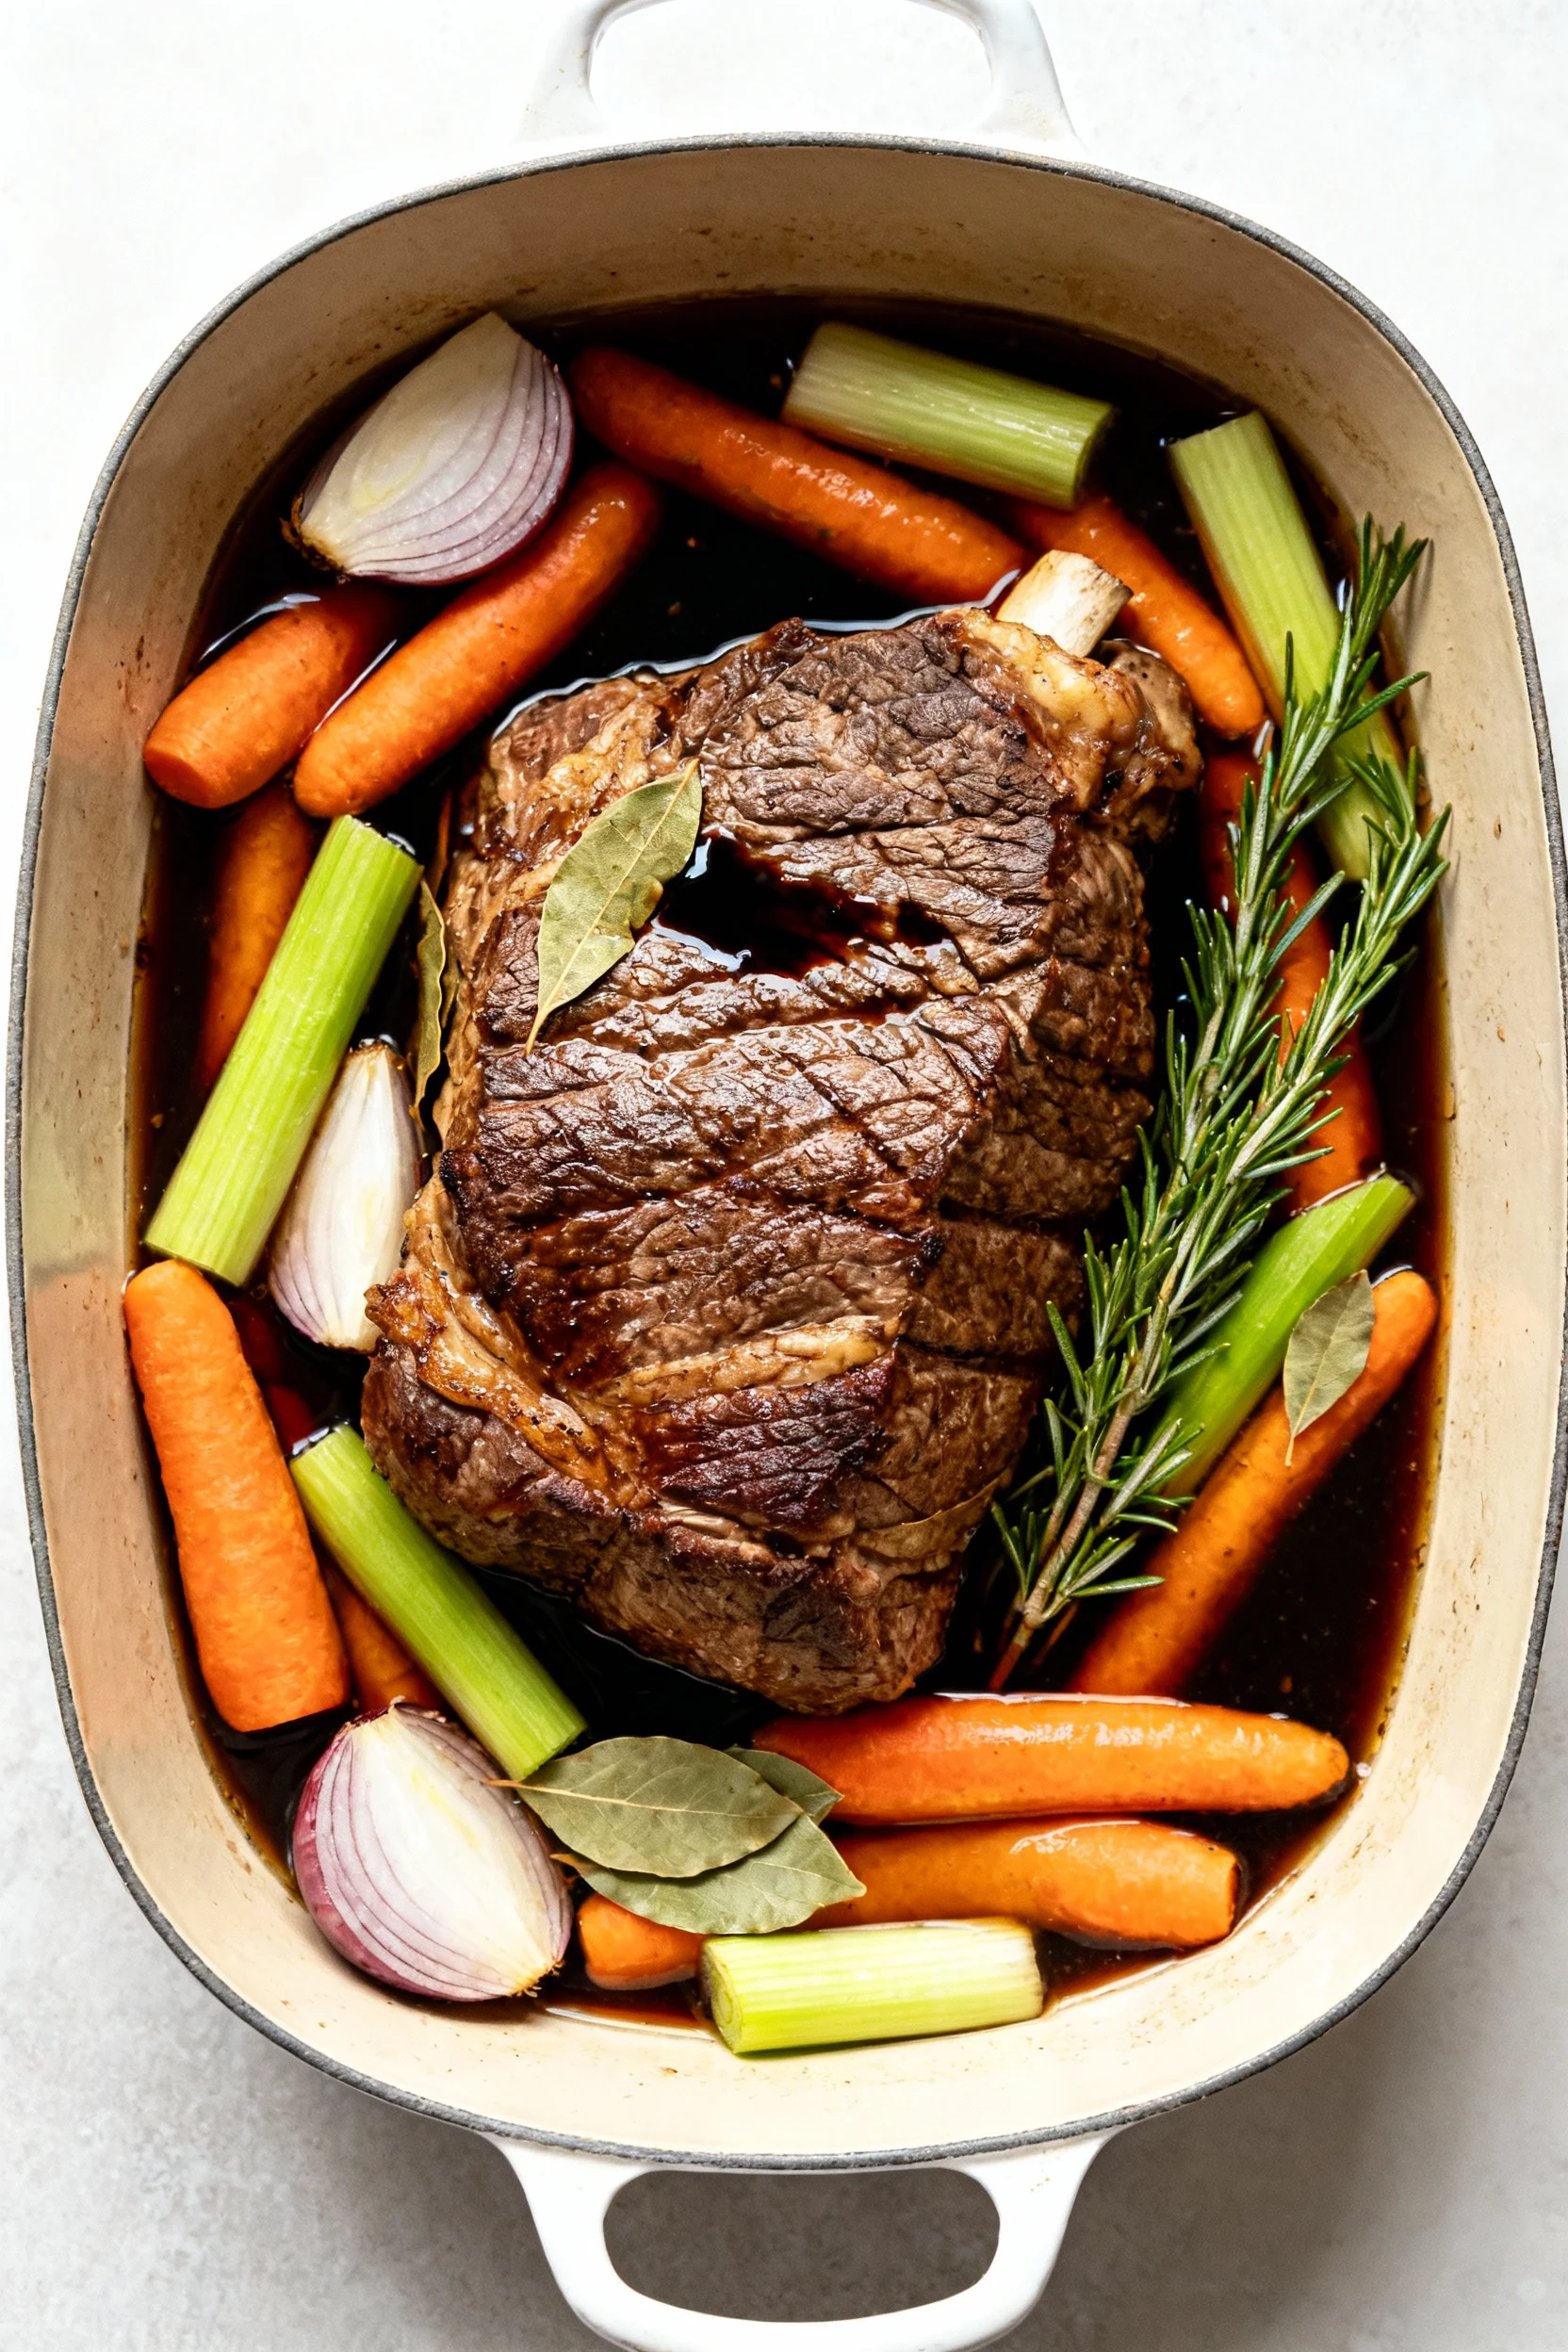
- Build braising liquid: Add beef broth, Worcestershire, soy (optional), balsamic, thyme, rosemary, and bay leaves. Taste and adjust salt.
- Return the roast: Nestle meat into the pot. Liquids should come halfway up the roast—add a splash more broth if needed.
- Choose your cook method:
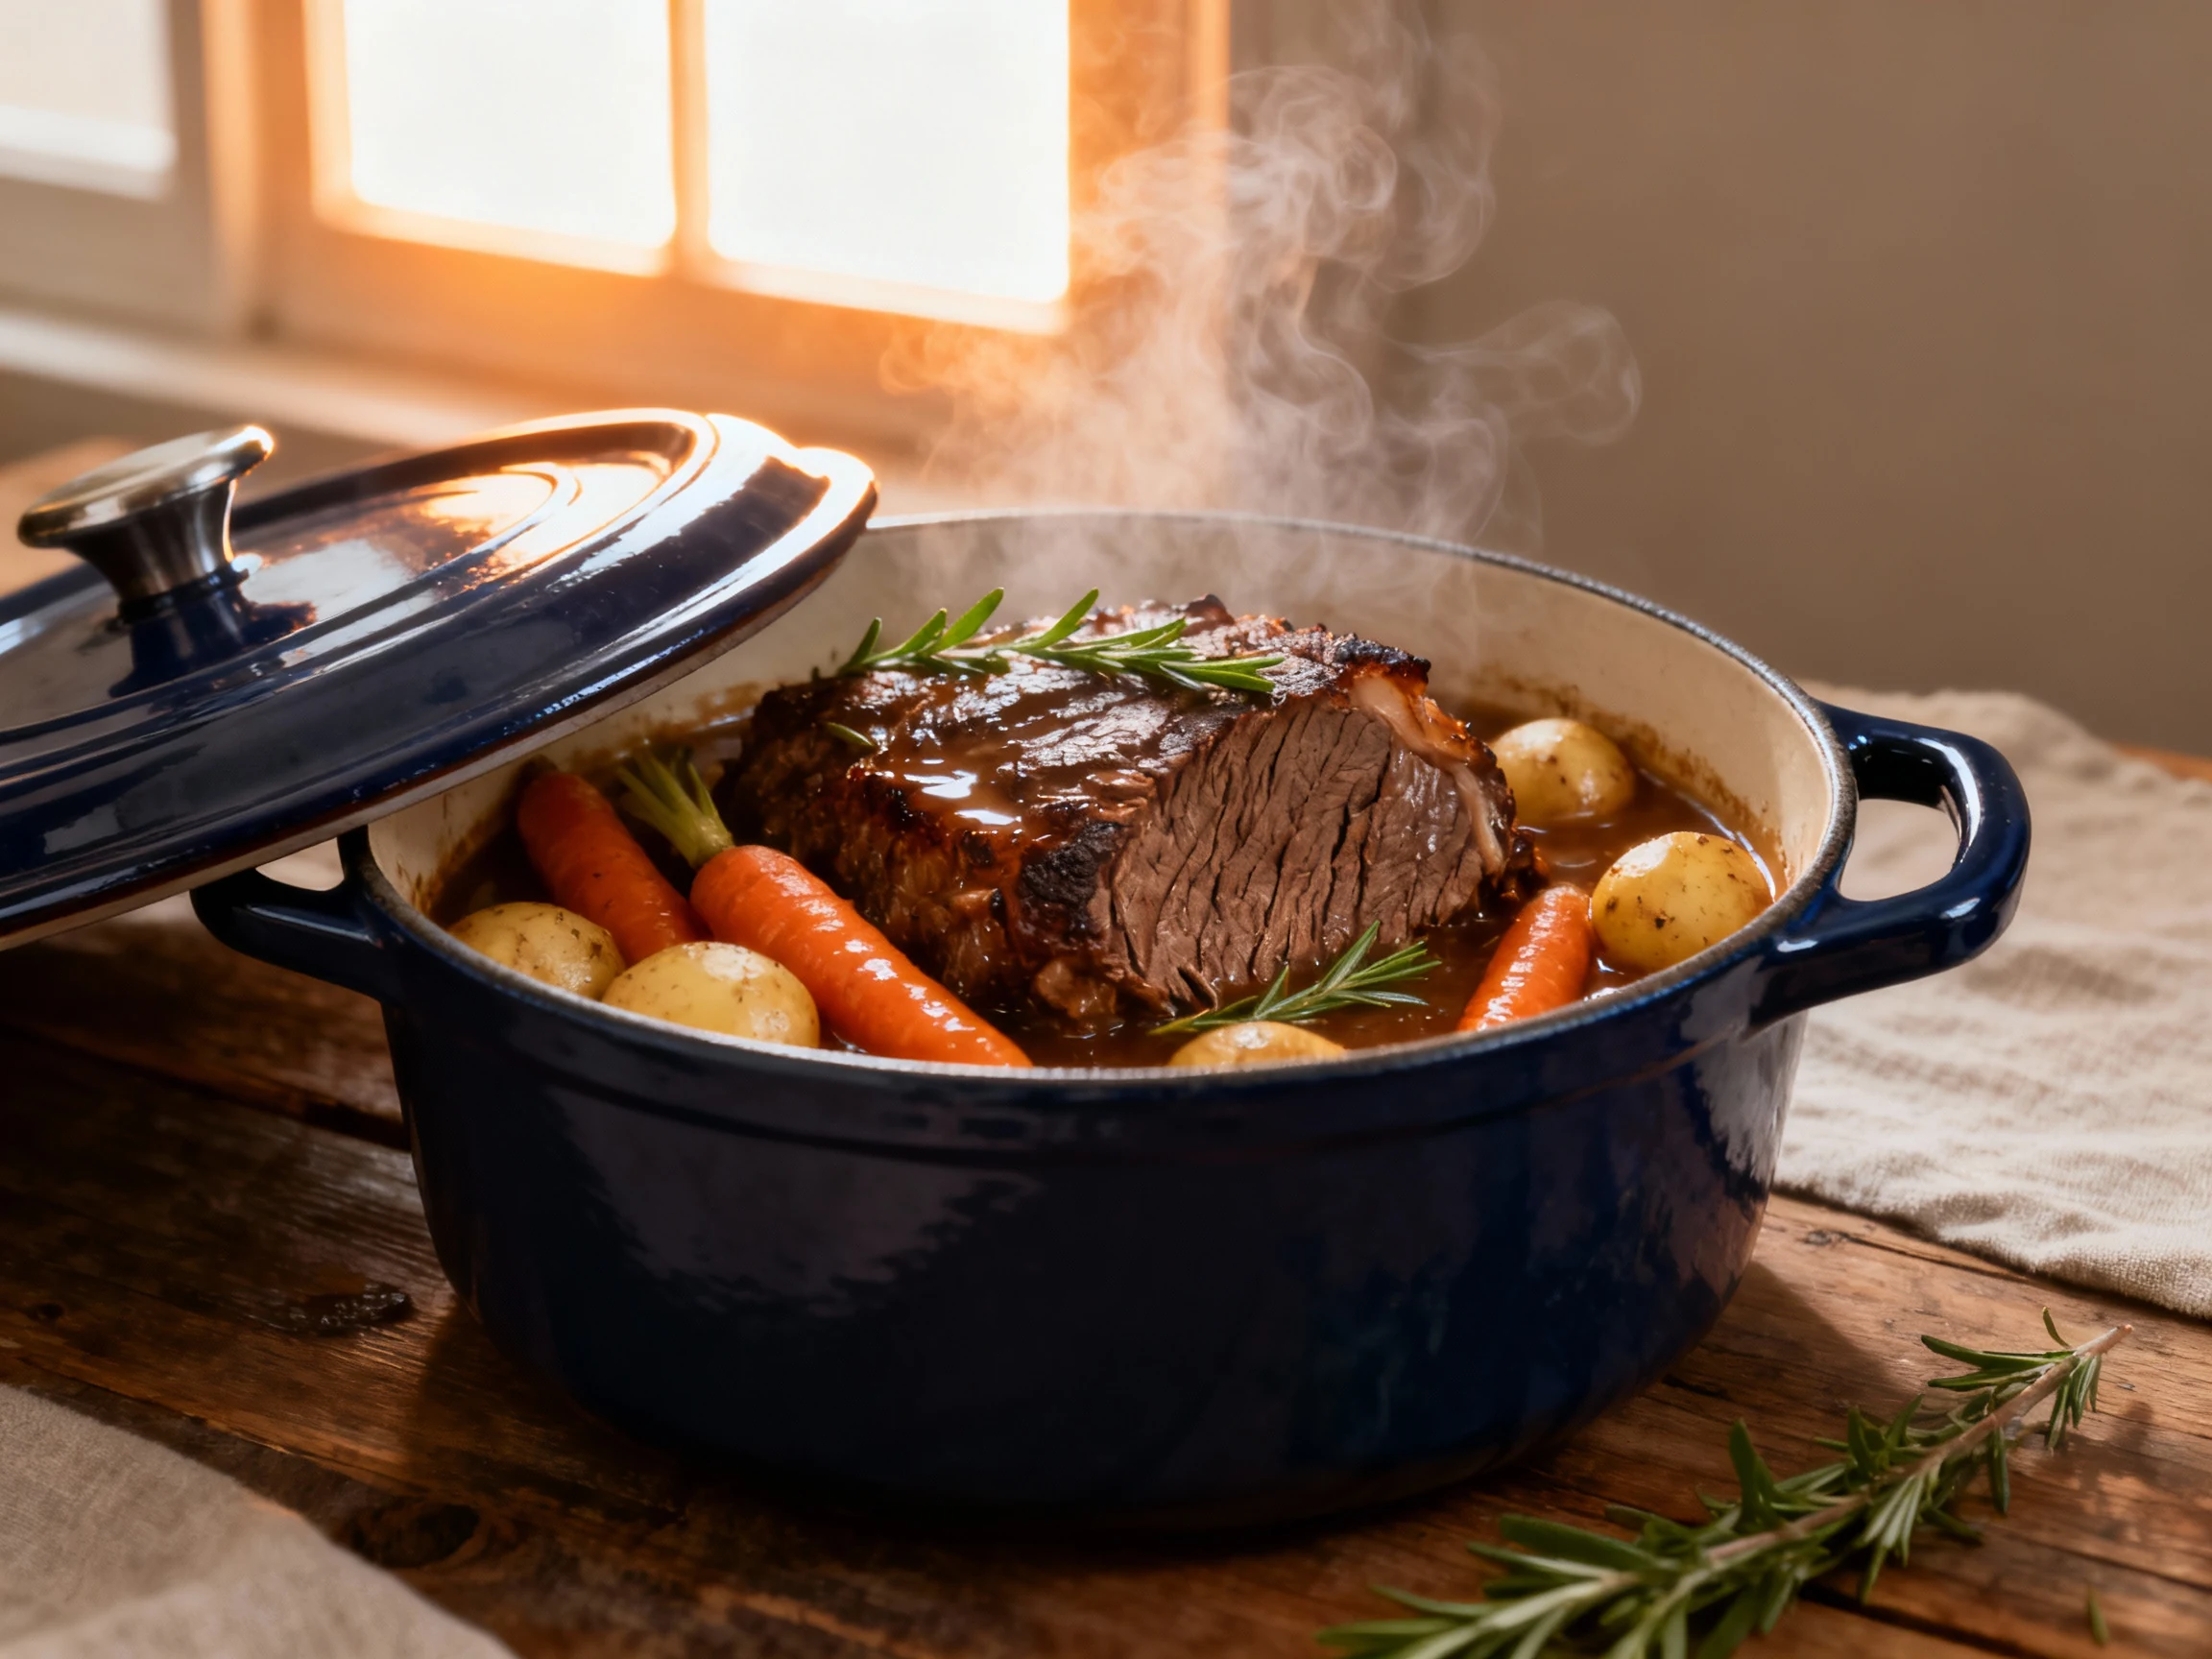
- Oven: Cover and braise at 325°F for 3 to 3½ hours, until fork-tender. Add potatoes for the last 90 minutes.
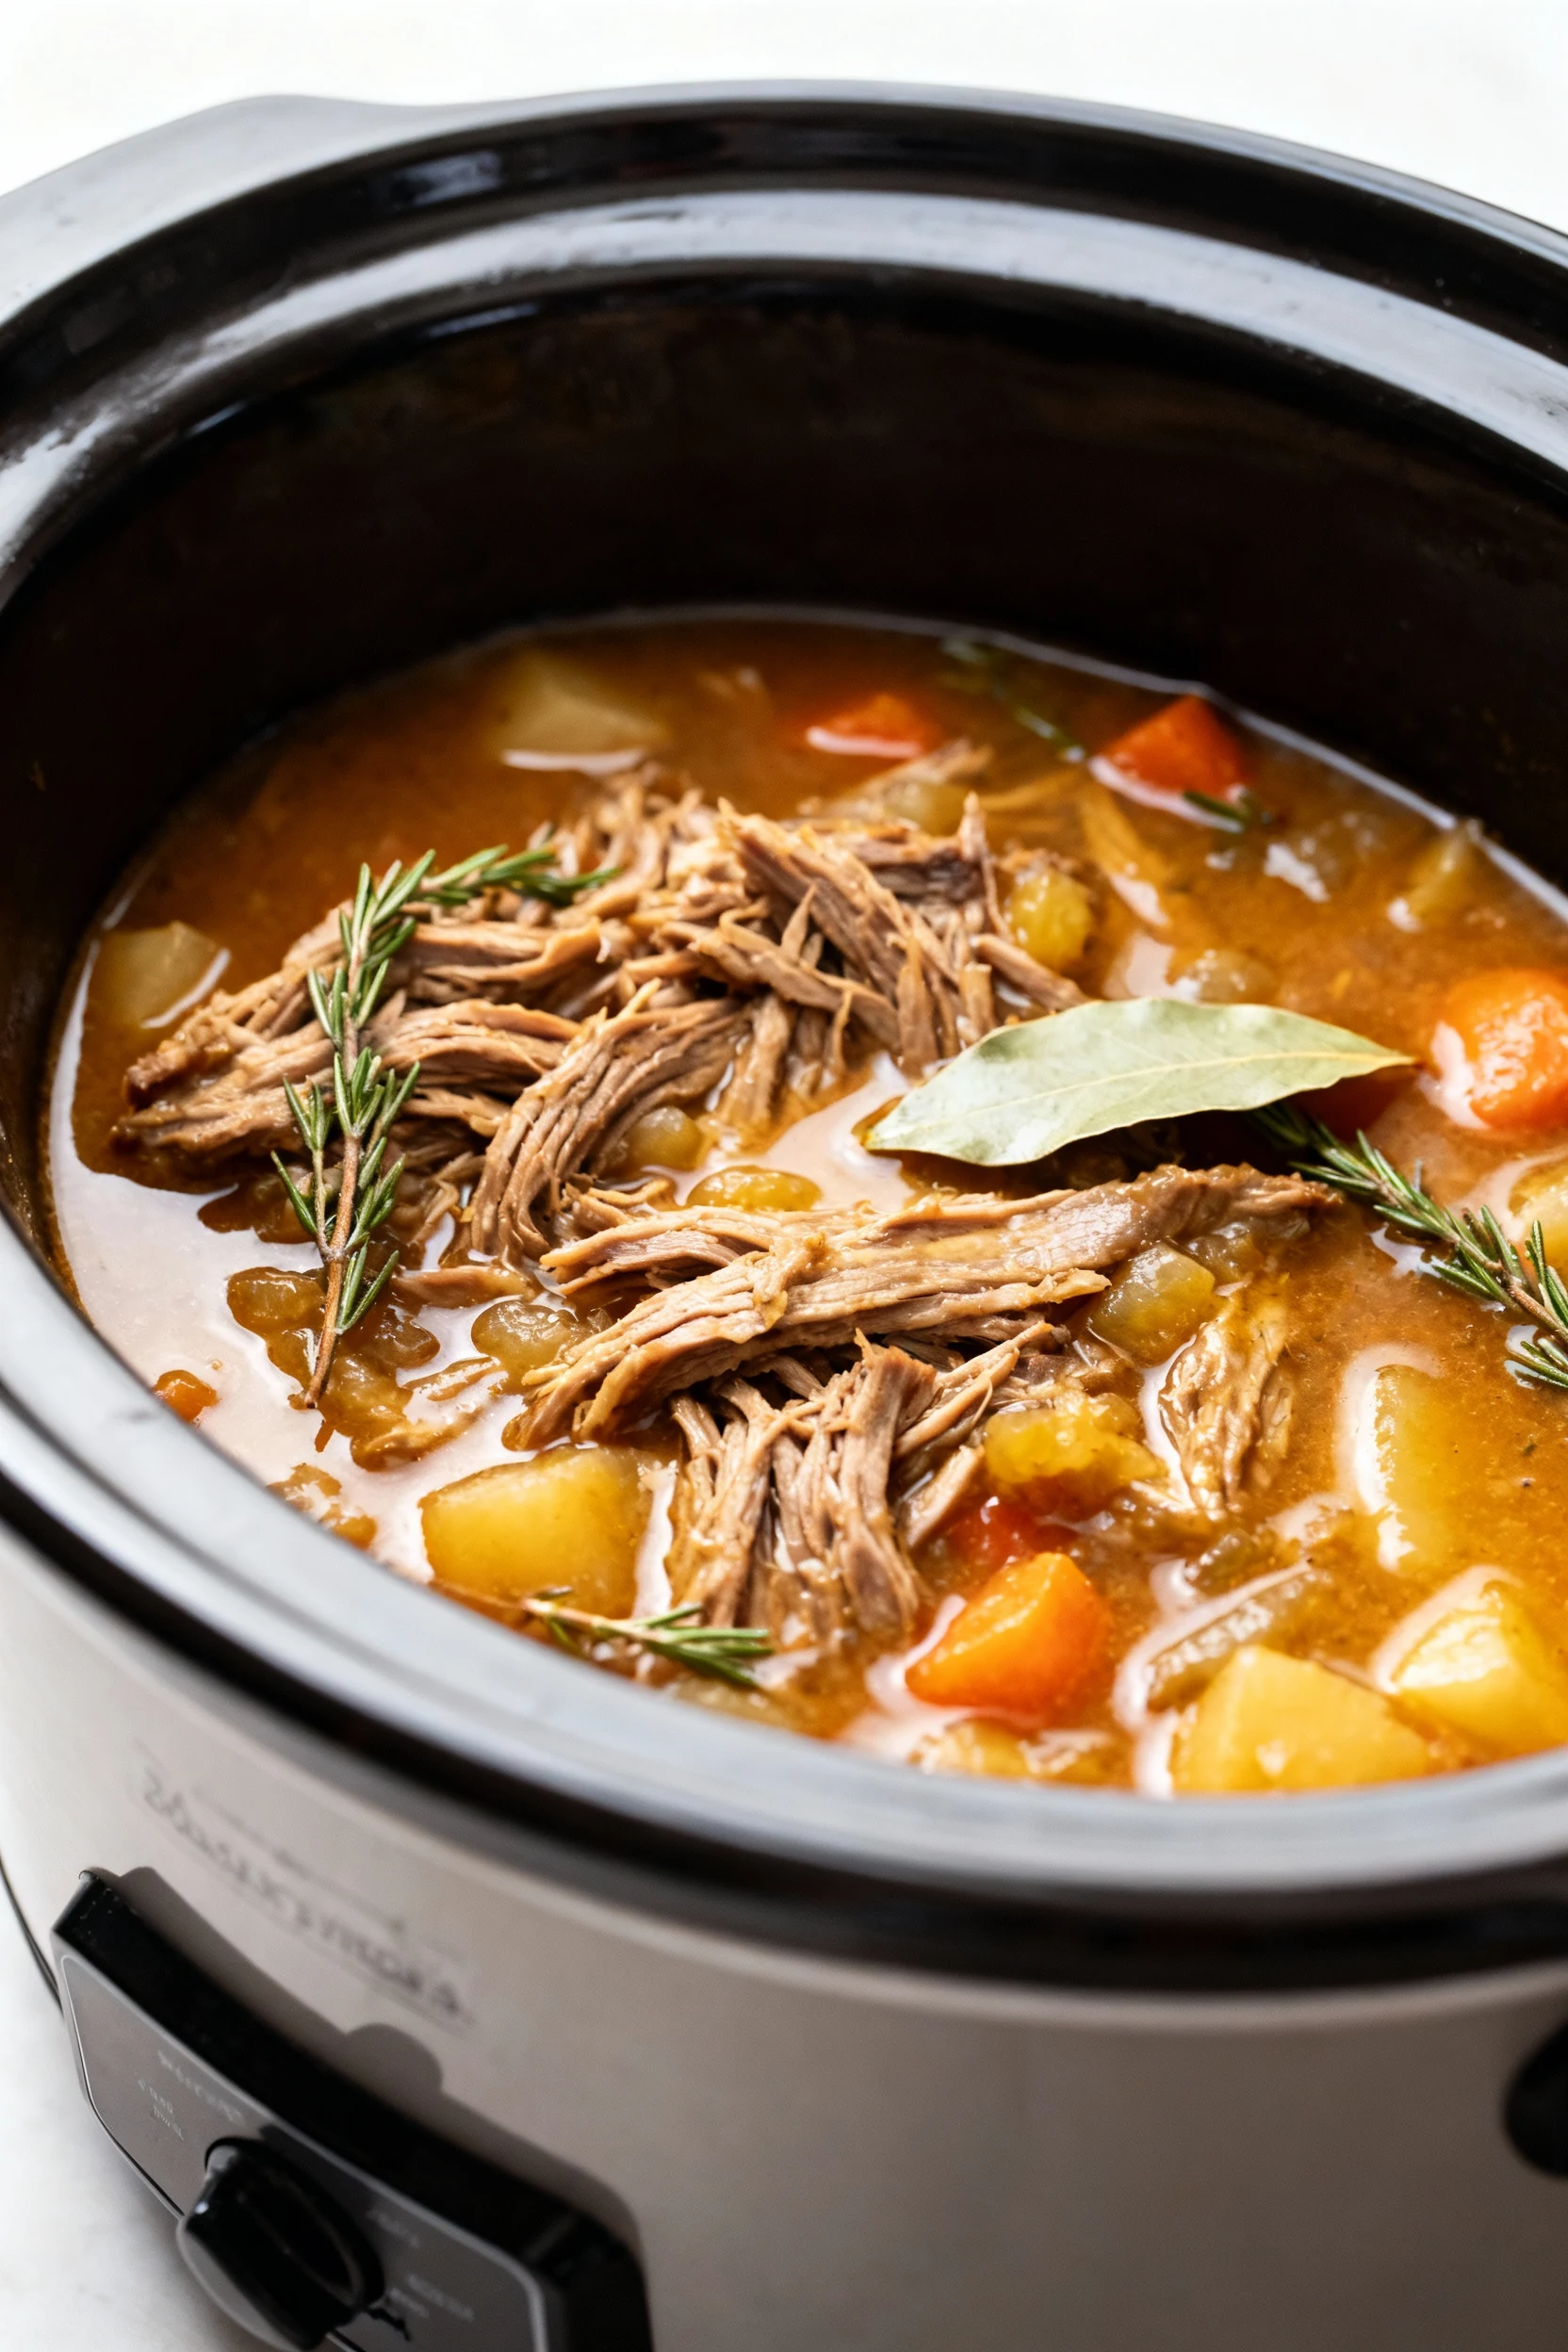
- Slow cooker: Transfer everything to the crock. Cook on LOW 8–9 hours or HIGH 5–6 hours. Add potatoes for the last 2–3 hours.
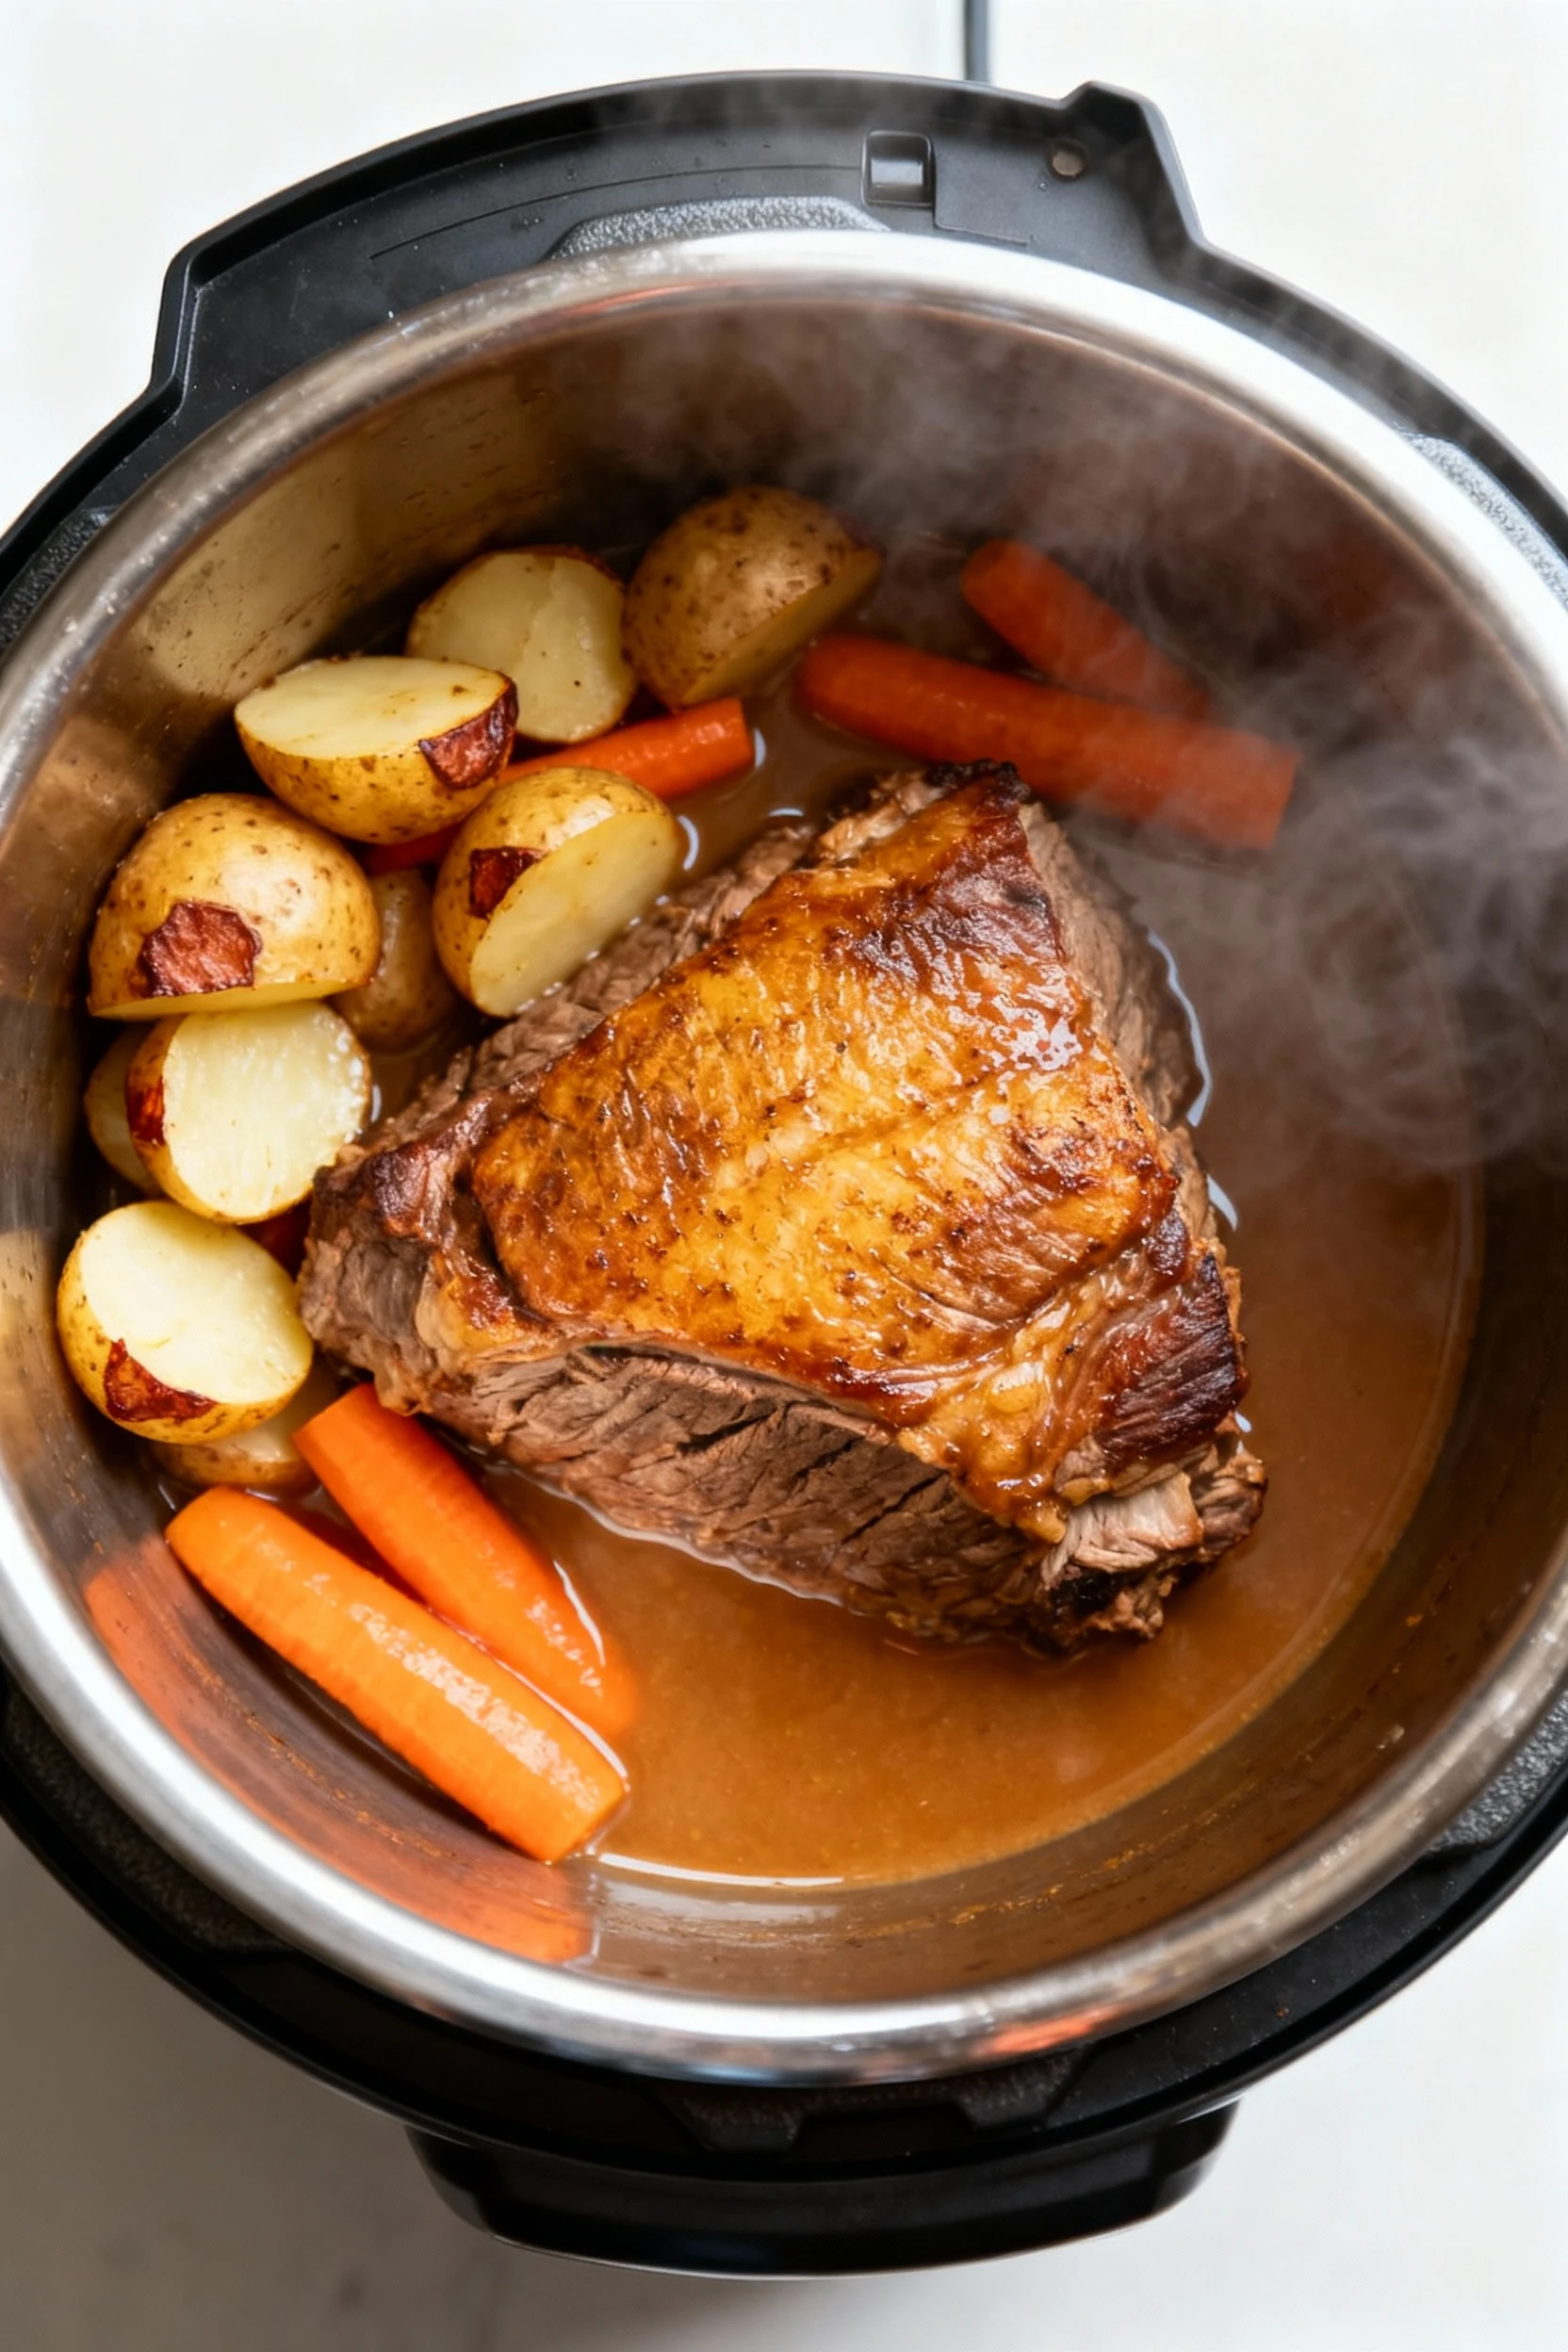
- Pressure cooker: Move to Instant Pot. Cook on High Pressure 60–70 minutes, then natural release 15 minutes. Add potatoes before sealing.
- Check tenderness: Pierce the roast. If a fork slides in with minimal resistance, you’re there. If not, keep cooking and check every 20 minutes.
- Thicken (optional): Remove the roast and veggies. Simmer liquids 5 minutes. Stir in cornstarch slurry and cook until glossy and slightly thick.
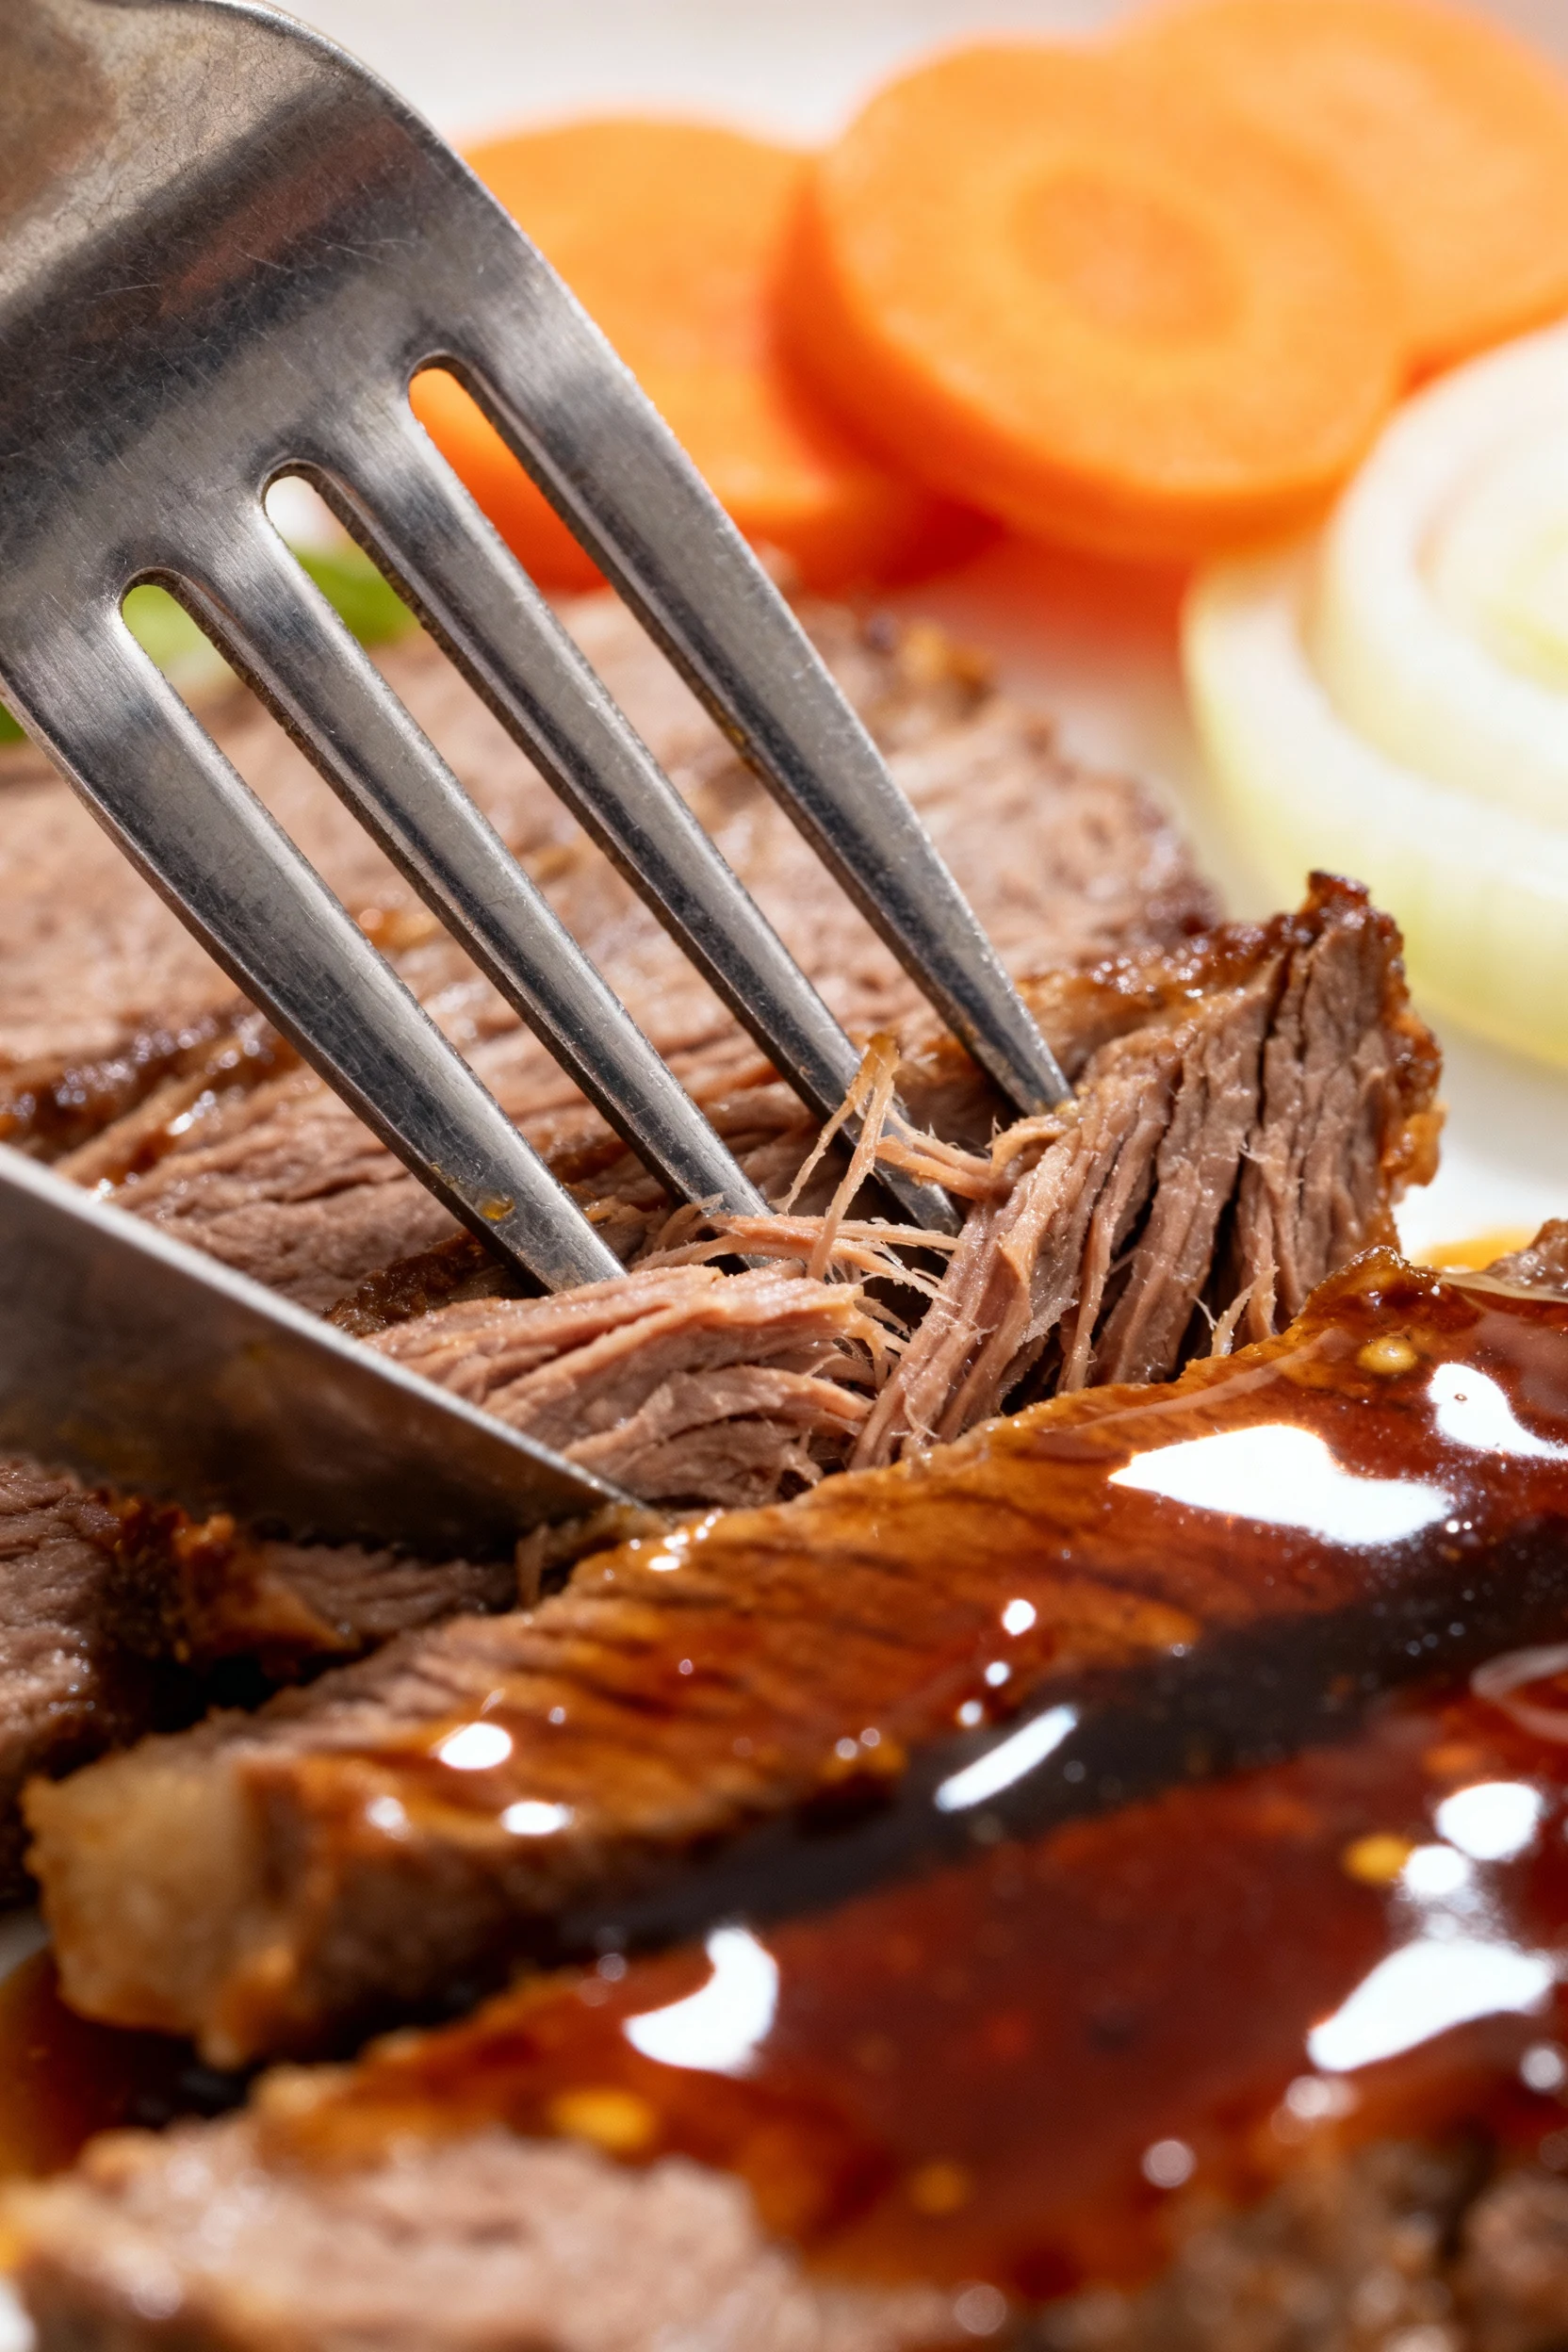
- Slice or shred: Cut against the grain or gently pull into large chunks. Return meat to gravy.
- Finish: Fish out bay leaves and herb stems. Sprinkle parsley. Taste and adjust seasoning. Serve hot with mash, rice, polenta, or bread.
Keeping It Fresh
- Cool fast: Spread leftovers in a shallow container so they cool within 2 hours. Food safety isn’t optional.
- Refrigerate: Store in an airtight container with gravy for up to 4 days.
- Freeze: Portion with gravy. Freeze up to 3 months. Label dates—future you will thank you.
- Reheat gently: Stovetop over medium-low until hot, or oven at 300°F covered. Microwave works, but stir halfway.
- Refresh flavors: Add a splash of broth or water if it seems thick. Finish with fresh herbs or a squeeze of lemon.
- Gravy smart: Store extra gravy separately. It’s liquid gold for sandwiches and hash.
Nutritional Perks
- Protein-rich: A solid serving boosts satiety and helps muscle repair post-workout.
- Iron + B12: Supports energy and cognitive function—your brain likes this dinner.
- Collagen/gelatin: Slow cooking extracts connective tissue for that luscious mouthfeel.
- Veggie vitamins: Carrots deliver vitamin A; potatoes bring potassium; onions offer antioxidants.
- Balanced: Meat, veggies, and broth give you a well-rounded plate without trying too hard.
- Sodium control: Using low-sodium broth keeps salt in check; you control the finish.
- Gluten-free friendly: Skip soy or use tamari; use cornstarch or arrowroot to thicken.
What Not to Do
- Don’t skip the sear: Browning adds flavor; gray meat is a crime, TBH.
- Don’t under-season: Salt early and adjust at the end. Bland gravy = sad dinner.
- Don’t drown the roast: Liquids should come halfway up. Too much dilutes flavor.
- Don’t rush the cook: Tough beef means it needs more time, not more heat.
- Don’t add delicate herbs early: Save parsley and chives for the finish.
- Don’t overcrowd the sear: Sear in batches if needed. Steam kills crust.
- Don’t skip deglazing: Fond (brown bits) = free flavor. Scrape it like you mean it.
- Don’t thicken too much: Gravy should coat a spoon, not stand like pudding.
Different Ways to Make This
Classic Oven Braise
Use a heavy Dutch oven and low, steady heat. You’ll get deep flavor, gentle reduction, and soft vegetables. It’s the weekend move when you want the house to smell incredible.
Pressure Cooker Express
Short on time? Go with high pressure for tender results in about 90 minutes start-to-finish. Keep the same sear and liquid ratios, and let pressure do the rest—IMO, the best weeknight hack.
Slow Cooker Set-It-and-Forget-It
Morning prep, evening victory. Low heat over hours melts collagen and turns your roast into a shreddable feast. Add potatoes halfway so they don’t go mushy.
Wine-Free Option
Skip wine and add extra broth plus a teaspoon of red wine vinegar. You’ll get brightness without alcohol, and the gravy stays robust.
Mushroom Umami Boost
Stir in 8 oz sliced cremini or baby bella mushrooms during the sauté. They soak up juices and add an earthy depth that plays great with rosemary.
Low-Carb Version
Swap potatoes for extra celery, mushrooms, and turnip cubes. The gravy stays silky, and you keep carbs in check without losing comfort.
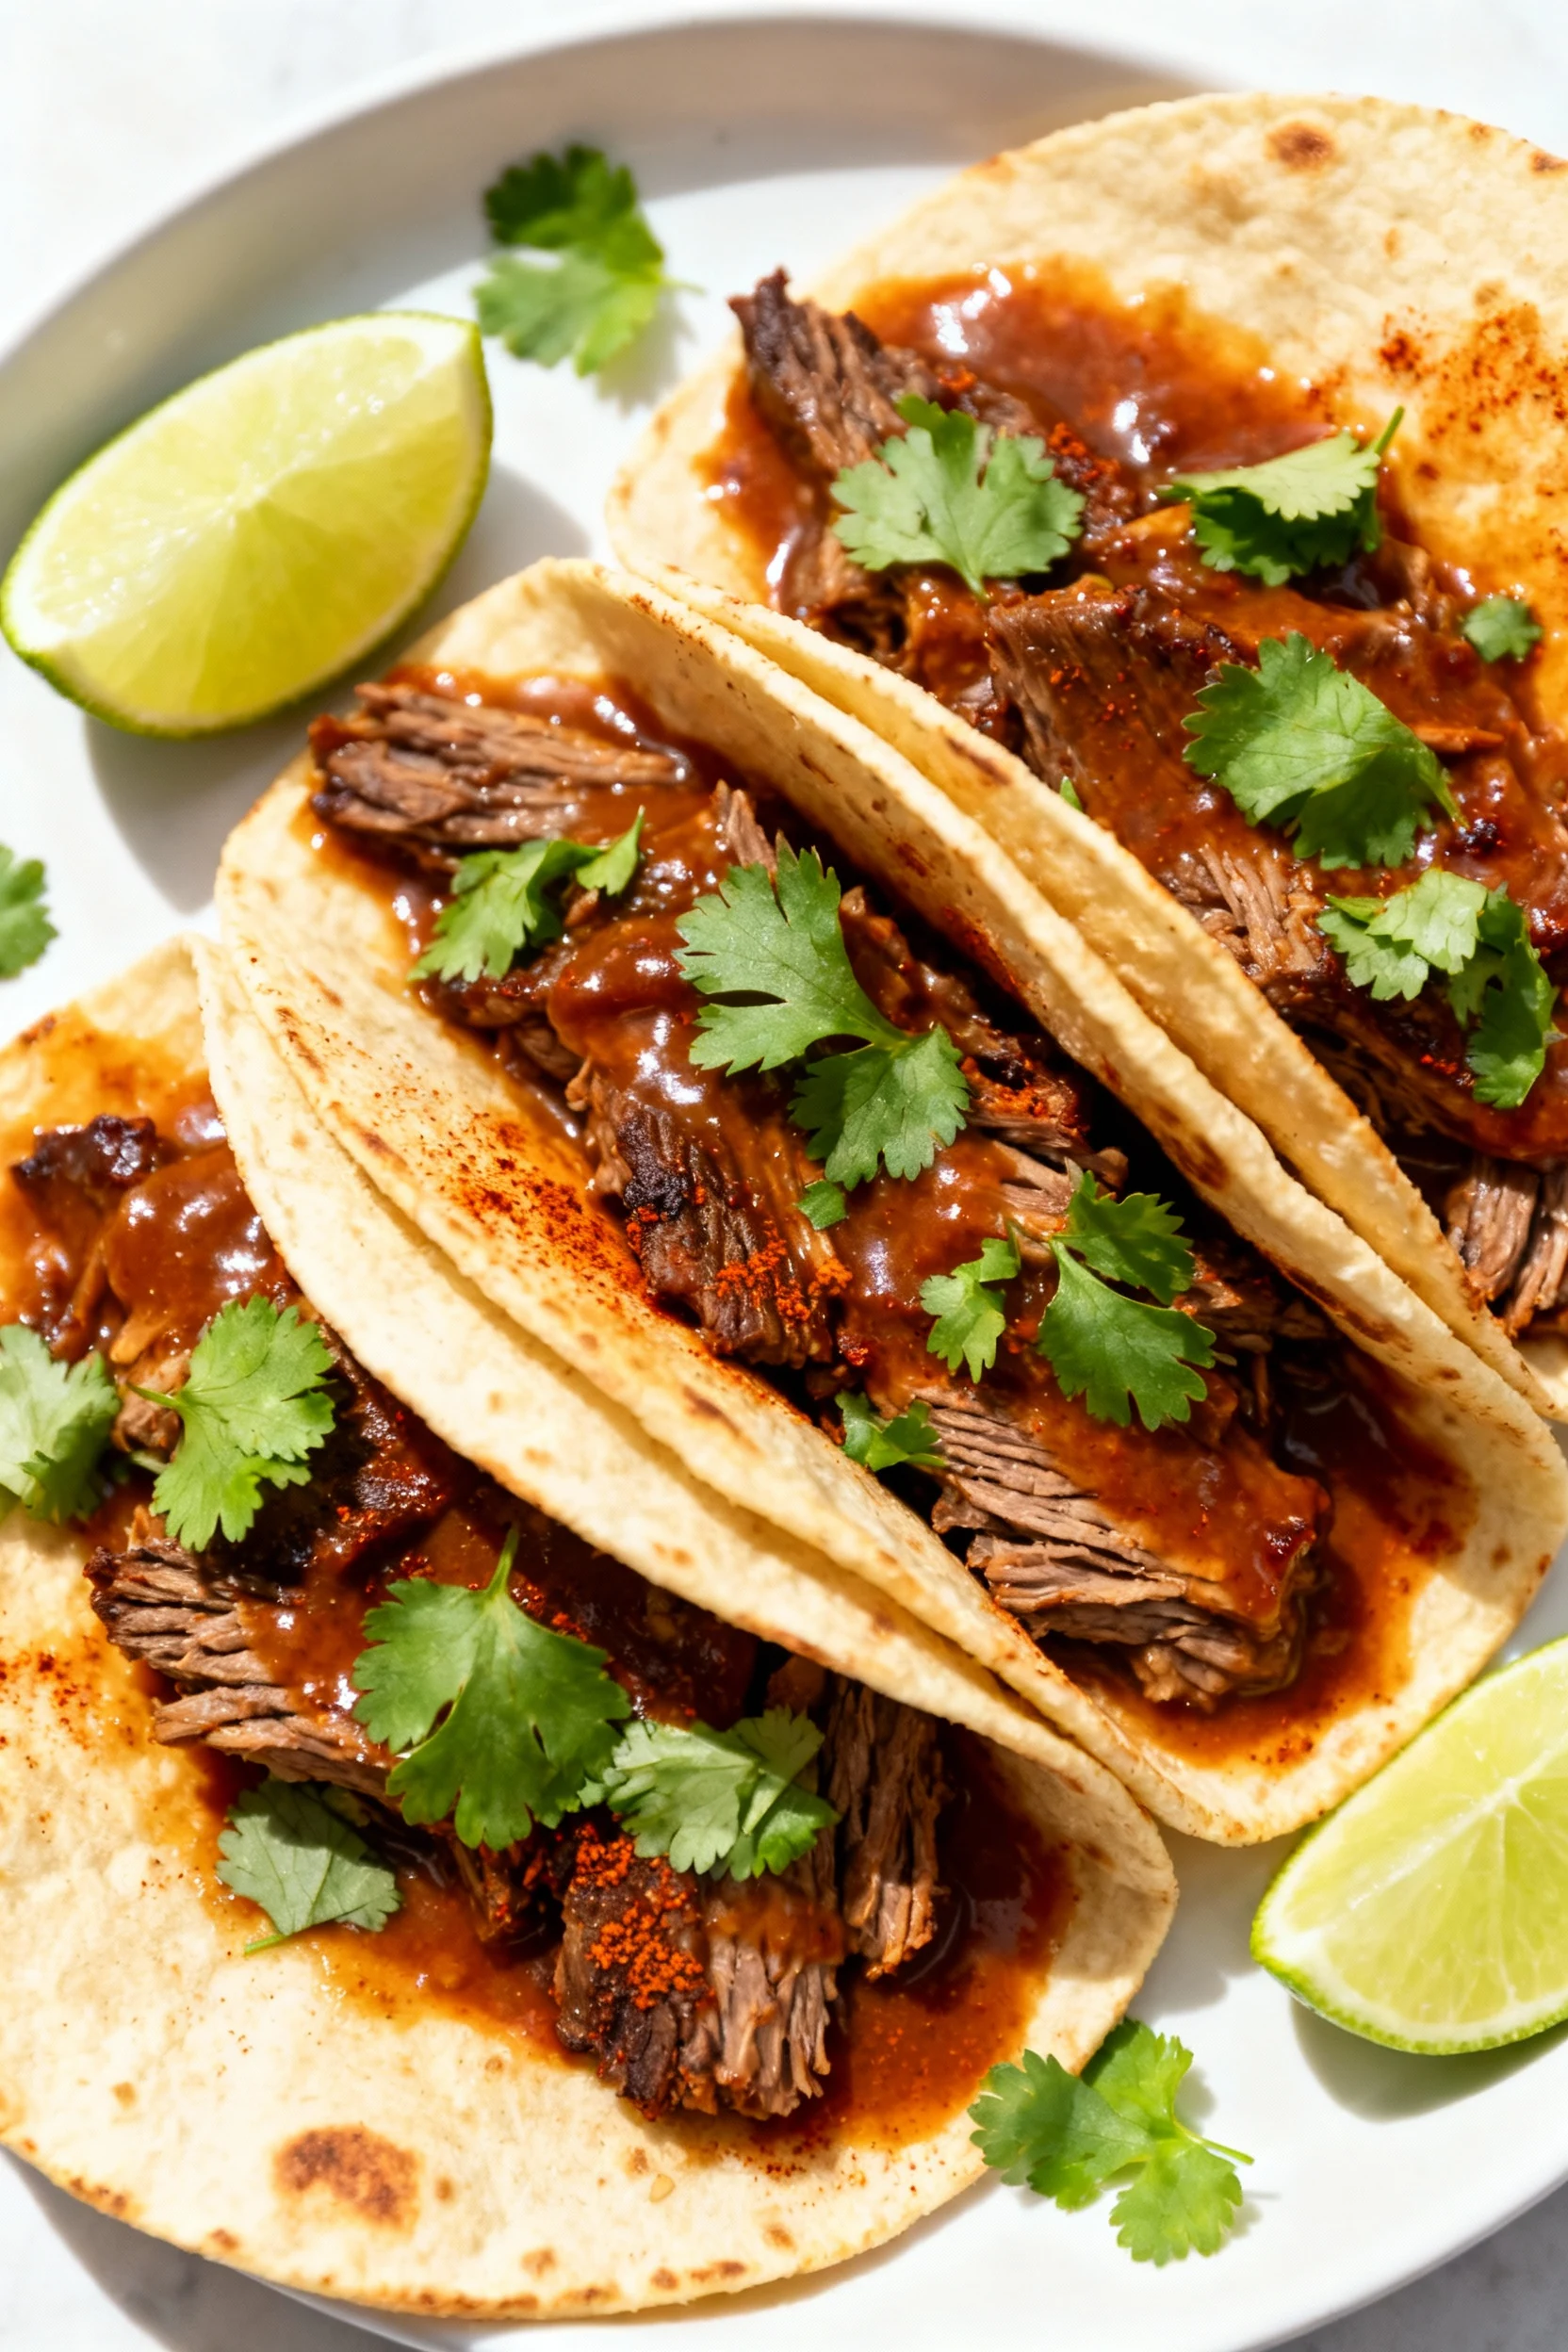
Tex-Mex Twist
Use smoked paprika, cumin, and a chipotle in adobo. Finish with lime and cilantro. Serve over rice or in warm tortillas for a bold reroute.
Asian-Inspired
Add ginger slices and star anise; replace Worcestershire with fish sauce; finish with scallions. Serve with jasmine rice and pickled cucumbers for contrast.
FAQ
What’s the best cut for pot roast?
Chuck roast wins. It’s well-marbled, holds up to long cooking, and turns buttery tender. Brisket and bottom round work too, but chuck is the most forgiving.
Do I really need to sear the meat first?
Yes. Searing builds flavor via Maillard browning and keeps the roast from tasting flat. It’s a two-minute step that pays off all night.
Why is my roast still tough after hours?
It needs more time, not higher heat. Connective tissue breaks down gradually. Keep cooking until a fork slides in easily and fibers start to separate.
How much liquid should I use?
Enough to come halfway up the roast. Too much liquid makes weak gravy; too little can scorch. Adjust once you nestle the meat.
Can I make this ahead?
Absolutely. Cook, cool, and refrigerate. Reheat gently with a splash of broth, then thicken if needed. Flavor intensifies overnight—bonus.
Should I add potatoes at the beginning?
Add them late in the cook so they stay intact. In the oven, 60–90 minutes before finish; in a slow cooker, last 2–3 hours; in a pressure cooker, add before sealing.
How do I thicken the gravy?
Simmer to reduce, then whisk in a cornstarch slurry and cook until glossy. If you prefer a natural texture, skip thickening and just reduce longer.
Can I skip wine?
Yes. Use more broth and a splash of vinegar for brightness. The flavor stays deep thanks to tomato paste, Worcestershire, and soy.
What if I don’t have a Dutch oven?
Sear in a skillet, then transfer to a covered roasting pan or slow cooker. For an Instant Pot, sear on sauté mode and switch to pressure.
How do I avoid a greasy gravy?
Trim large surface fat before searing and skim fat after cooking. Or chill the gravy and lift the solidified fat—quick and tidy.
The Bottom Line
This is comfort food with a strategy: sear for flavor, braise smart, and pick the cook method that fits your clock. You’ll get tender beef, silky gravy, and built-in vegetables without juggling five pans. Keep it classic, twist it bold, or make it ahead for frictionless hosting. When you want big results with minimal drama, this pot roast delivers every time.
Printable Recipe Card
Want just the essential recipe details without scrolling through the article? Get our printable recipe card with just the ingredients and instructions.