Pot Roast Recipes That Turn Weeknights Into Effortless Wins
Weeknight-friendly braise with big flavor, easy prep, and foolproof tenderness—perfect for family dinners and cozy Sundays.
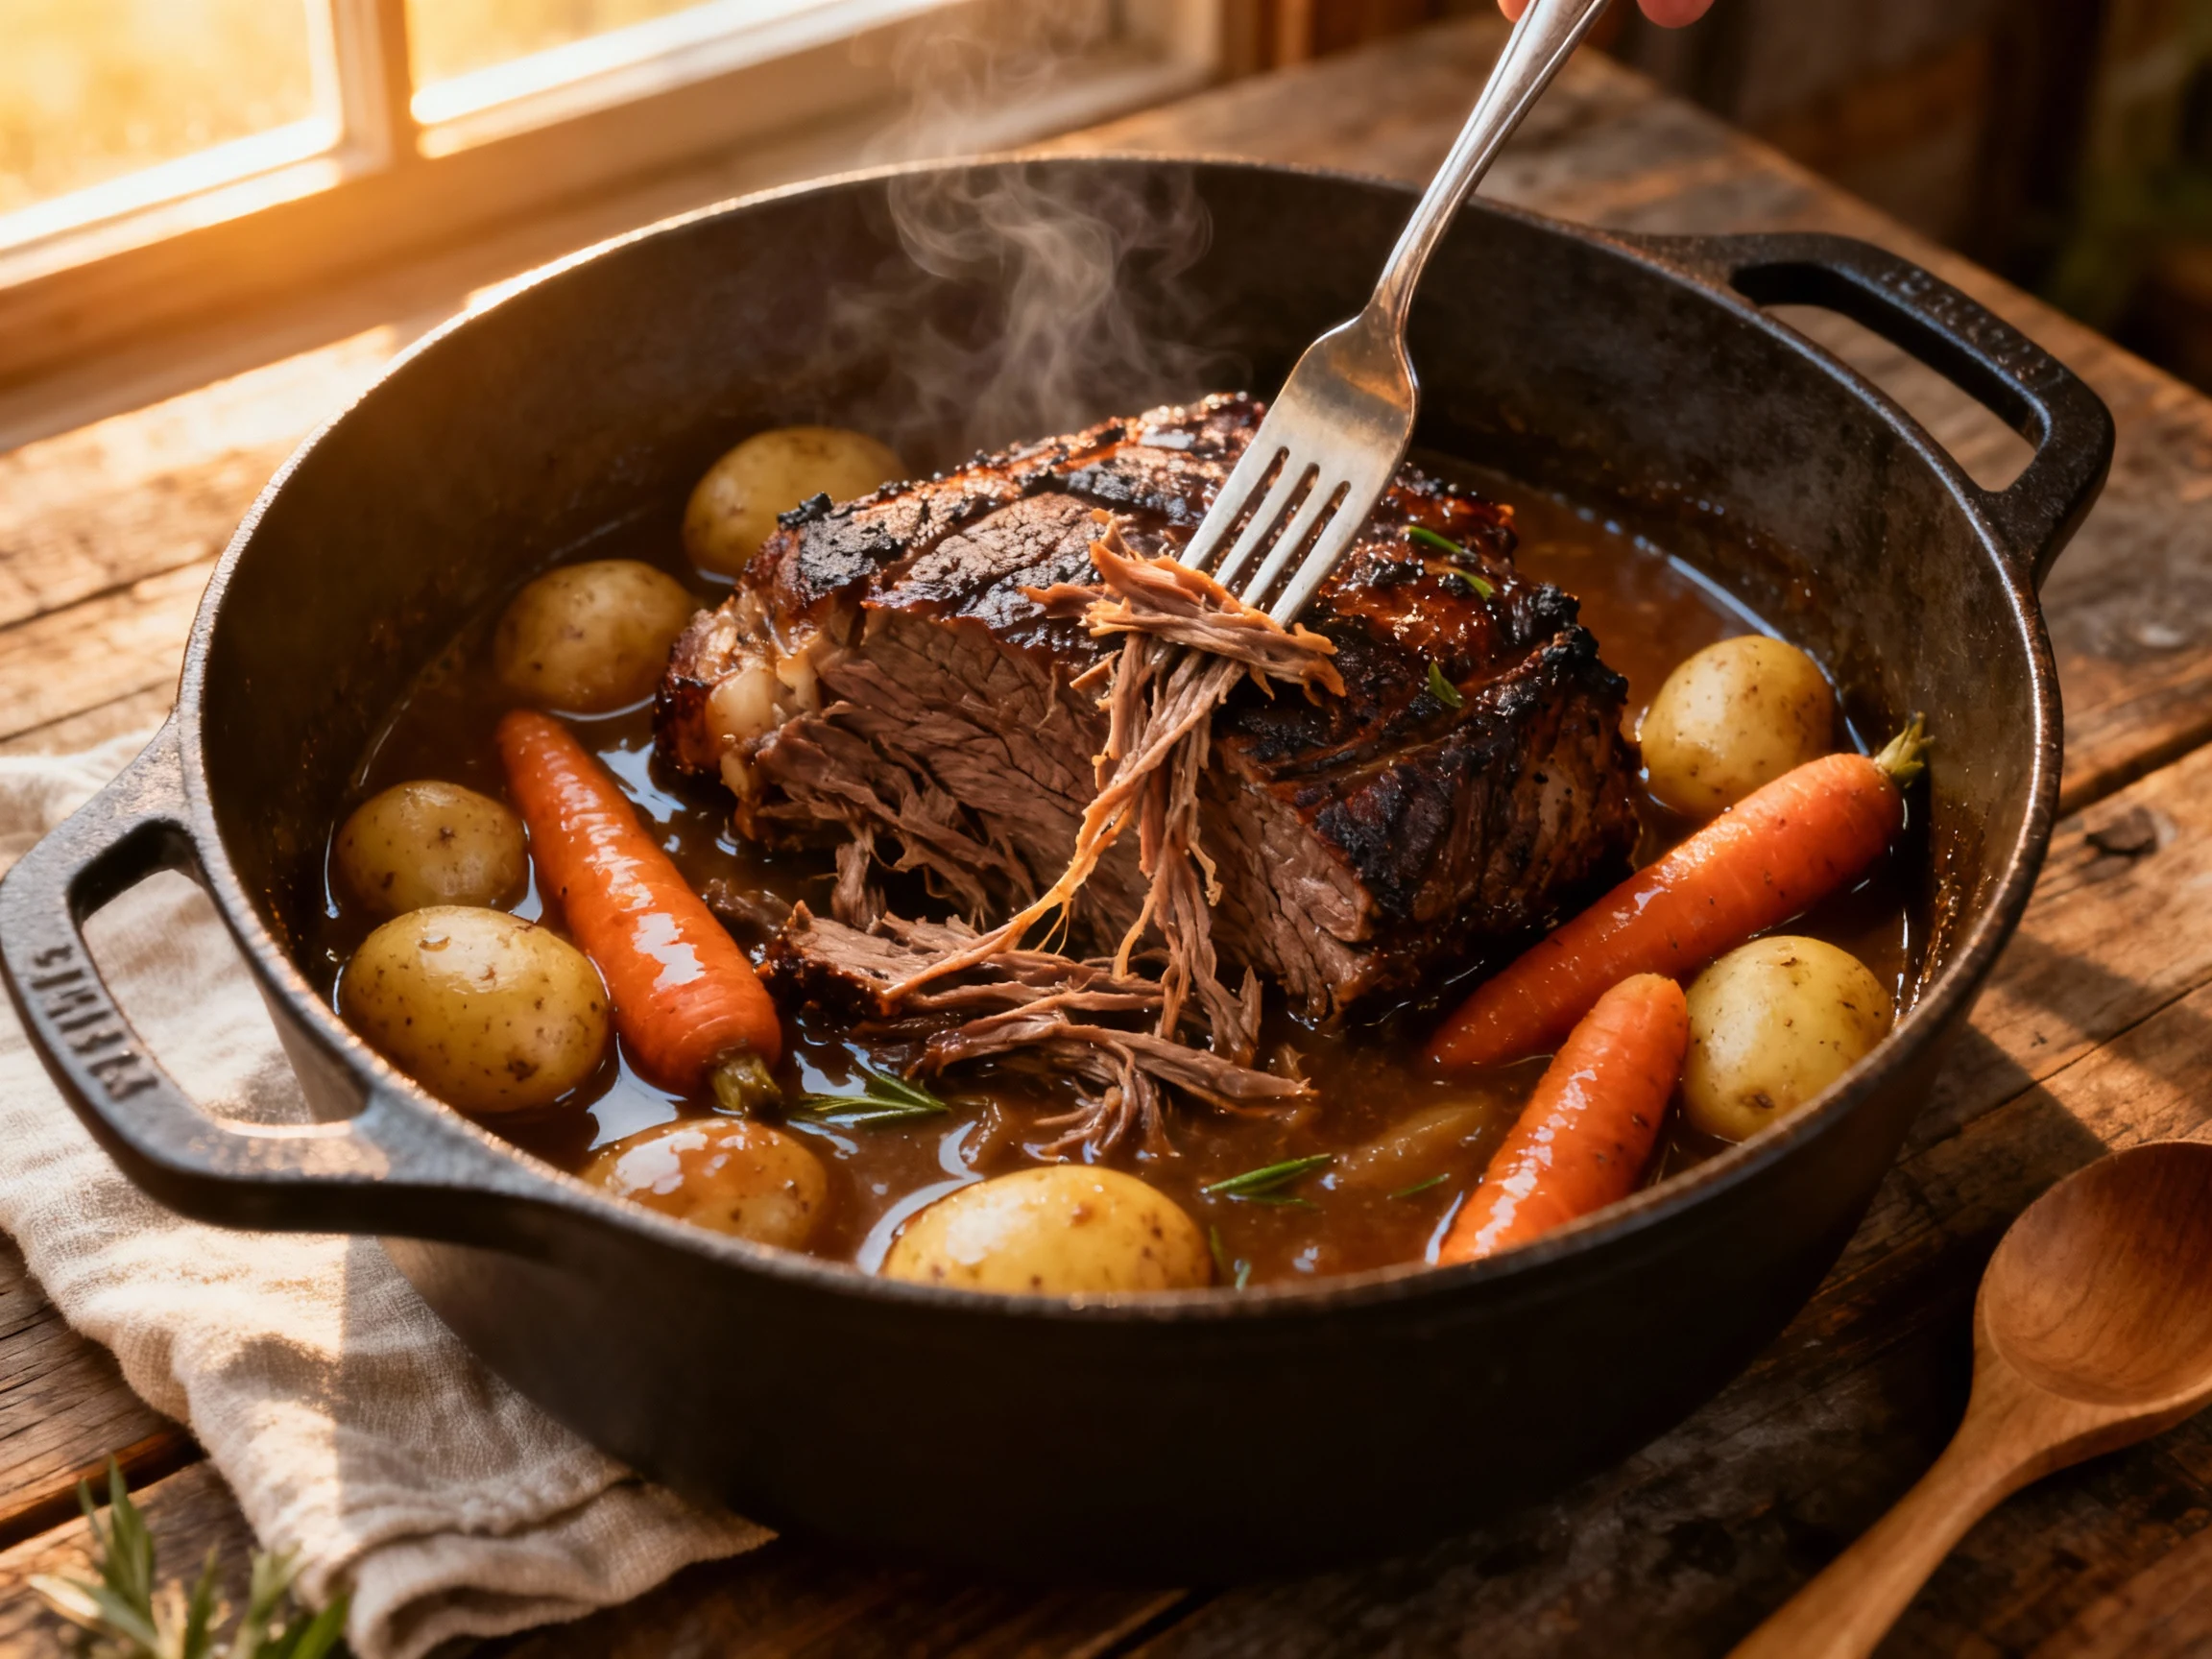
You want a dinner that basically cooks itself while your house smells like a five-star lodge? This is it. Give me 15 minutes of prep, and I’ll give you a fall-apart, gravy-soaked roast that feeds a crowd and turns leftovers into legendary lunches. It’s the set-it-and-crush-it kind of meal: big flavor, low effort, high applause. When the fork meets that buttery beef, you’ll swear you found a cheat code for home cooking.
Why This Recipe Works
- Right cut, right method: We use beef chuck because it’s marbled and collagen-rich, so it transforms into tender, juicy bites under a low-and-slow braise.
- Sear for umami: A deep, even sear builds a crust that dissolves into the sauce, delivering that steakhouse-level savor you crave.
- Balanced braising liquid: Tomato paste, Worcestershire, a splash of soy/tamari, and beef broth create a savory base; optional red wine adds complexity without turning it fussy.
- Vegetable strategy: Onions and carrots sweeten the pot; we add potatoes later so they stay intact instead of melting into mush.
- Finishing move: A touch of balsamic and a knob of butter at the end brighten and gloss the gravy—small step, huge payoff.
What Goes Into This Recipe – Ingredients
- 3–4 lb boneless beef chuck roast, patted dry
- 2–2 1/2 tsp kosher salt (divided), plus 1 tsp black pepper
- 2 tbsp neutral oil (avocado, canola, or grapeseed)
- 2 medium yellow onions, sliced
- 4 garlic cloves, smashed
- 3 large carrots, peeled and cut into 1 1/2-inch chunks
- 1–1 1/2 lb baby Yukon Gold potatoes (or 4 large, quartered)
- 2 tbsp tomato paste
- 1 tbsp Worcestershire sauce
- 1 tbsp soy sauce or tamari (use tamari/coconut aminos for gluten-free)
- 1 cup dry red wine (optional; sub 1 cup broth if skipping)
- 2 cups low-sodium beef broth
- 2 sprigs fresh rosemary and 3 sprigs thyme
- 2 bay leaves
- 1 tbsp balsamic vinegar (finish)
- 1 tbsp cornstarch + 1 tbsp cold water (optional slurry to thicken)
- 1 tbsp unsalted butter (optional finish)
- Chopped parsley for garnish
How to Make It – Instructions
- Preheat: Set your oven to 325°F (165°C). Place a heavy Dutch oven (5–7 qt) on the stove over medium-high heat.
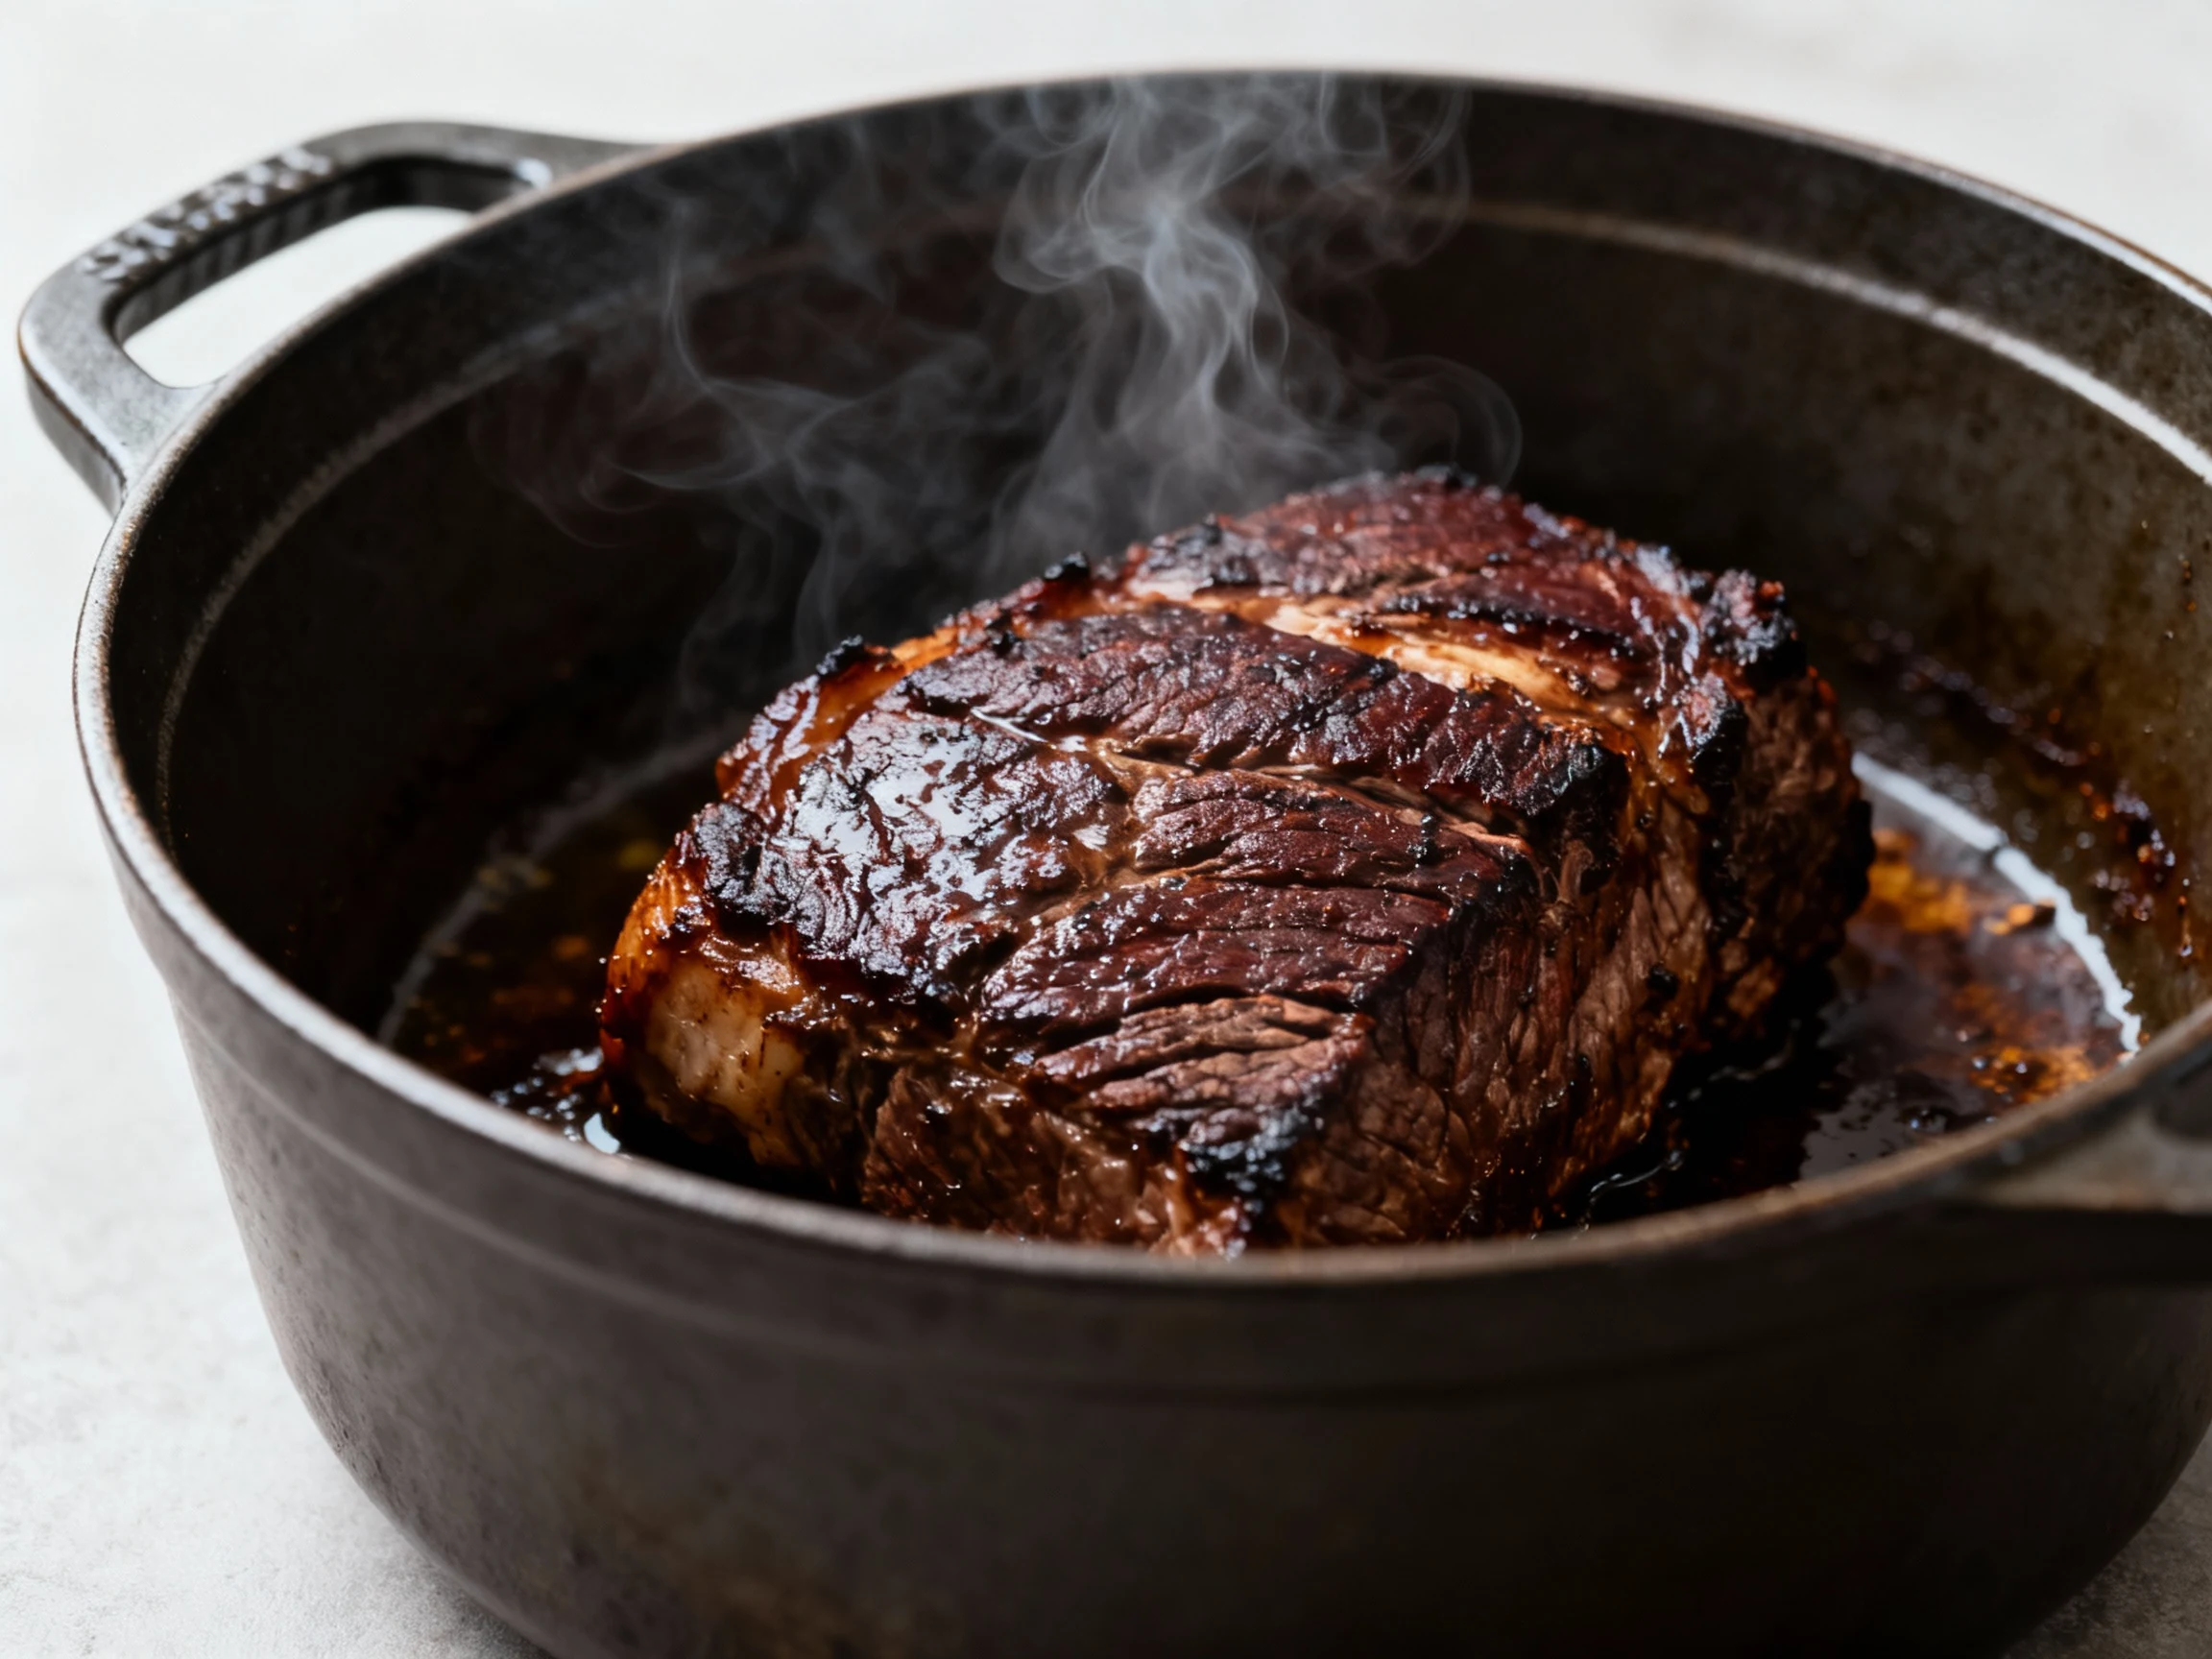
- Season the roast: Pat the beef dry. Season all over with 2 tsp kosher salt and 1 tsp black pepper.
- Sear like you mean it: Add 2 tbsp oil to the pot. Sear the roast until deep brown on all sides, about 3–4 minutes per side. Transfer to a plate.
- Build the base: Add onions and carrots to the pot with a pinch of salt. Cook, stirring, until lightly browned, 5–7 minutes. Stir in garlic for 30 seconds.
- Tomato paste magic: Add 2 tbsp tomato paste and cook until it darkens, about 1 minute.
- Deglaze: Pour in 1 cup red wine (or broth). Scrape up browned bits and simmer until reduced by half, 2–3 minutes.
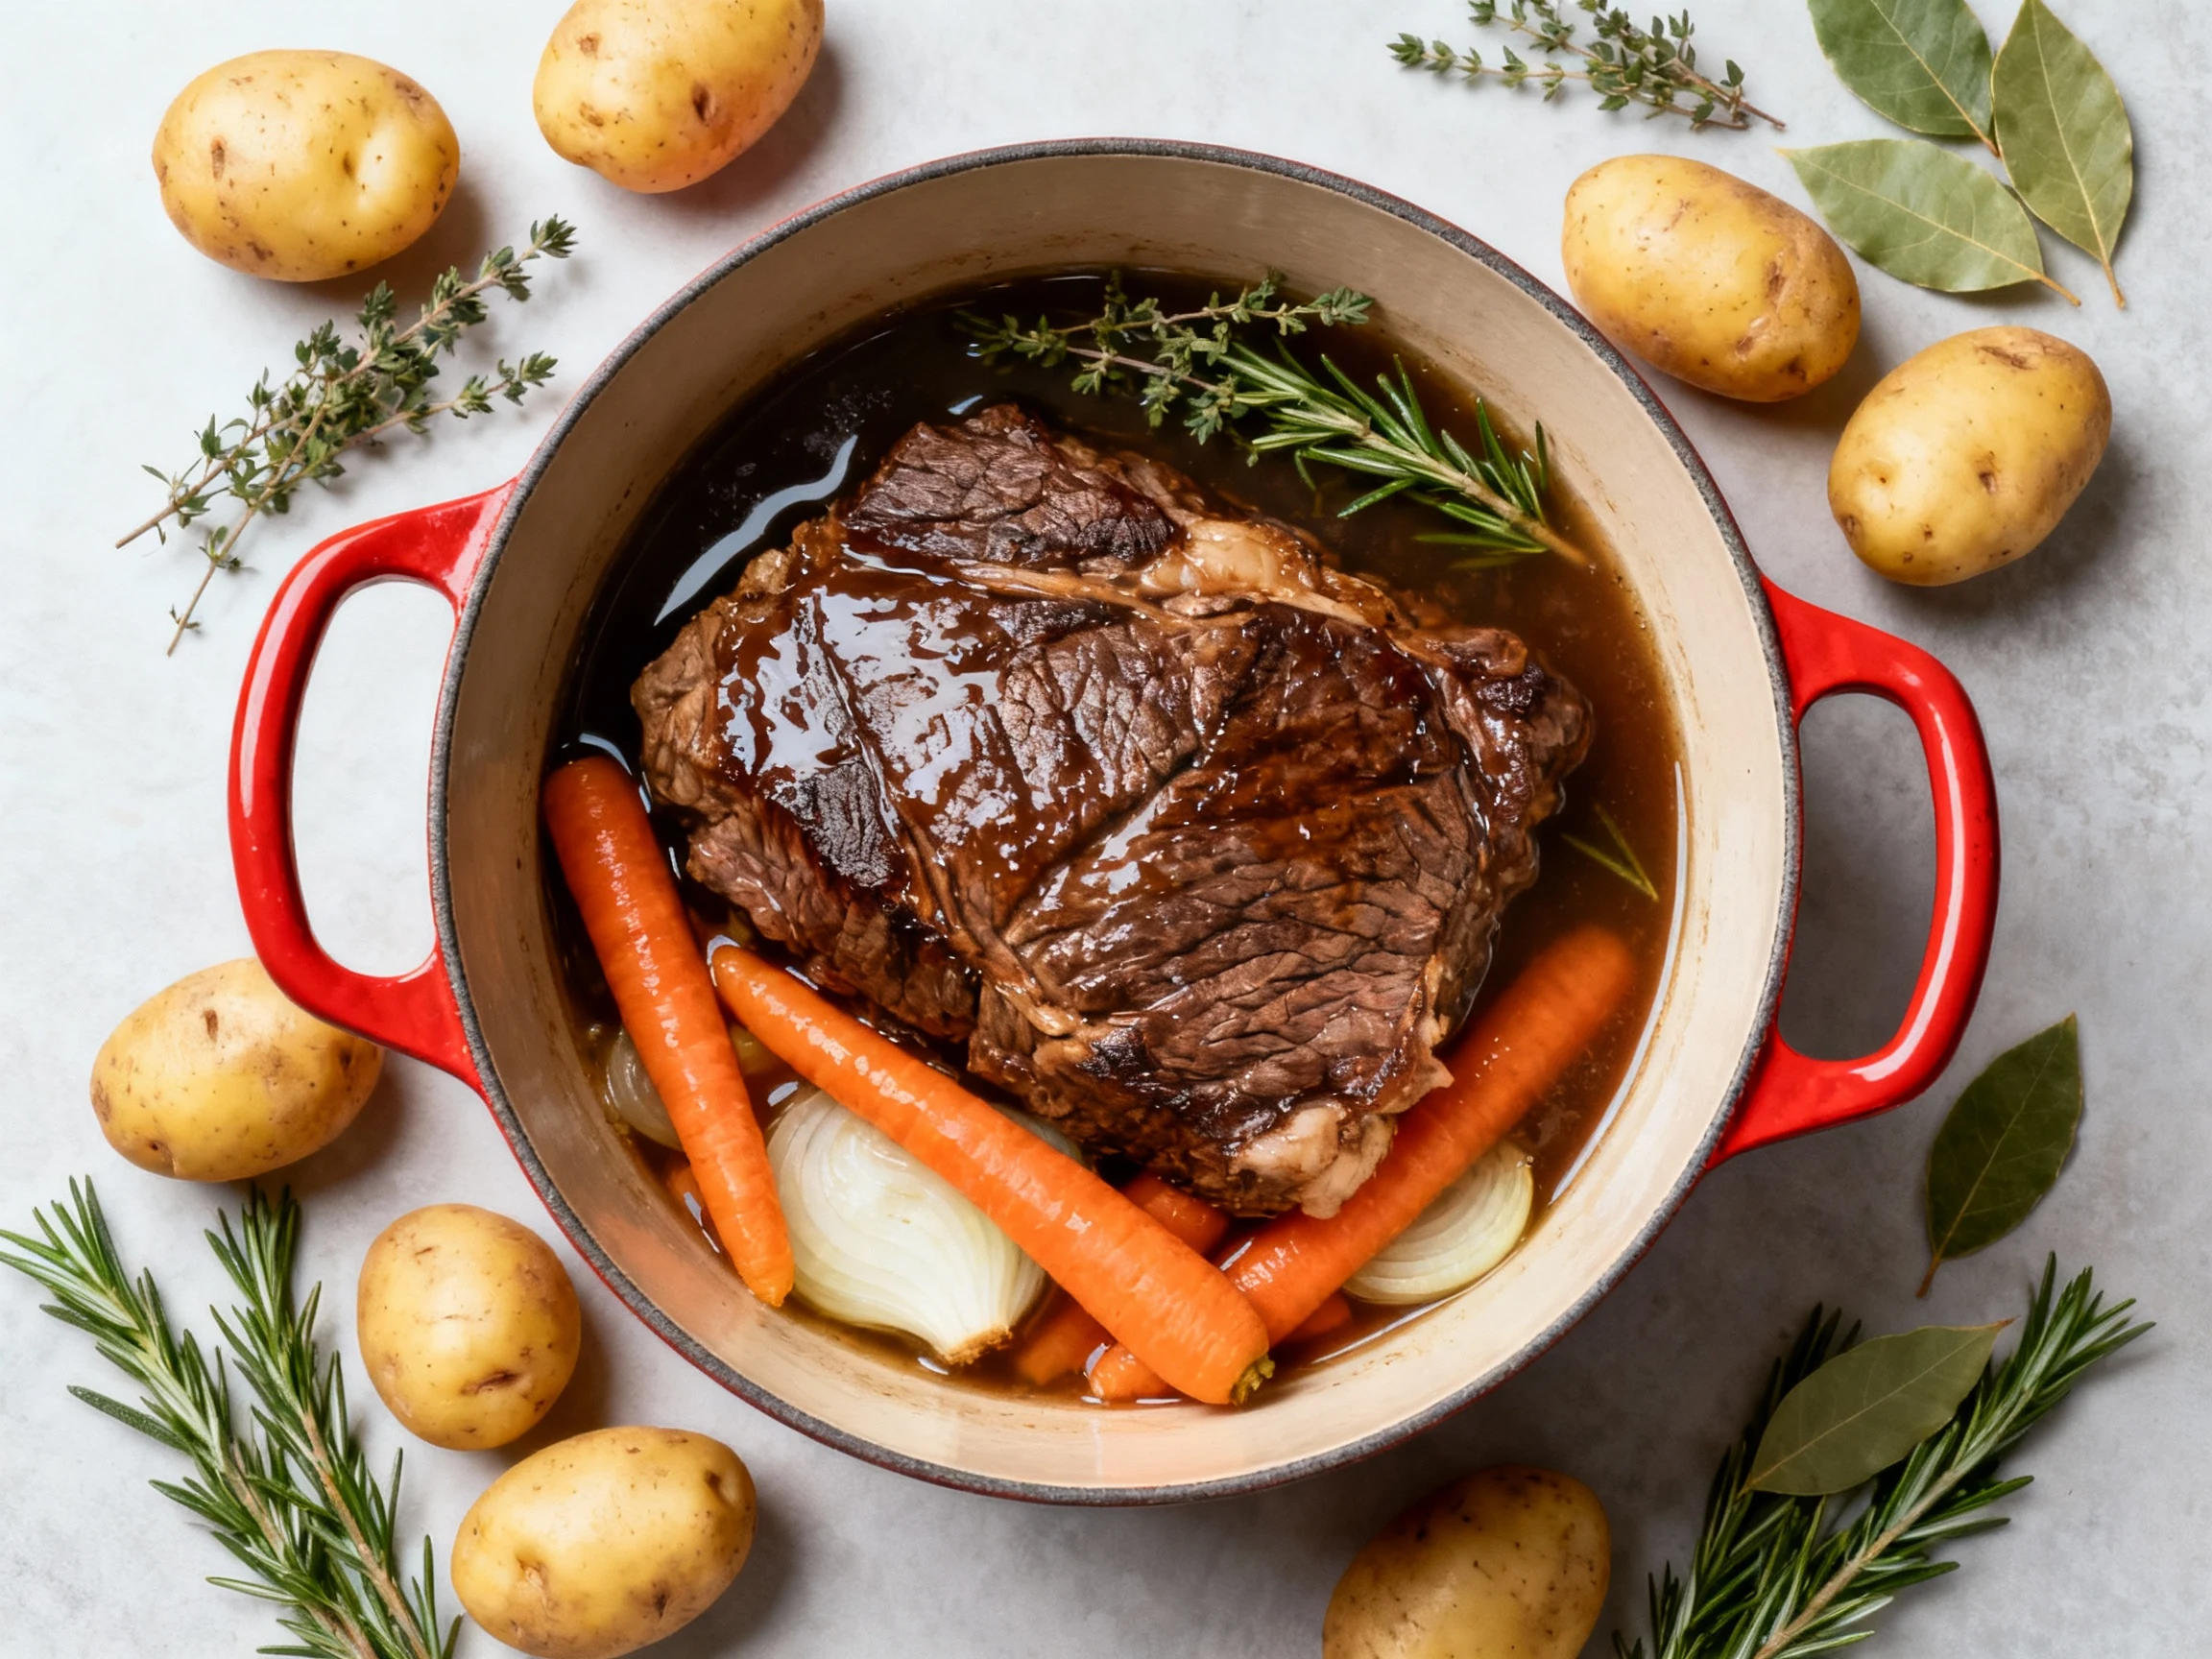
- Build the braise: Add 2 cups beef broth, 1 tbsp Worcestershire, and 1 tbsp soy/tamari. Return the roast to the pot. Liquid should come about halfway up the meat; add a splash more broth if needed.
- Herbs in, lid on: Tuck in rosemary, thyme, and bay leaves. Bring to a simmer, cover, and transfer to the oven.
- Braise, phase one: Cook covered for 2 hours. Don’t open the lid every 10 minutes—this isn’t a reality show.
- Add potatoes: Remove the pot, add potatoes around the roast, re-cover.
- Braise, phase two: Return to oven and cook until the beef is fork-tender, another 45–75 minutes (total time: about 2 3/4–3 3/4 hours, depending on size).
- Rest and reduce: Transfer the roast to a board and rest 10–15 minutes. Discard herb stems and bay leaves. Skim excess fat from the liquid.
- Finish the sauce: Stir in 1 tbsp balsamic. For thicker gravy, stir in the cornstarch slurry and simmer 1–2 minutes until glossy; or mash a few potatoes/carrot pieces into the liquid to thicken naturally.
- Optional gloss: Swirl in 1 tbsp butter for sheen.
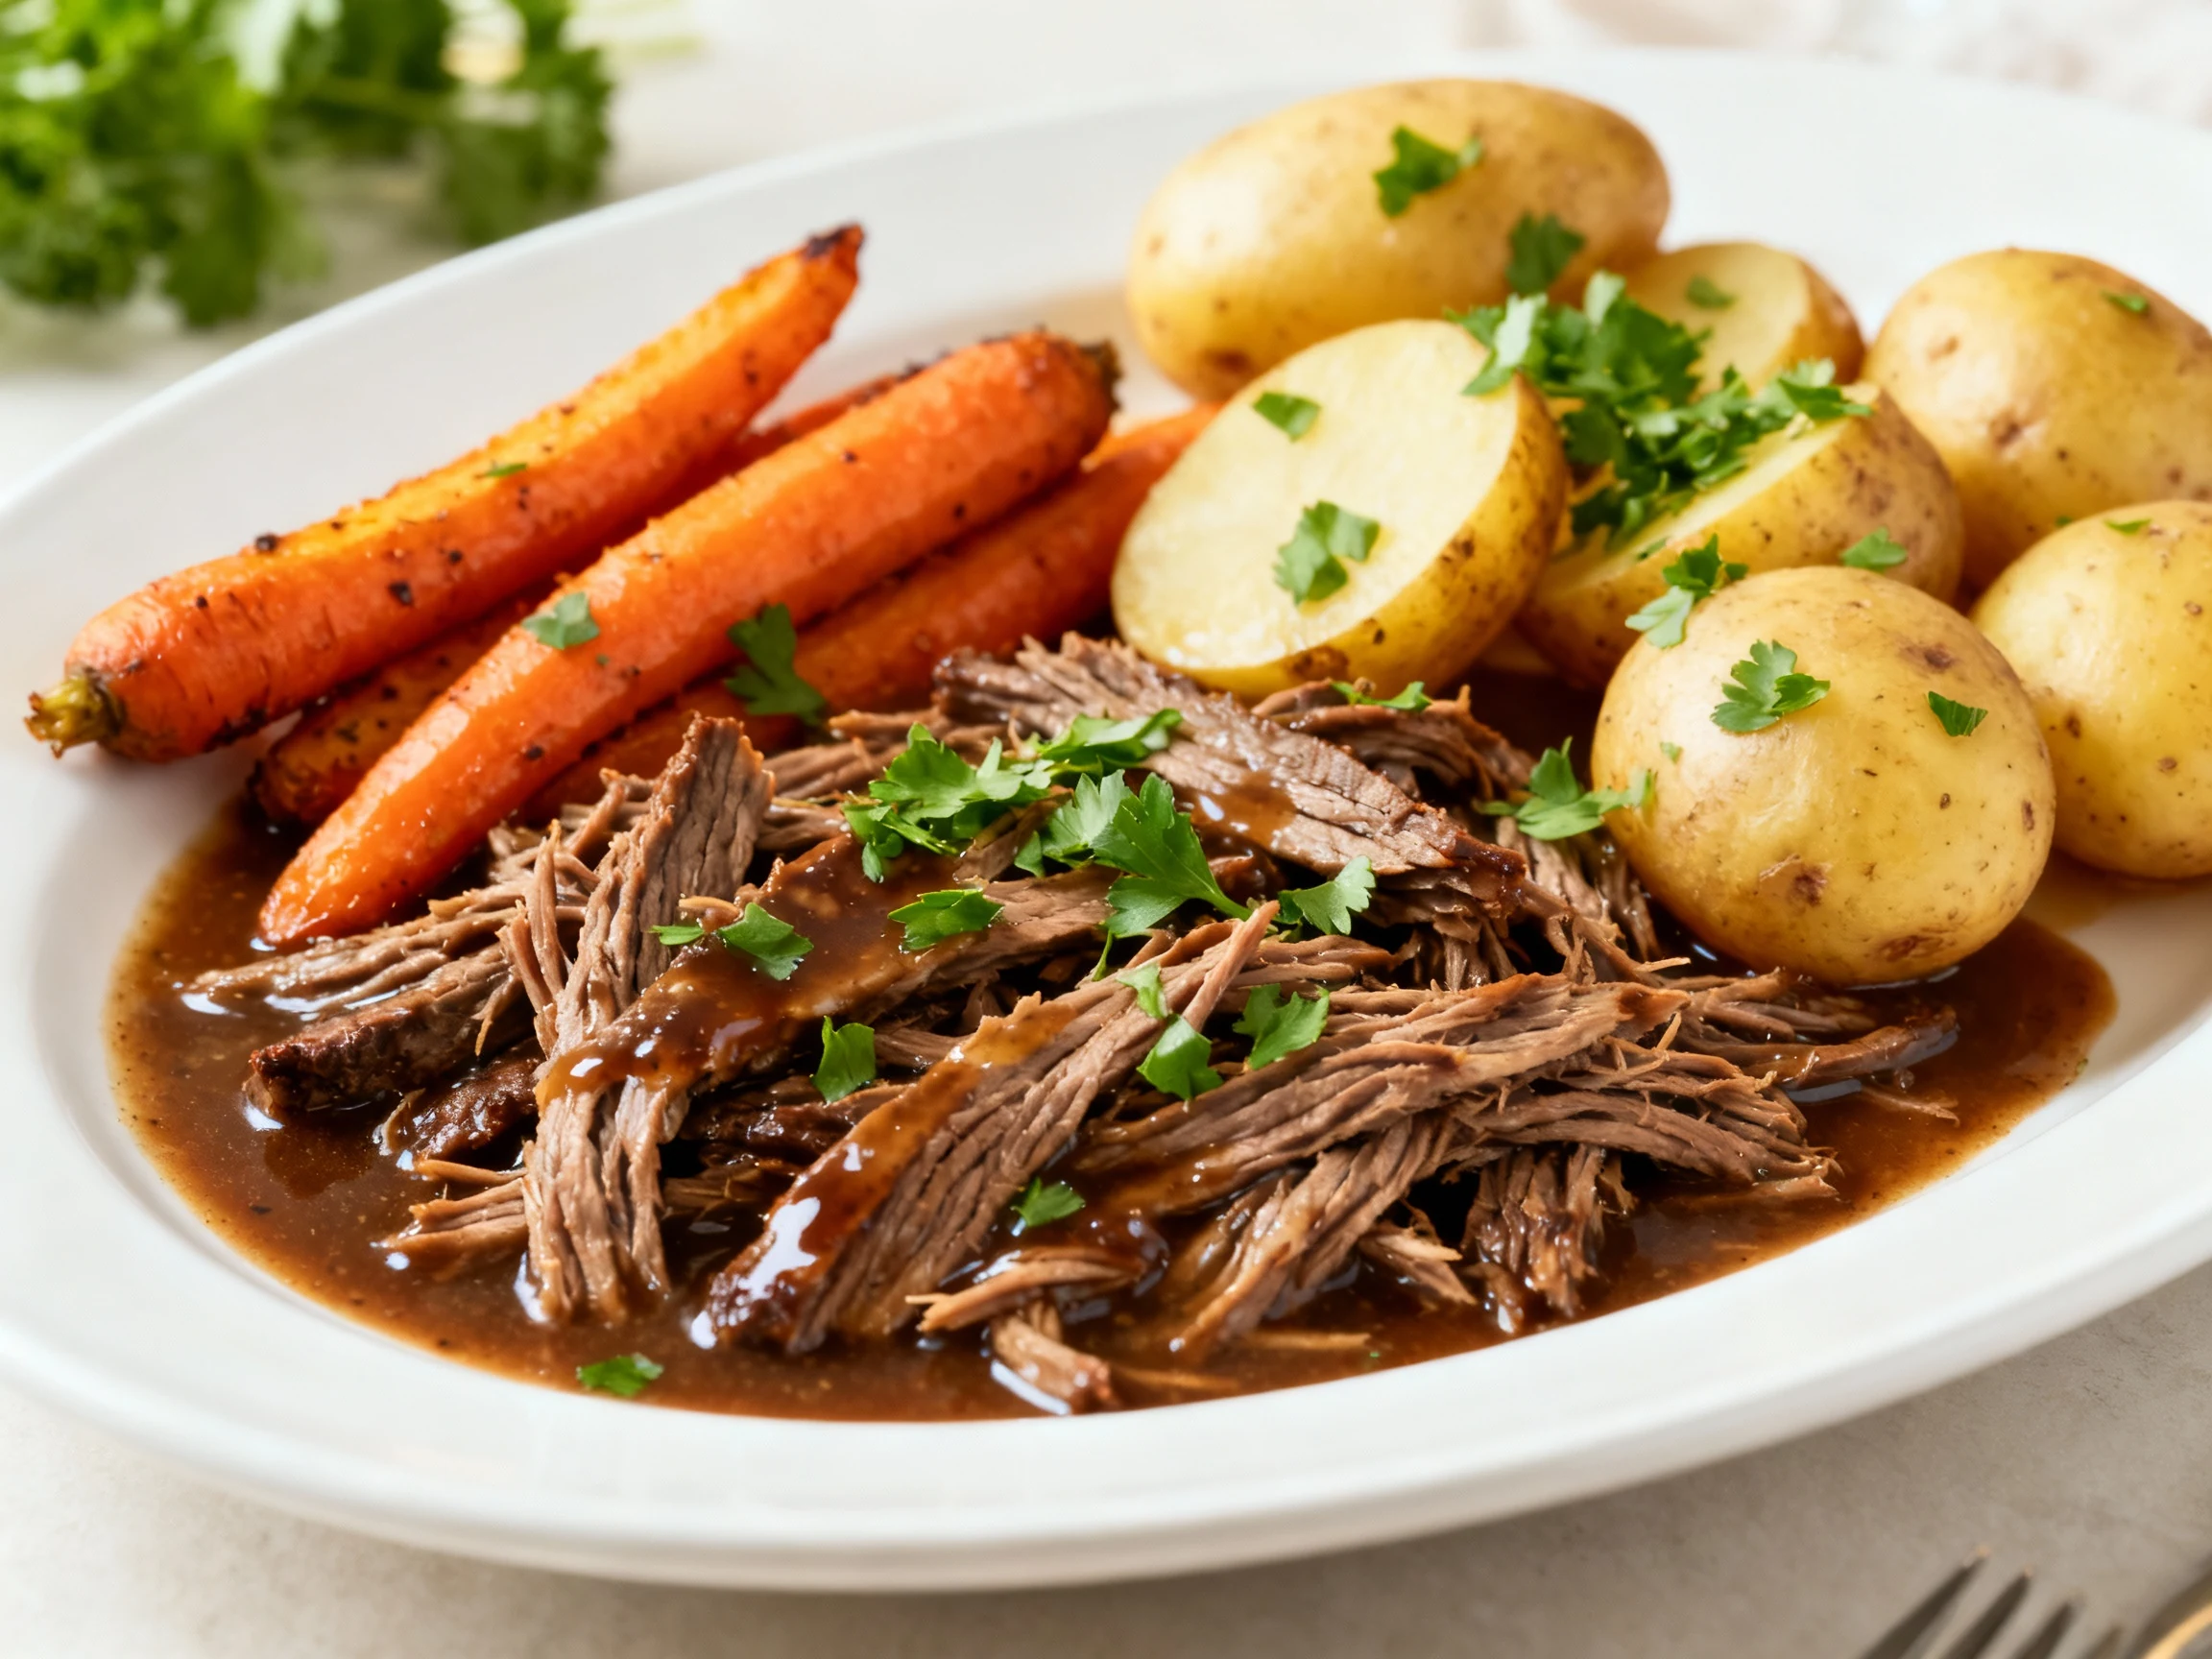
- Serve: Slice or shred the beef. Return it to the pot to soak in the gravy. Shower with parsley and serve with the vegetables and plenty of sauce.
Keeping It Fresh
Store leftovers in an airtight container with the gravy so the meat stays juicy. Refrigerate for up to 4 days or freeze for up to 3 months. FYI: The flavor gets even better on day two as everything marries.
For easy reheating, warm on the stove over low heat with a splash of broth until piping hot. In the oven, use 300°F covered for 20–30 minutes. If you’re planning ahead, chill the whole pot overnight, lift off the fat cap, and reheat—cleaner flavor, cleaner conscience.
Leftover ideas? Sandwiches with provolone, mashed potato bowls, egg-topped hash, or fold the meat into tacos with a squeeze of lime. You made one dinner; enjoy three more without breaking a sweat.
Health Benefits
Protein and iron: Chuck delivers quality protein for muscle repair and iron/B12 for energy. Pair with the carrots and potatoes for a balanced plate that actually satisfies.
Collagen and gelatin: Low-and-slow cooking melts connective tissue, giving you a silky sauce and nutrients that support joint and gut health (IMO, this is comfort food with benefits).
Smarter sodium: Use low-sodium broth, season in layers, and lean on umami (tomato paste, mushrooms, Worcestershire) so you don’t need to oversalt. Add acid at the end to pop flavor instead of dumping more salt.
Customizable carbs and fats: Skip potatoes and add more mushrooms/turnips to reduce carbs; trim exterior fat before cooking; and portion meat at 4–6 oz per serving. Balance the plate with a crisp salad or steamed greens for fresher vibes.
Avoid These Mistakes
- Wrong cut: Lean roasts like round dry out. Choose chuck for consistent tenderness.
- Skipping the sear: Browning adds depth you can’t get later. Take the extra 5–8 minutes.
- Too much liquid: The meat should be half-submerged, not swimming. You’re braising, not boiling.
- Cooking too hot: Keep to 325°F. High heat tightens muscles and makes the roast tough.
- Adding potatoes too early: They’ll disintegrate. Add in the last hour.
- Not enough salt upfront: Season the meat well before searing so the interior tastes like something.
- Ignoring acid and freshness: Finish with balsamic or lemon and fresh herbs. It wakes up the whole pot.
- Impatience: If it’s not tender, it needs more time. Collagen breaks down on its schedule, not yours (rude, I know).
Different Ways to Make This
- Slow cooker (set-and-forget): Sear the roast, build the sauce in a skillet, then transfer everything to a slow cooker. Cook 8–10 hours on Low or 5–6 hours on High. Add potatoes for the last 2–3 hours.
- Instant Pot (weeknight rocket): Sear on Sauté, deglaze thoroughly to avoid the burn notice, then pressure cook 60–70 minutes on High with a 10–15 minute natural release. Add potatoes on top or cook them separately and toss into the gravy.
- Bourguignon-style: Add 6 oz bacon lardons, 8 oz mushrooms, and use 1 1/2 cups red wine. Finish with pearl onions and parsley for a French bistro twist.
- Tex-Mex vibe: Add 2 chipotles in adobo, 1 tsp cumin, and 1 tsp coriander. Finish with lime and cilantro. Serve in warm tortillas with pickled onions.
- Italian Sunday sauce: Stir in 1 cup crushed tomatoes, 1 tsp dried oregano, and a pinch of fennel seed. Serve over creamy polenta with Parmesan.
- Low-carb/keto: Skip potatoes; add extra mushrooms and celery root. Thicken with 1/4 tsp xanthan gum whisked into hot sauce if needed.
- Gluten-free: Use tamari or coconut aminos, and confirm your broth is certified GF. Thicken with cornstarch or arrowroot.
- Budget-friendly: Use blade roast or a well-marbled shoulder cut. It may take a touch longer, but the payoff stays huge.
FAQ
What’s the best cut of beef for a tender, juicy result?
Choose boneless beef chuck. It has enough fat and connective tissue to turn silky and shreddable after a couple of hours in a gentle braise.
Do I really need to sear the meat first?
Yes. Searing amplifies flavor through the Maillard reaction and builds fond, which becomes a rich sauce. It’s the 5-minute step that separates “good” from “whoa.”
How do I know when the roast is done?
Ignore a specific internal temp and test with a fork. When you can slide a fork in and the meat yields with little resistance, you’re done. If it fights back, give it another 20–30 minutes and check again.
Can I make this without red wine?
Absolutely. Use more beef broth plus a splash of balsamic or a teaspoon of fish sauce for oomph. You’ll still get a deep, savory sauce.
My sauce is thin—how do I thicken it?
Simmer uncovered to reduce, swirl in a cornstarch slurry, or mash a few vegetables into the liquid. Each option yields a glossy, spoon-coating gravy.
Can I cook the roast from frozen?
For best texture, thaw first in the fridge 24–48 hours. If you must go from frozen in a pressure cooker, skip the sear initially, cook under pressure, then sear chunks after; flavor will be solid but not as deep.
What vegetables hold up best in the braise?
Carrots, onions, mushrooms, and Yukon Gold potatoes stay sturdy. Add delicate veggies (like green beans) near the end so they don’t go sad and mushy.
How far in advance can I make it?
Up to 2 days ahead. Chill, remove the fat cap, reheat gently, and finish with balsamic and herbs. Flavor gets even better—meal prep that doesn’t taste like “meal prep,” FYI.
In Conclusion
You want maximum comfort with minimum effort, and this delivers. Sear, braise, finish—then watch everyone go quiet at the table except for the happy fork noises. The leftovers hustle just as hard, turning into elite sandwiches, bowls, and tacos. Preheat to 325°F, season with confidence, and let low heat make you look like a culinary mastermind—because tonight, you are.
Printable Recipe Card
Want just the essential recipe details without scrolling through the article? Get our printable recipe card with just the ingredients and instructions.