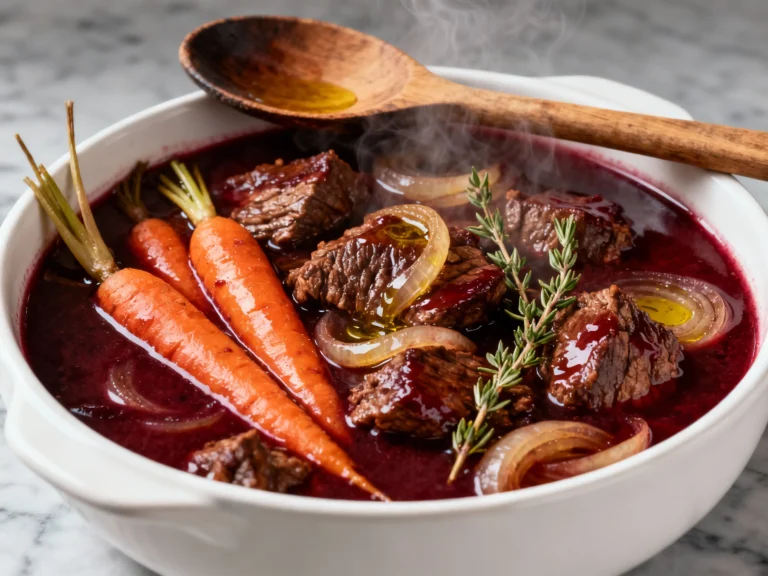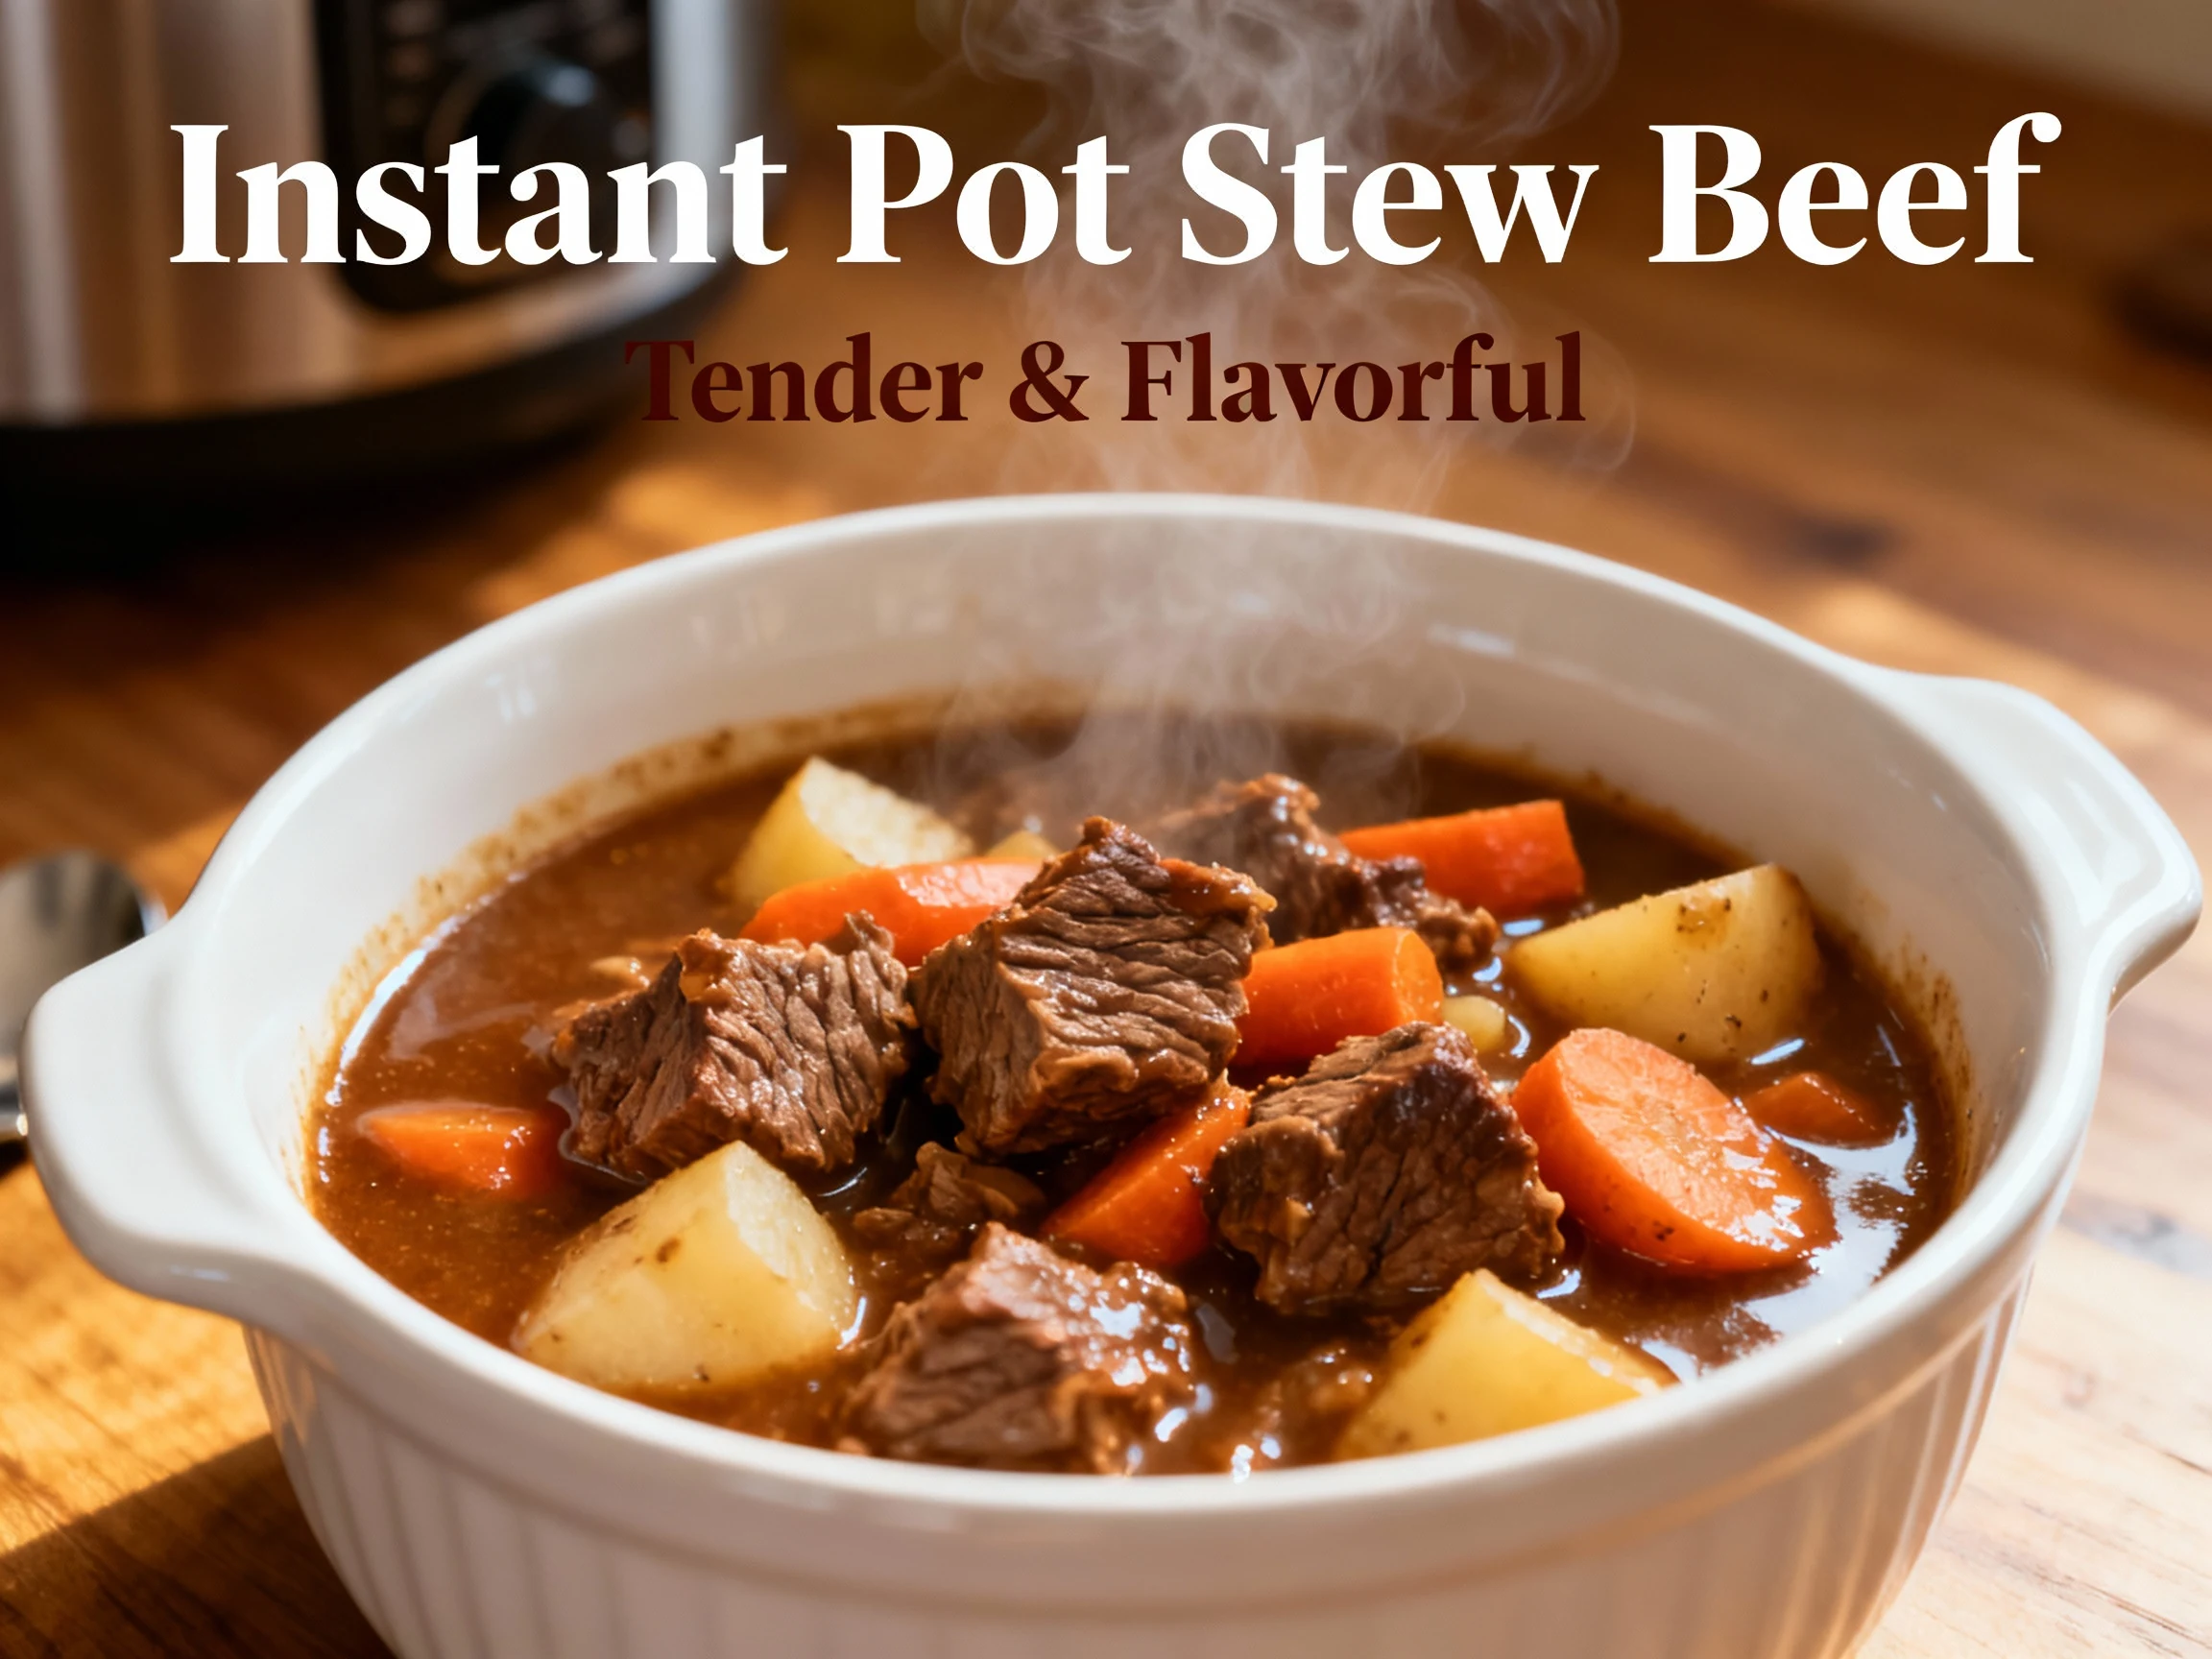
Instant Pot Stew Beef Recipes for Cozy Weeknight Comfort
Get fork-tender beef in under an hour with pantry staples, big flavor, and fewer dishes—perfect for busy nights or effortless meal prep.
You want restaurant-level comfort without a three-hour braise? This does it in under 60 minutes, and your sink won’t look like a crime scene. The trick is pressure plus umami, not grandma’s secret cauldron. We stack flavor, lock it in, and let tech do the heavy lifting. You’ll get deep, rich gravy and beef that falls apart with a spoon. Stick around and I’ll show you exactly how to pull it off, even on a Tuesday.
What Makes This Recipe So Good
- Real stew texture, fast. High pressure turns tough chuck into buttery bites in about 35 minutes of cook time. You’ll swear it was simmering all afternoon.
- One-pot magic. Sauté, deglaze, pressure cook, and thicken—no extra pans. Less mess, more flavor, zero drama.
- Flavor layers that slap. Tomato paste, Worcestershire, soy (or coconut aminos), and aromatics build a savory base. Deglazing pulls every tasty bit into the gravy.
- Balanced veg that hold up. Waxy potatoes, hearty carrots, and peas at the end keep texture legit, not mush.
- Meal prep and freezer friendly. The stew keeps like a champ. Reheat tastes even better tomorrow, FYI.
- Budget-friendly cut. Chuck roast or stew meat delivers flavor at a price your wallet won’t side-eye.
What You’ll Need (Ingredients)
- 2 pounds beef stew meat (chuck roast, cut into 1.5-inch cubes; trim excess hard fat)
- 2 teaspoons kosher salt (divided, adjust to taste)
- 1 teaspoon black pepper
- 2 tablespoons neutral oil (avocado, canola, or light olive oil)
- 1 large yellow onion (diced)
- 3 carrots (peeled and sliced into 1/2-inch rounds)
- 2 celery stalks (sliced)
- 4 cloves garlic (minced)
- 2 tablespoons tomato paste
- 1 tablespoon Worcestershire sauce
- 1 tablespoon soy sauce (or tamari/coconut aminos for gluten-free)
- 1/2 cup dry red wine (optional; sub 1/2 cup broth)
- 3 cups low-sodium beef broth
- 1.25 pounds waxy potatoes (Yukon Gold or red, cut into 1.25-inch chunks)
- 1 teaspoon dried thyme (or 2 teaspoons fresh)
- 1 teaspoon dried rosemary (or 2 teaspoons fresh, chopped)
- 1 teaspoon smoked paprika (optional, but great)
- 2 bay leaves
- 1 cup frozen peas (no need to thaw)
- 2 tablespoons cornstarch (or arrowroot) mixed with 2 tablespoons cool water
- Fresh parsley (chopped, for garnish)
The Method – Instructions
- Prep the beef. Pat the cubes dry with paper towels. Season with 1 teaspoon salt and the black pepper. Dry beef browns better and won’t steam.
- Brown in batches. Set the Instant Pot to Sauté (High). Add oil. Sear beef in 2–3 batches, 2–3 minutes per side, until well browned. Don’t crowd the pot. Transfer browned beef to a bowl.
- Sweat the aromatics. Add onion, carrots, and celery to the pot with a pinch of salt. Sauté 3–4 minutes, stirring and scraping browned bits. Add garlic; cook 30 seconds until fragrant.
- Tomato paste + umami. Stir in tomato paste, Worcestershire, and soy. Cook 1 minute to caramelize the paste. This step amps the savory backbone.
- Deglaze like a pro. Pour in wine (or 1/2 cup broth). Scrape the bottom thoroughly with a wooden spoon until no browned bits remain. Clearing the fond prevents a burn warning.
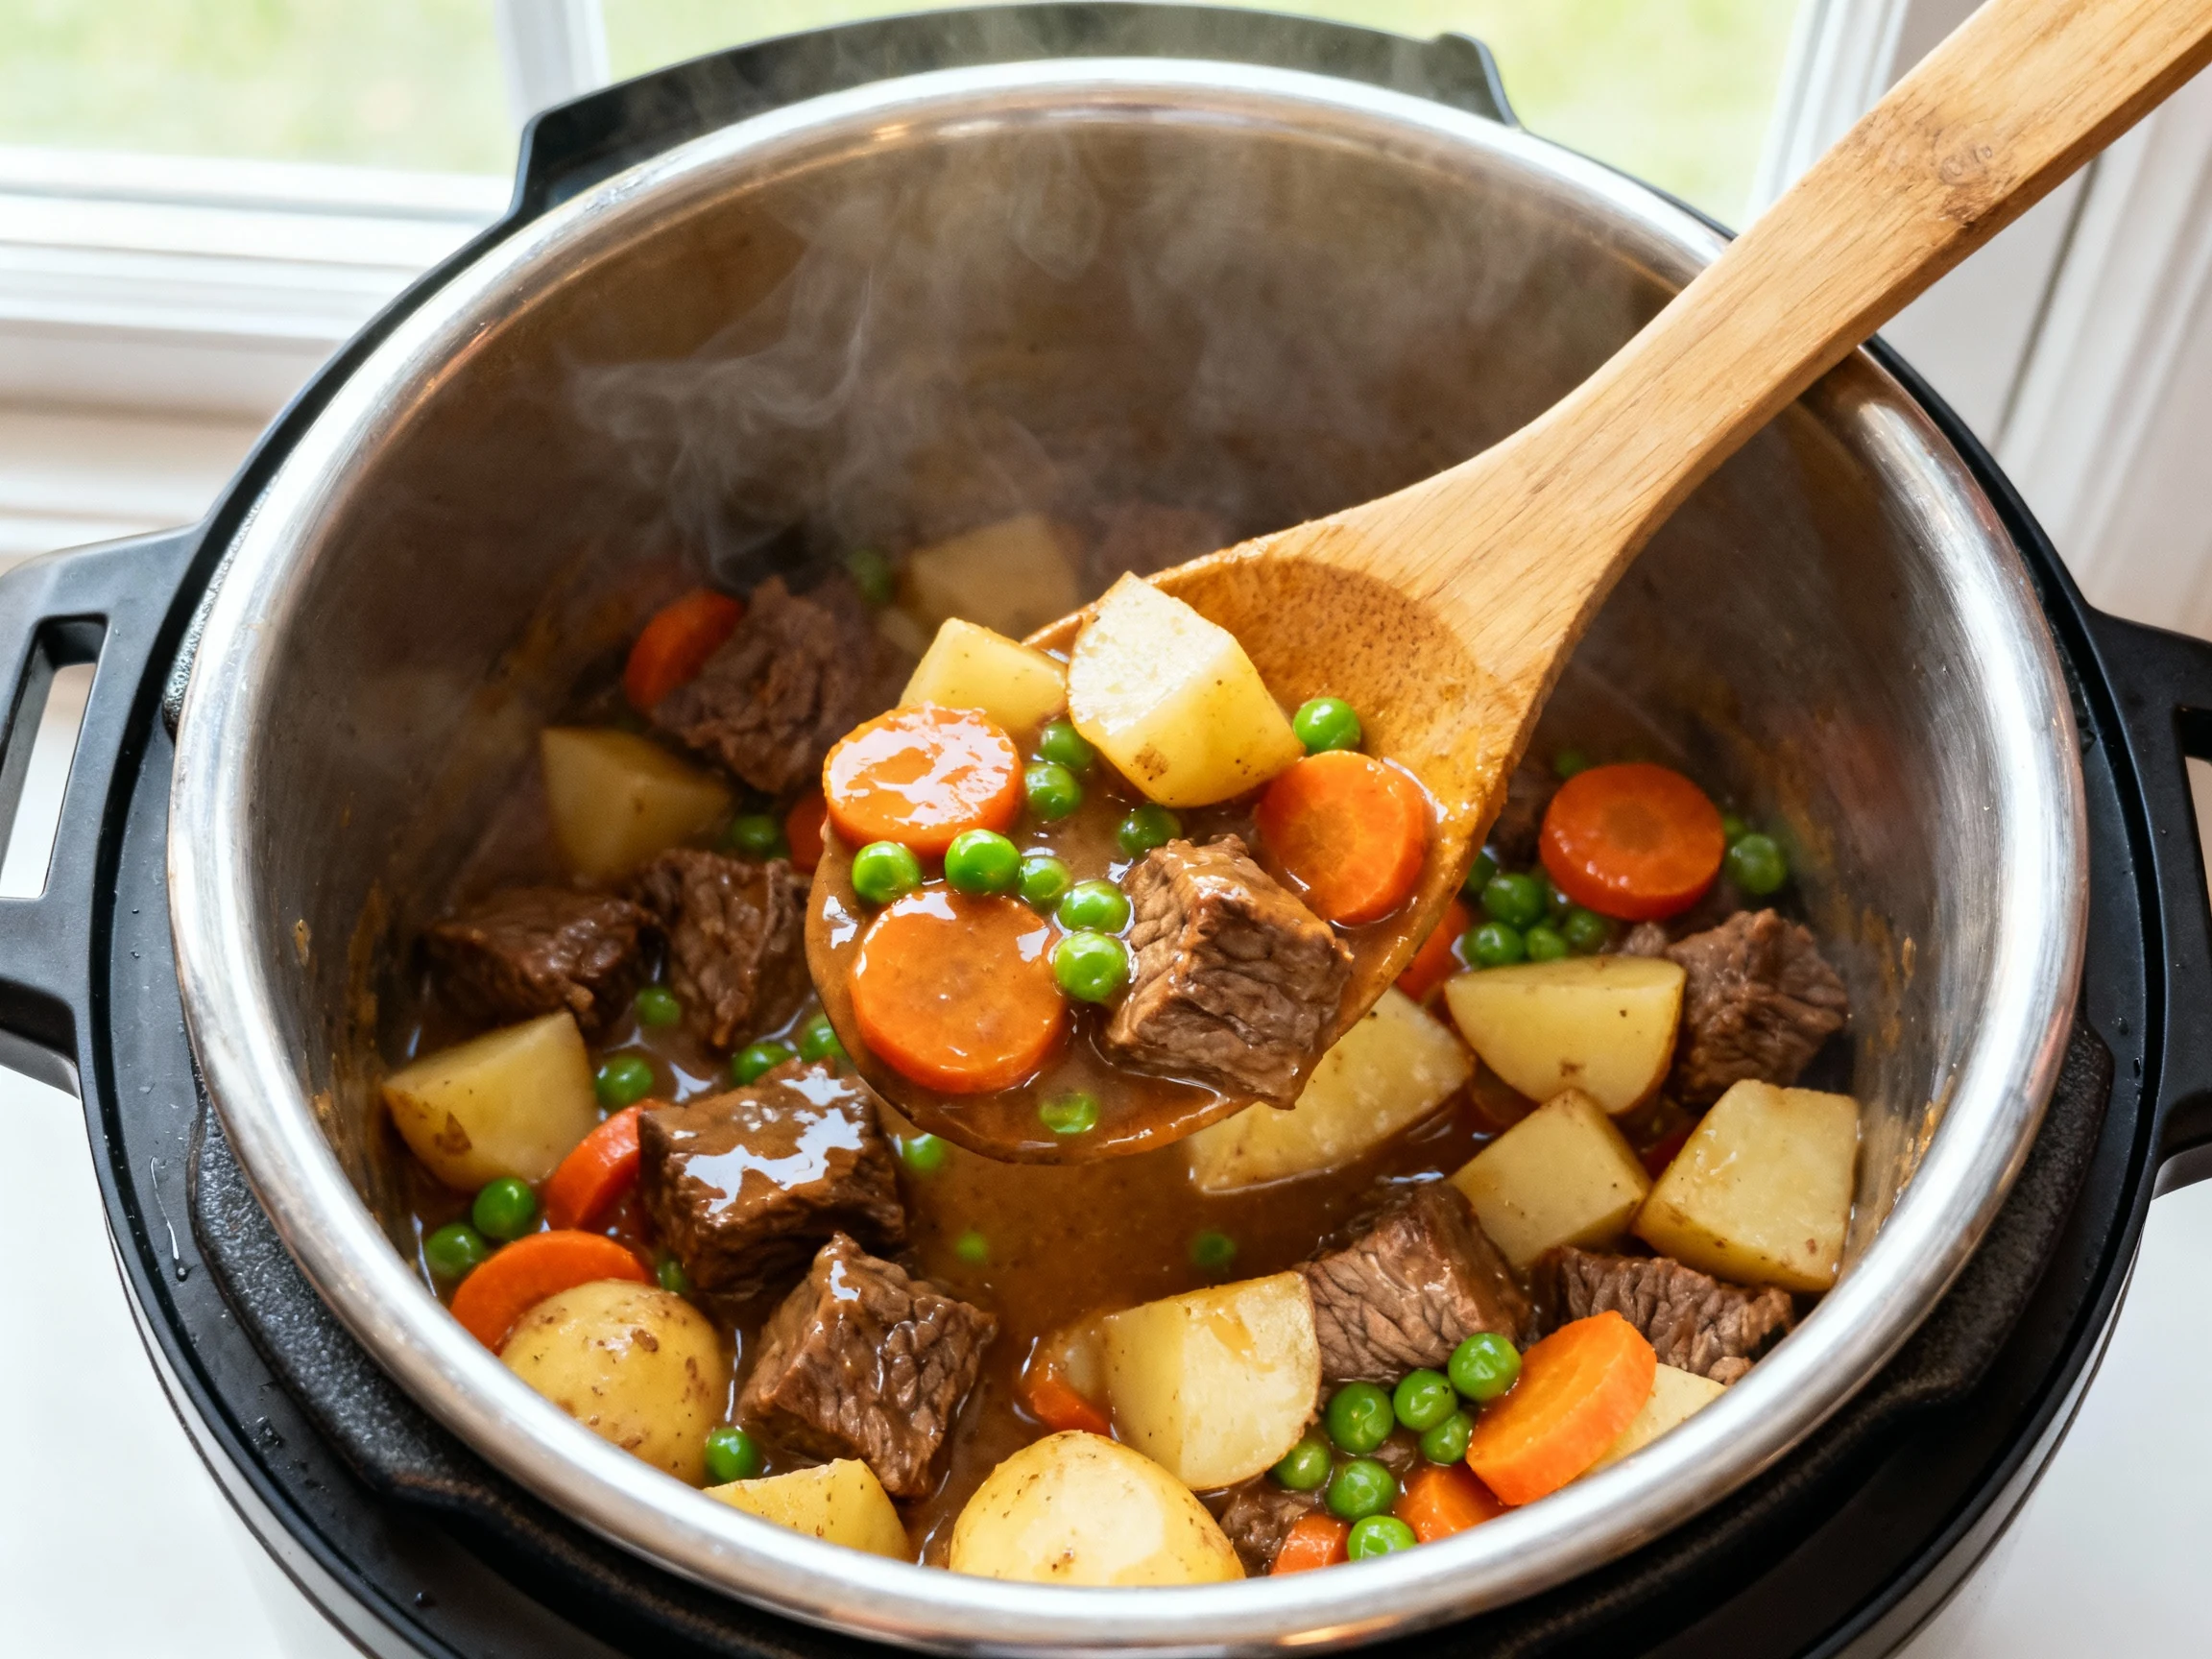
- Load the pot. Return beef and juices. Add potatoes, thyme, rosemary, paprika, bay leaves, and remaining broth. Stir to distribute. Taste the liquid: it should be well seasoned but not salty. Add the remaining 1 teaspoon salt if needed.
- Pressure cook. Cancel Sauté. Lock the lid and set the valve to Sealing. Cook on Manual/Pressure Cook High for 35 minutes.
- Natural release. When time is up, let pressure release naturally for 10 minutes, then quick-release the rest. Open the lid away from you.
- Finish and thicken. Set to Sauté (Low). Stir in peas. Simmer 1 minute. Stir the cornstarch slurry, then drizzle it in while stirring. Simmer 2–3 minutes until the gravy coats a spoon. Adjust thickness by adding a splash of broth or a little more slurry.
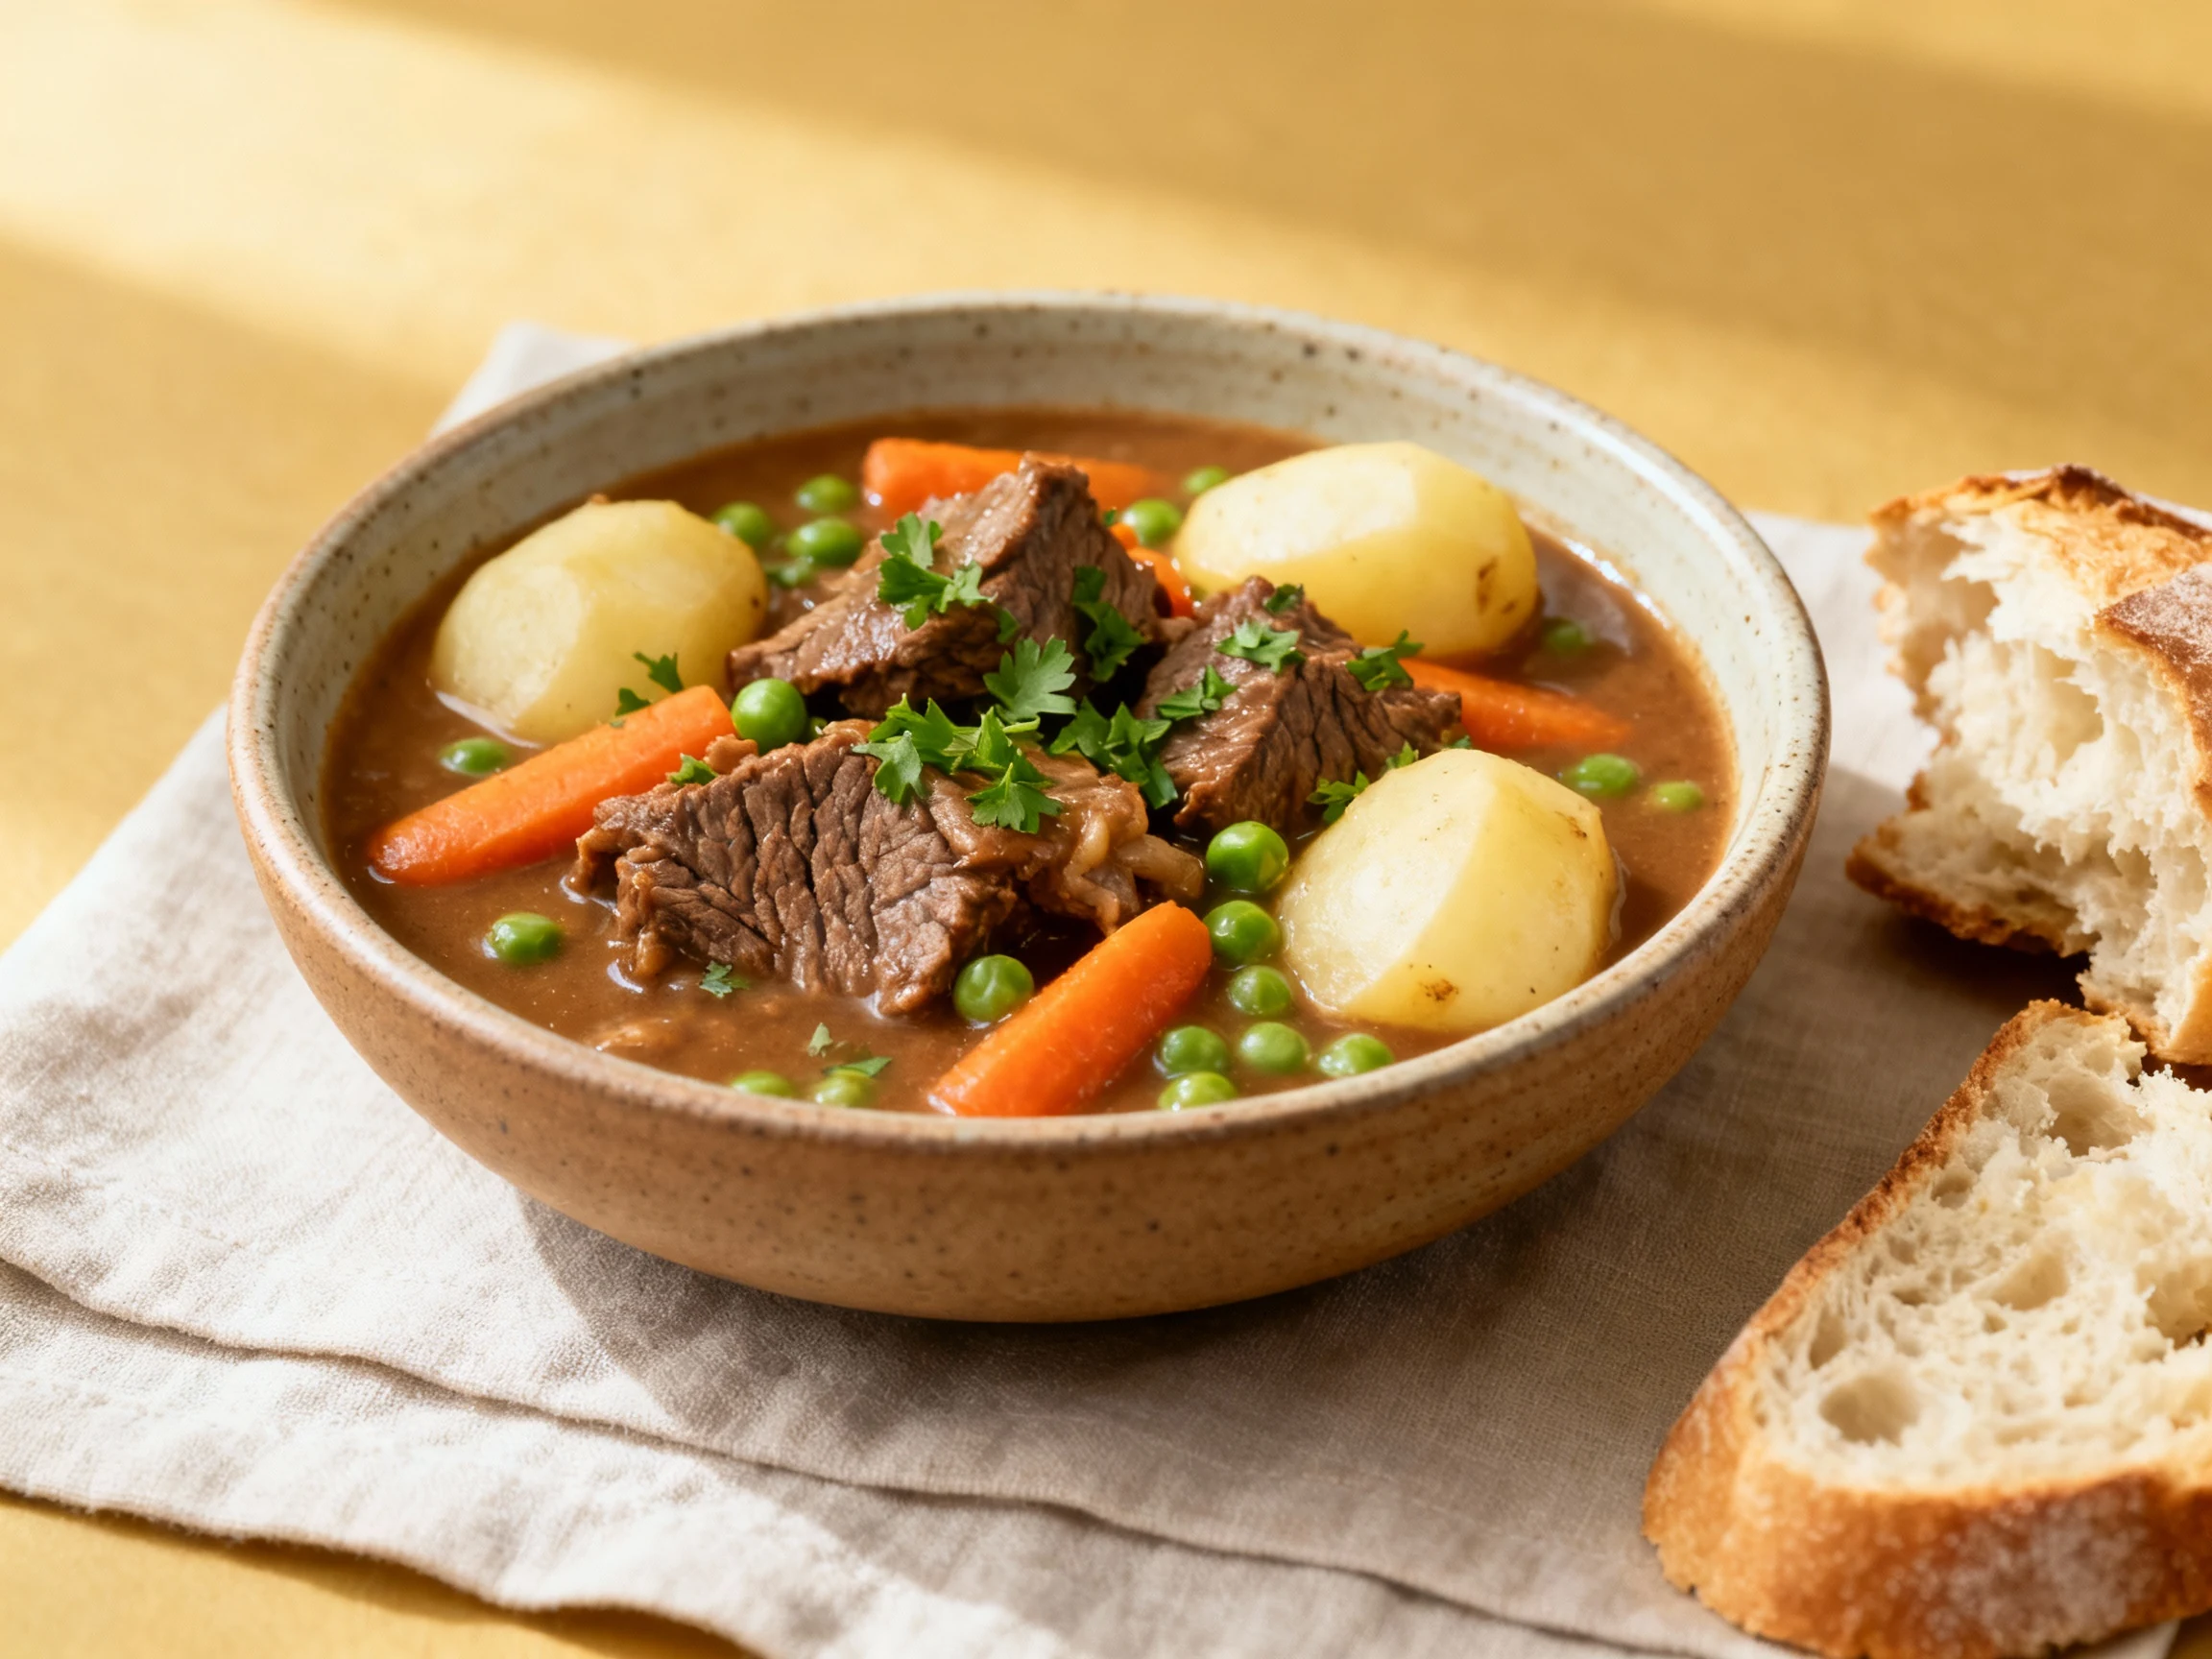
- Final seasoning. Remove bay leaves. Taste and adjust salt, pepper, or a dash more Worcestershire. Finish with chopped parsley.
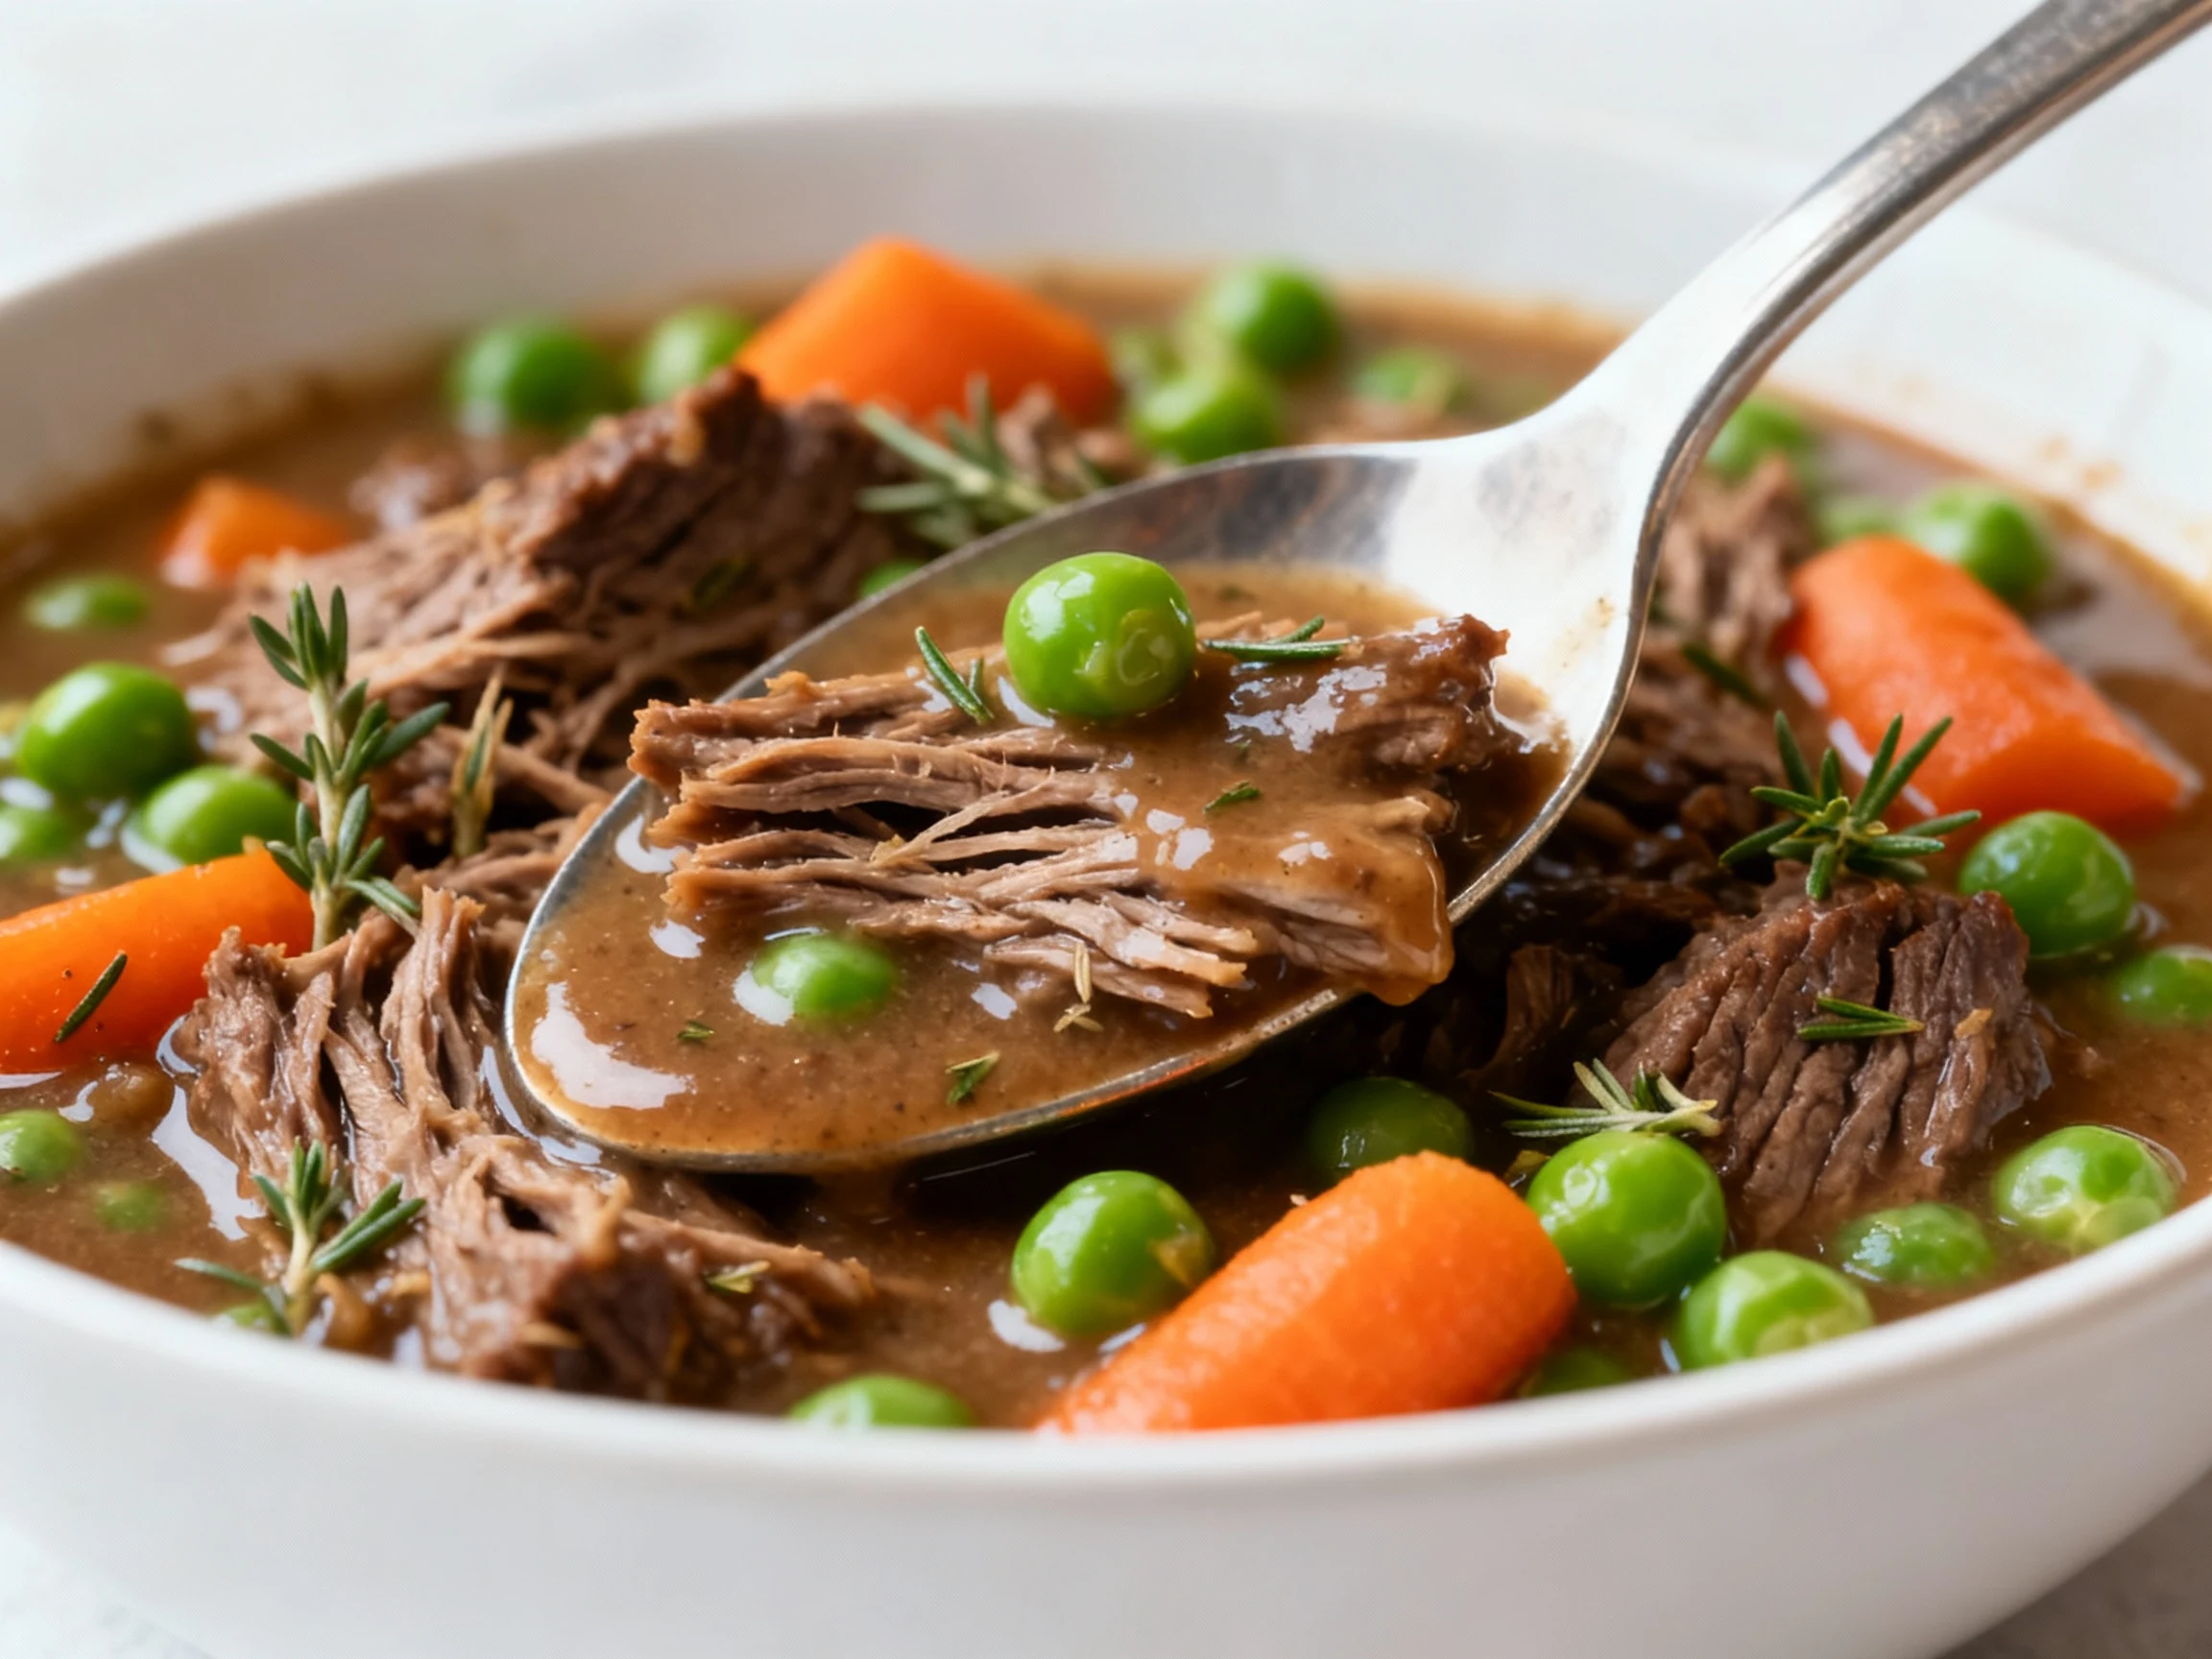
- Serve. Ladle into bowls. Enjoy with crusty bread, buttered noodles, or over creamy mashed potatoes. Cozy mode: activated.
Keeping It Fresh
Fridge: Cool completely, then store in airtight containers for up to 4 days. The flavors deepen by day two, which is chef-speak for “even better.”
Freezer: Portion into freezer-safe containers and freeze for up to 3 months. For best texture, freeze without peas and stir them in when reheating. Potatoes freeze fine, but waxy ones hold up best.
Reheat: Stovetop over medium with a splash of broth or water, 8–10 minutes. Microwave in 60–90 second bursts, stirring between. Don’t boil vigorously or the beef can tighten up.
Meal prep tip: Make a double batch and freeze in 1–2 serving portions. Future-you will send a thank-you note.
Benefits of This Recipe
- Time efficiency: Classic braise flavor in a fraction of the time.
- Budget win: Uses affordable cuts and pantry staples.
- One-pot process: Sear, simmer, thicken—no extra cookware.
- Nutrition-forward: Protein-rich, veggie-loaded, and satiating.
- Customizable: Easy swaps for gluten-free, dairy-free, and low-carb needs.
- Meal prep friendly: Holds, reheats, and freezes like a champ.
- Kid-approved flavors: Savory, slightly sweet carrots, and silky gravy.
What Not to Do
- Don’t skip the sear. Browning builds flavor and color that pressure alone can’t fake.
- Don’t forget to deglaze. Any stuck bits can trigger a burn notice. Scrape until the bottom is smooth.
- Don’t quick-release immediately. A 10-minute natural release relaxes the beef fibers. Skip it and you risk chewy meat.
- Don’t add thickeners before pressure. Flour or slurry can scorch. Thicken after cooking while on Sauté.
- Don’t overstuff. Keep ingredients below the Max line. Pressure cookers need headspace to work.
- Don’t use super lean cuts. Go for chuck, not round. Fat equals flavor and tenderness.
- Don’t cut potatoes too small. Tiny pieces will vanish. Aim for 1.25-inch chunks.
- Don’t oversalt early. Broth reduces slightly. Season, taste, then adjust at the end.
Recipe Variations
- Classic Red Wine Stew: Keep the 1/2 cup wine, add 1 teaspoon Dijon at the end for brightness.
- Guinness Stout Version: Swap wine for 3/4 cup stout, reduce broth by 1/4 cup, add 1 teaspoon brown sugar to balance bitterness.
- Chipotle Heat: Add 1–2 minced chipotles in adobo with the tomato paste and 1 teaspoon cumin. Garnish with cilantro.
- Mushroom Umami: Add 8 ounces cremini mushrooms in Step 3. Finish with 1 teaspoon balsamic vinegar.
- Herb Garden: Replace dried herbs with 2 tablespoons each fresh thyme and rosemary. Add 1 tablespoon chopped fresh oregano.
- Low-Carb Swap: Replace potatoes with turnips or radishes. Reduce cook time to 30 minutes to avoid mushy veg.
- Gluten-Free/Whole30: Use coconut aminos instead of soy. Ensure broth and Worcestershire are compliant (or sub 1 teaspoon fish sauce).
- Tomato-Free: Skip tomato paste; add 1 tablespoon fish sauce and 1 teaspoon paprika for depth and color.
- No-Sear Express: In a rush? Skip browning, add 1 teaspoon extra paprika, and toast tomato paste 1 minute. Flavor won’t be identical, but still solid.
FAQ
What’s the best cut of beef for pressure-cooked stew?
Chuck roast wins every time. It has enough marbling to stay juicy and tender under pressure. Pre-cut “stew meat” can be a mix of cuts; it works, but pick packages with visible marbling and uniform cubes for even cooking.
Can I cook from frozen?
Yes, but skip the sear and extend the pressure time to 45 minutes with a 15-minute natural release. Add aromatics and liquids first, then the frozen beef. Expect a thinner sauce; thicken at the end with slurry.
How do I avoid the burn warning?
Scrape the pot thoroughly after deglazing, keep starches out until after pressure cooking, and ensure enough liquid—at least 1 cup, though this recipe uses more for proper gravy. Also avoid piling thick tomato paste on the bottom; stir it in evenly.
Can I double or halve the recipe?
You can do either. Keep the cook time the same; only the amount of liquid and ingredients change. Don’t exceed the Max fill line. For half batches, ensure at least 1 cup of thin liquid so the pot can pressurize.
Do I have to use wine?
Nope. Swap it for more broth or a splash of apple cider vinegar (1 teaspoon) for brightness. The stew still tastes rich and balanced without alcohol.
Why is my beef still tough?
It needed more time or a longer natural release. Put the lid back on and cook an additional 5–10 minutes at High with a quick 5-minute natural release. Also ensure you used a good cut like chuck.
Can I make this without potatoes?
Sure. Use more carrots and celery, or sub parsnips, turnips, or mushrooms. If serving over mashed potatoes or rice, reduce the broth by 1/2–1 cup to keep the sauce rich.
How thick should the gravy be?
It should lightly coat a spoon. Start with the listed slurry, then tweak. If it’s too thick, loosen with broth. If too thin, add more slurry in small amounts, simmer, and taste for salt after thickening.
Is this friendly for meal prep?
Totally. Portion, chill fast, and store airtight. Reheat gently with a splash of broth. For best texture after freezing, add peas when reheating. IMO, day-two stew is elite.
Can I make it in a slow cooker instead?
Yes. Sear beef and sauté aromatics on the stovetop, then transfer to a slow cooker. Add remaining ingredients (except peas and slurry). Cook on Low 7–8 hours or High 4–5 hours. Stir in peas and slurry in the last 20–30 minutes.
The Bottom Line
This stew delivers the real deal—deep flavor, tender beef, and a glossy gravy—in a weeknight-friendly format. You’ll build layers fast, let pressure do its thing, then finish like a pro. It’s economical, customizable, and genuinely satisfying. When comfort calls and time’s tight, this is the pot you reach for, no excuses.
Printable Recipe Card
Want just the essential recipe details without scrolling through the article? Get our printable recipe card with just the ingredients and instructions.