Ice Cream Recipes for Bold Flavor With Zero Fuss
Crave bold flavor without the mess? Get scoop-shop results fast using simple methods, pantry staples, and zero fancy equipment.
If a $6 pint can’t deliver joy, why keep buying it? You can make richer, creamier, louder flavors at home in less time than it takes to watch a sitcom. The trick isn’t a $500 machine—it’s smart ratios and a couple of power ingredients. Think of this as dessert with a high ROI: minimal effort, maximum payoff, repeatable every weekend. Your freezer is about to become the most profitable real estate in your house.
Why This Recipe Works
This master no-churn method wins because it balances fat, sugar, and air—the holy trinity of creamy scoops. Heavy cream supplies the fat that coats ice crystals so each bite stays silky. Sweetened condensed milk delivers concentrated sugar that locks in moisture and lowers the freezing point, so your ice cream stays scoopable instead of turning into a frosty rock.
We whip the cream to medium peaks for structure, then gently fold in the flavor base. That folding keeps air bubbles intact, creating that plush, scoop-shop texture without a machine. A pinch of salt (yes, in dessert) wakes up sweetness and deepens flavor. Optional alcohol—like vodka or bourbon—acts as natural anti-freeze for even softer scoops, because science tastes good.
Best part? This base plays nice with almost any mix-in. You can layer swirls, crunches, and fruit without the ice crystals that normally sabotage homemade batches. It’s flexible, forgiving, and fast—exactly what weeknight dessert should be.
What Goes Into This Recipe – Ingredients
- 2 cups (480 ml) cold heavy cream
- 1 can (14 oz / 395 g) sweetened condensed milk
- 2 teaspoons vanilla bean paste or pure vanilla extract
- 1/4 teaspoon fine sea salt
- 1–2 tablespoons neutral alcohol (vodka or bourbon, optional for softness)
- Up to 2 cups mix-ins (cookies, brownies, nuts, chocolate chips, fruit, etc.)
- Optional swirls: 1/2 cup fudge sauce, caramel, or jam
- For Chocolate: 1/4 cup unsweetened cocoa powder + 2 tablespoons espresso or hot water
- For Strawberry: 1 1/2 cups diced berries + 2 tablespoons sugar + 1 teaspoon lemon juice
- For Coffee: 2 tablespoons instant espresso powder + 1 teaspoon vanilla
- For Mint Chip: 1 teaspoon peppermint extract + 1/2 cup chopped dark chocolate
- For Peanut Butter Ripple: 3/4 cup warm peanut butter + 2 tablespoons honey
Cooking Instructions
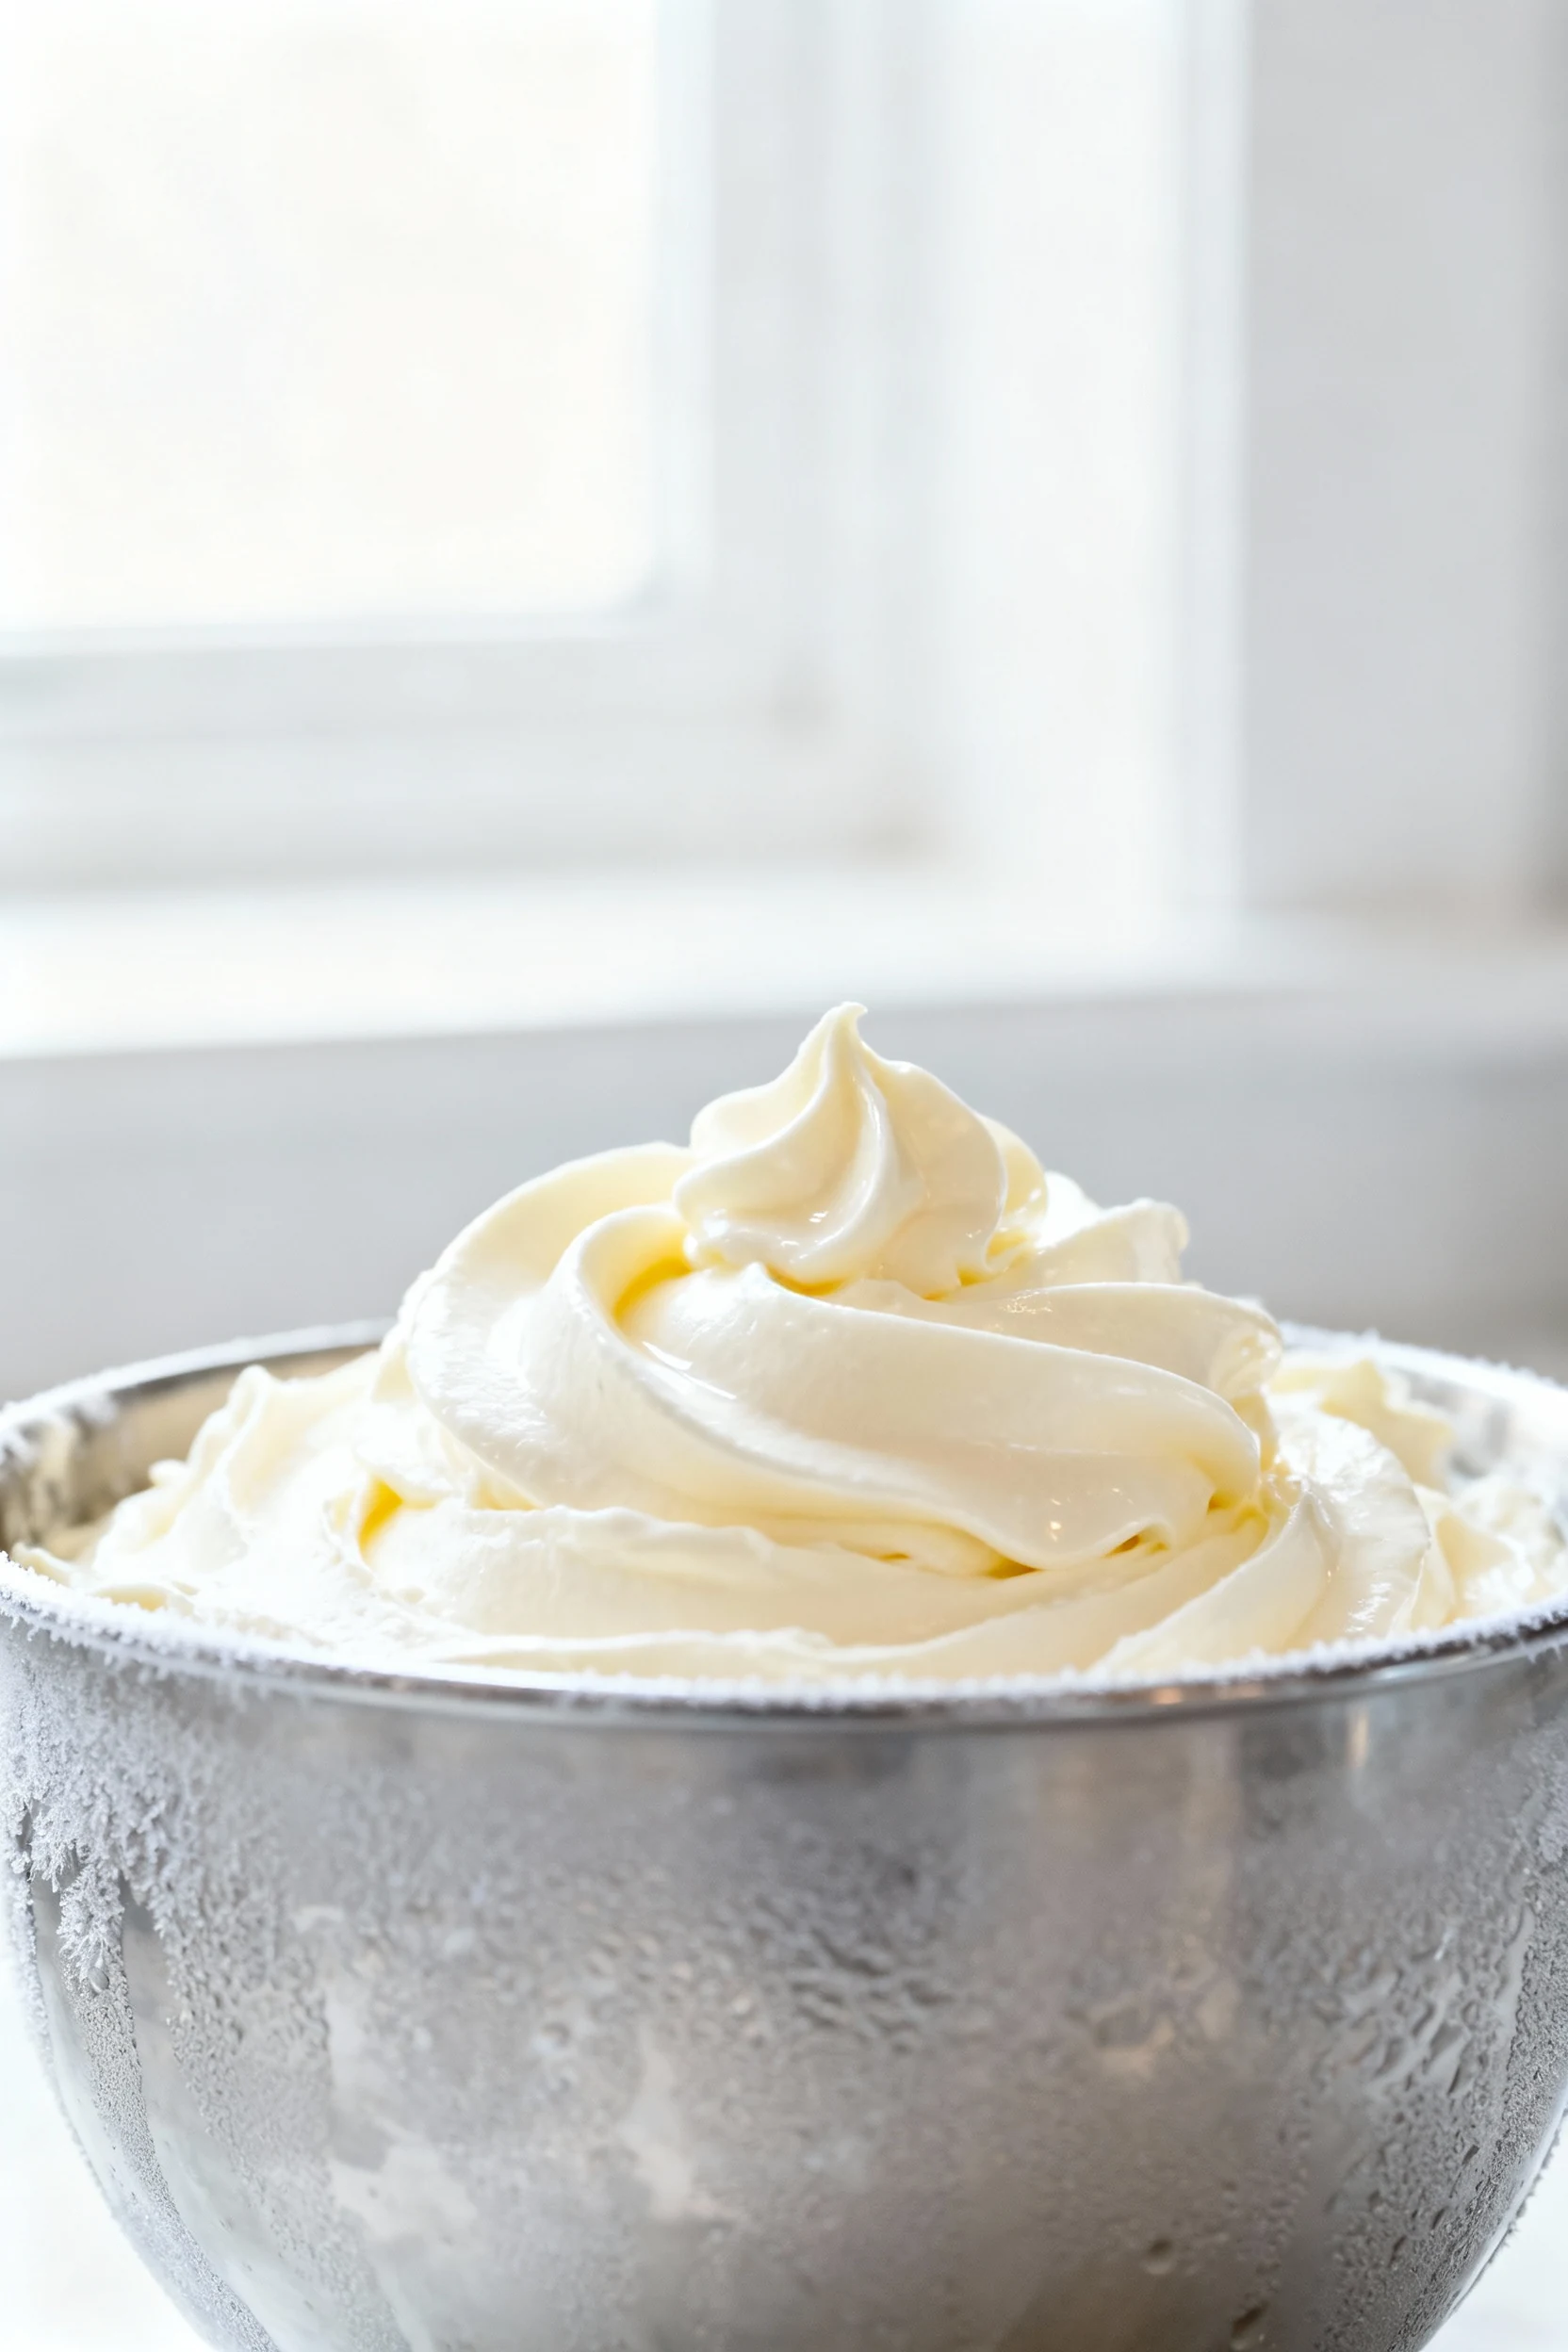
- Chill your tools: Place a large mixing bowl and beaters in the freezer for 10–15 minutes. Cold gear makes better whip and faster results.
- Prep your pan: Line a loaf pan or 8-inch metal pan with parchment, leaving a 2-inch overhang for easy lifting. Metal freezes faster than glass—use it.
- Whip the cream: Add the cold heavy cream to your chilled bowl. Beat to medium peaks—soft mounds that hold shape but still look glossy. Don’t overwhip into butter, unless that’s your vibe.
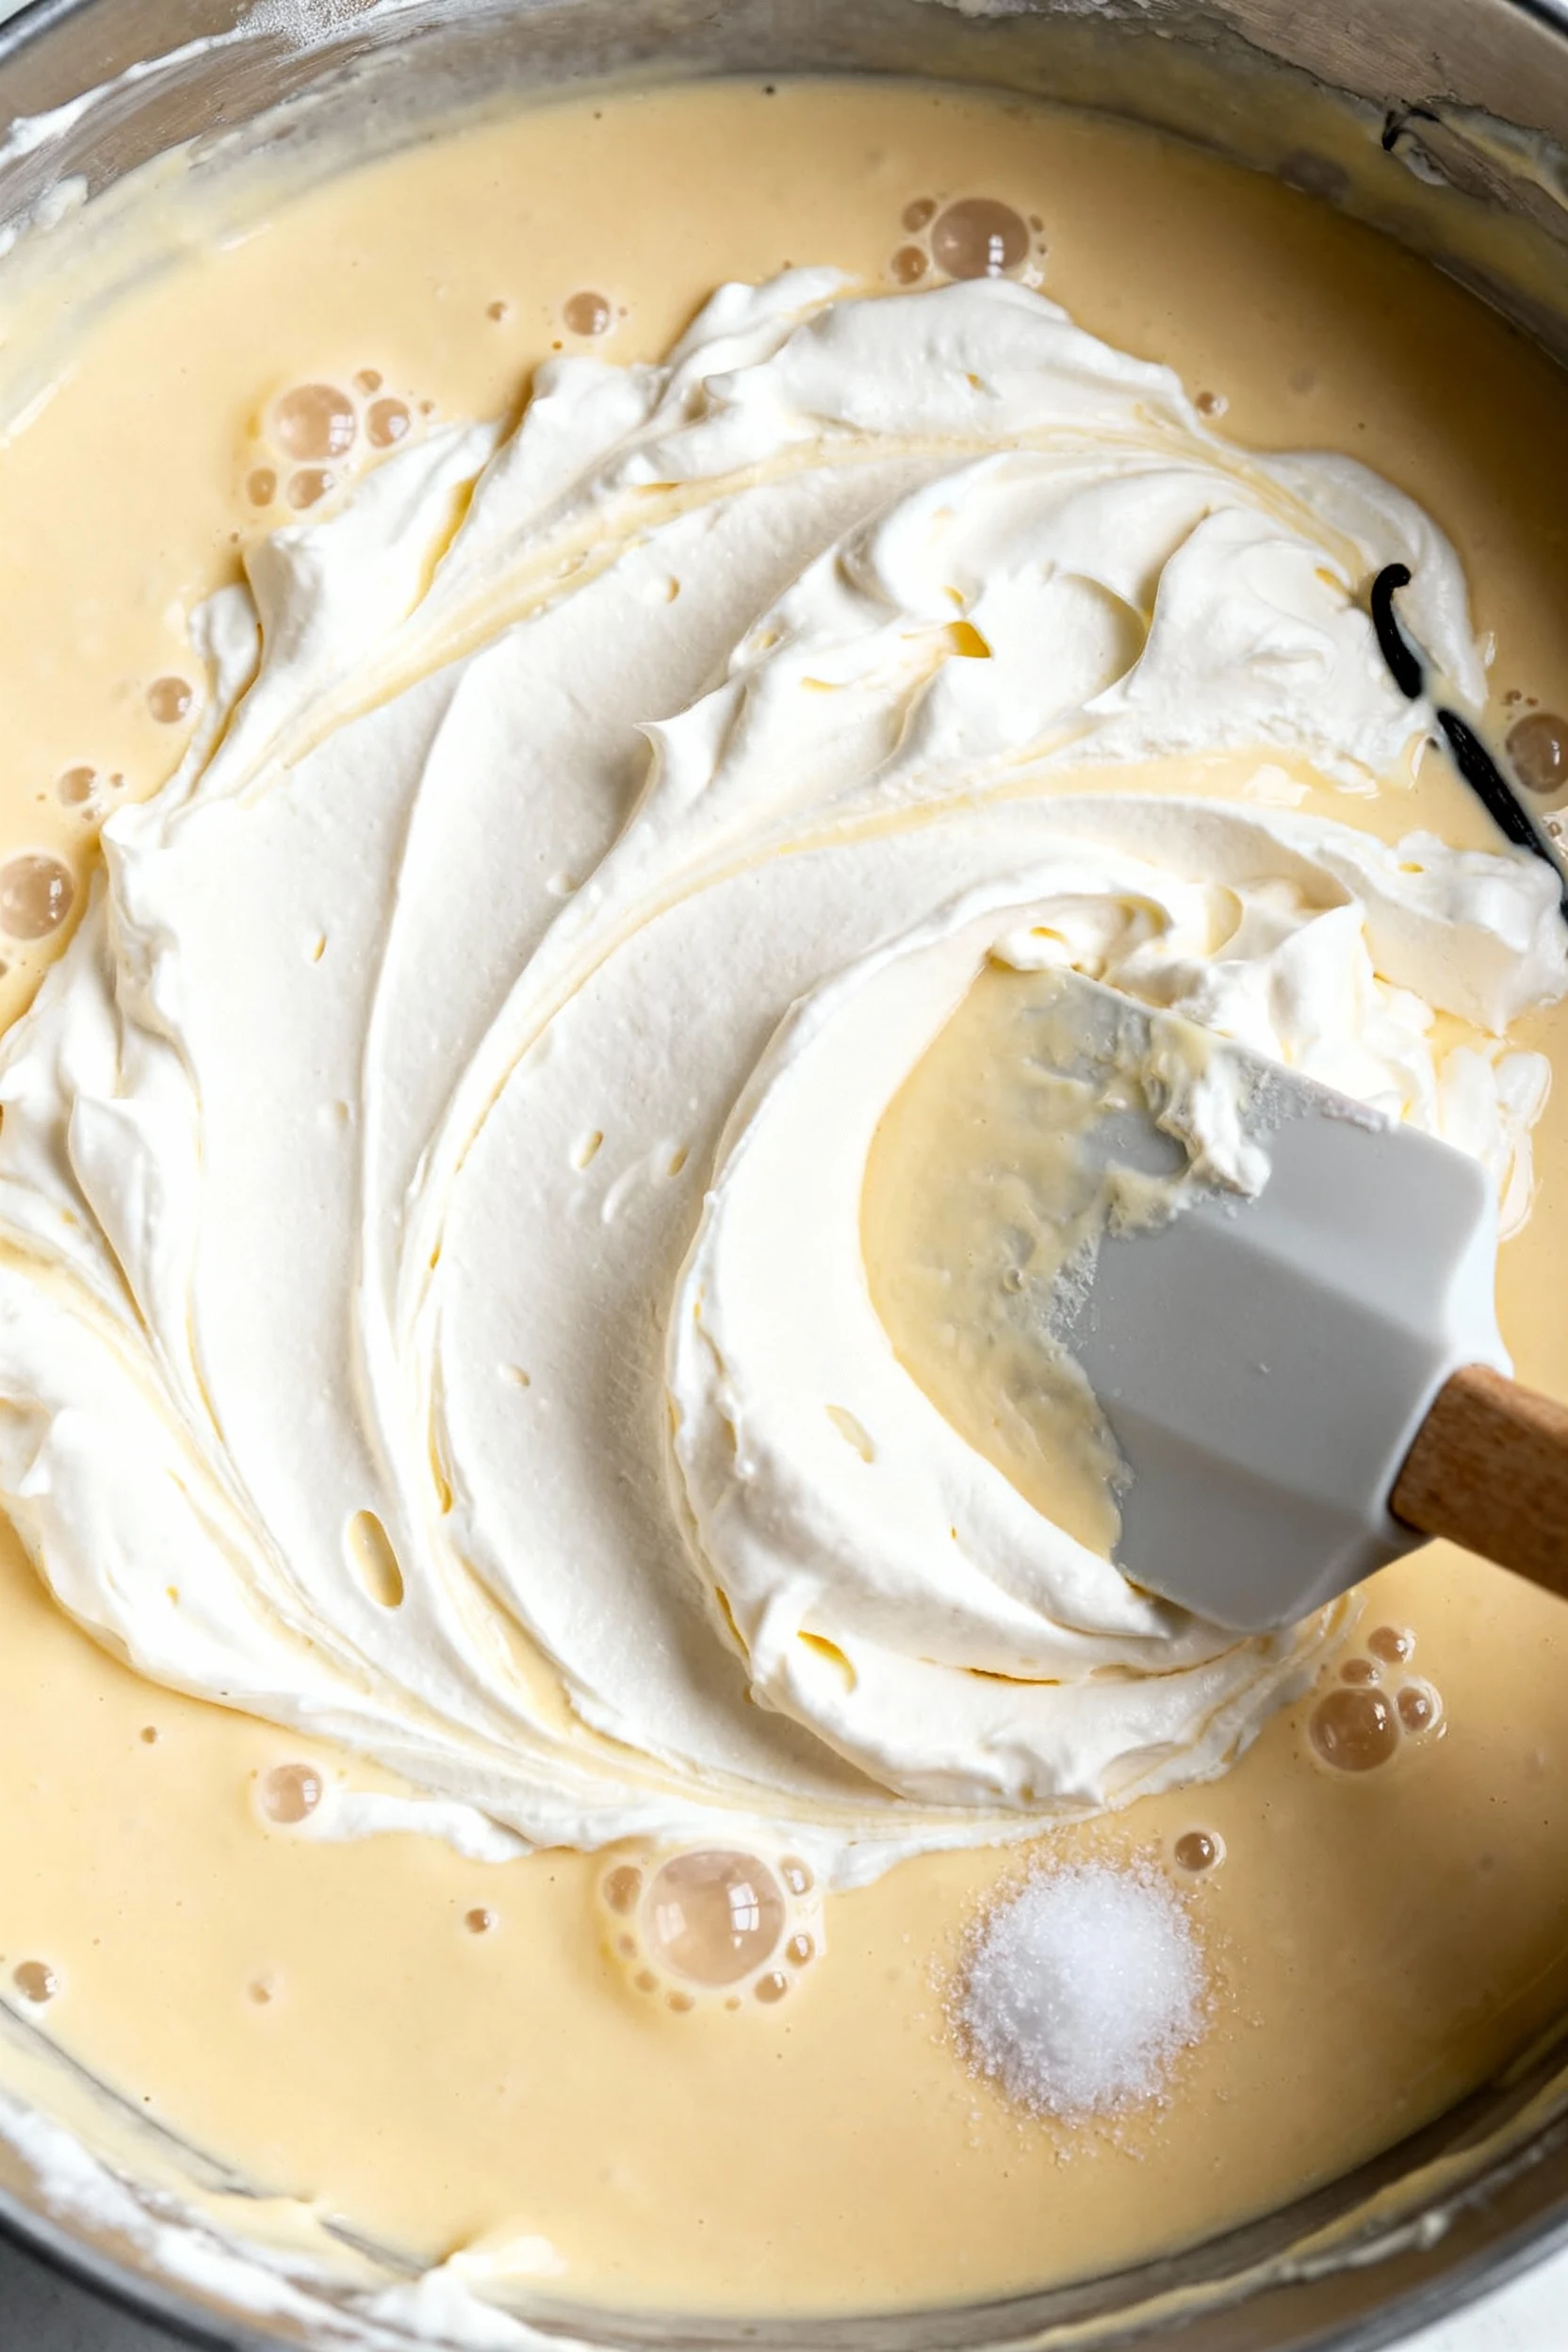
- Build your base: In a separate bowl, whisk the sweetened condensed milk with vanilla and salt. If using alcohol, whisk it in now. This mixture should taste slightly sweeter than ideal—that’s perfect once frozen.
- Fold, don’t mix: Add one-third of the whipped cream to the condensed milk and gently fold with a spatula. Repeat twice more until fully combined. Keep the air; it’s free texture.
- Flavor boost (optional): For chocolate, whisk cocoa with hot water or espresso, then fold into the base. For coffee, stir espresso powder into the base. For mint, add peppermint extract.
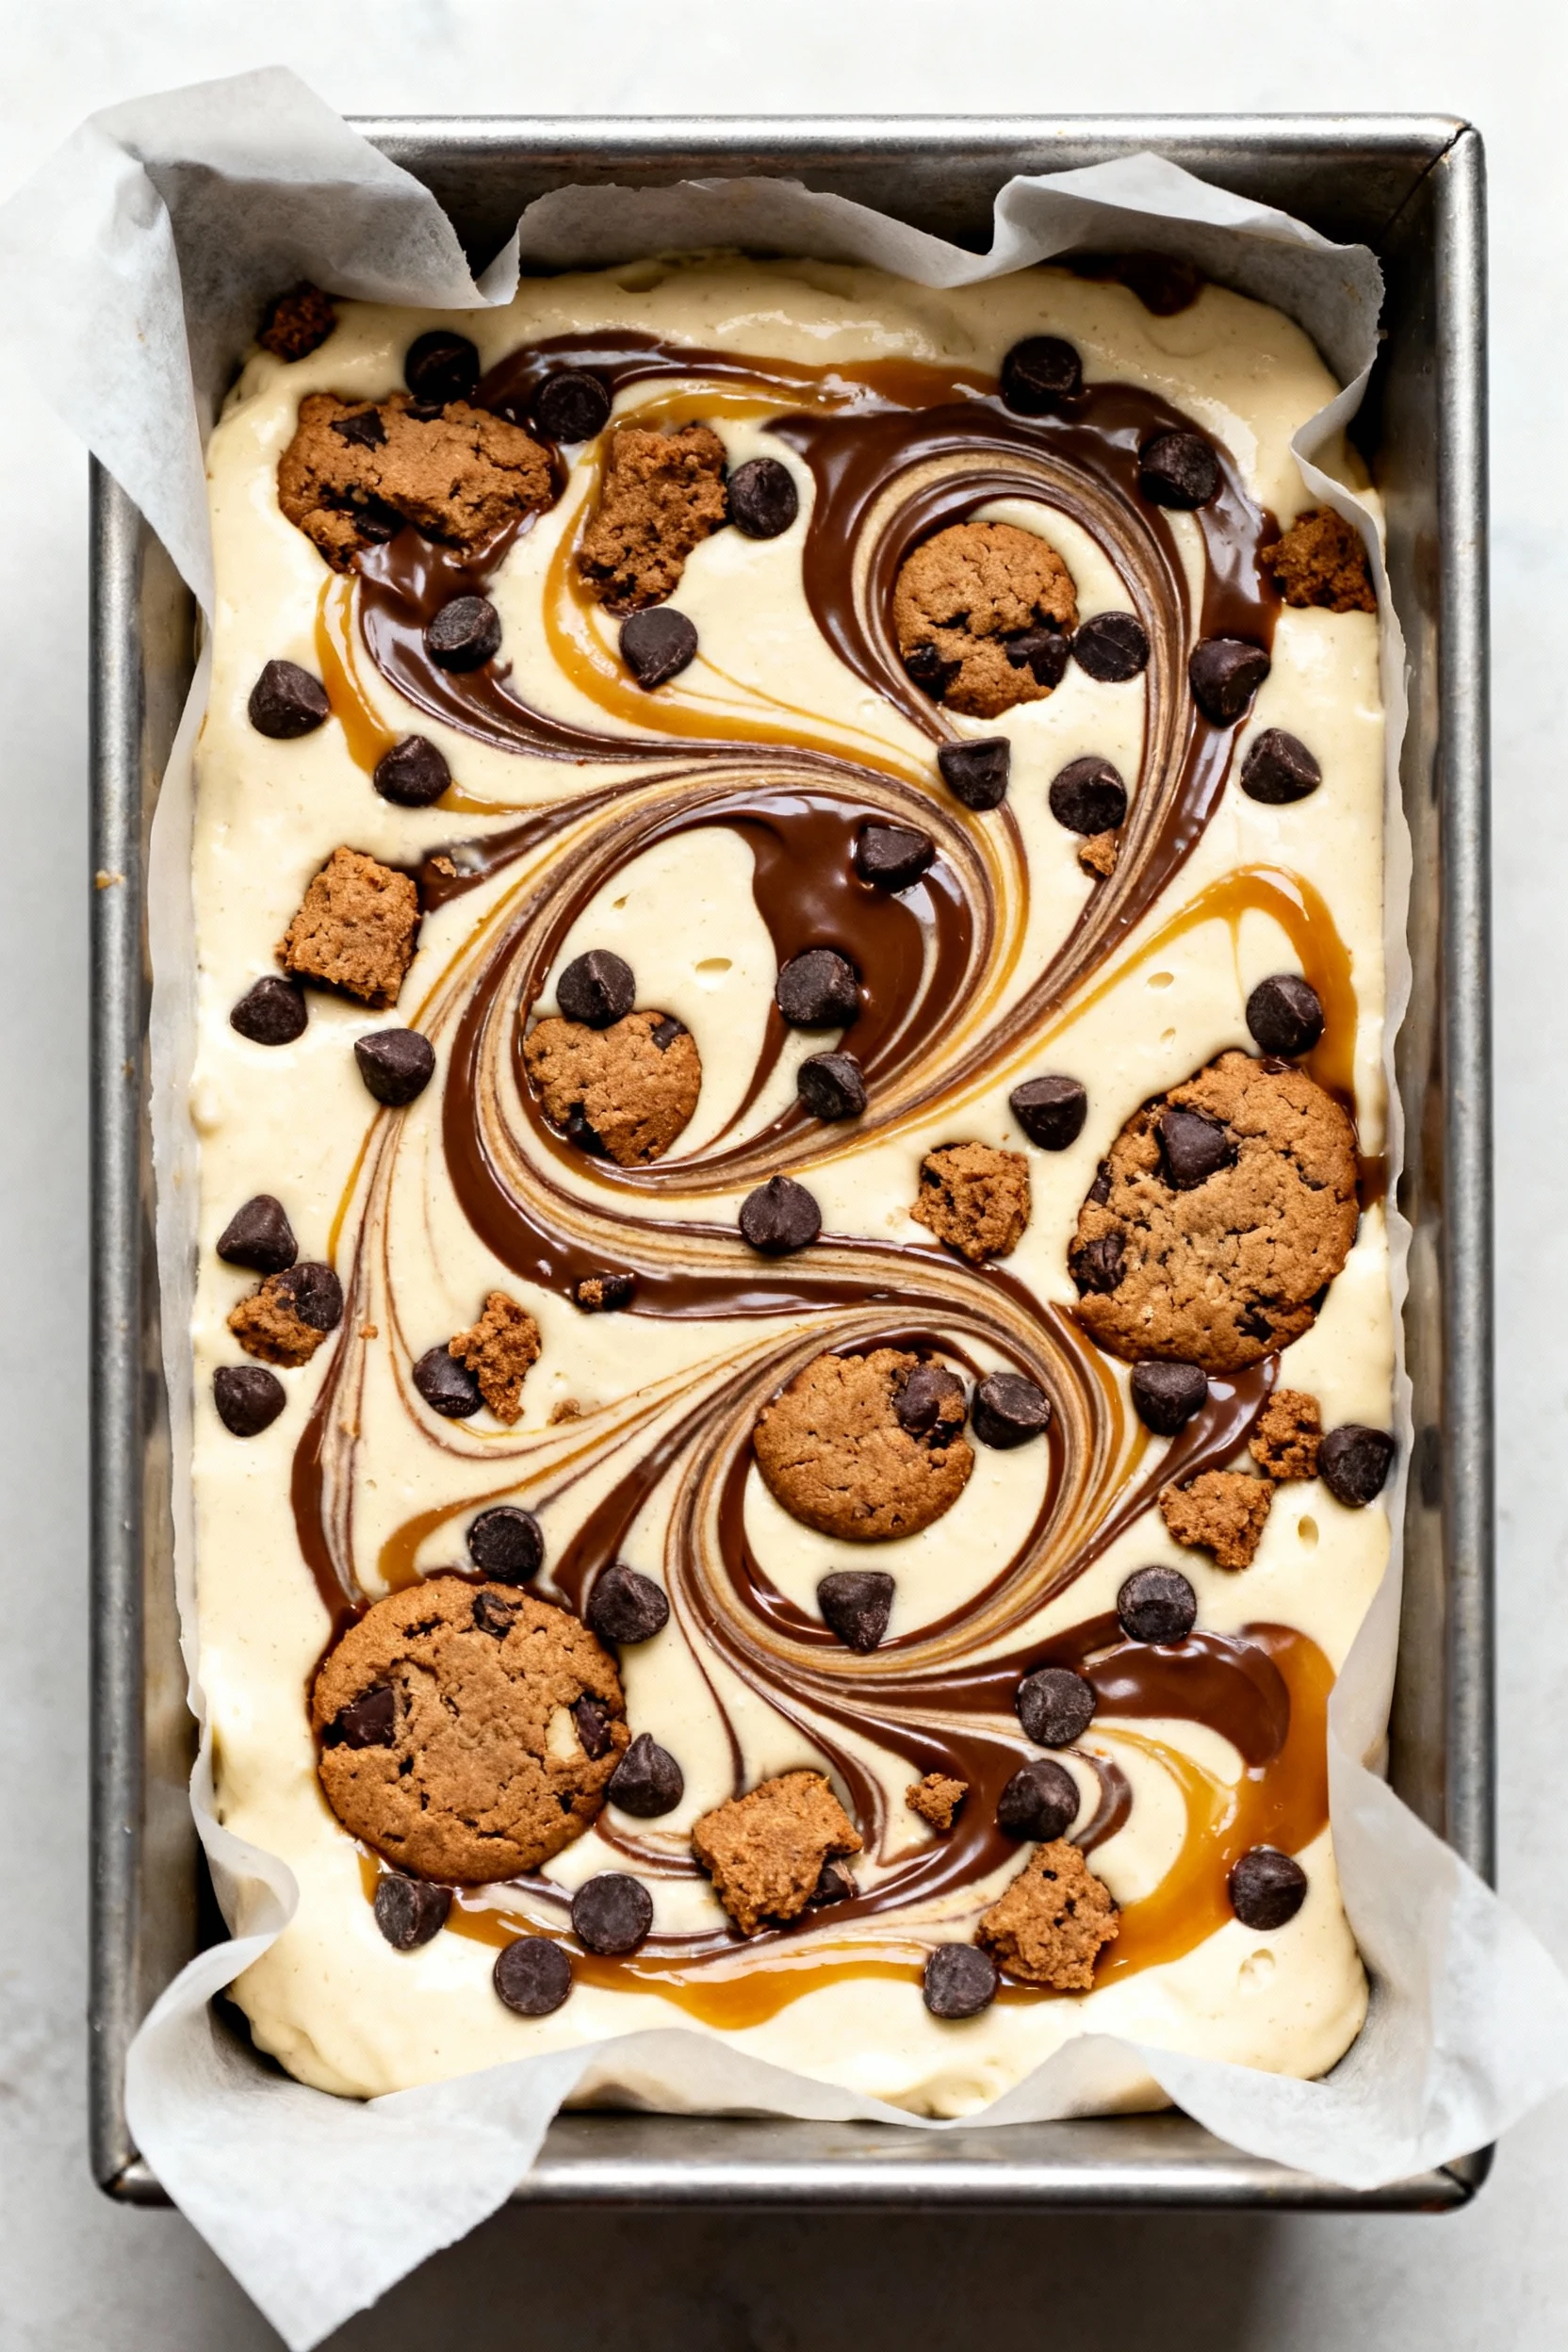
- Mix-ins and swirls: Scatter half your mix-ins in the pan. Pour in the base. Add remaining mix-ins on top and layer swirls of fudge, caramel, or jam. Drag a knife through in gentle figure-eights.
- Freeze smart: Cover tightly and freeze until set, 4–6 hours. Overnight yields the most consistent scoopability.
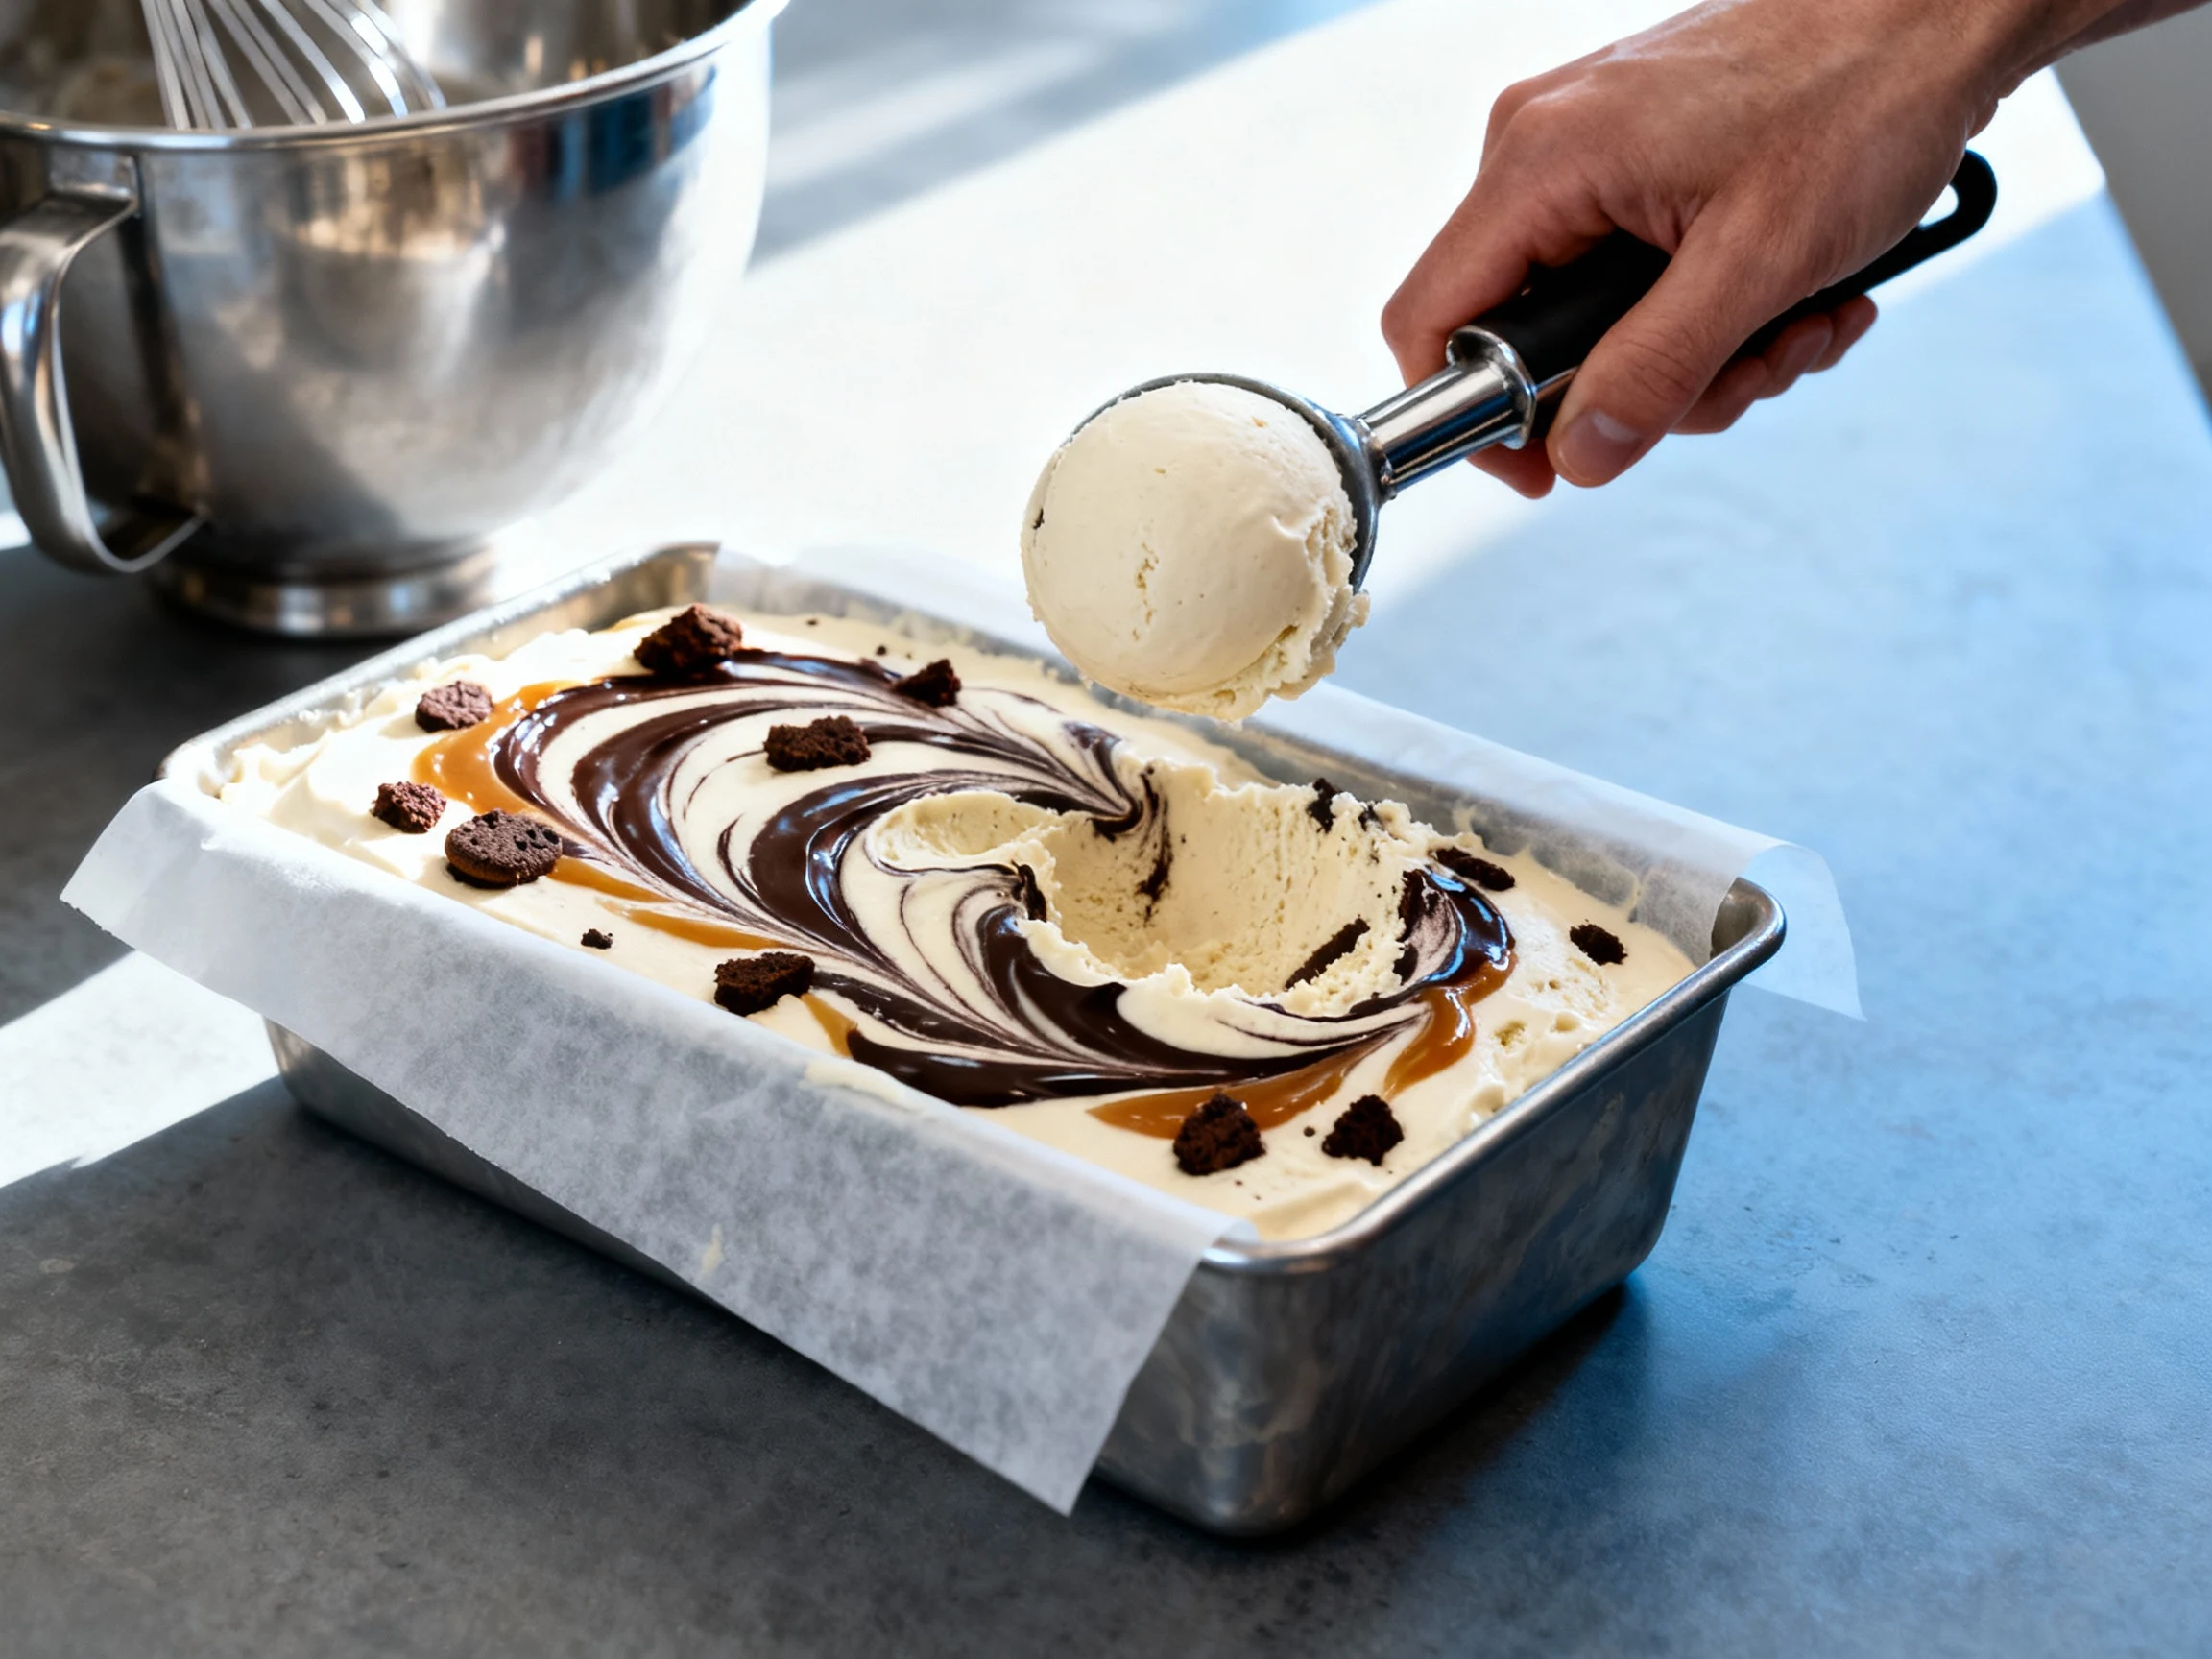
- Temper before scooping: Let the pan stand at room temp for 5 minutes before scooping. Use a warmed scoop for clean rounds. Your cones will thank you.
- Serve boldly: Top with a pinch of flaky salt, a splash of espresso, or crushed cookies. You just outperformed half the premium pints on the shelf.
Storage Tips
Air is the enemy. Cover your pan with plastic wrap pressed directly on the surface, then add a lid. That double layer blocks freezer burn and keeps flavor loud.
Store in the coldest part of the freezer—not the door—for up to 2 weeks. After week one, texture stays great, but aromatics can fade. FYI, mint and citrus hold their punch longer than berries.
If you batch flavors, label each pan with the date and mix-ins. Future you will appreciate not playing freezer roulette.
Benefits of This Recipe
- No machine needed: Whip, fold, freeze. Your whisk is your churner.
- Consistently scoopable: Condensed milk and optional alcohol keep texture soft, not icy.
- Customizable: Chocolate, fruit, cookies, swirls—you design the pint you actually want.
- Fast hands-on time: About 15–20 minutes of work, then the freezer does the rest.
- Budget-friendly: Premium results from pantry ingredients. Save cash, gain flavor.
- Kid- and guest-approved: Mix-ins make it showy. Layer color and crunch for instant crowd appeal.
What Not to Do
- Don’t overwhip the cream: Grainy cream ruins texture. Stop at medium peaks.
- Don’t skip the salt: It doesn’t make your ice cream “salty.” It makes your flavors pop. Promise.
- Don’t dump mix-ins in one clump: Layer for even distribution. No one wants a cookie desert and a cookie avalanche in the same scoop.
- Don’t freeze uncovered: Oxygen equals freezer burn. Press wrap onto the surface.
- Don’t overload with water-heavy fruit: Macerate berries with sugar first or use jams to avoid icy pockets.
- Don’t eyeball extracts: Peppermint is strong. Measure unless you enjoy eating toothpaste.
Variations You Can Try
- Cookies & Cream: Fold in 2 cups chopped chocolate sandwich cookies. Add a streak of fudge for drama.
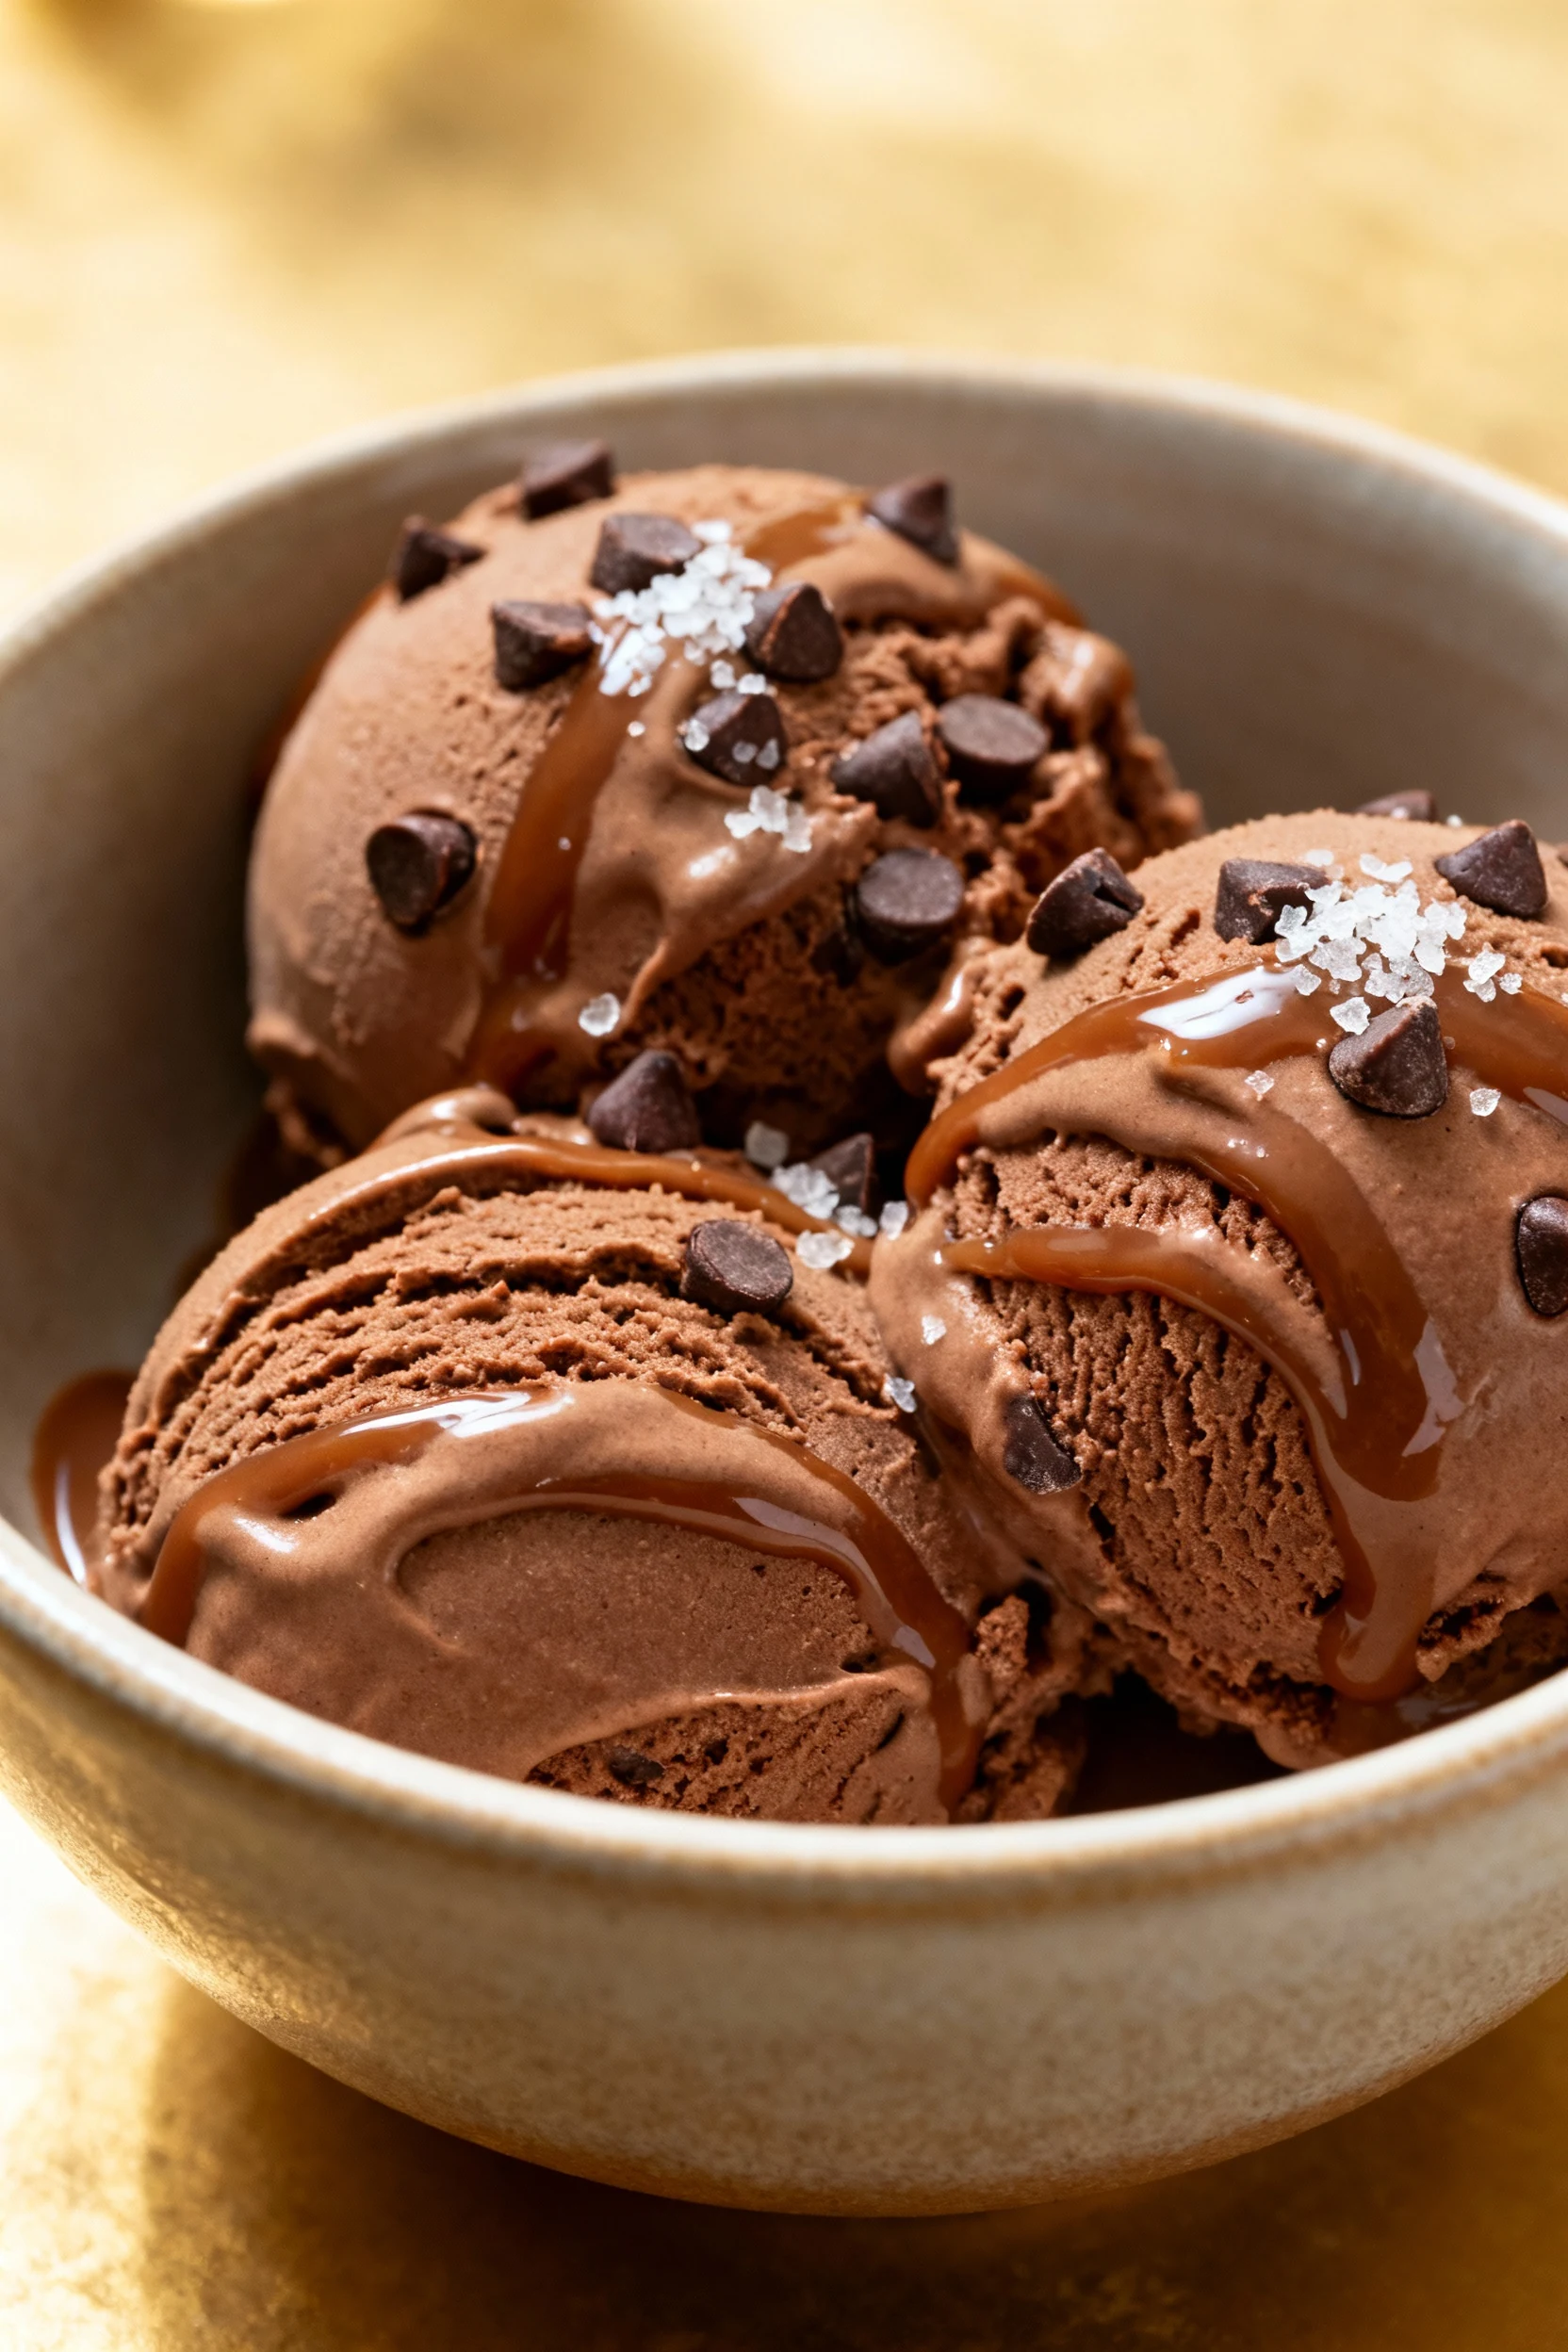
- Triple Chocolate: Cocoa base, chocolate chips, and a fudge ribbon. Sprinkle with flaky salt to make it taste “chef-y.”
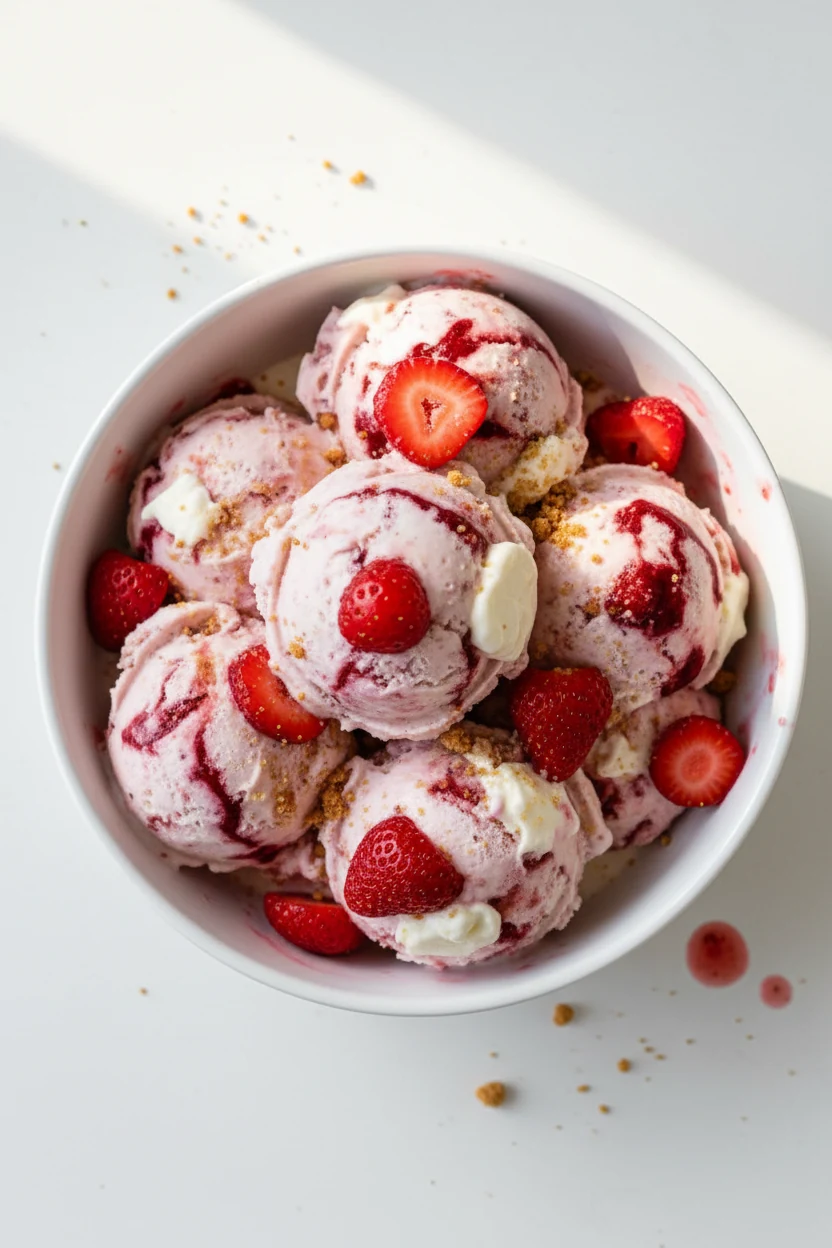
- Strawberry Cheesecake: Macerate berries with sugar and lemon; ripple through the base with 1 cup graham cracker chunks and dollops of softened cream cheese.
- Coffee Crunch: Espresso base with 1 cup toffee bits. Drizzle a shot of cooled espresso on top before freezing for extra buzz.
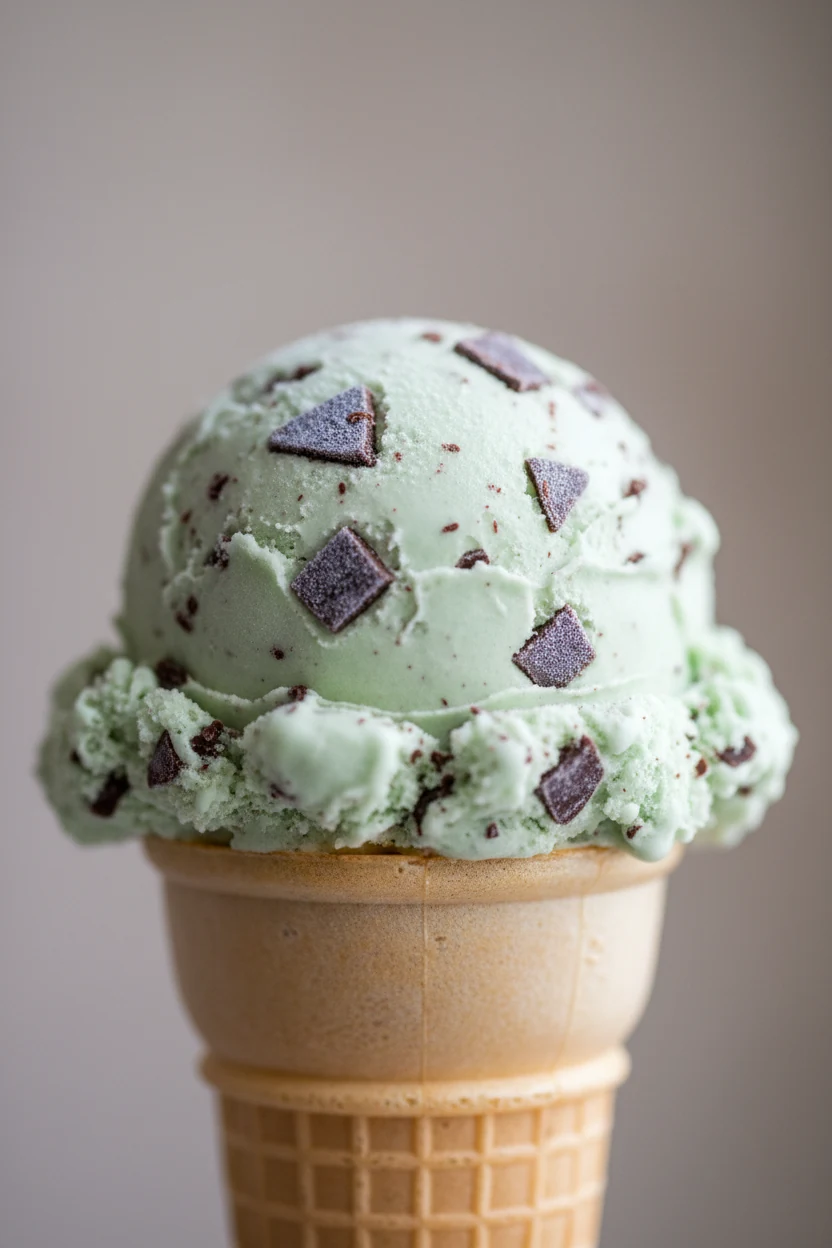
- Mint Chip: Peppermint extract + chopped dark chocolate. Add a drop of natural green food color if you want that classic look.
- Peanut Butter Ripple: Warm peanut butter and honey to pourable, then ripple through vanilla base with roasted salted peanuts.
- Toasted Coconut: Fold in 1 1/2 cups toasted coconut flakes and a splash of rum for a tropical note.
- Mango Lassi: Blend 1 cup thick mango puree with a dollop of yogurt, cardamom, and a pinch of salt; ripple into base.
- Pistachio Saffron: Stir ground pistachios into the base and finish with a saffron milk swirl. IMO, it’s wildly elegant.
- Salted Caramel Pretzel: Layer caramel ribbons with crushed pretzels. The sweet-salty-crunch trifecta just works.
FAQ
Can I use half-and-half instead of heavy cream?
Use heavy cream. Half-and-half doesn’t whip properly and won’t trap enough air, so your texture turns icy and flat. The fat in heavy cream is non-negotiable here.
How do I prevent icy fruit chunks?
Macerate fruit with sugar and a splash of lemon for 10 minutes, then drain excess juice. Or use thick jam for concentrated flavor with less water. Your scoops will stay smooth.
What if I want less sweetness?
Balance sweetness with salt and bitter notes (espresso, cocoa) rather than slashing condensed milk. If you cut the base too much, you lose scoopability. TBH, a little salt works magic.
Is alcohol required?
No. It’s optional. A tablespoon of vodka or bourbon softens texture, but you can skip it and still get great results. Just temper longer before scooping.
Can I make this dairy-free?
Yes. Use chilled coconut cream in place of heavy cream and sweetened coconut condensed milk. Expect a coconut note—lean into it with lime zest or toasted coconut.
How long does it take to freeze?
Plan on 4–6 hours for a firm set. Overnight delivers the most consistent scoops, especially with thicker swirls or lots of mix-ins.
Do I need a special pan?
A metal loaf pan is ideal because it freezes faster and keeps edges cold. Glass works, but it’s slower and can encourage ice crystals at the edges.
Can I churn this base in a machine?
You can, but it’s designed for no-churn. If you want a custard-style churned version, make a classic egg yolk base with milk and cream, then churn per your machine’s directions. Different recipe, same delicious goal.
What’s the best way to scoop clean rounds?
Dip your scoop in hot water, shake off excess, and pull firm, even arcs. Temper the pan for 5 minutes first. Clean scoops sell the dessert before anyone tastes it.
The Bottom Line
This method gives you silky, loud-flavored ice cream with minimal effort and zero specialized gear. You control sweetness, texture, and every last mix-in, so each pint hits your exact bullseye. Start with the base, pick a variation, and let your freezer do the heavy lifting. When dessert makes this much sense, you’ll wonder why you ever settled for store-bought. Now grab a spoon—your best batch is hours away.
Printable Recipe Card
Want just the essential recipe details without scrolling through the article? Get our printable recipe card with just the ingredients and instructions.