Graham Cracker Recipes That Turn Pantry Staples Into Magic
From five-minute no-bakes to bake-sale showstoppers, turn pantry crackers into craveable desserts, bars, and breakfast bites.
You’ve got a box of crackers and big dessert energy—let’s make them work overtime. The secret flex of home baking is taking cheap, crunchy squares and building everything from s’mores bars to “wait, you made this?” cheesecake cups. You don’t need a pastry degree; you need one versatile base and a few smart swaps. The ROI on flavor here is wild: minimal effort, maximum wow. Ready to convert a humble pantry staple into a lineup of crowd-pleasers?
What Makes This Special
Think of this as your plug-and-play dessert system. One graham crumb base becomes bars, crust, parfait layers, and even breakfast bark. You’ll choose a no-bake or quick-bake path depending on how snappy you want the texture.
It’s the perfect fit for busy schedules and last-minute invites. The base mixes up in 10 minutes, chills fast, and pairs with everything from citrus to chocolate. And because it’s modular, you can scale it up for parties or trim it down for a Tuesday night treat. FYI, your coworkers will ask for the recipe—you’ve been warned.
What Goes Into This Recipe – Ingredients
This master base yields one 8×8-inch pan of bars or a generous crust for a 9-inch pie, with mix-ins and toppings to suit your vibe.
- 3 cups graham cracker crumbs (about 24 full crackers)
- 8 tablespoons (1 stick) unsalted butter, melted
- 1/3 cup light brown sugar, packed
- 1 teaspoon vanilla extract
- 1/4 teaspoon fine sea salt
Optional power-ups (choose 1–2 to customize):
- 1/2 cup creamy peanut butter (for a richer, no-bake bind)
- 1/2 cup mini chocolate chips
- 1/2 cup shredded coconut, lightly toasted
- 2 tablespoons cocoa powder (stir into the crumbs)
- 1 tablespoon finely grated citrus zest (lemon or lime)
- 1/2 teaspoon ground cinnamon
For topping and variations (mix and match):
- 1 can (14 oz) sweetened condensed milk (for layered bars that bake)
- 1 1/2 cups dark or milk chocolate chips
- 2 cups mini marshmallows
- 2 cups whipped cream or whipped topping
- 2 cups Greek yogurt (vanilla or plain, lightly sweetened)
- 2–3 cups fresh berries or sliced bananas
- 1/2 cup chopped nuts (pecans, peanuts, or almonds)
- 1/2 cup caramel or fudge sauce
Cooking Instructions
- Crush the crackers. Pulse grahams in a food processor to fine crumbs. No processor? Seal in a zip-top bag and smash with a rolling pin. Aim for sand-like texture with minimal pebbles.
- Mix the base. Stir crumbs, brown sugar, salt, and any dry add-ins (cinnamon, cocoa) in a bowl. Pour in melted butter and vanilla. If using peanut butter, whisk it into the warm butter first, then combine with crumbs. The mixture should clump when squeezed.
- Pan and press. Line an 8×8-inch pan with parchment, leaving overhang. Press the crumb mixture into an even, firm layer. Use the bottom of a measuring cup to compact the surface—this is how you prevent crumble city.
- Choose your path: For a no-bake base, chill for 30–45 minutes until firm. For a crisper base, bake at 350°F for 8–10 minutes, then cool completely.
- Layer or fill. Add your chosen toppings: whipped cream and berries for a quick icebox-style bar, melted chocolate and marshmallows for s’mores, or condensed milk for bars that bake (see notes below).
- Set and slice. Chill no-bakes for 1–2 hours (overnight for super clean edges). For baked layered bars, cool to room temp, then chill at least 1 hour before slicing with a sharp knife.
- Serve smart. Run the knife under hot water and wipe between cuts for bakery-worthy squares. Keep the pan in the fridge and slice as needed to preserve peak texture.
Baked layered bar note: If using sweetened condensed milk (plus chocolate chips, coconut, or nuts), pour it over the pressed crust, scatter toppings, and bake at 350°F for 20–25 minutes. Cool, then chill before slicing.
Keeping It Fresh
No-bake bars and parfait layers: Cover and refrigerate for 3–4 days. The crust stays firm and the flavors marry in a good way. If you’re using fresh berries, add them close to serving for best texture.
Baked bars (with condensed milk or chocolate): Store airtight at room temp for 2 days or refrigerate up to 5 days. They cut more cleanly when cold, but taste best at cool room temperature.
Freezing: Freeze bars (well wrapped) for 1–2 months. Thaw overnight in the refrigerator. For yogurt-based versions, freeze as “bark” and enjoy straight from the freezer—no thaw necessary.
Transport tips: Use a cold pack if the destination is warm. Chocolate and whipped toppings melt faster than your resolve on a Monday.
Nutritional Perks
Let’s be honest—this is dessert, not kale. But you can tilt the balance your way. Choose whole wheat crackers for a touch more fiber and a toastier flavor.
Swap heavy toppings for Greek yogurt and fruit to add protein, calcium, and natural sweetness. Go with dark chocolate and nuts for a little antioxidant and healthy-fat boost. Portion control helps—cut smaller squares and let seconds be the treat, not the baseline.
Most importantly, you control the sugar. Dial back added sugar in the crumb base or pick unsweetened add-ins where it makes sense. Moderation but make it delicious—IMO, that’s the win.
What Not to Do
- Don’t skip pressing the crust. Loose crumbs equal sloppy slices. Compact the base firmly into corners.
- Don’t over-butter. Too much fat turns the crust greasy and soft. Stick to the ratios unless you add dry mix-ins; then adjust crumbs slightly.
- Don’t layer wet toppings on a warm base. Steam = soggy. Cool baked crusts fully before adding cream, yogurt, or fruit.
- Don’t expect marshmallows to slice neatly warm. Let s’mores bars cool and chill for cleaner edges (yes, patience—tragic but necessary).
- Don’t store uncovered. Refrigerators are dehydrating. Wrap well to prevent stale edges and fridge funk.
- Don’t pulverize to dust. You want fine crumbs, not powder. A little texture helps the crust lock together IRL.
Mix It Up
Classic S’mores Bars
- Use the base (baked). Scatter 1 1/2 cups chocolate chips and 2 cups mini marshmallows.
- Broil briefly to toast the marshmallows, or bake at 350°F for 5–7 minutes until gooey.
- Cool, then chill before slicing. Optional: drizzle with caramel and sprinkle flaky salt.
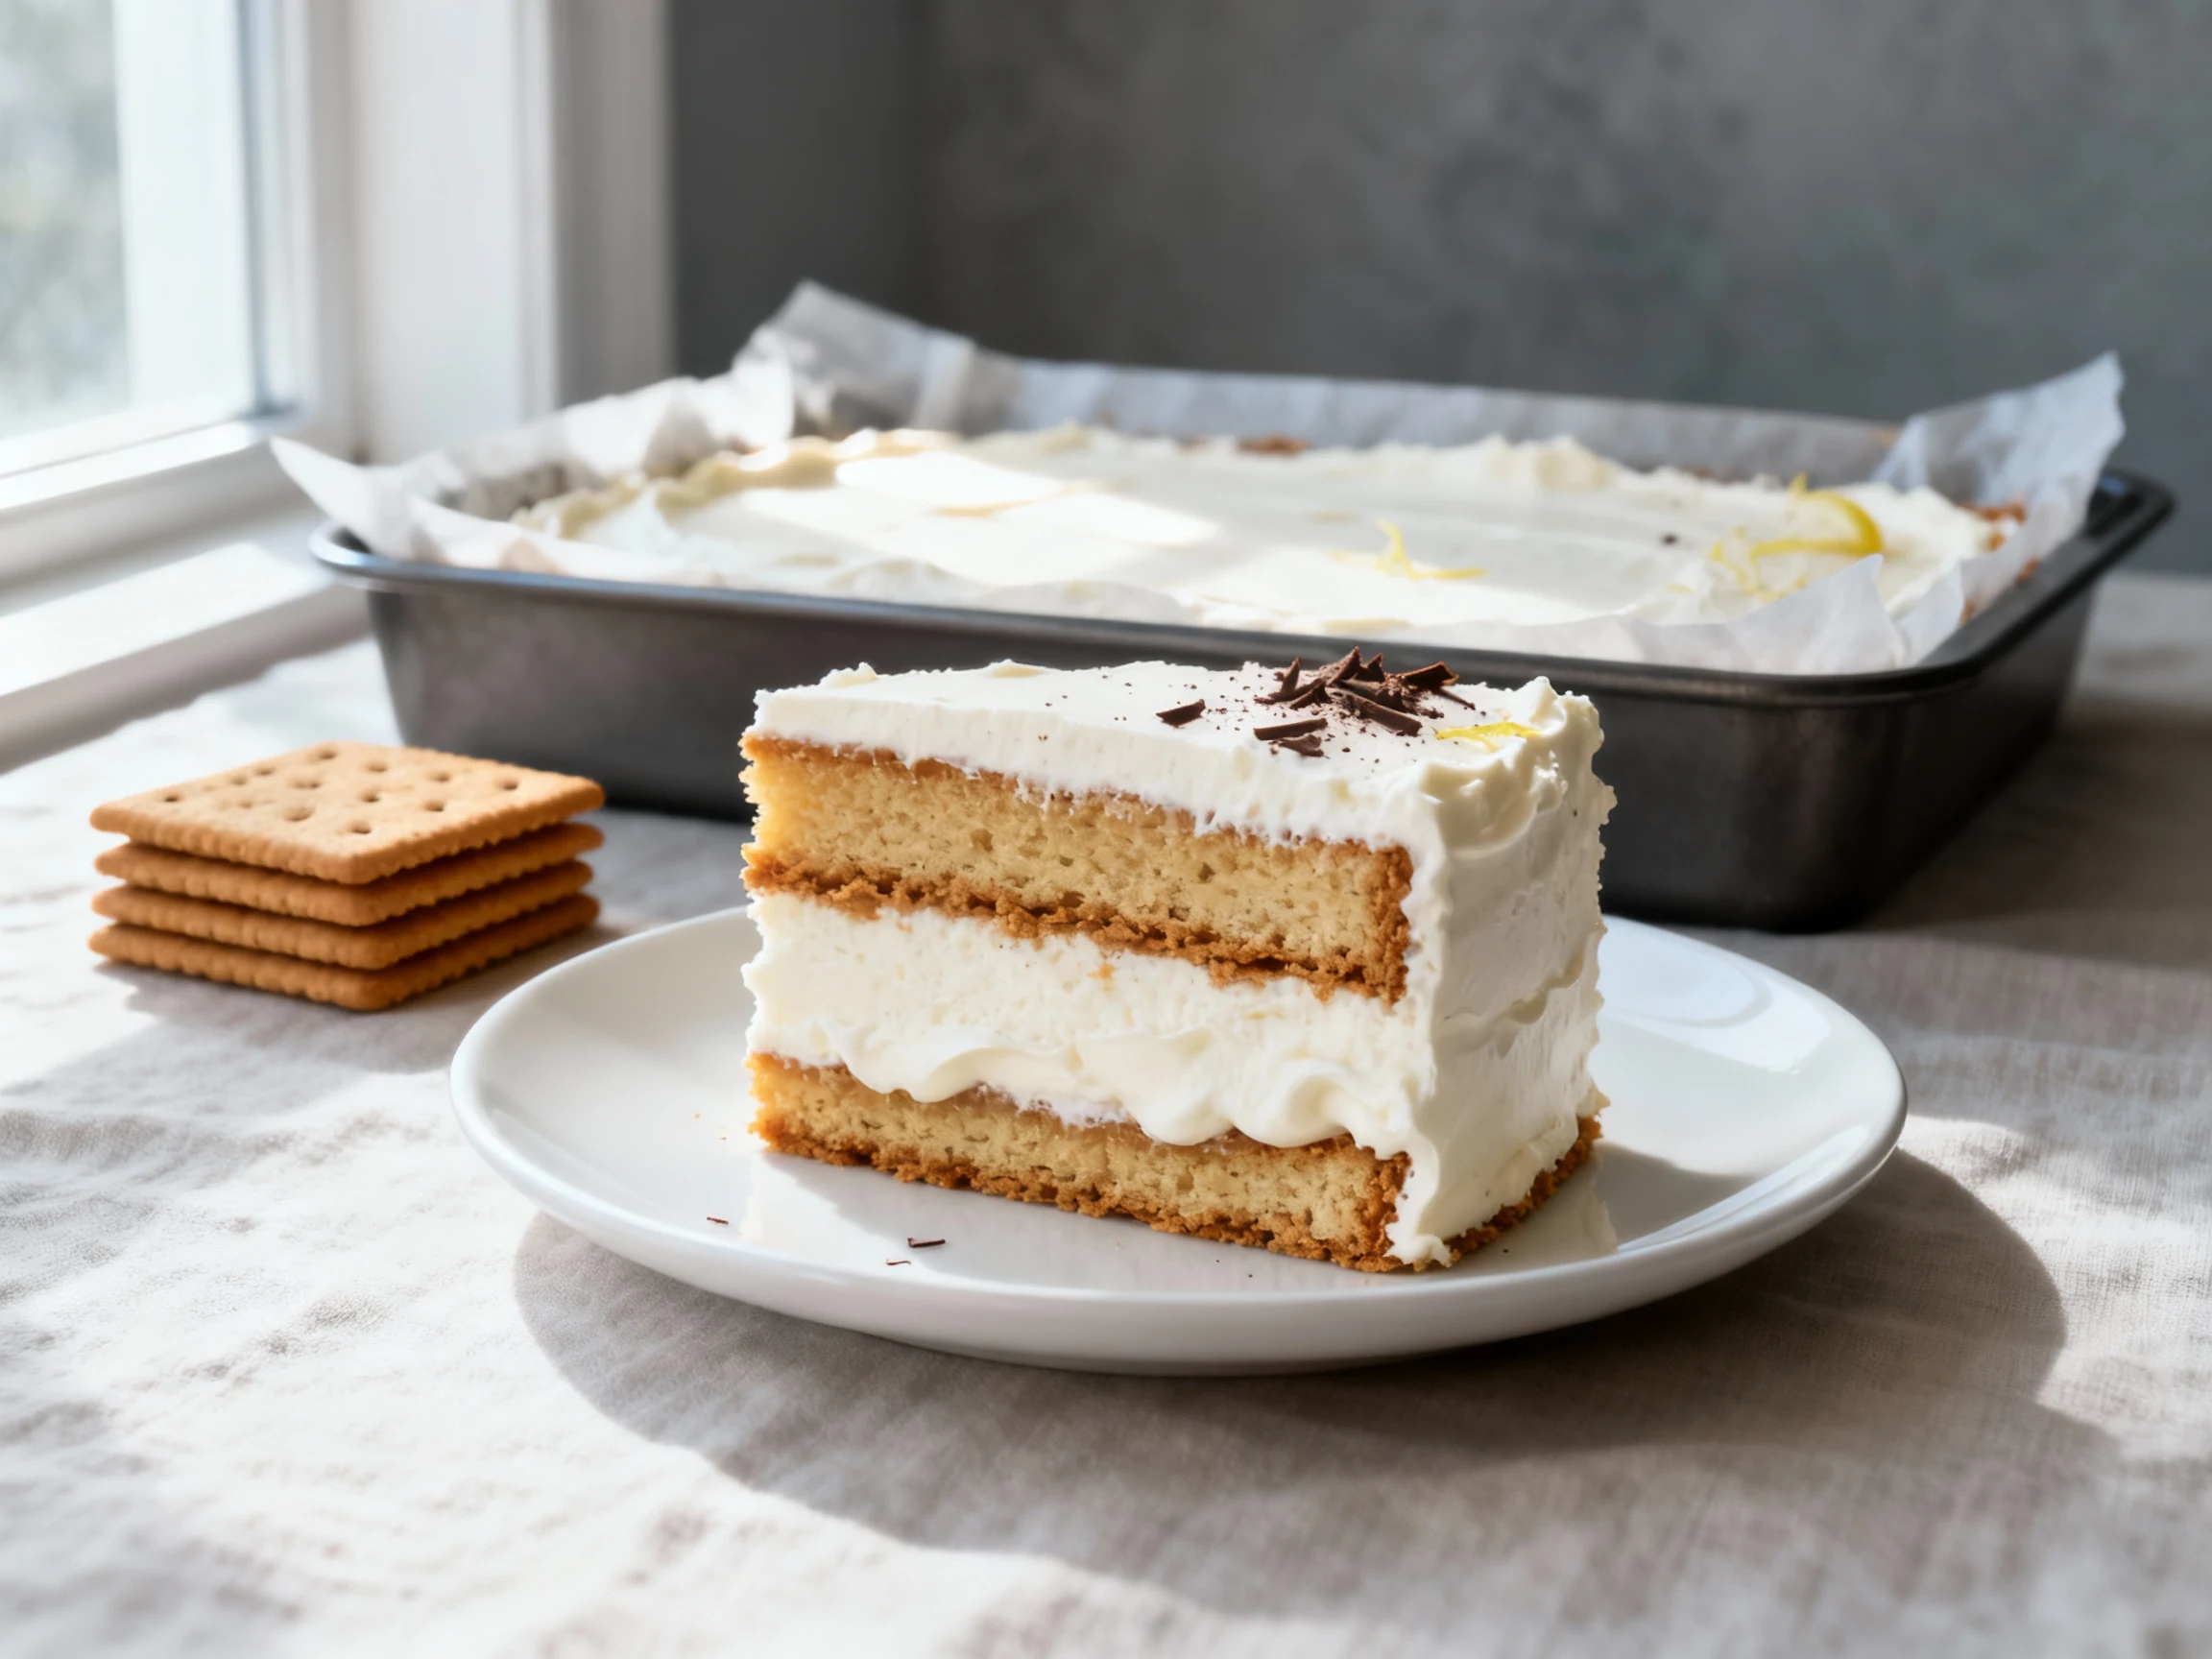
No-Bake Lemon Cheesecake Squares
- Beat 8 oz cream cheese with 1/3 cup sugar, 1 teaspoon lemon zest, and 2 tablespoons lemon juice.
- Fold in 1 1/2 cups whipped cream. Spread over a chilled base (no-bake or baked-and-cooled).
- Top with fresh berries. Chill 2–3 hours.
Peanut Butter Chocolate Crunch Bars
- Make the base with the 1/2 cup peanut butter add-in. Chill to set.
- Pour 1 1/2 cups melted dark chocolate over the base; sprinkle with chopped peanuts.
- Chill until firm; finish with a pinch of flaky salt for contrast.
Breakfast Yogurt Bark
- Press a very thin base layer (1–1 1/2 cups crumbs) on a parchment-lined sheet pan.
- Spread 2 cups Greek yogurt (lightly sweetened) over top; add berries and a drizzle of honey.
- Freeze until solid; break into shards. Eat straight from the freezer.
Banana Cream Parfait Cups
- Spoon crumbs into cups or jars. Layer with vanilla pudding, sliced bananas, and whipped cream.
- Repeat layers and finish with extra crumbs for crunch. Serve within 24 hours for best banana texture.
Magic(ish) Layer Bars
- Top a pressed crust with 1 can sweetened condensed milk, 1 cup chocolate chips, 1/2 cup coconut, and 1/2 cup chopped nuts.
- Bake at 350°F for 20–25 minutes, cool, chill, and slice.
FAQ
Can I use cinnamon or chocolate graham crackers?
Absolutely. Flavored crackers add instant personality. Reduce or skip the added brown sugar if the crackers are very sweet, and adjust spices so they don’t clash with toppings.
How do I keep the crust from crumbling?
Use the right fat-to-crumb ratio, mix thoroughly so everything is evenly hydrated, and press the crust firmly. If it still crumbles, add 1–2 tablespoons extra melted butter or a spoon of peanut butter to help bind.
Is there a gluten-free option?
Yes—use gluten-free graham-style crackers. Many brands bake up similarly, though they can be slightly drier. Add a touch more butter if the mixture feels sandy rather than clumpy.
Can I make this dairy-free?
Swap the butter for refined coconut oil or a vegan butter that’s firm at room temp. For creamy toppings, use coconut whipped cream or dairy-free yogurt. Skip condensed milk bars unless you find a dairy-free alternative.
Do I need to bake the crust?
No-bake works great for chilled desserts. Bake if you want added crunch or if you’re topping with condensed milk or chocolate that benefits from oven time. Both methods are solid—choose based on texture and toppings.
What size pan should I use?
An 8×8-inch pan yields thicker bars. A 9×9-inch pan gives slightly thinner bars. For a pie-style dessert, press into a 9-inch pie dish. Double the base for a 9×13-inch pan.
How can I crush crackers without a food processor?
Seal them in a sturdy zip-top bag, push out air, and smash with a rolling pin or skillet. Work in batches for even crumbs. It’s oddly therapeutic—channel your inner stress relief.
Why did my chocolate topping bloom or turn dull?
Rapid temperature swings cause bloom. Melt chocolate gently (microwave in 20–30 second bursts, stirring) and chill bars in a steady, cool environment. It still tastes great; it’s just a little less glossy.
Wrapping Up
Here’s the play: a simple, customizable graham base and a handful of toppings equals an entire dessert repertoire. You can go elegant with lemon cheesecake squares or nostalgic with gooey s’mores—same foundation, totally different vibe.
Keep the base formula handy, stock a few mix-ins, and you’re always 30 minutes away from something snackable, sliceable, and shareable. Dessert doesn’t have to be complicated to be memorable—just smart, flexible, and a little bit crunchy. Now go make the box of crackers in your pantry famous.
Printable Recipe Card
Want just the essential recipe details without scrolling through the article? Get our printable recipe card with just the ingredients and instructions.