Discover Easy Bread Recipes for Beginners Worth Craving
Perfect for first-time bakers seeking warm, fluffy loaves without complicated steps or fancy equipment.
You’ve seen bakery bread that looks like it belongs in a glossy magazine—and thought, “No way I can pull that off.” Guess what? You can. And not only that, you can make bread so good your friends might start “accidentally” dropping by around dinner time. Bread-making doesn’t have to be a mystical art reserved for the pros with decades of experience. It can be quick, fun, and straight-up tasty. So, if your oven’s feeling lonely, it’s time to change that—because warm, fresh bread is about to be your new flex.
What Makes This Special

This isn’t a complicated, three-day, artisan-level ordeal. These recipes focus on minimal ingredients, short prep times, and methods you can master even if measuring flour is your most advanced kitchen skill. By keeping things simple, you get delicious bread without long fermentation periods or expensive gadgets. It’s all about confidence, speed, and that “wow” moment when you slice into bread you made yourself.
Ingredients Breakdown
- All-purpose flour – Your go-to for most beginner breads.
- Active dry yeast – The magic dust that makes dough rise.
- Water – Lukewarm, around 105–110°F, for optimal yeast activation.
- Sugar – A teaspoon or two to feed the yeast.
- Salt – For flavor balance.
- Olive oil or butter – Adds richness and moisture.
How to Make It – Instructions

- Activate the yeast: Mix lukewarm water with sugar and yeast. Let it sit until foamy (about 5–10 mins).
- Mix the dough: Add flour, salt, and oil to the yeast mixture. Stir until shaggy.
- Knead: Work the dough on a floured surface for 8–10 minutes until smooth and elastic.
- First rise: Place the dough in a lightly oiled bowl, cover, and let it rise until doubled (1–2 hours).
- Shape: Punch down the dough, form your loaf or rolls, and set on a baking tray.
- Second rise: Cover and let rise again, about 30–45 minutes.
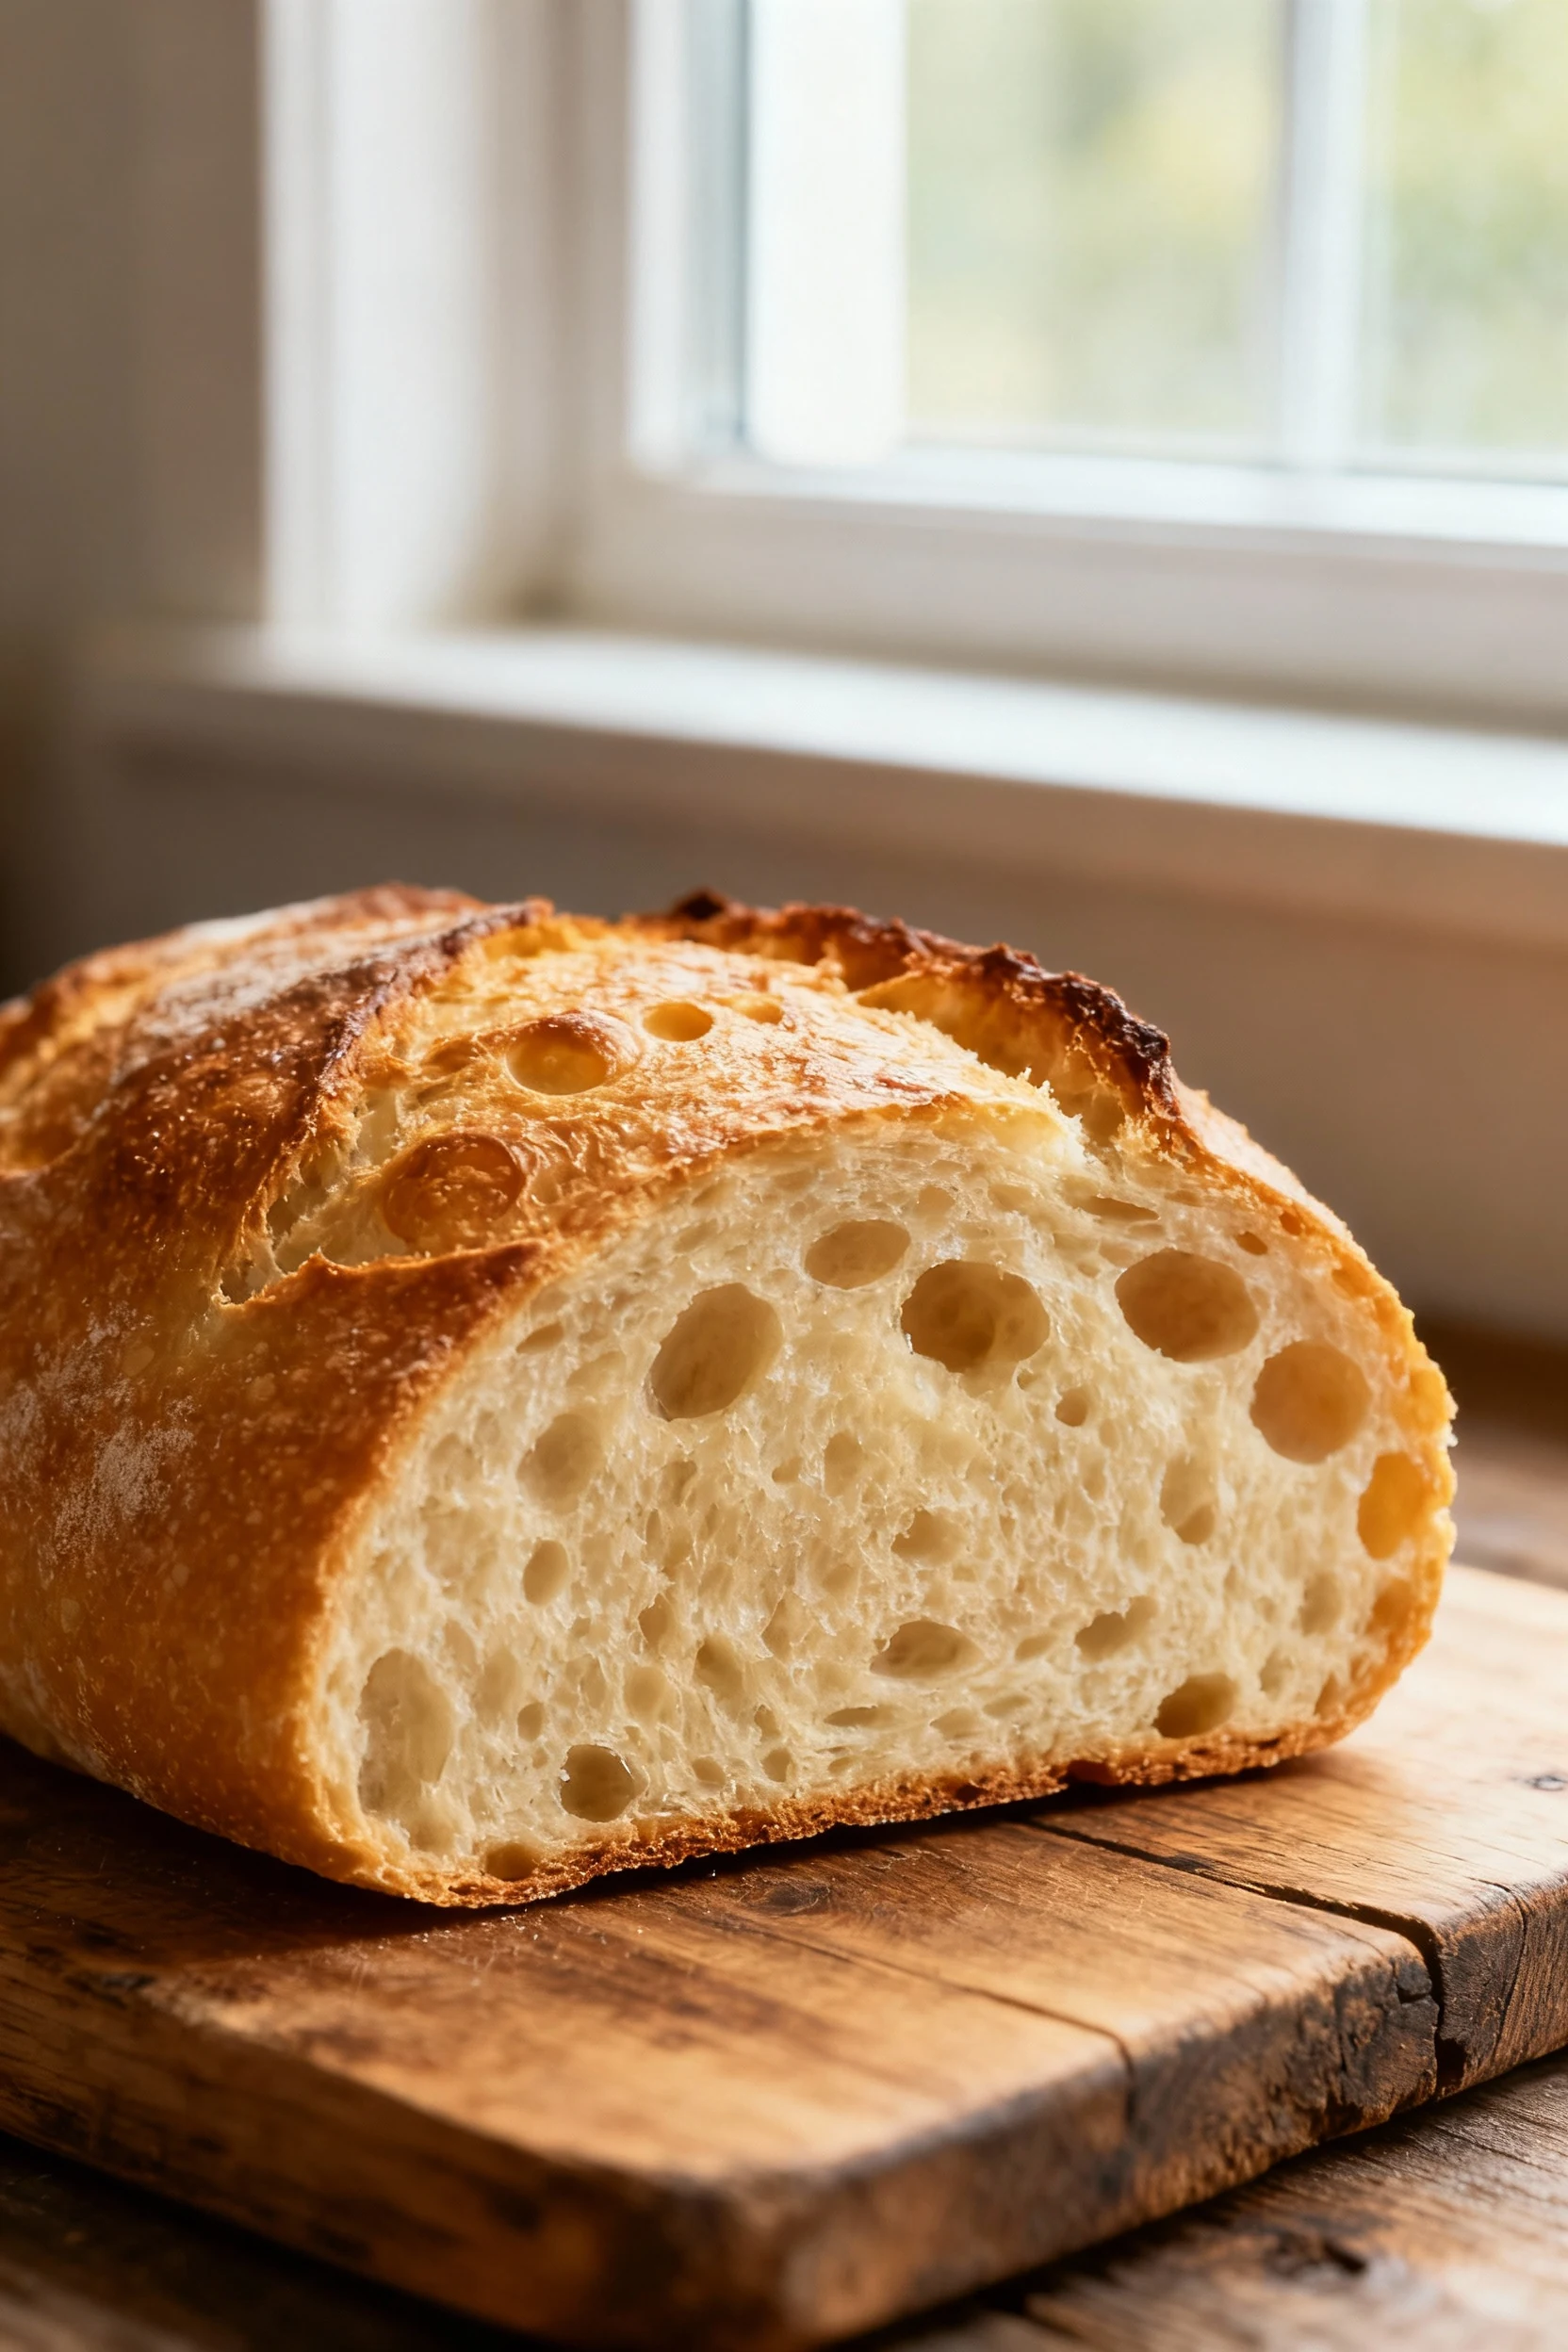
- Bake: Bake at 375°F for 25–30 minutes, until golden and hollow-sounding when tapped.
- Cool: Let bread rest for at least 15 minutes before slicing—yes, patience pays off!
Preservation Guide
Fresh bread is wonderful, but it has a short shelf life. Store loaves in a paper bag or wrapped in a towel for a day or two to keep crust texture intact. For longer storage, freeze slices in airtight bags—trust me, thawed bread can taste almost as good as fresh. Avoid the fridge unless you like bread that’s gone from fluffy to cardboard overnight.
Nutritional Perks
Homemade bread often contains fewer preservatives and additives compared to store-bought. By controlling the ingredients, you can tailor fiber content, reduce sodium, or switch to whole grains for extra nutrients. Bonus: fresh bread can satisfy you faster, potentially curbing snack cravings later in the day—your waistline says thanks.
Common Mistakes to Avoid
- Water too hot: Kills the yeast instantly—we’re baking bread, not sabotaging it.
- Skipping the second rise: Your loaf will be dense and sad. Don’t skip it.
- Too much flour: Leads to dry, crumbly bread. Trust the recipe; a sticky dough is normal.
- Cutting while hot: Sounds tempting, ruins the texture. Cool it… literally.
Variations You Can Try
- Garlic and herb bread: Mince garlic, mix with butter and herbs, swirl through before baking.
- Cheese-stuffed rolls: Place a cube of cheddar in dough balls before baking for a gooey surprise.
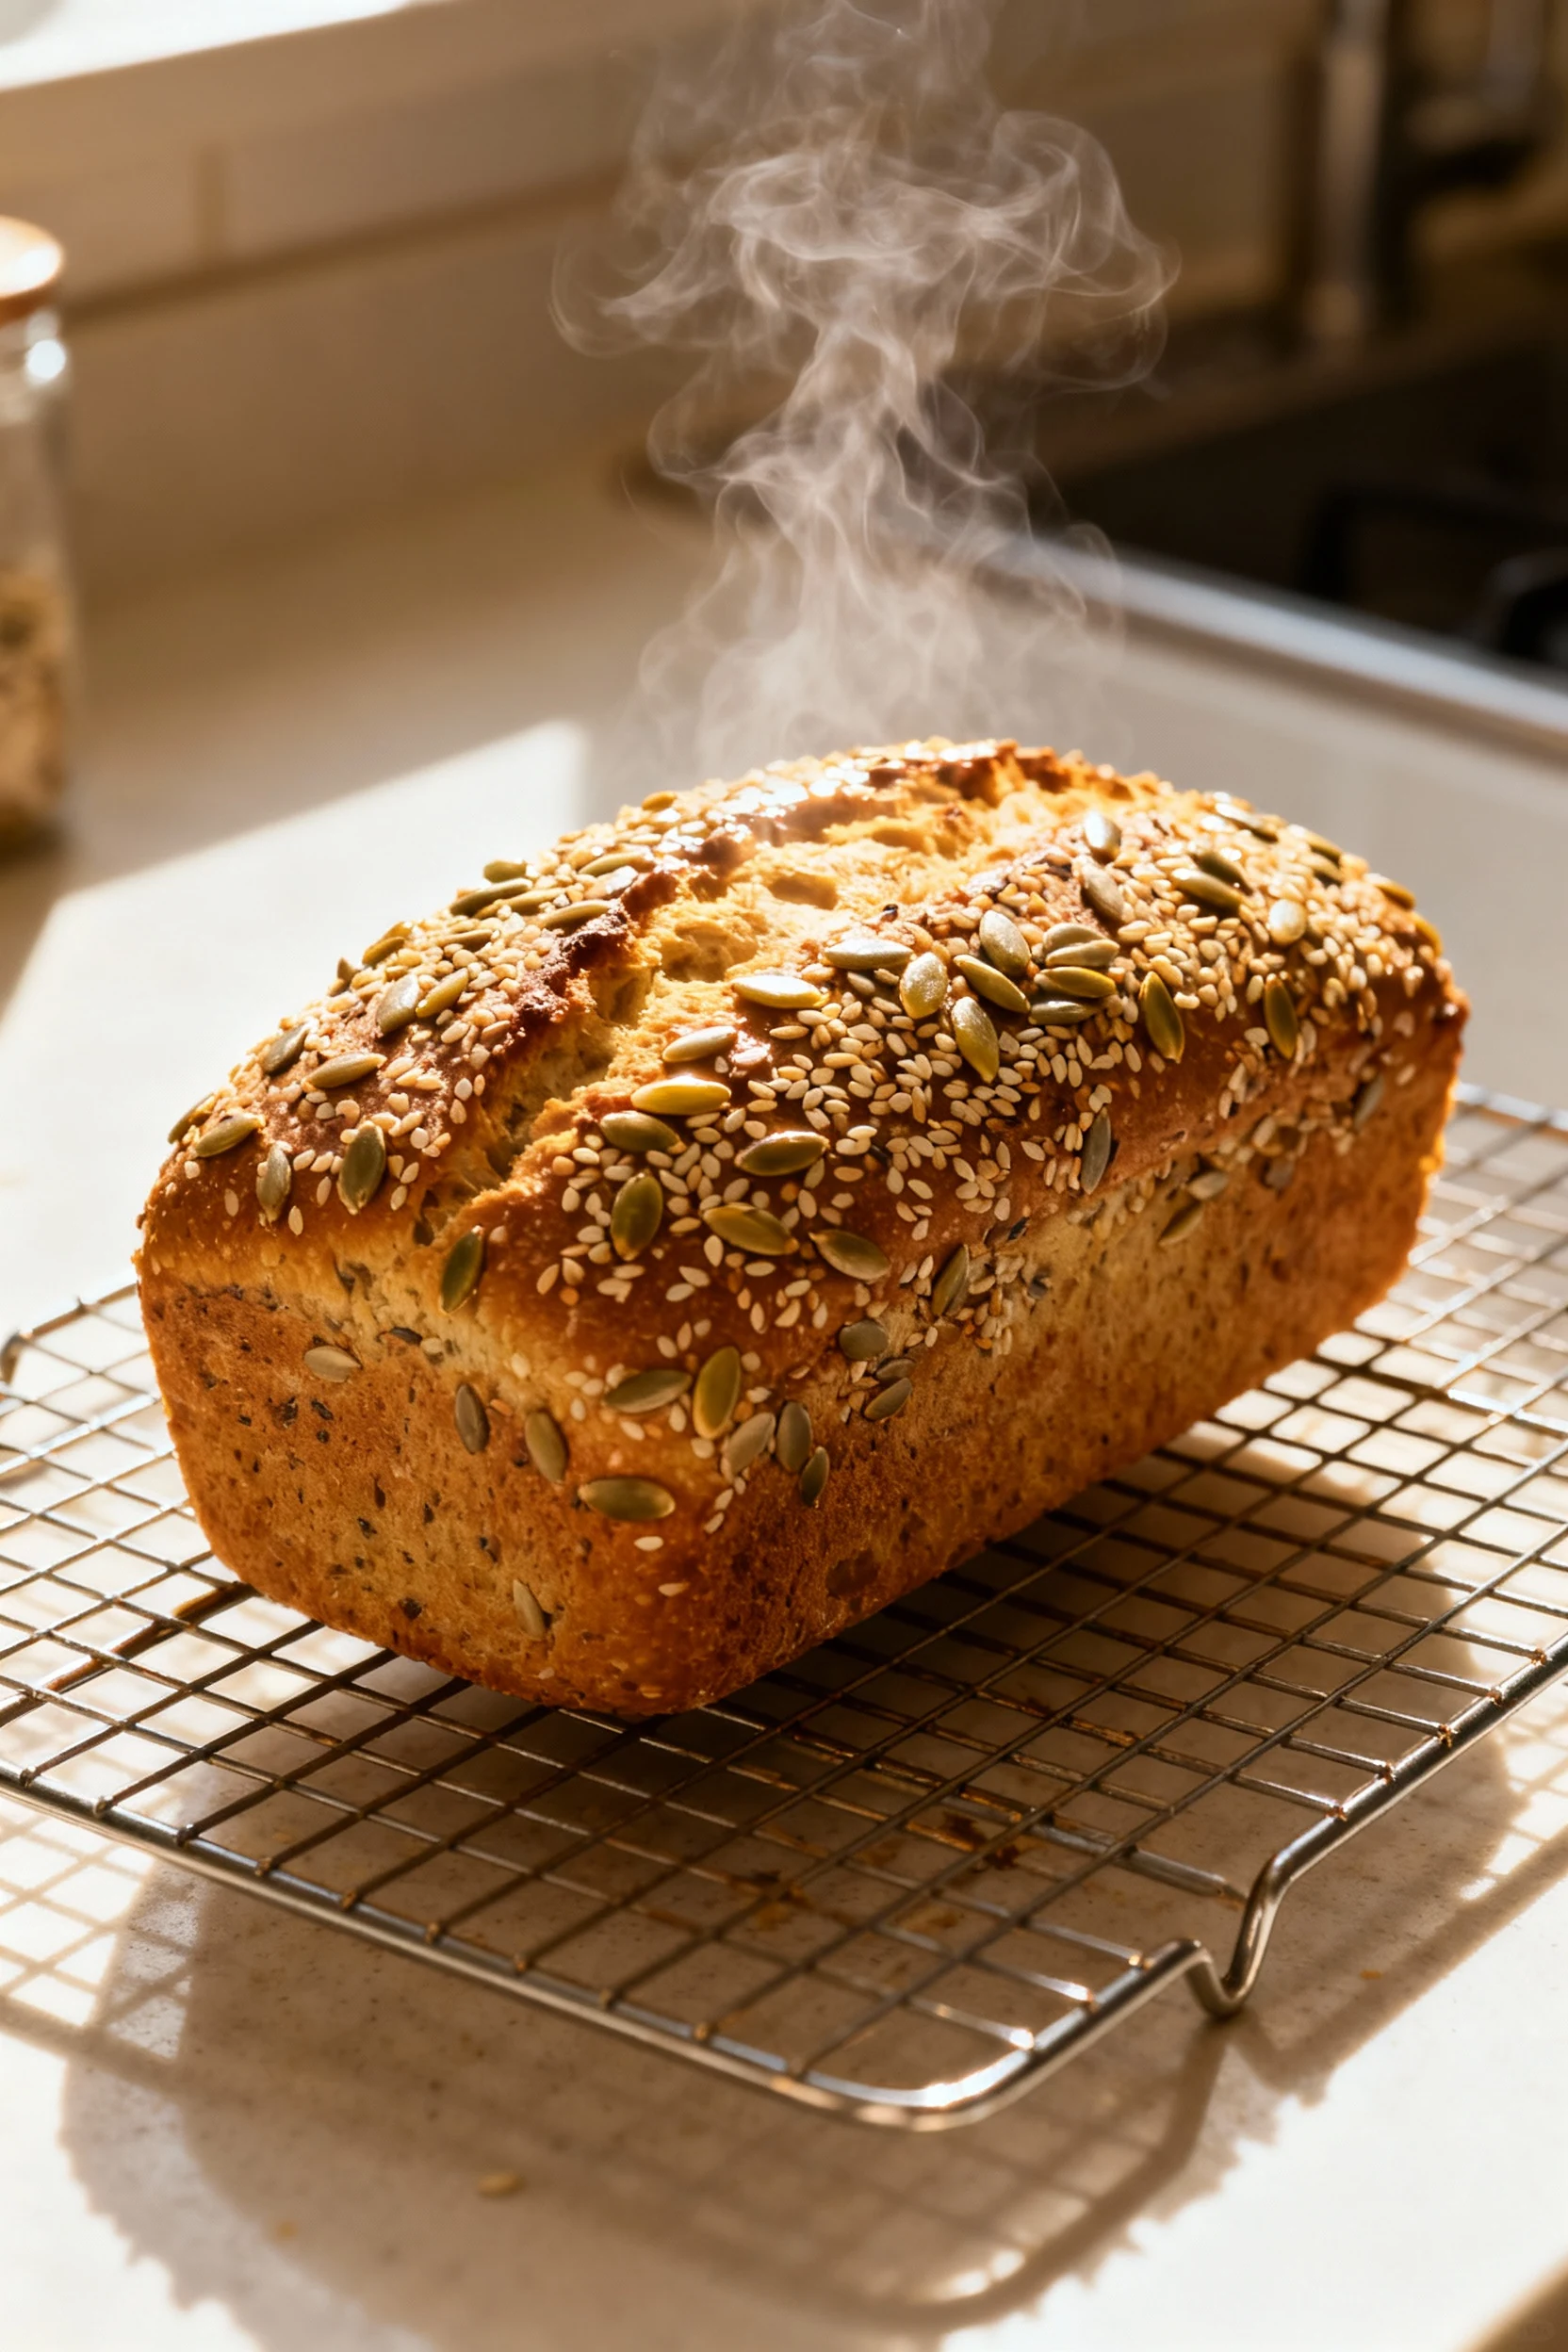
- Seed-crusted loaf: Press sesame or sunflower seeds into the crust pre-bake.
- Sweet cinnamon bread: Roll dough with cinnamon sugar for breakfast-worthy slices.
FAQ
Can I use instant yeast instead of active dry yeast?
Yes! Just skip the activation step and mix it straight into your dry ingredients. You’ll save a few minutes, but keep an eye on rise times.
What’s the best way to get a crispy crust?
Place a small oven-safe dish of water on the bottom rack during baking. The steam helps develop a beautiful crust without fancy steam ovens.
Can I make this bread gluten-free?
Absolutely—just use a gluten-free flour blend, but note that texture and elasticity will differ. Extra binding agents like xanthan gum help keep it together.
How do I know when the bread is really done?
Tap the bottom of the loaf—it should sound hollow. Or use a thermometer: internal temp should be around 190–200°F for most breads.
Is kneading really necessary?
For traditional dough, yes—it builds gluten structure for chewiness. But you can try no-knead recipes if arm workouts aren’t your vibe.
My Take
Bread-making is one of those skills that upgrades your kitchen credibility fast. You start with something humble—flour, water, yeast—and end up with an edible trophy that makes your home smell like magic. The wrong approach turns it into hockey pucks; the right approach makes it disappear in seconds when shared. IMO, a warm loaf is basically friendship in carbohydrate form—and people will always come back for another slice.
Printable Recipe Card
Want just the essential recipe details without scrolling through the article? Get our printable recipe card with just the ingredients and instructions.