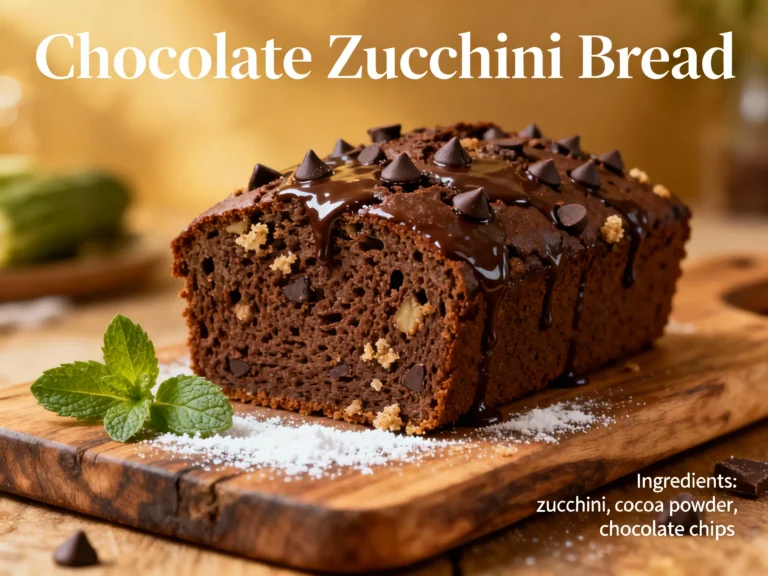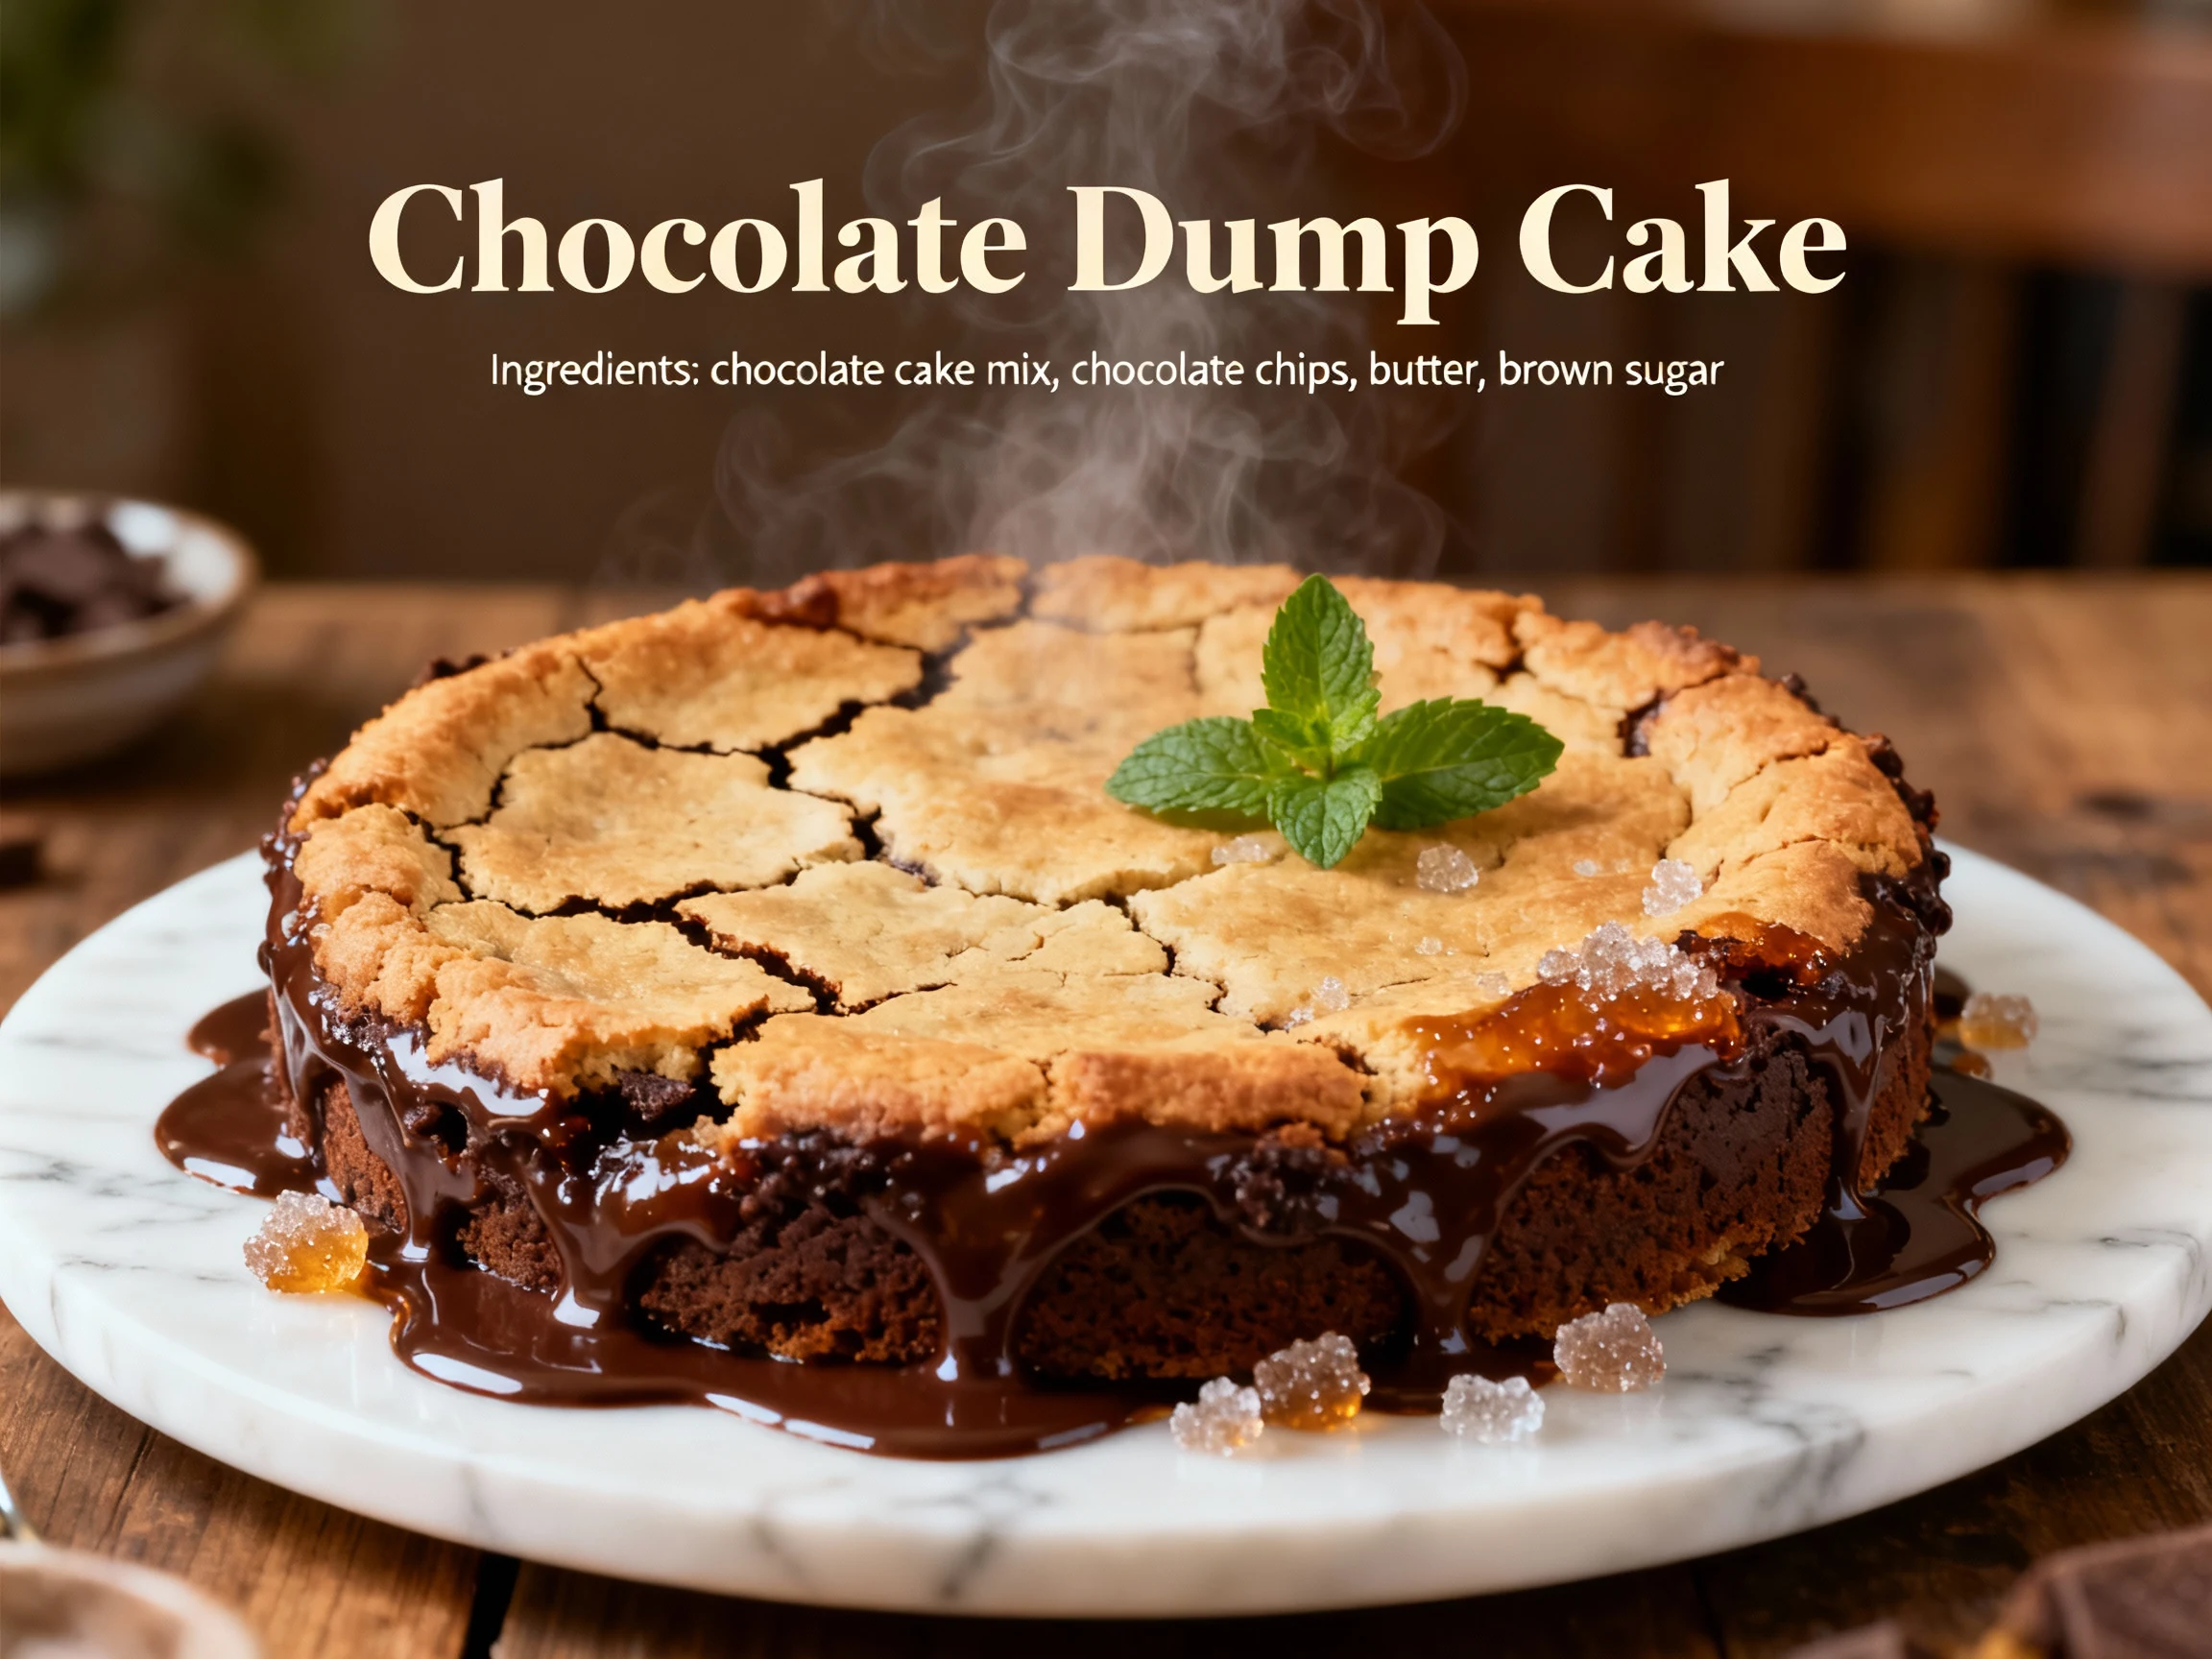
Chocolate Dump Cake Recipes That Wow With Zero Fuss
Perfect for weeknights, potlucks, and last‑minute cravings—minimal dishes, big flavor, and consistent results even for beginner bakers.
You want a show-stopping dessert without a sink full of dishes or a culinary degree. This is the move: layer pantry staples in a pan, shove it in the oven, and take all the credit. No mixing bowls. No whisking. Just a gooey, fudgy, fruit-forward bake that tastes like you planned it for days. The ROI on effort-to-applause here is ridiculous—in the best way. By the time you’re done reading, you’ll have a base formula and a dozen ways to remix it so dessert never becomes a “maybe later” again.
The Secret Behind This Recipe
Dump cakes work because they flip the script. Instead of creaming butter and sugar, you layer fat over a dry mix and let the oven do the heavy lifting. The fruit filling supplies moisture and steam; the butter melts, hydrates the mix from the top down, and creates a golden, cobbler-like crust with tender pockets beneath. Translation: crispy edges, gooey center, and melty chocolate—aka the trifecta.
Two rules make it foolproof. First, do not stir the cake mix into the fruit; stirring turns the topping into a dense, confused cake. Second, cover the surface with butter evenly so you don’t get powdery patches. The payoff is all about controlled hydration. Butter and fruit juices migrate just enough to brown the surface (hello, Maillard reaction) while the chips melt into tiny puddles of joy.
At a glance: Prep: 10 minutes. Bake: 40–50 minutes at 350°F (175°C). Pan: 9×13-inch. Serves: 10–12. It’s big-batch friendly, budget-friendly, and, FYI, it’s almost impossible to mess up when you stick to the basics.
Ingredients
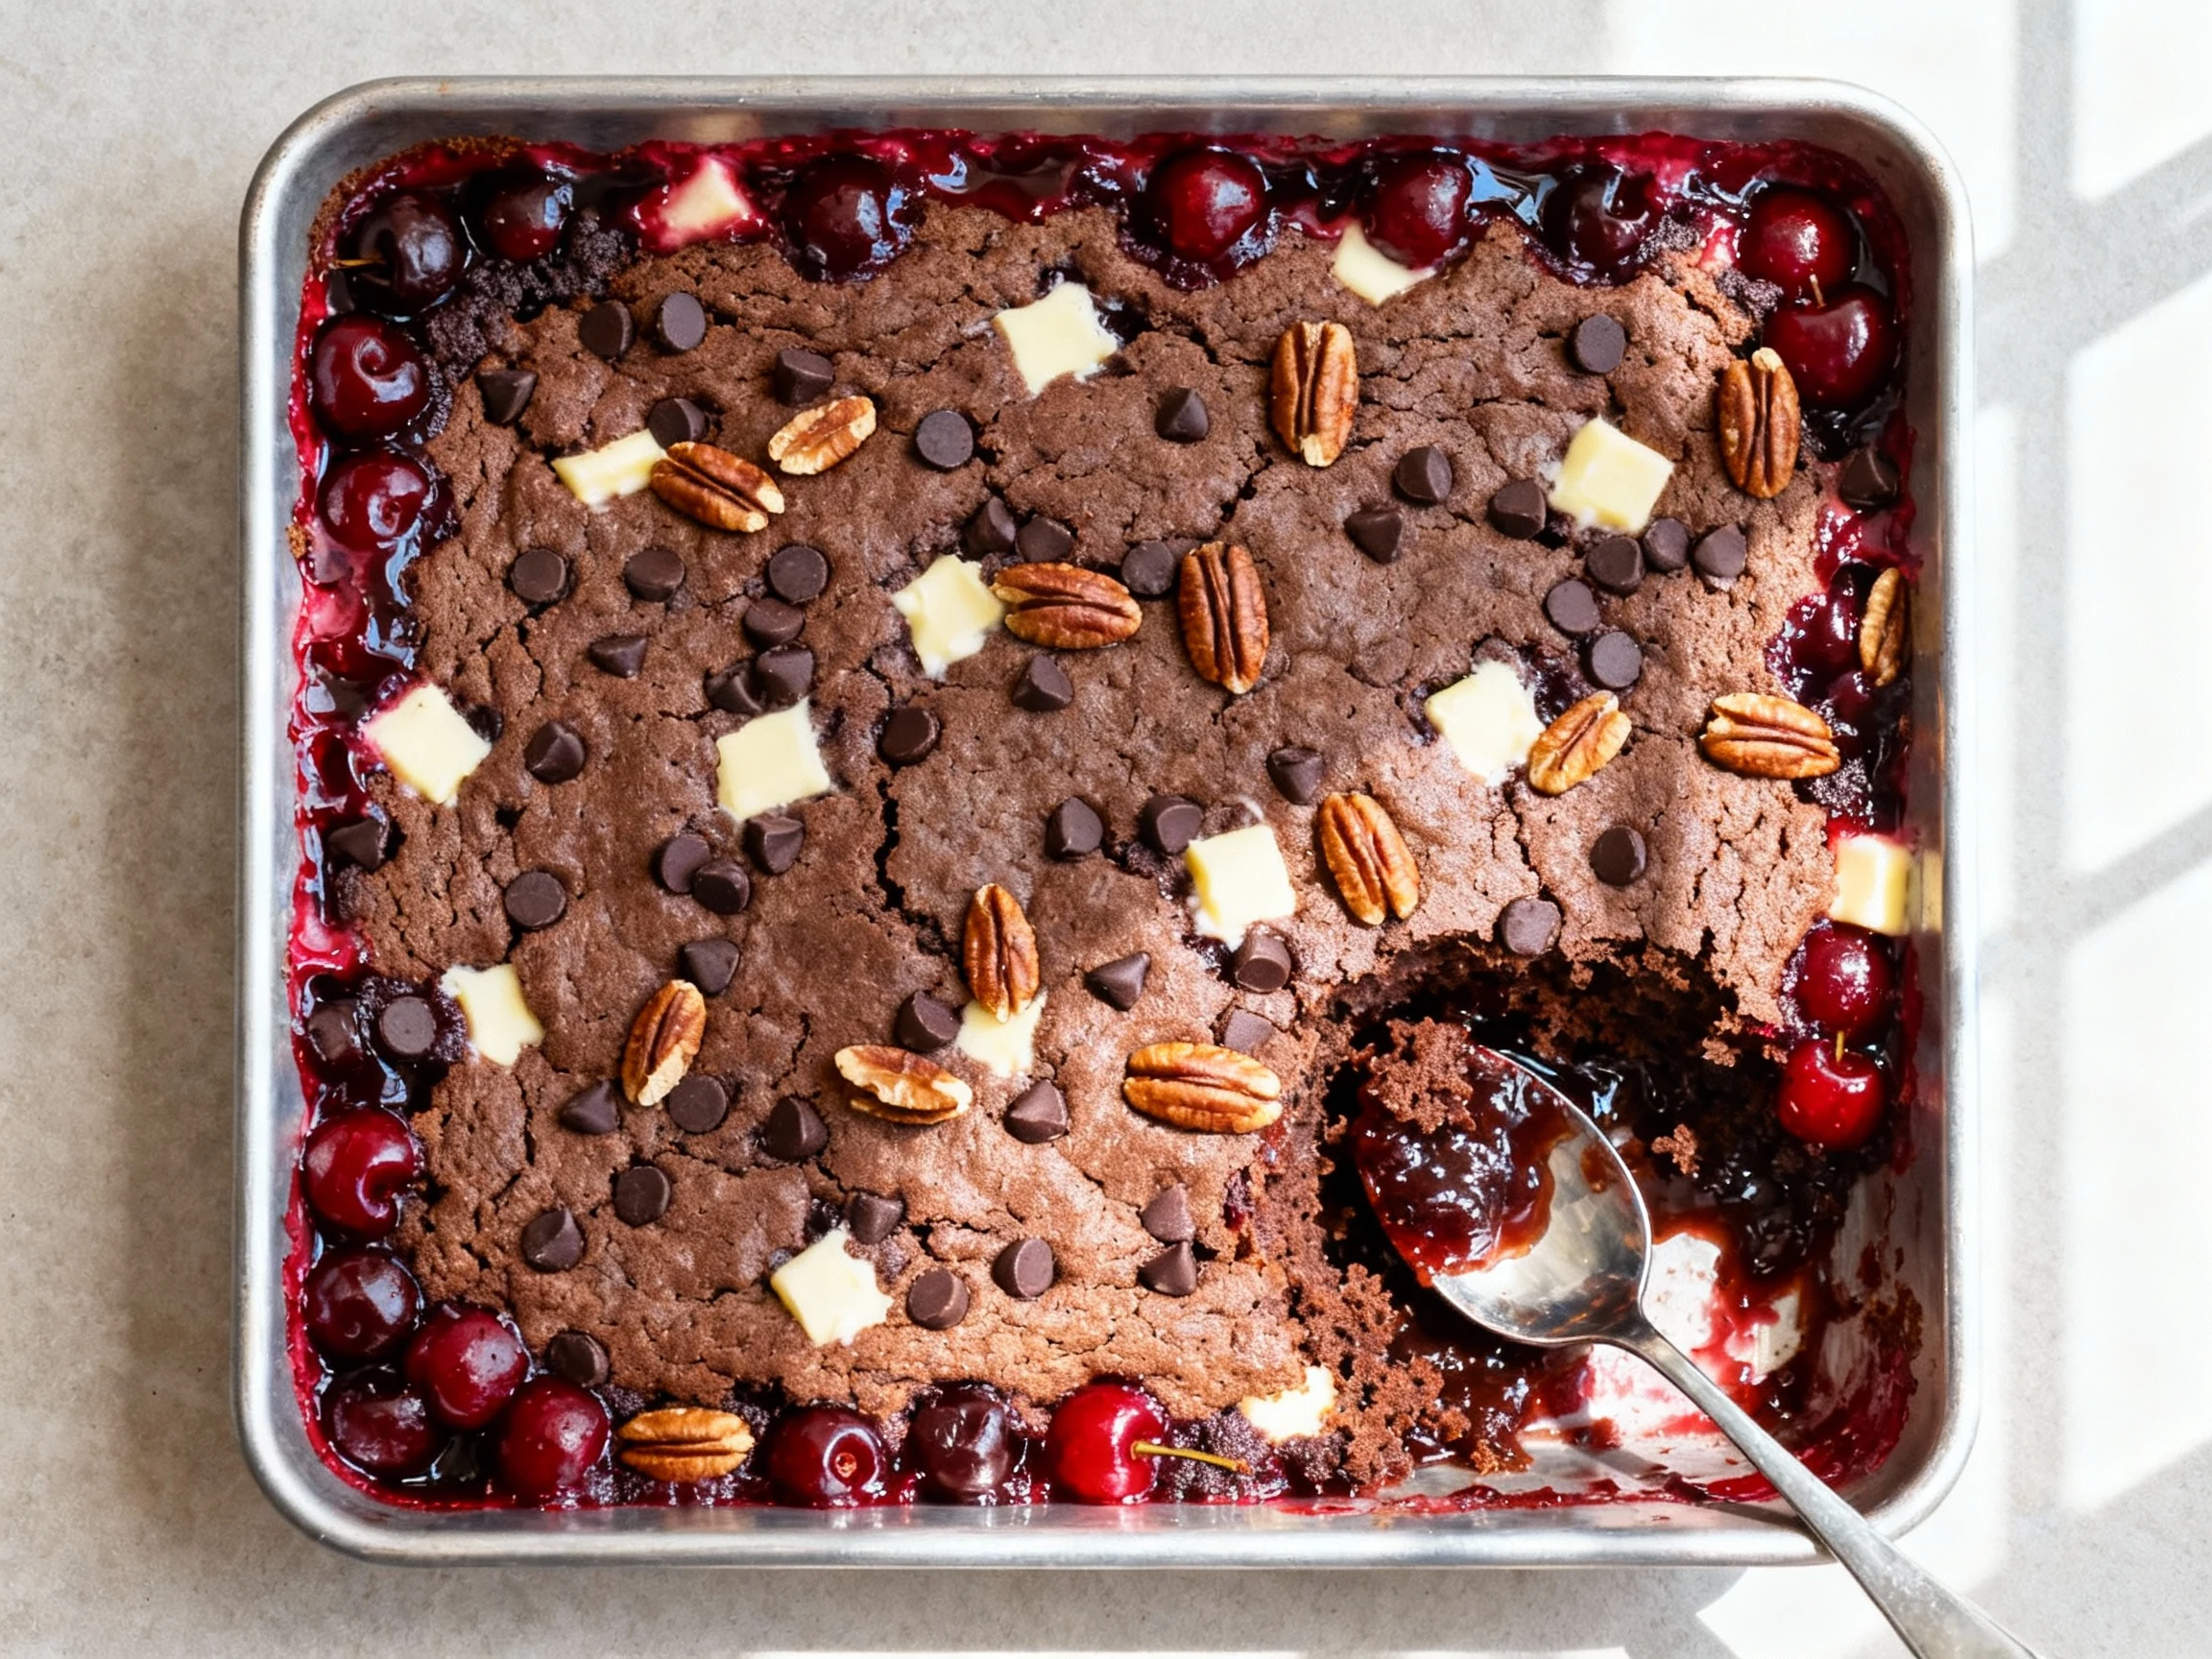
- 2 cans (21 oz each) cherry pie filling (or raspberry for a twist)
- 1 box (15.25 oz) chocolate cake mix (any standard brand)
- 12 tbsp (3/4 cup) unsalted butter, cold and sliced into thin pats
- 1 cup semisweet chocolate chips (mini chips melt into every nook)
- 1/2 cup chopped pecans or walnuts (optional, for crunch)
- 1 tsp vanilla extract (optional, but it blooms the chocolate)
- Pinch of fine salt (balances sweetness)
- Nonstick spray or butter for the baking dish
- For serving: vanilla ice cream or whipped cream (optional, strongly recommended)
Cooking Instructions
- Heat the oven to 350°F (175°C). Preheating matters for a crisp top and even bubbling. Don’t skip it.
- Grease a 9×13-inch baking dish. A quick swipe of butter or nonstick spray prevents sticky corners and preserves that coveted crispy edge.
- Dump in the fruit filling. Spread 2 cans cherry pie filling evenly. Stir in 1 tsp vanilla and a pinch of salt right in the pan if using. No extra bowl needed.
- Sprinkle the cake mix evenly over the fruit. Shake the pan or use your fingers to level it. Resist the urge to stir. Seriously.
- Scatter the chocolate chips and nuts. Add 1 cup chips and 1/2 cup nuts evenly across the surface so every scoop hits treasure.
- Top with butter slices. Lay 12 tbsp cold butter in an even, close mosaic across the top. The goal is near-complete coverage; gaps = powdery spots.
- Bake for 40–50 minutes. Look for bubbly edges and a toasty, set top. If some dry mix remains, give it 5 more minutes or tent with foil to prevent over-browning.
- Rest 10–15 minutes. The liquids settle, the chips firm slightly, and the scoops hold shape. You’ll thank yourself for waiting.
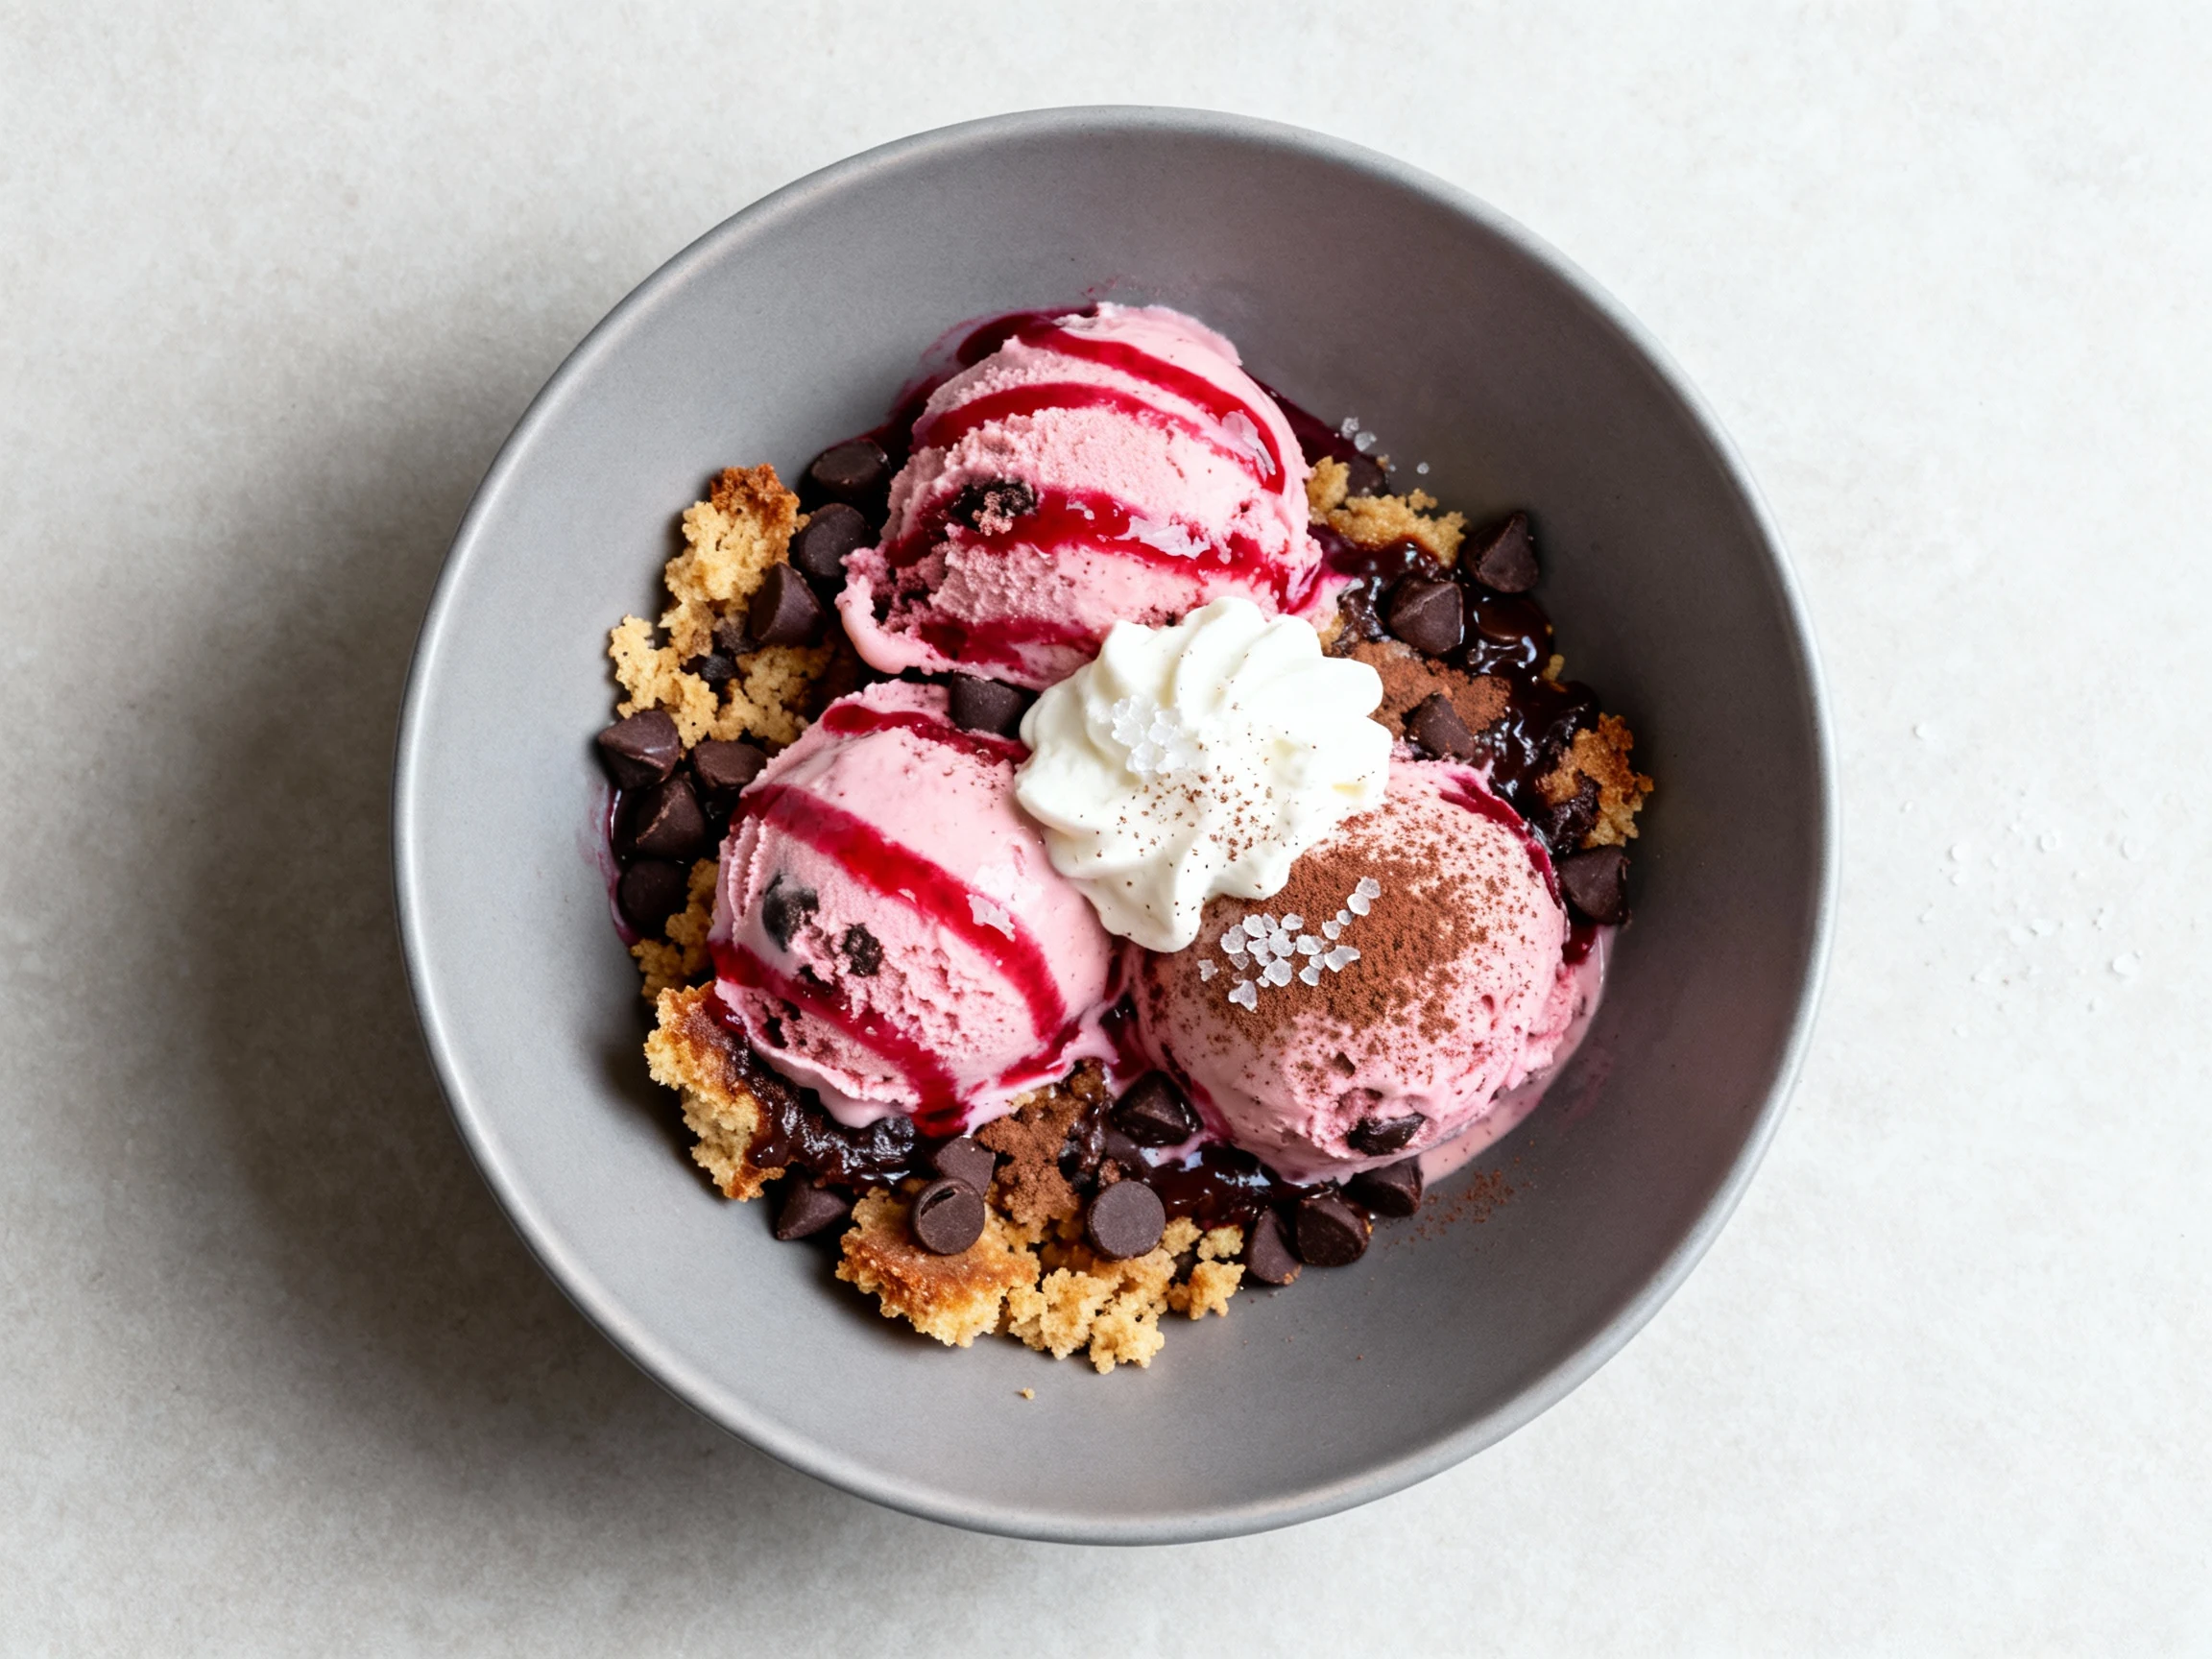
- Serve warm. Big spoon, deep bowl, a scoop of ice cream. Add a pinch of flaky salt if you like that salty-sweet pop.
- Store leftovers properly. Cool completely before covering. See storage tips below for keeping the top from sogging out.
Keeping It Fresh
Short term: Cover and keep at room temp for up to 1 day. That preserves a crisp top without fridge condensation. After that, play it safe.
Refrigerate in an airtight container for 3–4 days. Reheat at 325°F (165°C) for 10–15 minutes to revive the edge crisp. Microwaves work in a pinch, but they soften the top—nice for gooey vibes, not for crunch.
Freeze for up to 2 months. Portion into squares, wrap tightly, and stash in freezer bags. Reheat from frozen at 325°F until warmed through (15–20 minutes), or thaw overnight for quicker results. FYI: a quick 2-minute blast in a toaster oven restores magic.
Nutritional Perks
It’s dessert, not a multivitamin—but you still get some wins. Cocoa brings natural polyphenols, and dark chips keep sweetness in check while delivering deeper flavor. Cherries contribute color and tang plus those anthocyanins everyone loves to name-drop.
Want to lighten it up? Use no-sugar-added pie filling, reach for 70% dark chips, and trim the butter to 8 tbsp while giving the top a light drizzle of 2–3 tbsp milk to hydrate dry spots. Add 1/4 cup chopped nuts for satisfying crunch and better portion control.
IMO, the smartest play is portion strategy: bake once, serve in modest scoops, and pair with tart yogurt or fruit to balance richness. You’ll feel satisfied without needing a refill.
Common Mistakes to Avoid
- Stirring the mix into the fruit. That’s cake, not dump cake. You’ll lose the cobbler-like top and end up with gummy middles.
- Not enough butter coverage. Gaps leave floury patches. Slice thin and tile it like shingles.
- Using melted butter in one pour. It pools and misses spots. If melting, drizzle evenly over the entire surface.
- Underbaking. If the top still looks powdery and the edges aren’t bubbling, keep going 5–10 minutes.
- Overloading add-ins. Too many chips/nuts can block butter from hydrating the mix. Cap it at about 1.5 cups total add-ins.
- Wrong pan, wrong time. Dark metal runs hot—start checking at 35 minutes. Glass or ceramic often needs the full time.
- Cutting too soon. A 10-minute rest sets the goo into perfect spoonable layers. Skipping it equals lava soup.
- Skimping on fruit. The fruit fuels steam. Less fruit = dry bites. Stick to about 42 oz pie filling for a 9×13.
Variations You Can Try
- Black Forest Classic: Stick with cherry filling and add 1 tsp almond extract under the cake mix. Top with shaved chocolate.
- Raspberry Truffle: Swap cherry for raspberry pie filling and use dark chocolate chips. Add a dusting of cocoa after baking.
- Turtle Style: Sprinkle 1/2 cup chopped pecans and 1/2 cup caramel bits. Finish with a caramel drizzle and a pinch of flaky salt.
- Mocha Boost: Stir 1 tbsp instant espresso into the dry cake mix before sprinkling. Coffee makes chocolate taste more chocolatey.
- Peppermint Crunch (holiday-ready): Add 1/2 tsp peppermint extract to the fruit and top with crushed candy canes after baking.
- Peanut Butter Cup: Dot the fruit with 1/3 cup warmed peanut butter, add milk chocolate chips, and finish with chopped mini PB cups.
- Gluten-Free: Use a GF chocolate cake mix. Everything else stays the same—easy win.
- Dairy-Free: Swap butter for plant-based buttery sticks and choose dairy-free chips. Same method, great texture.
- Slow Cooker: Grease the crock, layer as usual, and cook on HIGH for 2–2.5 hours or LOW for 4 hours with a tea towel under the lid to catch condensation.
- Mini Desserts: Layer into ramekins or a muffin tin with liners. Bake at 350°F for 18–22 minutes. FYI: adorable and dangerously poppable.
FAQ
Can I use brownie mix instead of cake mix?
Yes, but expect a denser, fudgier result. Start checking at 35–40 minutes and watch the edges—brownie mixes brown faster. Keep the butter coverage generous so you don’t get dry spots.
Do I really not stir anything?
Correct. Do not stir. The beauty is in the layers: fruit steams, butter hydrates, cake mix crisps. Stirring mushes it all into a flat, confused cake with less texture and less charm.
What if I pull it out and there are powdery patches?
Slide it back in for 5–10 minutes, or drizzle 2–3 tbsp melted butter evenly over dry areas and bake a bit more. Next time, add a few extra butter pats in those zones up front.
Can I make this ahead for a party?
Absolutely. Bake the day before, cool, and refrigerate. Reheat uncovered at 325°F (165°C) for 15 minutes to re-crisp the top. Top with fresh whipped cream just before serving.
How do I reduce the sweetness without wrecking it?
Use no-sugar-added fruit filling and 70% dark chips. You can also sprinkle 1/4 tsp flaky salt after baking to balance flavors. The texture stays on point and the flavor reads more “grown-up.”
Can I halve the recipe?
Yes—use an 8×8-inch pan, one can of pie filling, and about half the mix and butter. Start checking at 30–35 minutes. Same rules, just smaller squares.
What kind of butter works best?
Cold, unsalted butter sliced thin gives you the most even coverage. If all you have is salted, reduce any added salt and you’re fine. Avoid room-temp lumps; they won’t spread evenly.
Do I need to grease the pan if there’s so much butter?
Lightly, yes. A quick coat of nonstick spray or butter helps with clean scoops and prevents sticky caramelized edges from clinging to the dish.
The Bottom Line
This is the dessert play when time is tight, dishes are limited, and you still want applause. Keep the core rules—layer, don’t stir, cover with butter—and you’ll hit consistent, crowd-pleasing results every time. From classic cherry-chocolate to mocha or turtle twists, the formula flexes with your cravings. Minimal effort, maximum wow: that’s the whole point, and it delivers.
Printable Recipe Card
Want just the essential recipe details without scrolling through the article? Get our printable recipe card with just the ingredients and instructions.