Cherry Dump Cake Recipes That Win Every Potluck
One pan, five minutes, and a dessert that tastes like you tried hard. Perfect for parties, weeknights, and last-minute cravings.
You know that moment when you need a dessert that looks like effort but takes none? This is that moment, on repeat. Dump cake is the cheat code: you stack, bake, and suddenly everyone thinks you “love baking.” The cherry version hits especially hard because it tastes nostalgic, bright, and just indulgent enough. And yes, you can make it while your oven preheats, which feels borderline illegal.
The Secret Behind This Recipe
The “secret” is the texture game: juicy fruit on the bottom, buttery cake on top, and crisp edges that crackle when you dig in. You don’t mix the batter like a normal cake, because you’re not trying to build a fluffy crumb. You’re building layers that melt into each other while they bake, like dessert lasagna without the commitment.
Another key move is even butter coverage. Dry cake mix equals sad pockets of powder, and nobody wants a bite that tastes like regret. Slice cold butter thin and spread it like you’re icing a grudge, or melt it and drizzle it slowly across the whole surface.
Finally, give it time to rest after baking. The filling thickens as it cools, and the top sets into that perfect “golden crunch on top, gooey underneath” situation. If you cut too fast, it still tastes great, but it will look like a lava flow. Sometimes that’s a vibe, but you should choose it on purpose.
What Goes Into This Recipe – Ingredients
- Cherry pie filling: 2 cans (about 21 ounces each)
- Crushed pineapple (in juice): 1 can (about 20 ounces), optional but amazing
- Yellow cake mix: 1 box (15.25 ounces)
- Unsalted butter: 1 cup (2 sticks), sliced very thin or melted
- Almond extract: 1 teaspoon (optional, but it makes the cherry pop)
- Vanilla extract: 1 teaspoon (optional)
- Salt: a pinch (optional, but it balances the sweetness)
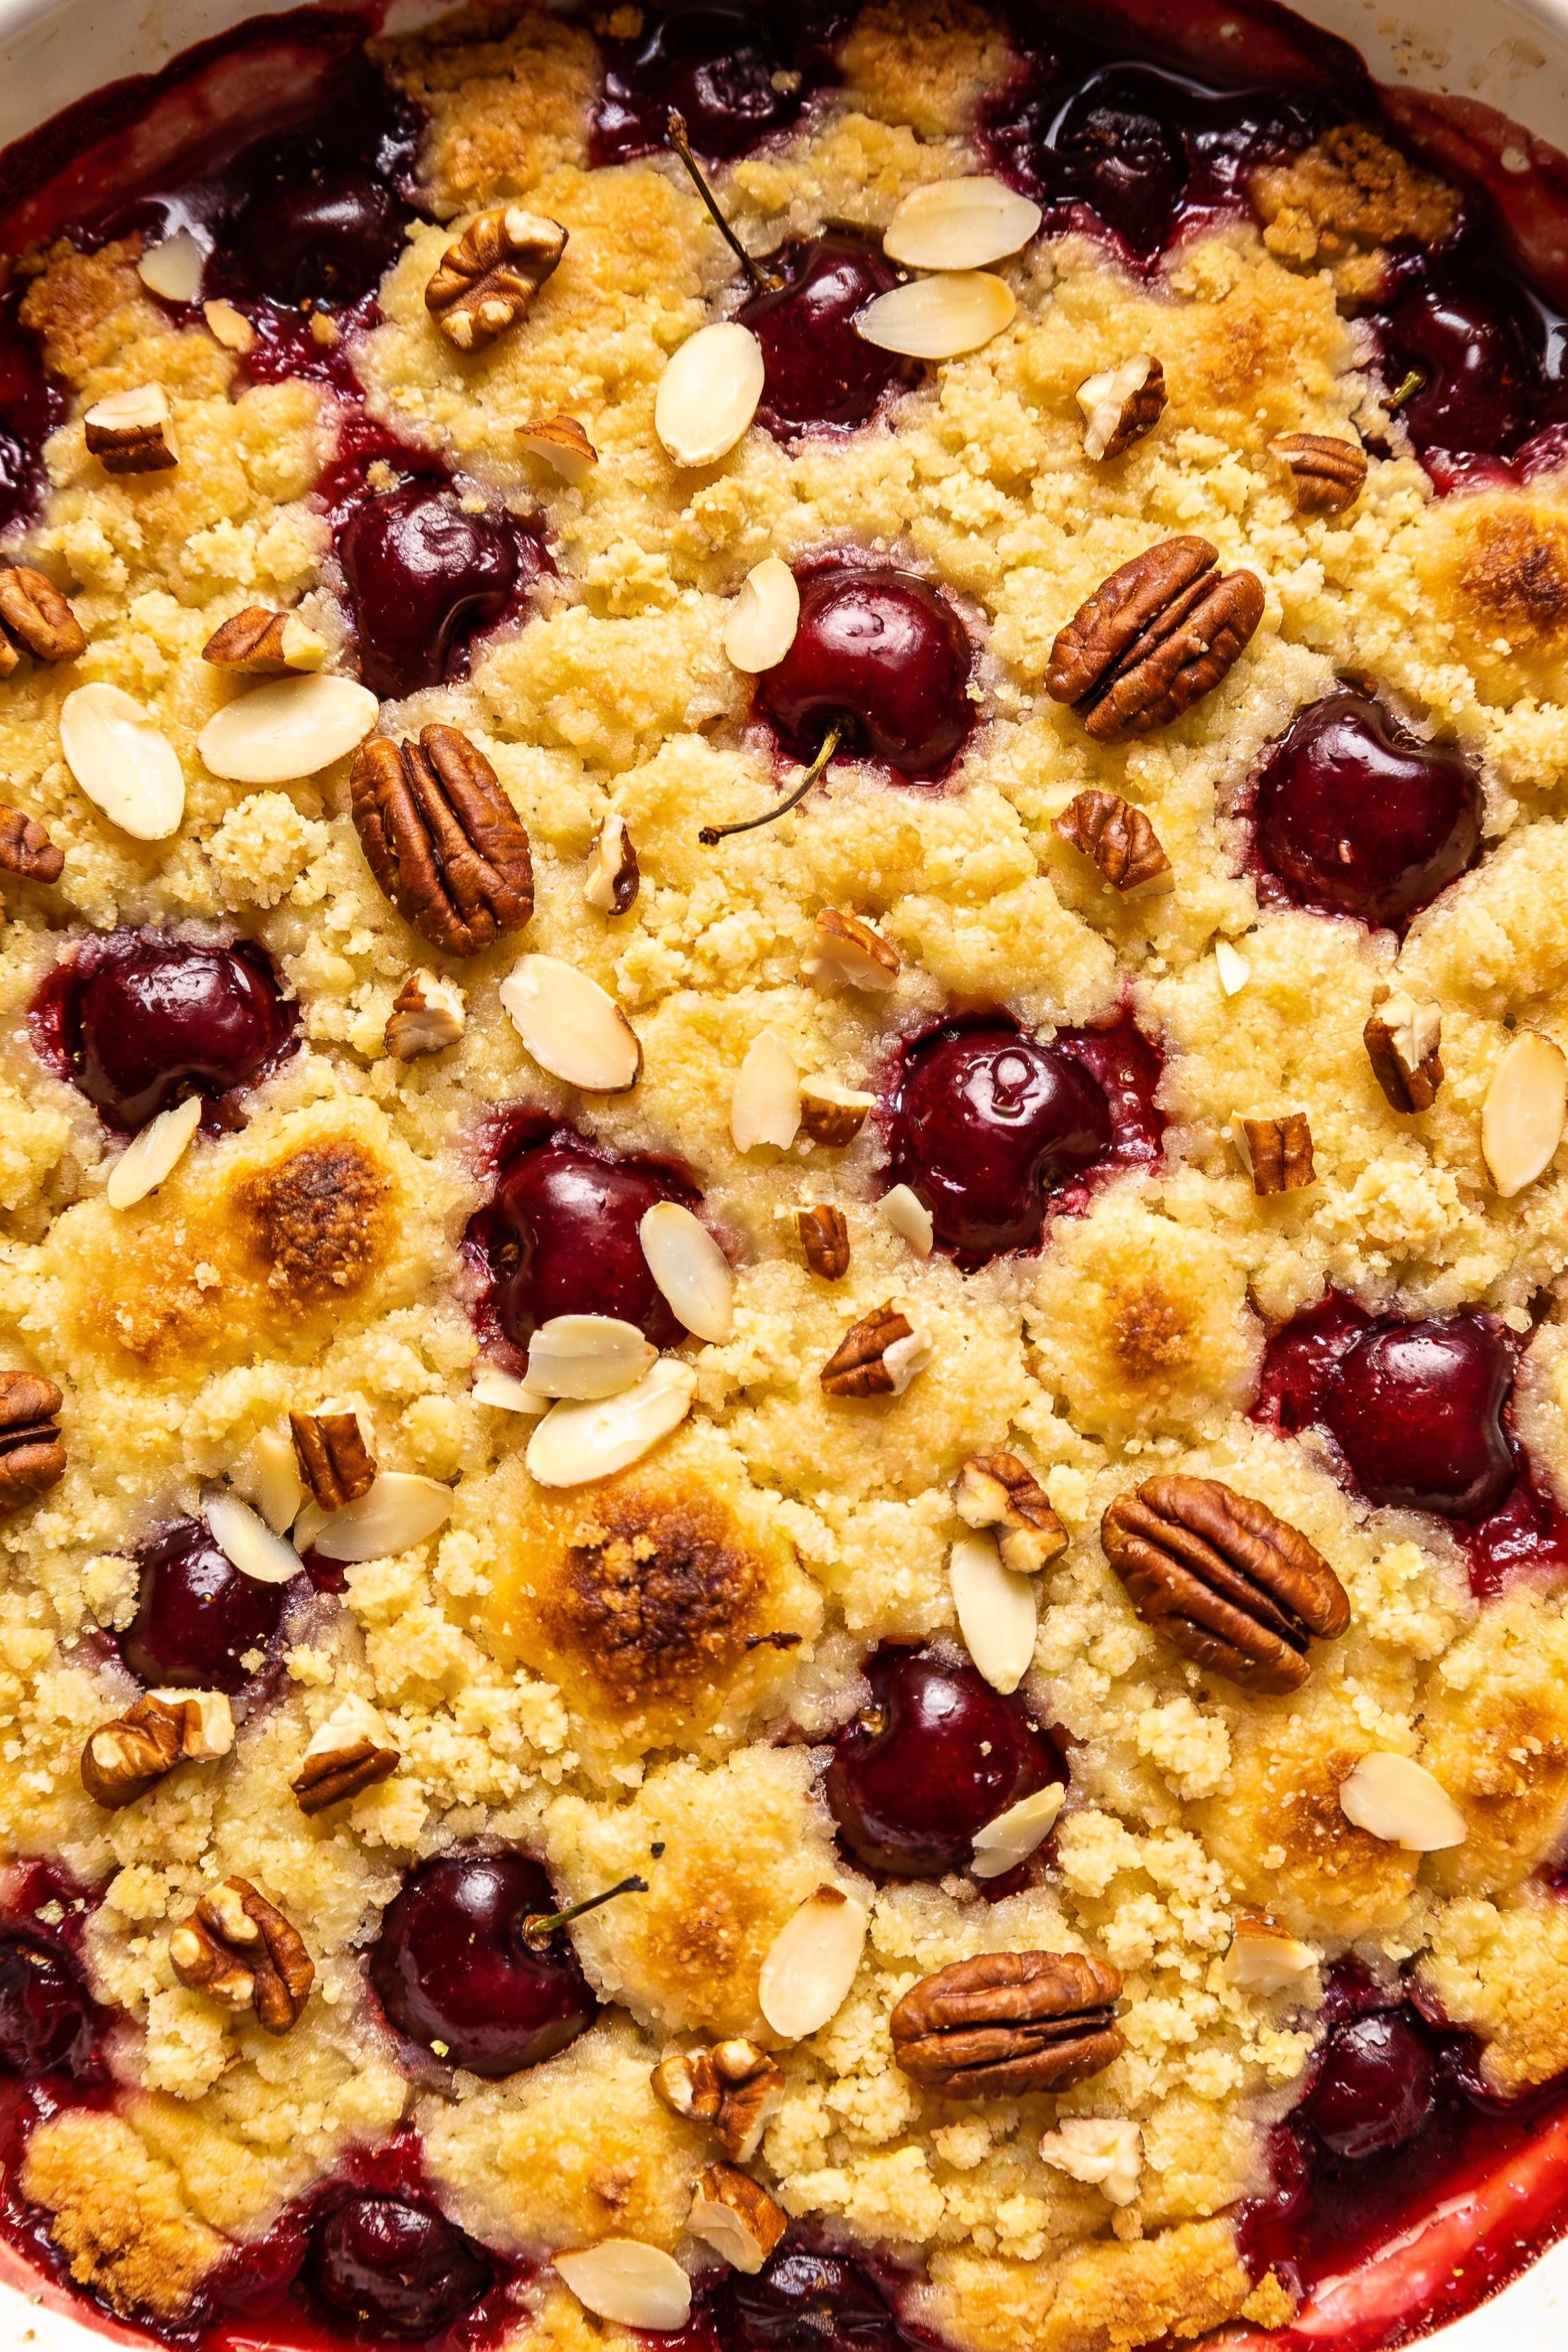
- Sliced almonds: 1/2 cup (optional topping)
- Pecans or walnuts: 1/2 cup, chopped (optional topping)
- Cinnamon: 1/2 teaspoon (optional, cozy twist)
- Whipped cream or vanilla ice cream: for serving
Cooking Instructions
-
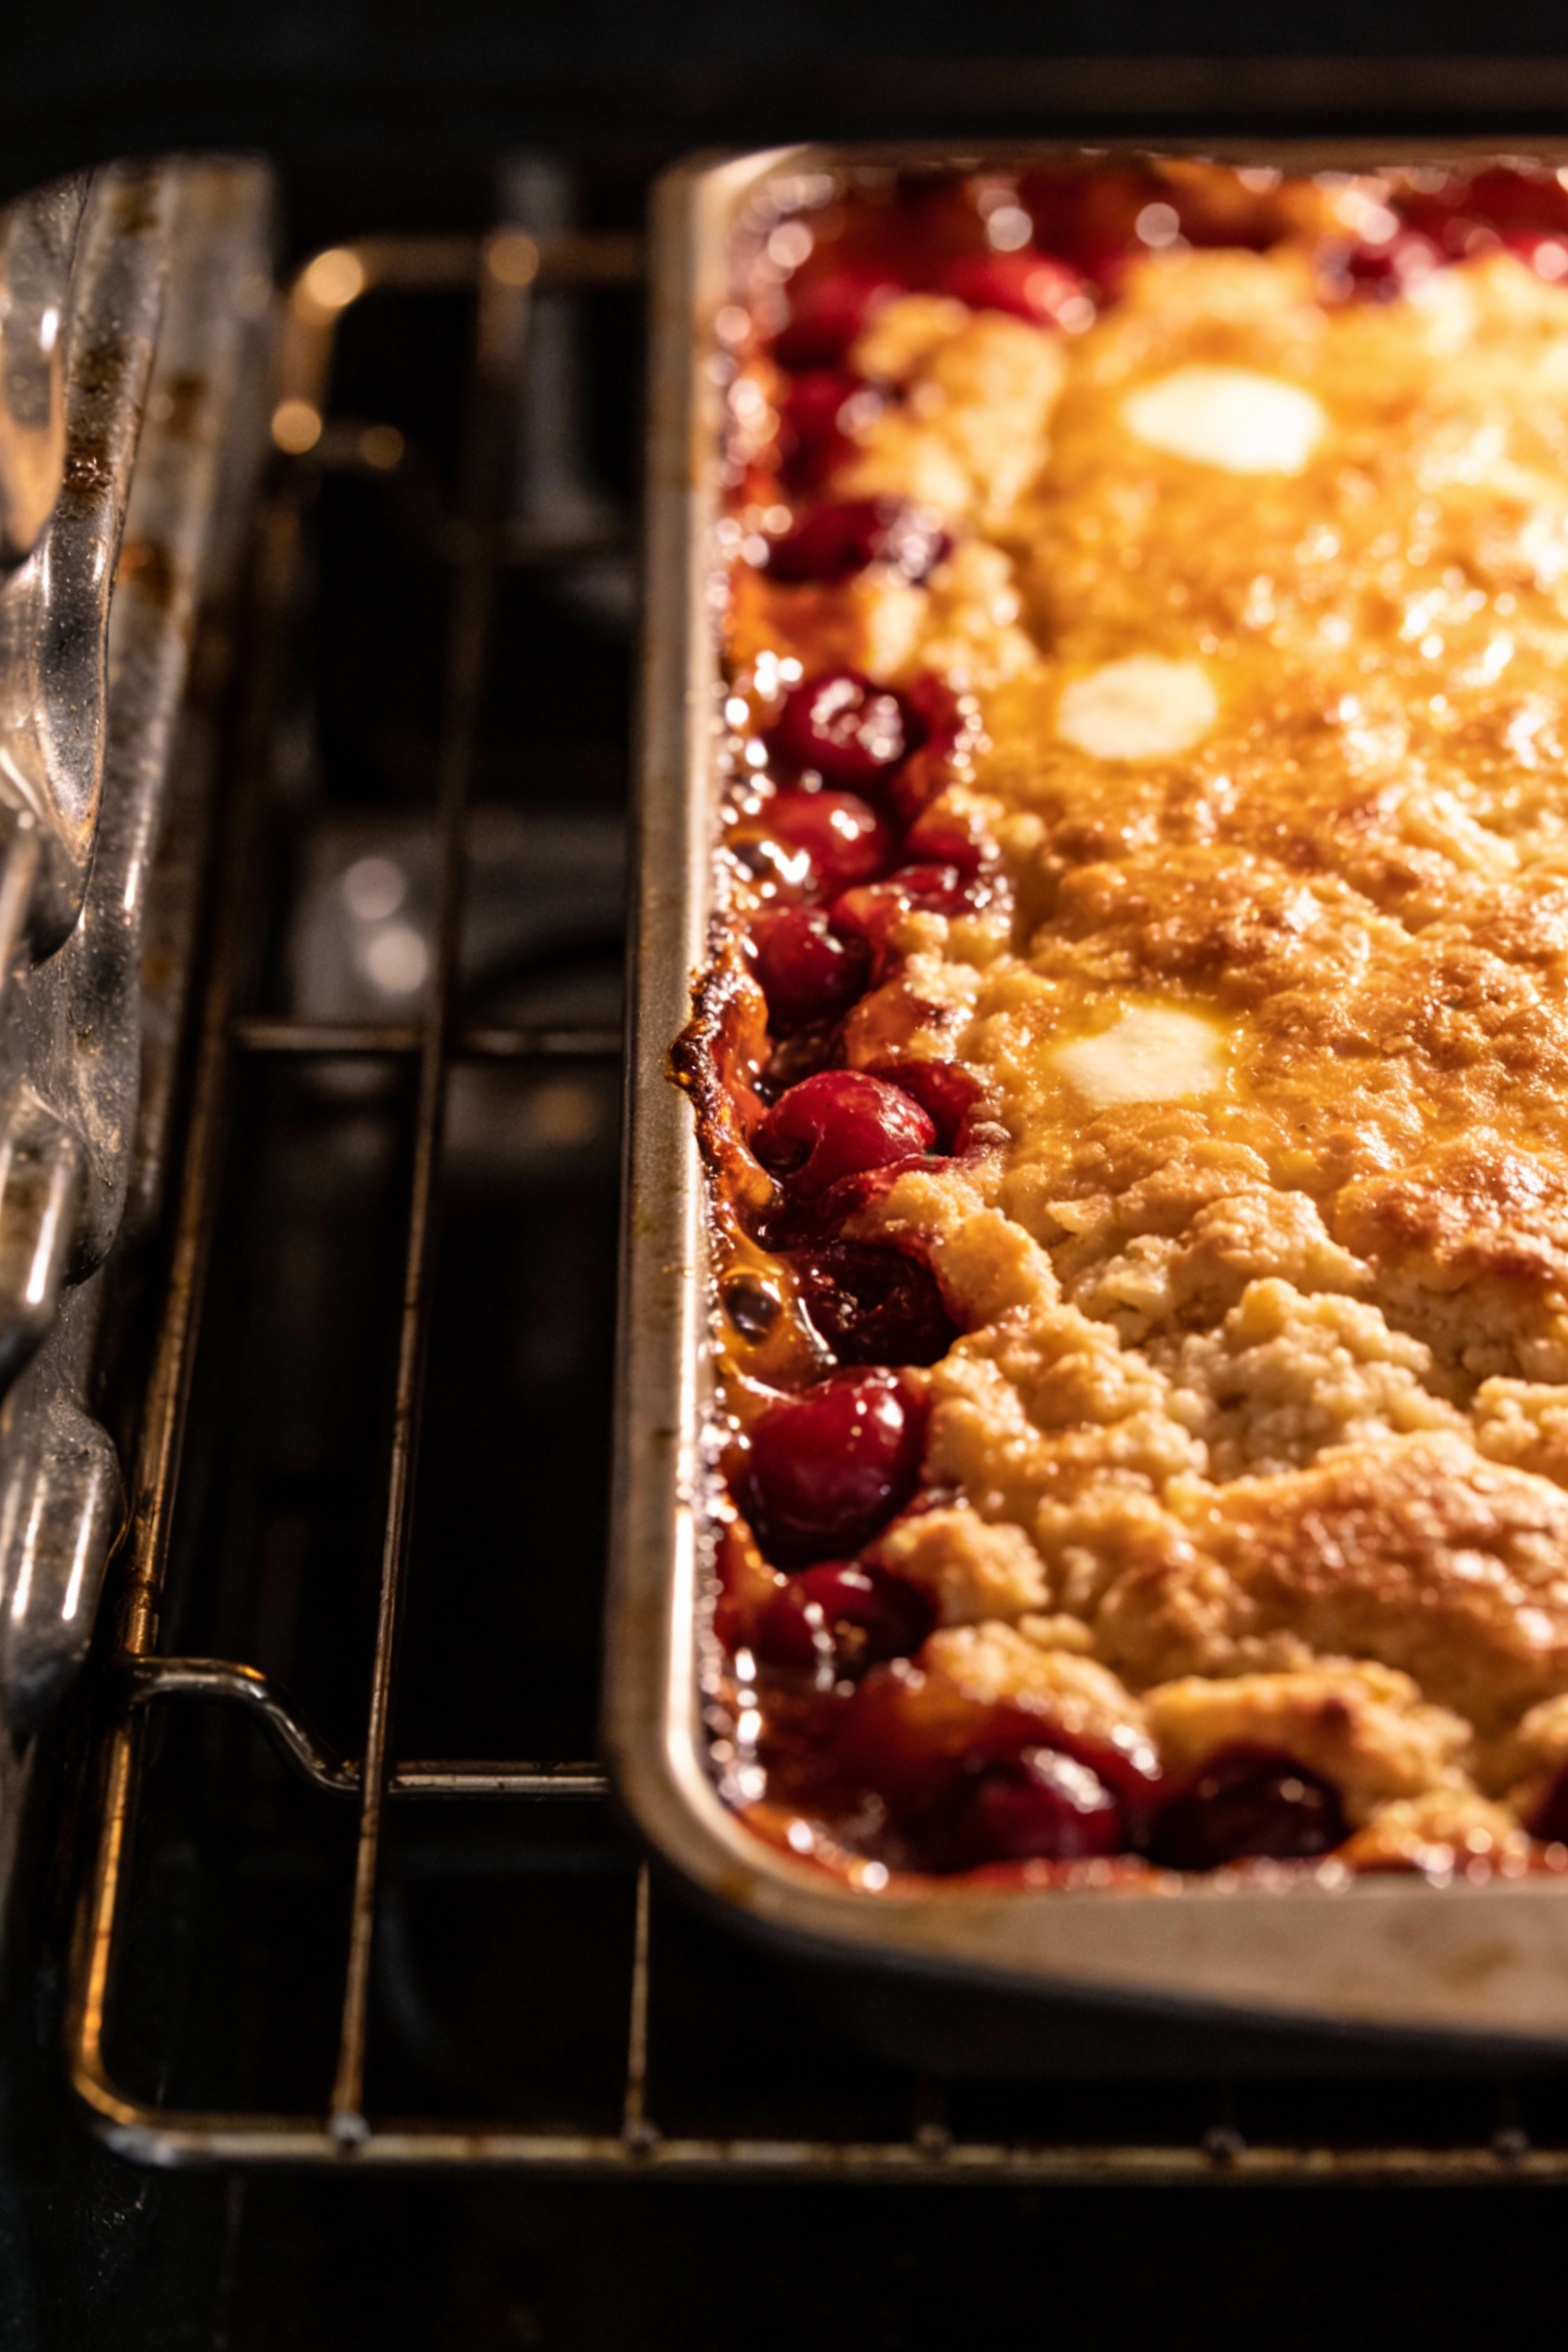
Heat your oven to 350°F and lightly grease a 9×13-inch baking dish. If you “never grease anything,” this is where your future self files a complaint.
-
Spread the cherry pie filling evenly across the bottom. If you’re using crushed pineapple, spoon it over the cherries and gently level it out.
-
Stir in almond extract, vanilla, and a tiny pinch of salt directly into the fruit layer if you want extra flavor without extra work.
-
Sprinkle the dry cake mix evenly over the fruit. No stirring. No mixing. Just a calm, confident, even blanket of mix.
-
Add toppings if you want: sliced almonds for crunch, or chopped pecans for a richer vibe. Keep it even so every slice gets the good stuff.
-
Cover the cake mix with butter. For sliced butter, layer thin pats across the entire surface with minimal gaps. For melted butter, drizzle slowly in lines, then fill in any dry spots.
-
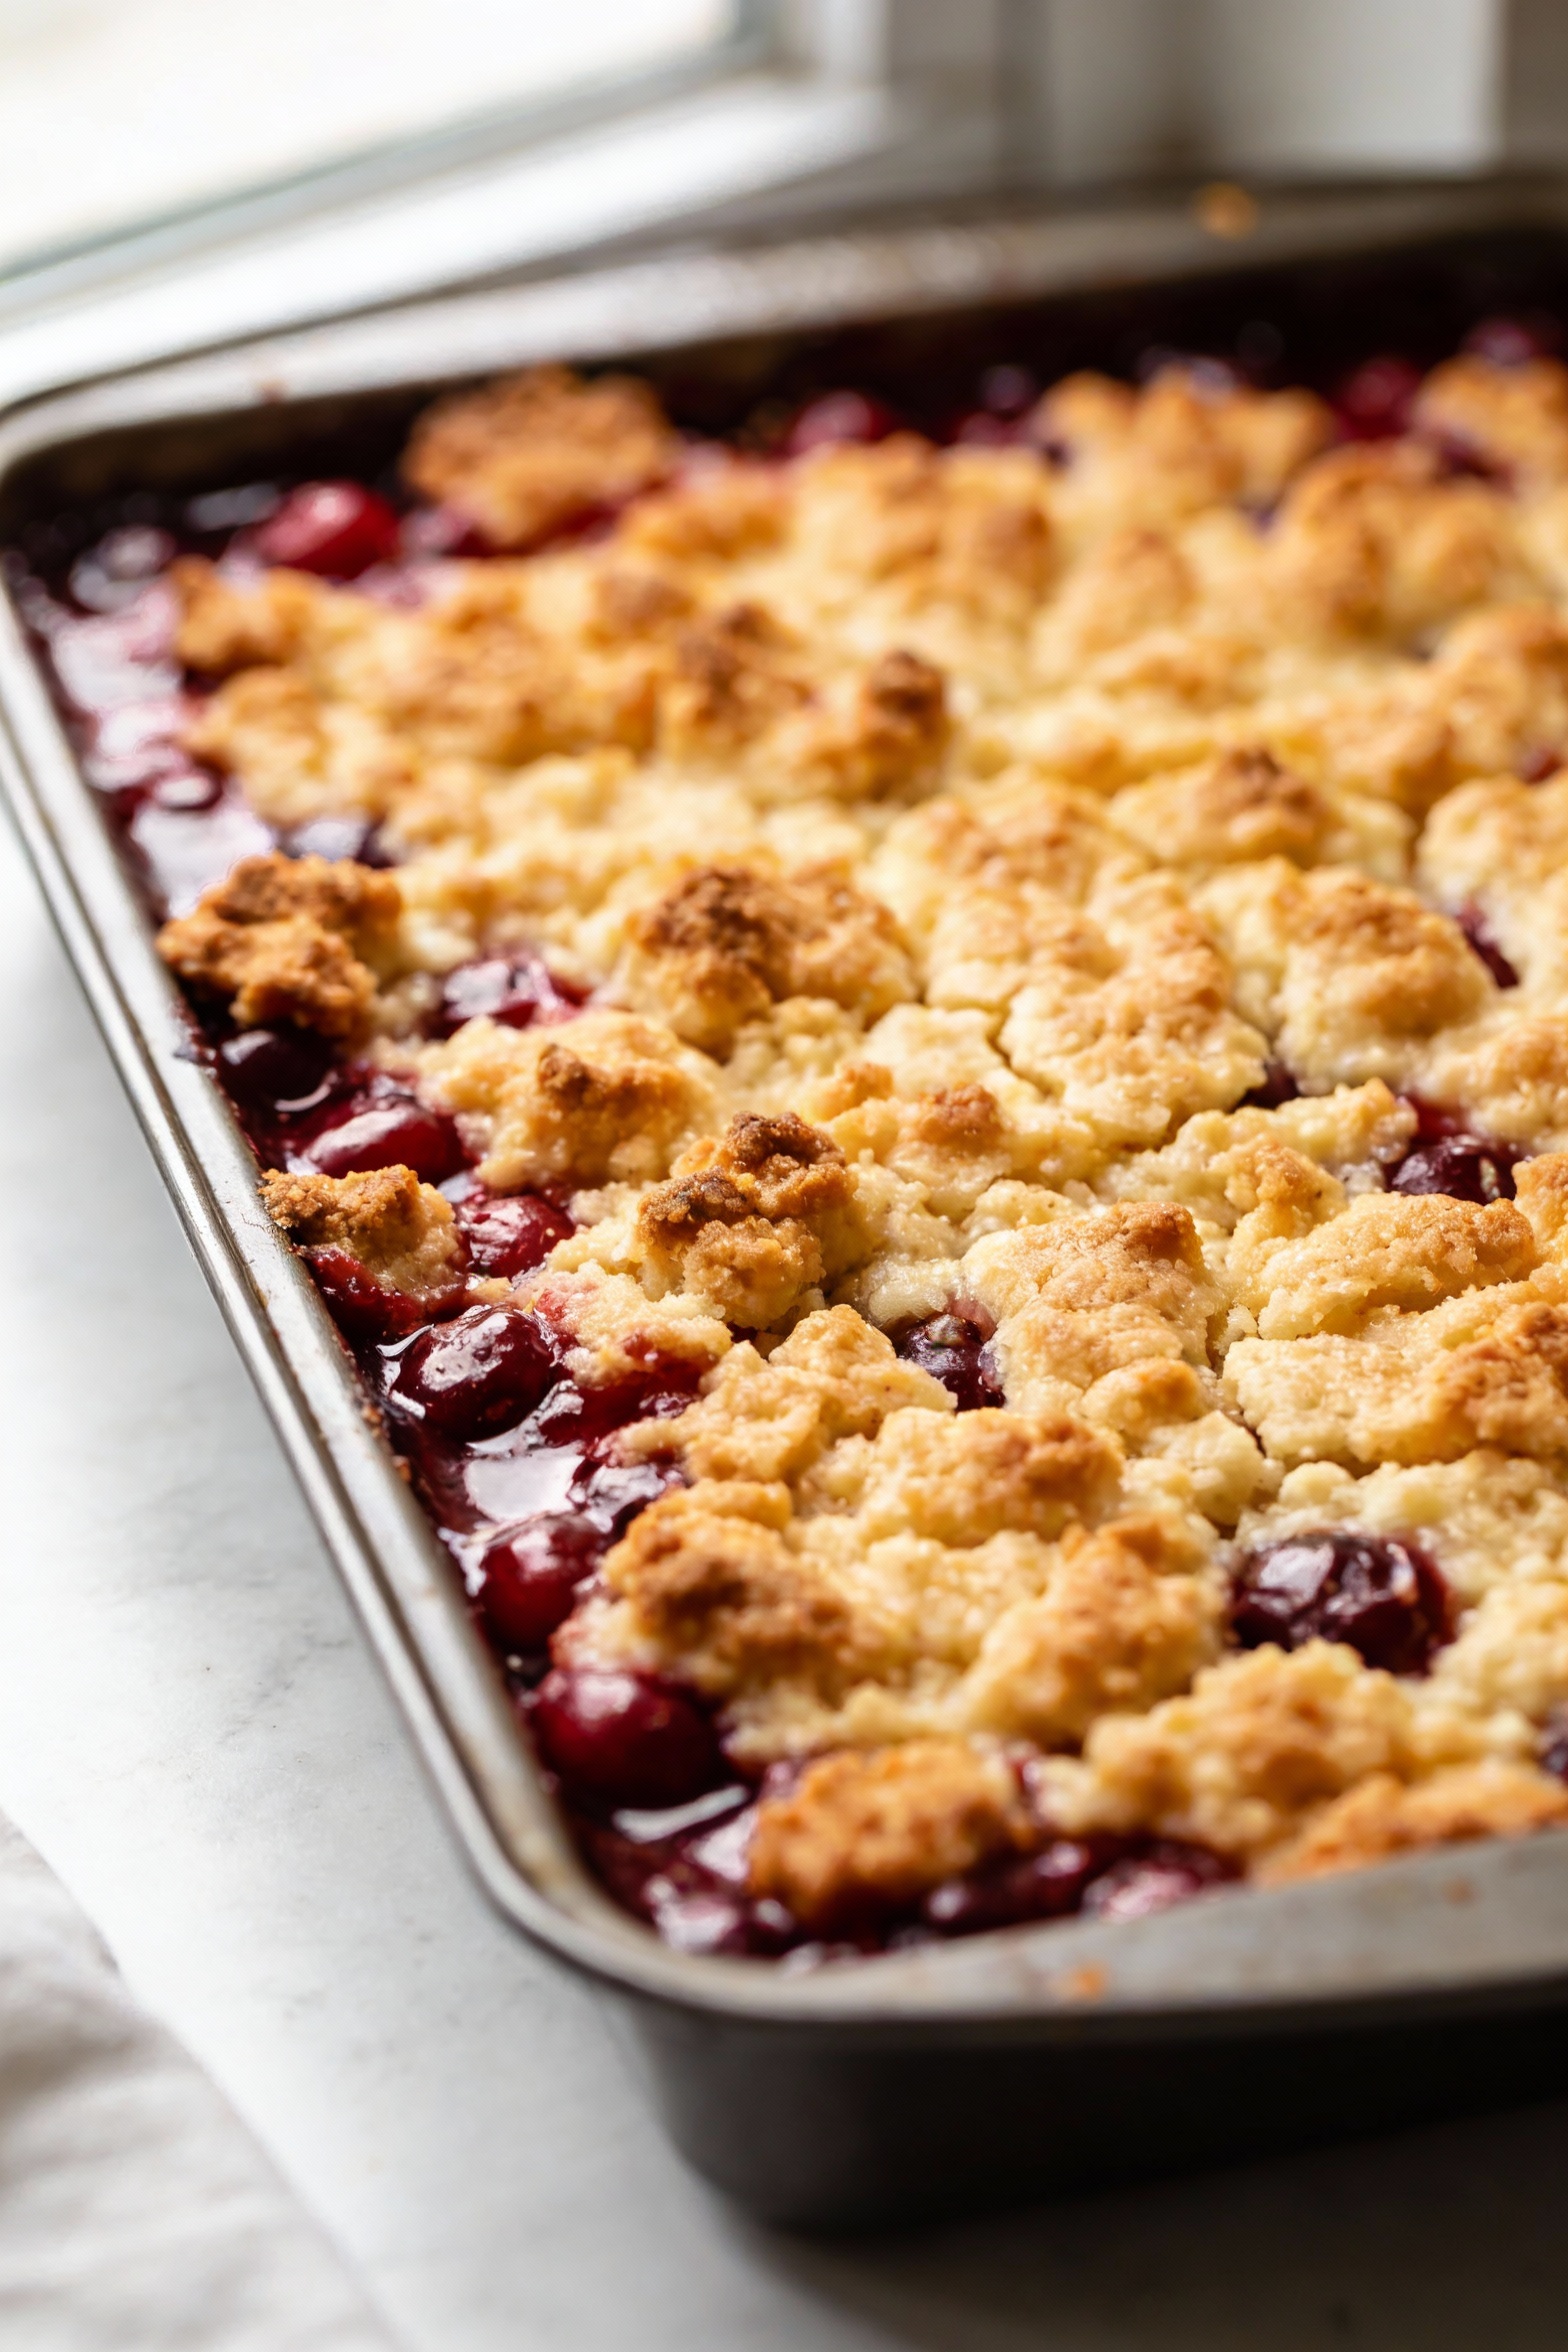
Bake for 45 to 55 minutes, until the top looks golden and the edges bubble like they’re trying to gossip. If you see a few lighter patches, give it 5 more minutes.
-
Cool for at least 20 minutes before serving. This helps the filling set so you get slices instead of “dessert soup,” unless dessert soup is the plan.
-
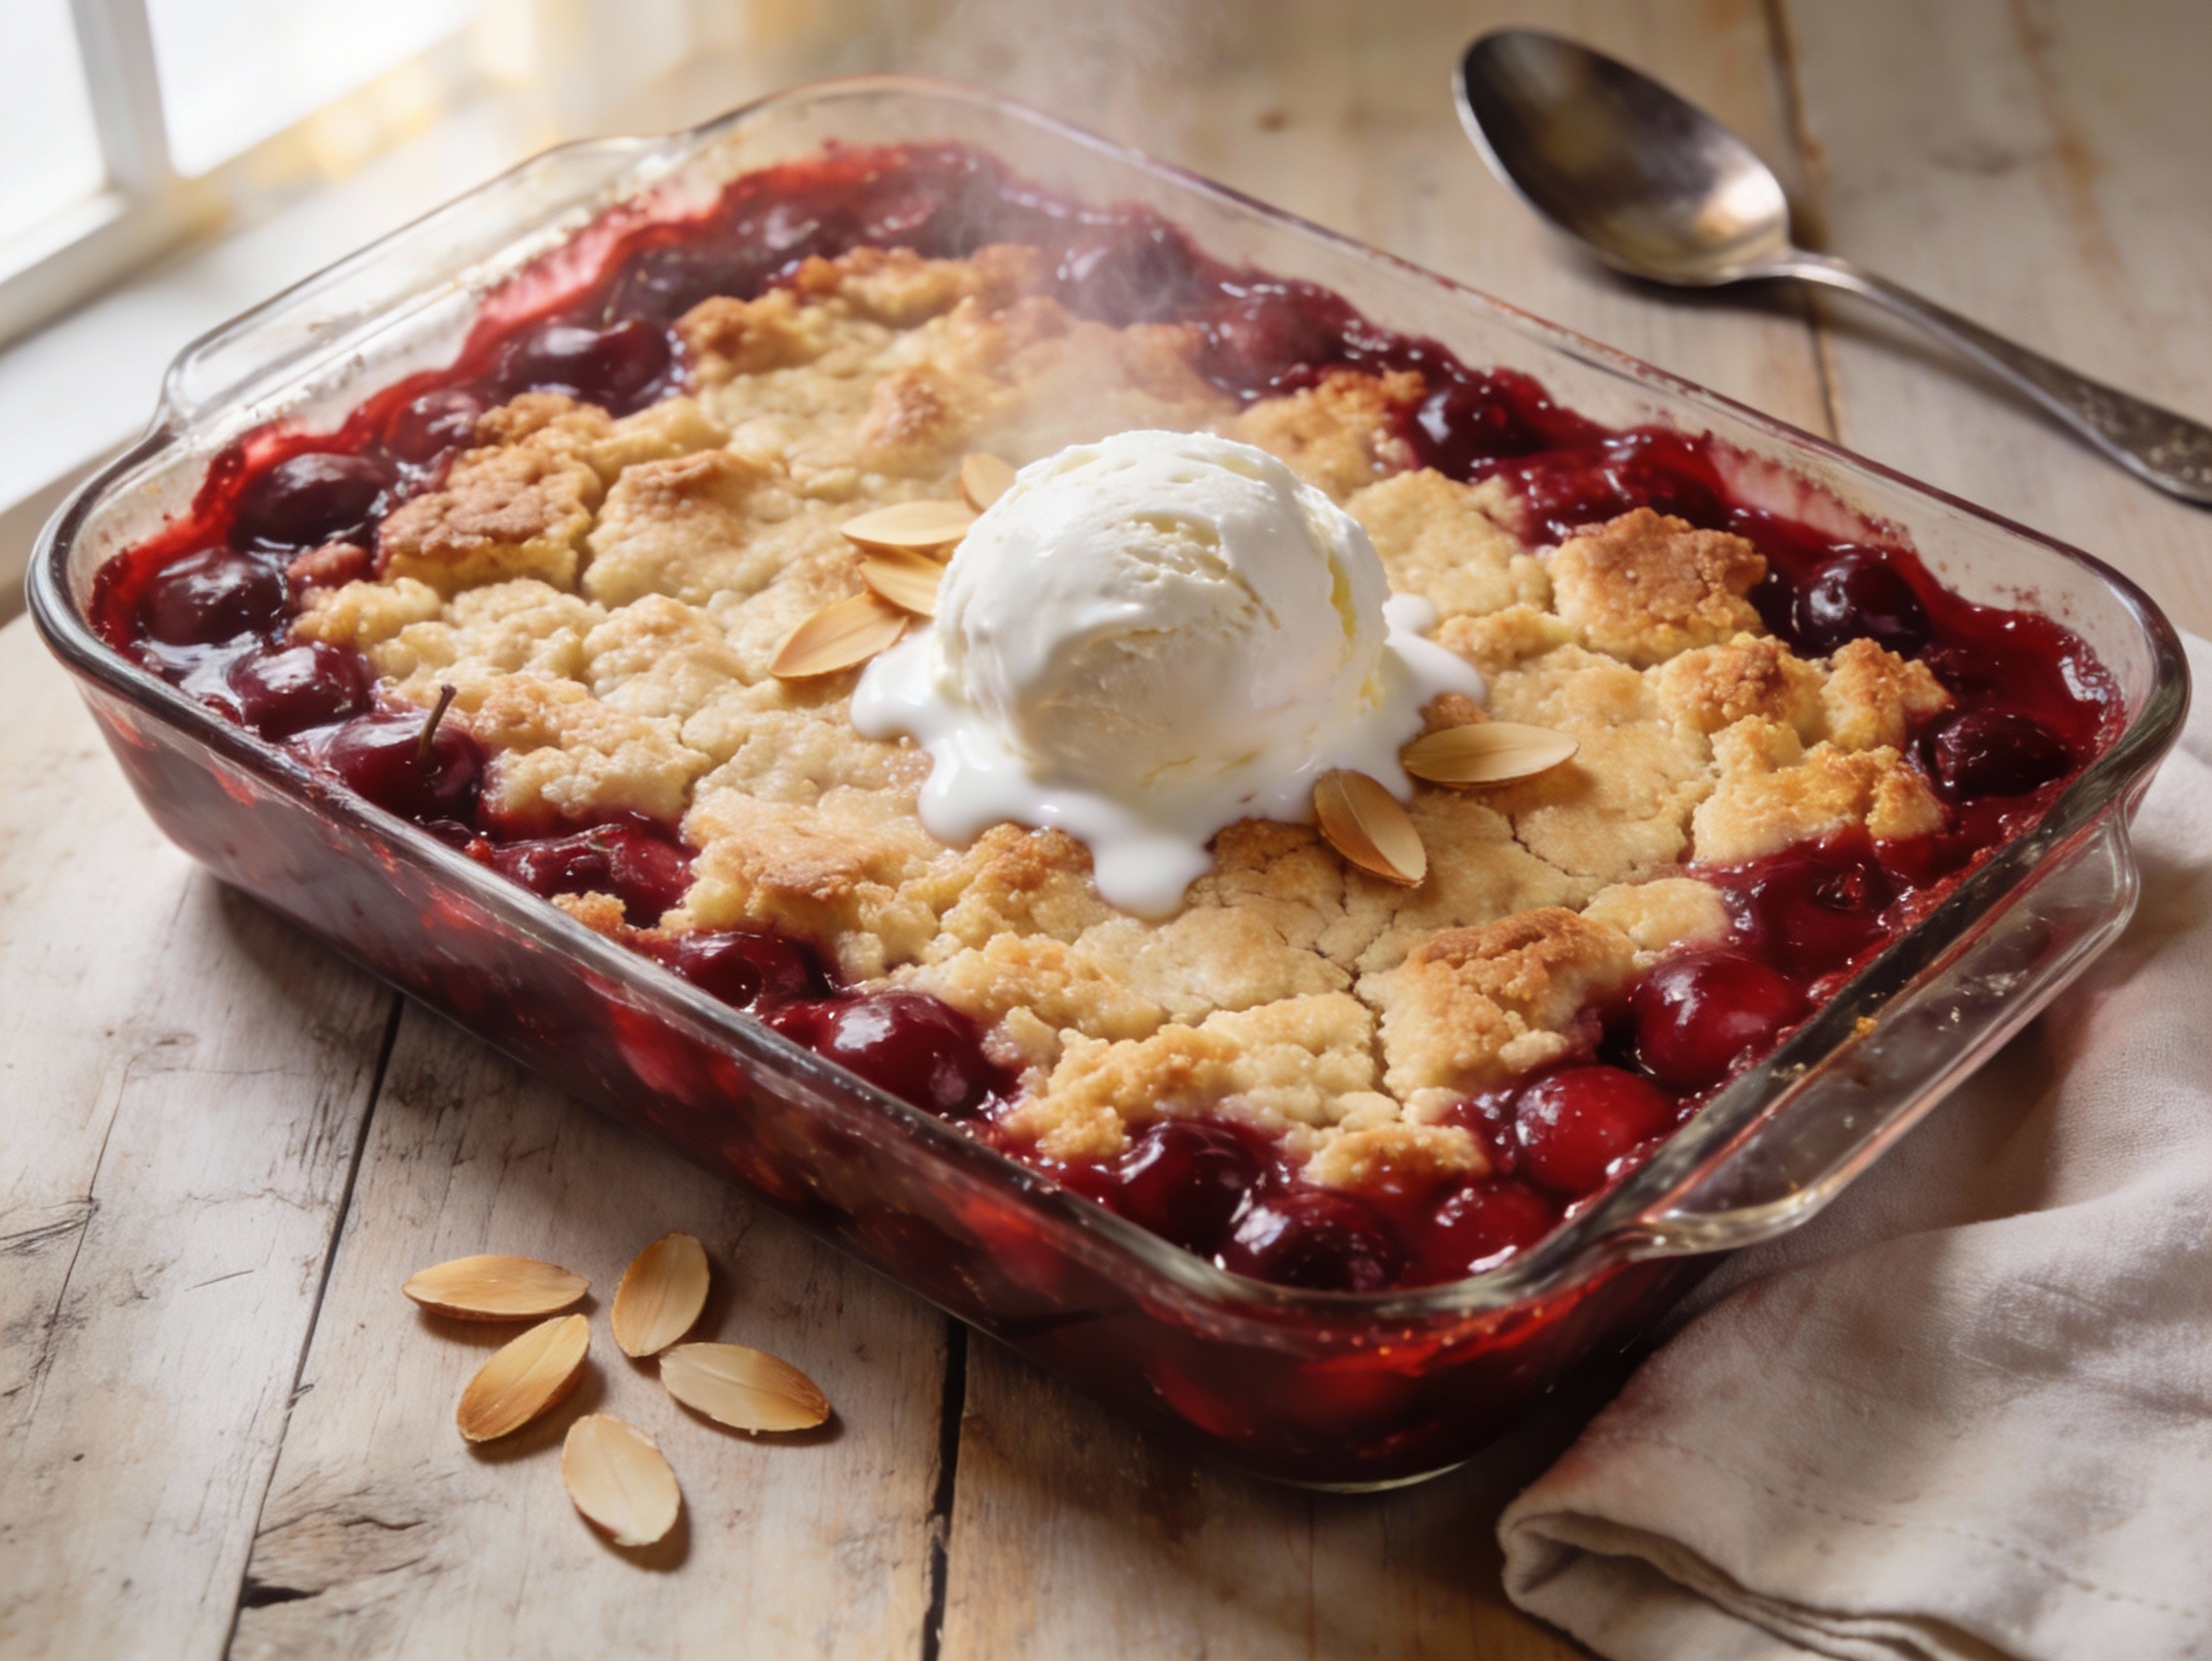
Scoop warm portions into bowls and top with vanilla ice cream or whipped cream. FYI, this is the part where people suddenly “only want a small taste” and then go back for more.
How to Store
Let the cake cool completely, then cover the dish tightly with foil or transfer leftovers to an airtight container. Store in the refrigerator for up to 4 days. The topping stays fairly crisp on day one, then softens a bit, which honestly still tastes great.
To reheat, warm individual servings in the microwave for 20 to 40 seconds. If you want the top to crisp back up, reheat in a 300°F oven for about 10 minutes. Cold leftovers also work straight from the fridge, especially if you enjoy living like a rebel.
You can freeze it, too. Wrap portions well and freeze for up to 2 months. Thaw overnight in the fridge, then reheat gently so the filling doesn’t scorch.
What’s Great About This
- Ridiculously fast: you can assemble it in under 10 minutes, even if you move like it’s a Sunday.
- Big flavor, low effort: sweet-tart cherries plus buttery topping equals instant crowd-pleaser.
- Flexible: switch the cake mix, add nuts, toss in spices, and it still works.
- Feeds a group: a 9×13 pan handles parties, bake sales, and “I brought dessert” emergencies.
- Minimal dishes: one pan and one spoon, which is basically self-care.
Don’t Make These Errors
- Leaving dry cake mix patches: cover the surface with butter thoroughly, or you’ll get powdery bites. Not charming.
- Stirring the layers: you’ll lose the signature texture and end up with a weird, heavy bake.
- Skipping the rest time: the filling needs a few minutes to thicken, unless you enjoy serving it like a cherry flood.
- Overbaking: a too-dark top turns bitter and dry. Pull it when it’s golden and bubbling.
- Using a smaller pan: the filling rises and can overflow, turning your oven into a sticky crime scene.
Different Ways to Make This
You can treat this base like a template and still get a dessert that tastes intentional. IMO, the best variations keep the same “fruit + dry mix + butter” structure, then tweak the flavor profile. Pick a lane: cozy, bright, chocolatey, or extra fancy.
- Black forest-ish: use chocolate cake mix, add 1/2 cup chocolate chips, and serve with whipped cream.
- Almond cherry crunch: add extra almond extract and top with sliced almonds and coarse sugar.
- Cherry lemon pop: use lemon cake mix and add 1 tablespoon lemon zest to the fruit layer.
- Cherry-berry blend: swap one can of cherry filling for blueberry or strawberry pie filling.
- Spiced cherry: add cinnamon and a tiny pinch of clove for a holiday-style version.
- “Upside-down” vibe: add 2 tablespoons brown sugar and a few butter dots under the fruit for extra caramel notes.
- Gluten-free: use a gluten-free yellow cake mix; keep an eye on bake time because brands vary.
FAQ
Do I have to use pineapple?
No. Pineapple adds moisture and a subtle tang that keeps the dessert from tasting one-note sweet. If you skip it, the cake still works; you’ll just get a more direct cherry flavor.
Why is my topping still powdery in spots?
You likely didn’t cover the cake mix evenly with butter. Next time, slice cold butter very thin and place it closer together, or drizzle melted butter slowly and fill in dry patches before baking.
Can I use cherry pie filling and fresh cherries together?
Yes, but keep it balanced. Add 1 to 2 cups pitted cherries and a tablespoon of sugar if they’re tart, plus a teaspoon of cornstarch to help the extra juice thicken.
Should I use salted or unsalted butter?
Either works. Unsalted gives you control, and a pinch of salt in the fruit layer helps. If you use salted butter, skip the added salt and taste for balance next time.
How do I know when it’s done?
Look for a deeply golden top with bubbling edges and no obvious dry powder. The center should look set on top, even if the fruit below still jiggles slightly.
Can I make it ahead for a party?
Yes. Bake it earlier in the day, cool, then keep it covered in the fridge. Rewarm in a 300°F oven for about 15 minutes before serving so the top perks back up.
What’s the best way to serve it?
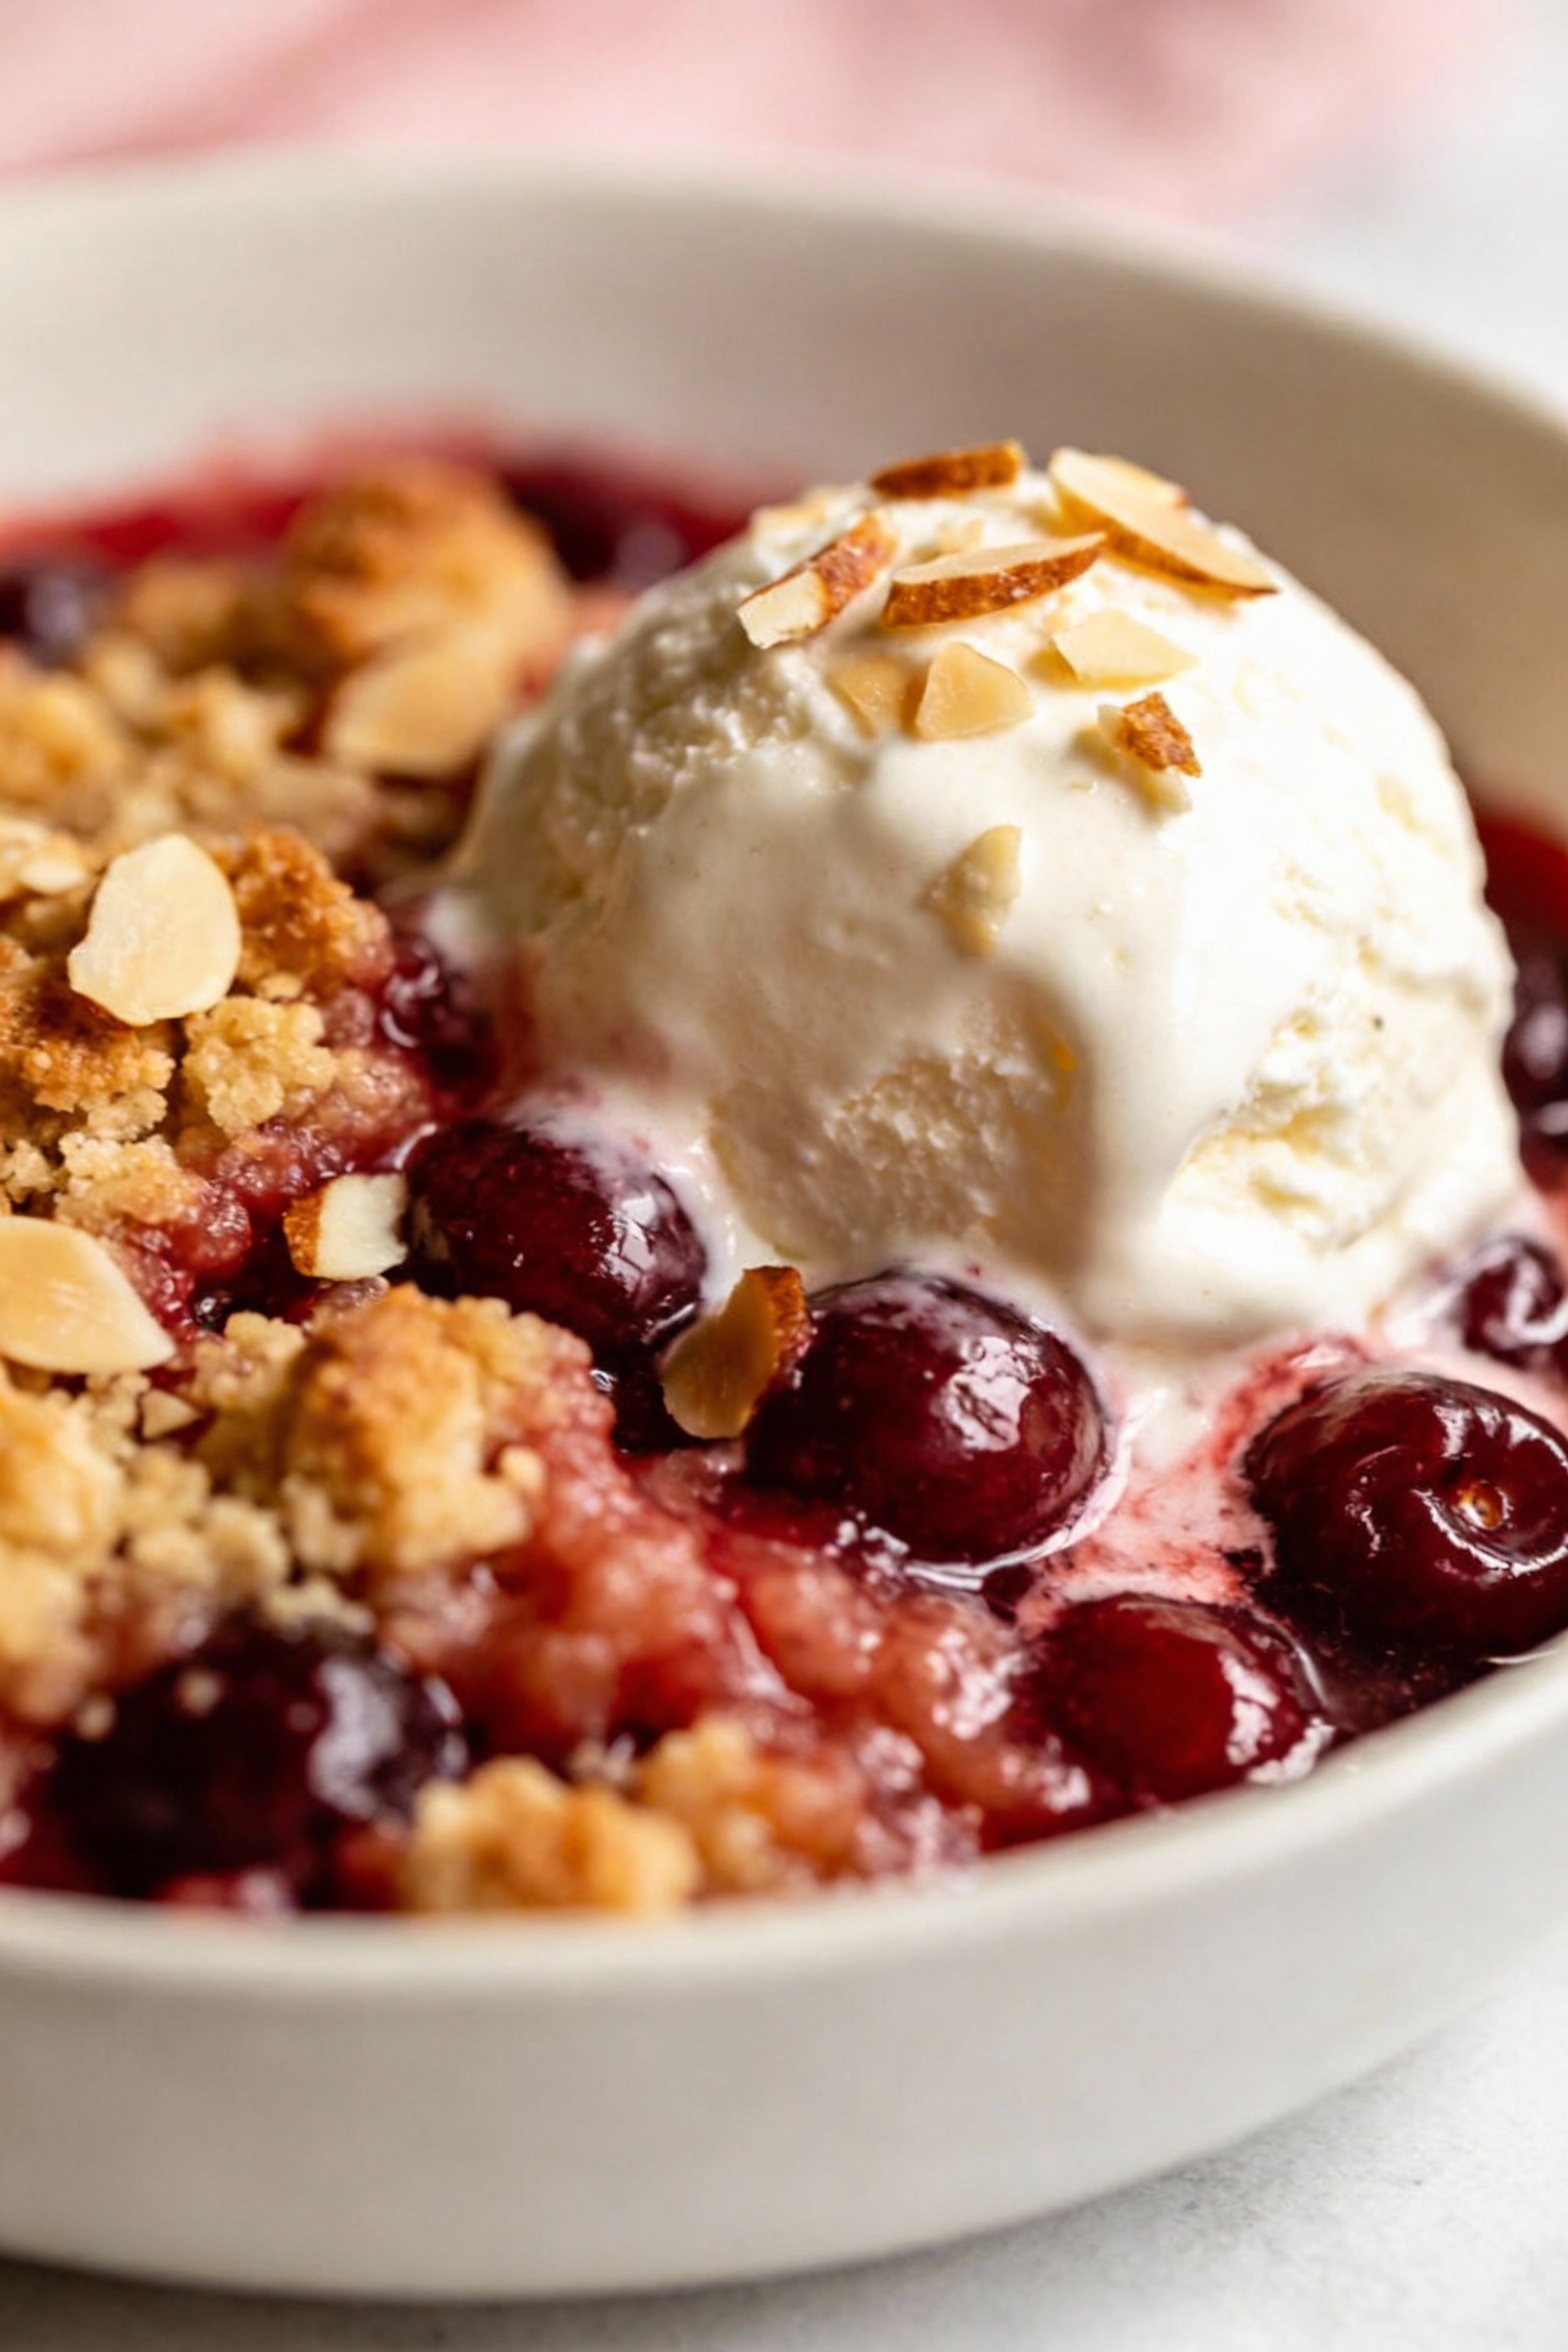
Serve warm with vanilla ice cream for the classic contrast: hot, buttery topping plus cold, creamy melt. If you want a lighter option, use whipped cream and a few toasted almonds.
In Conclusion
This dessert wins because it gives you maximum payoff for minimal effort, and it never asks you to be a pastry chef. You layer, bake, and get a sweet-tart cherry filling under a buttery, golden topping that feels like comfort food with a spotlight. Keep the butter coverage even, let it rest, and you’ll get the kind of pan people “accidentally” hover near. When you need a dessert that shows up big without stealing your time, this is the move.
Printable Recipe Card
Want just the essential recipe details without scrolling through the article? Get our printable recipe card with just the ingredients and instructions.