Breville Espresso Machine Recipes — Cafe Drinks at Home
Turn your Breville into a mini coffee bar: master silky lattes, bold americanos, and mochas with simple, repeatable steps.
Your kitchen has a secret profit center: every cup you make saves cash and beats the café on freshness. The Breville isn’t a fancy gadget—it’s a cheat code for consistent shots, creamy microfoam, and latte art that gets applause. You’ll learn the ratios, temps, and timing once, then repeat them for drink after drink. Ready to make “one more coffee” your favorite part of the day?
Why You’ll Love This Recipe
- Barista-level results at home using repeatable steps designed for popular Breville models (Barista Express/Pro, Bambino Plus, etc.).
- Fast and flexible: one base shot unlocks lattes, americanos, mochas, iced shakers—your personal menu in minutes.
- Dialed-in ratios (dose, yield, time) for crema-rich, balanced espresso—no sour pucker or burnt bitterness.
- Budget win: the same drinks you love for a fraction of the café price, with better ingredients you control.
- Easy to memorize: once you learn the 1:2 shot ratio and milk temps, you can riff endlessly.
What You’ll Need (Ingredients)
For the Base Espresso Shot

- Fresh whole beans (medium to medium-dark roast for milk drinks; lighter for americanos)
- 18–20 g coffee for a double shot (use your double basket)
- Filtered water (avoid distilled; aim for balanced minerals)
- Optional: pinch of table salt for overly bitter beans (a tiny pinch in the puck can round harshness)
For a Silky Vanilla Honey Latte (signature house drink)
- Double espresso (from above)
- 200–250 ml milk (whole milk for extra body; 2% works great; oat milk foams well too)
- 1–2 tsp honey (or 10–20 ml simple syrup)
- 1/2 tsp vanilla extract (or 10 ml vanilla syrup)
- Optional: pinch of cinnamon for dusting
For an Americano
- Double espresso
- 120–180 ml hot water (to taste)
For a Café Mocha
- Double espresso
- 200 ml milk
- 1–2 tbsp cocoa powder or 20–30 ml chocolate syrup
- 1–2 tsp sugar (to balance cocoa, if using powder)
Optional Syrup (Quick Simple Syrup)
- 100 g sugar
- 100 ml water
- 1 tsp vanilla (optional)
Let’s Get Cooking – Instructions
- Preheat and prep your machine. Turn on the Breville, lock in the portafilter basket, and warm your cup. Purge the group head for 2–3 seconds to stabilize temperature. If steaming milk, purge the wand briefly too.
- Weigh your dose. Measure 18–20 g of beans. Grind fresh; your grind should feel like fine sand. FYI: start around the middle grind setting (e.g., 5–8 on many Brevilles) and adjust after tasting.
- Distribute and tamp. Shake, tap, or use a distribution tool, then tamp with firm, even pressure. Aim for a level puck—leaning tamp = channeling = bad shot.
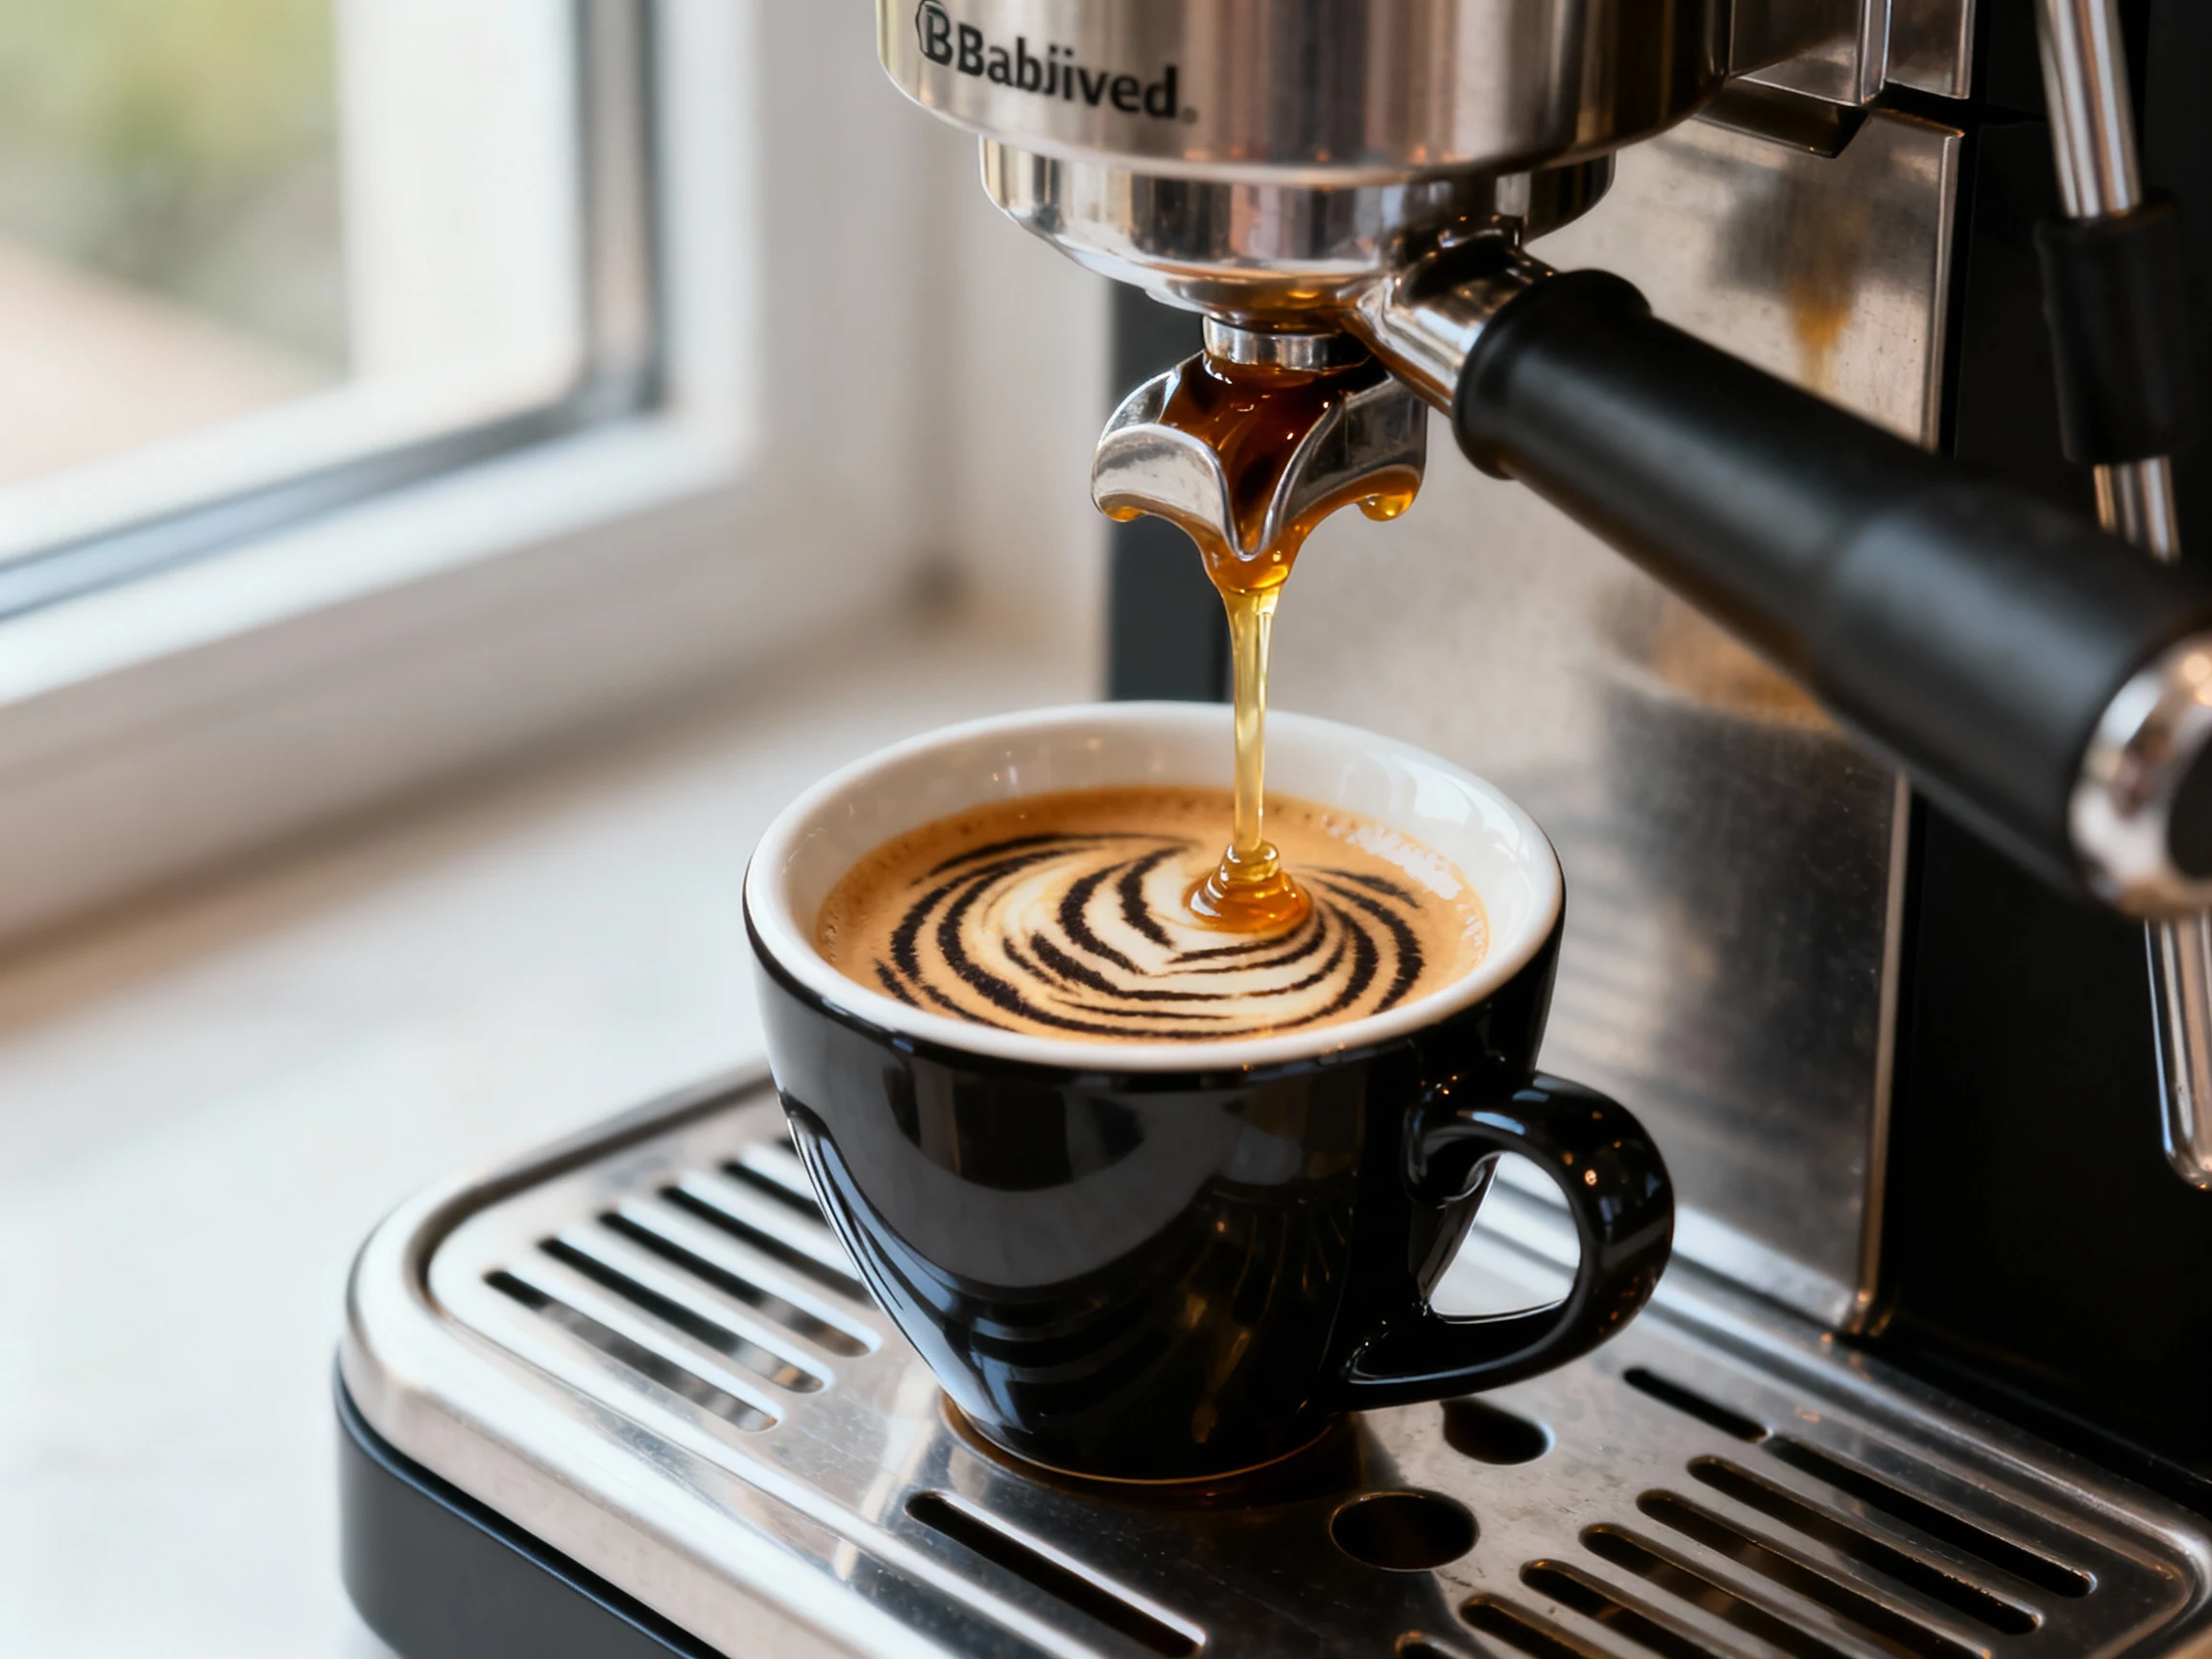
- Pull the shot to a 1:2 ratio. Lock in and start. Target 36–40 g yield from 18–20 g dose in about 25–30 seconds. Watch the flow: thin, warm honey stream is your visual cue. Stop when you hit the yield, not “whenever you feel like it.”
- Taste and adjust. Sour and thin? Grind finer or increase dose slightly. Bitter and ashy? Grind coarser or reduce yield to 32–34 g. Remember, time follows grind—don’t chase the clock without changing grind.
- Steam milk (latte/cappuccino/mocha). Submerge tip just under the surface to stretch for 2–4 seconds, then sink and swirl for microfoam. Stop at 55–65°C (130–149°F)—too hot kills sweetness. The milk should look glossy and paint-like.
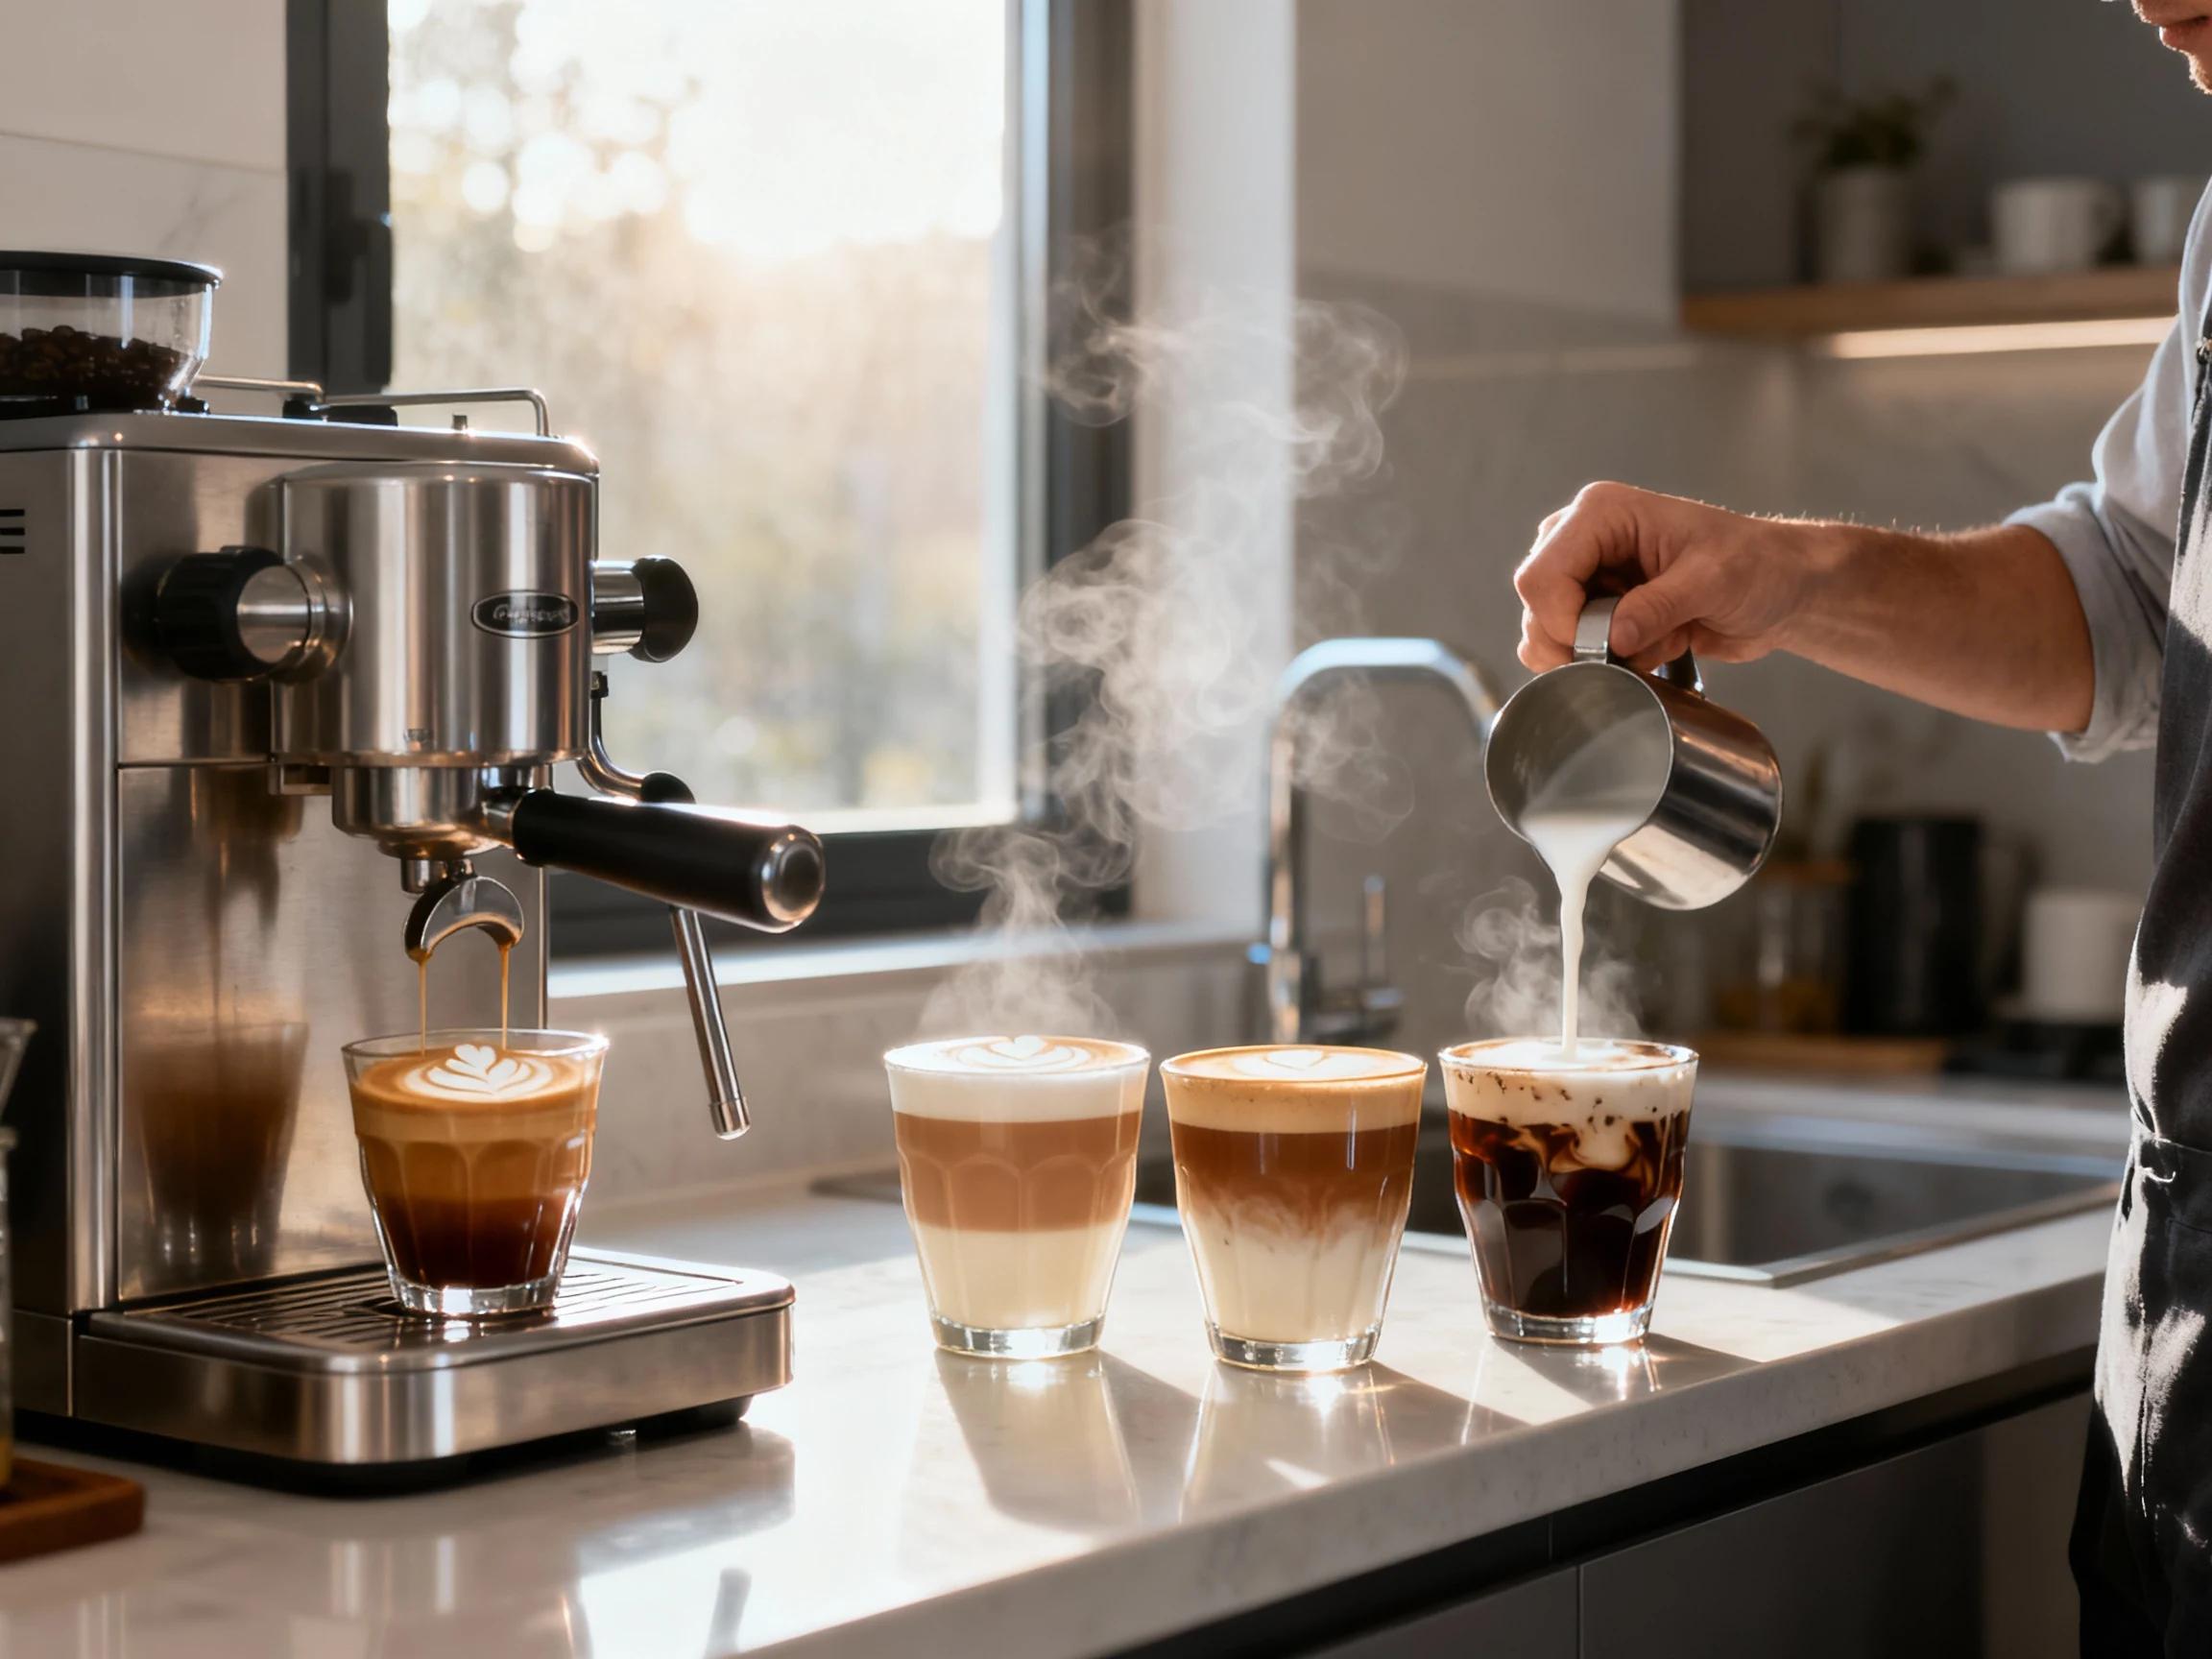
- Build your drink.
- Vanilla Honey Latte: Add 1–2 tsp honey + 1/2 tsp vanilla to the cup, pour in espresso, stir, then add steamed milk. Finish with latte art or cinnamon dust.
- Americano: Add hot water to a cup, then pour espresso on top for a layered look. Use 120–180 ml water to taste.
- Mocha: Mix cocoa/chocolate syrup with espresso until smooth, then add steamed milk. Adjust sweetness so it tastes like chocolate, not candy.
- Go iced (optional). Shake espresso with ice + 10–20 ml syrup in a jar for 10 seconds, then pour over fresh ice and finish with milk or cold foam. Crisp, bold, and ridiculously refreshing.
- Clean as you go. Purge and wipe the steam wand, knock out the puck, and flush the group head. Your next cup will thank you.
Preservation Guide
Beans: Store whole beans in an airtight container, away from heat and light. Use within 2–4 weeks of roast date for best flavor. Avoid the fridge—condensation is a flavor killer.
Ground coffee: Grind right before brewing. If you must pre-grind, store in a small airtight jar and use within 24 hours. Flavor drops fast.
Milk: Keep cold until steaming. Don’t re-steam milk; it gets flat and funky. Toss leftovers or use in baking.
Syrups: Simple syrup (1:1) keeps in the fridge for 2–3 weeks. Vanilla, caramel, and chocolate syrups can last 1 month if stored cold in clean bottles.
Espresso: Brew fresh. If needed for iced drinks, you can refrigerate a shot for up to 4 hours, but flavor and crema will fade—consider a quick batch of espresso concentrate at a 1:1.5 ratio for iced recipes.
Nutritional Perks
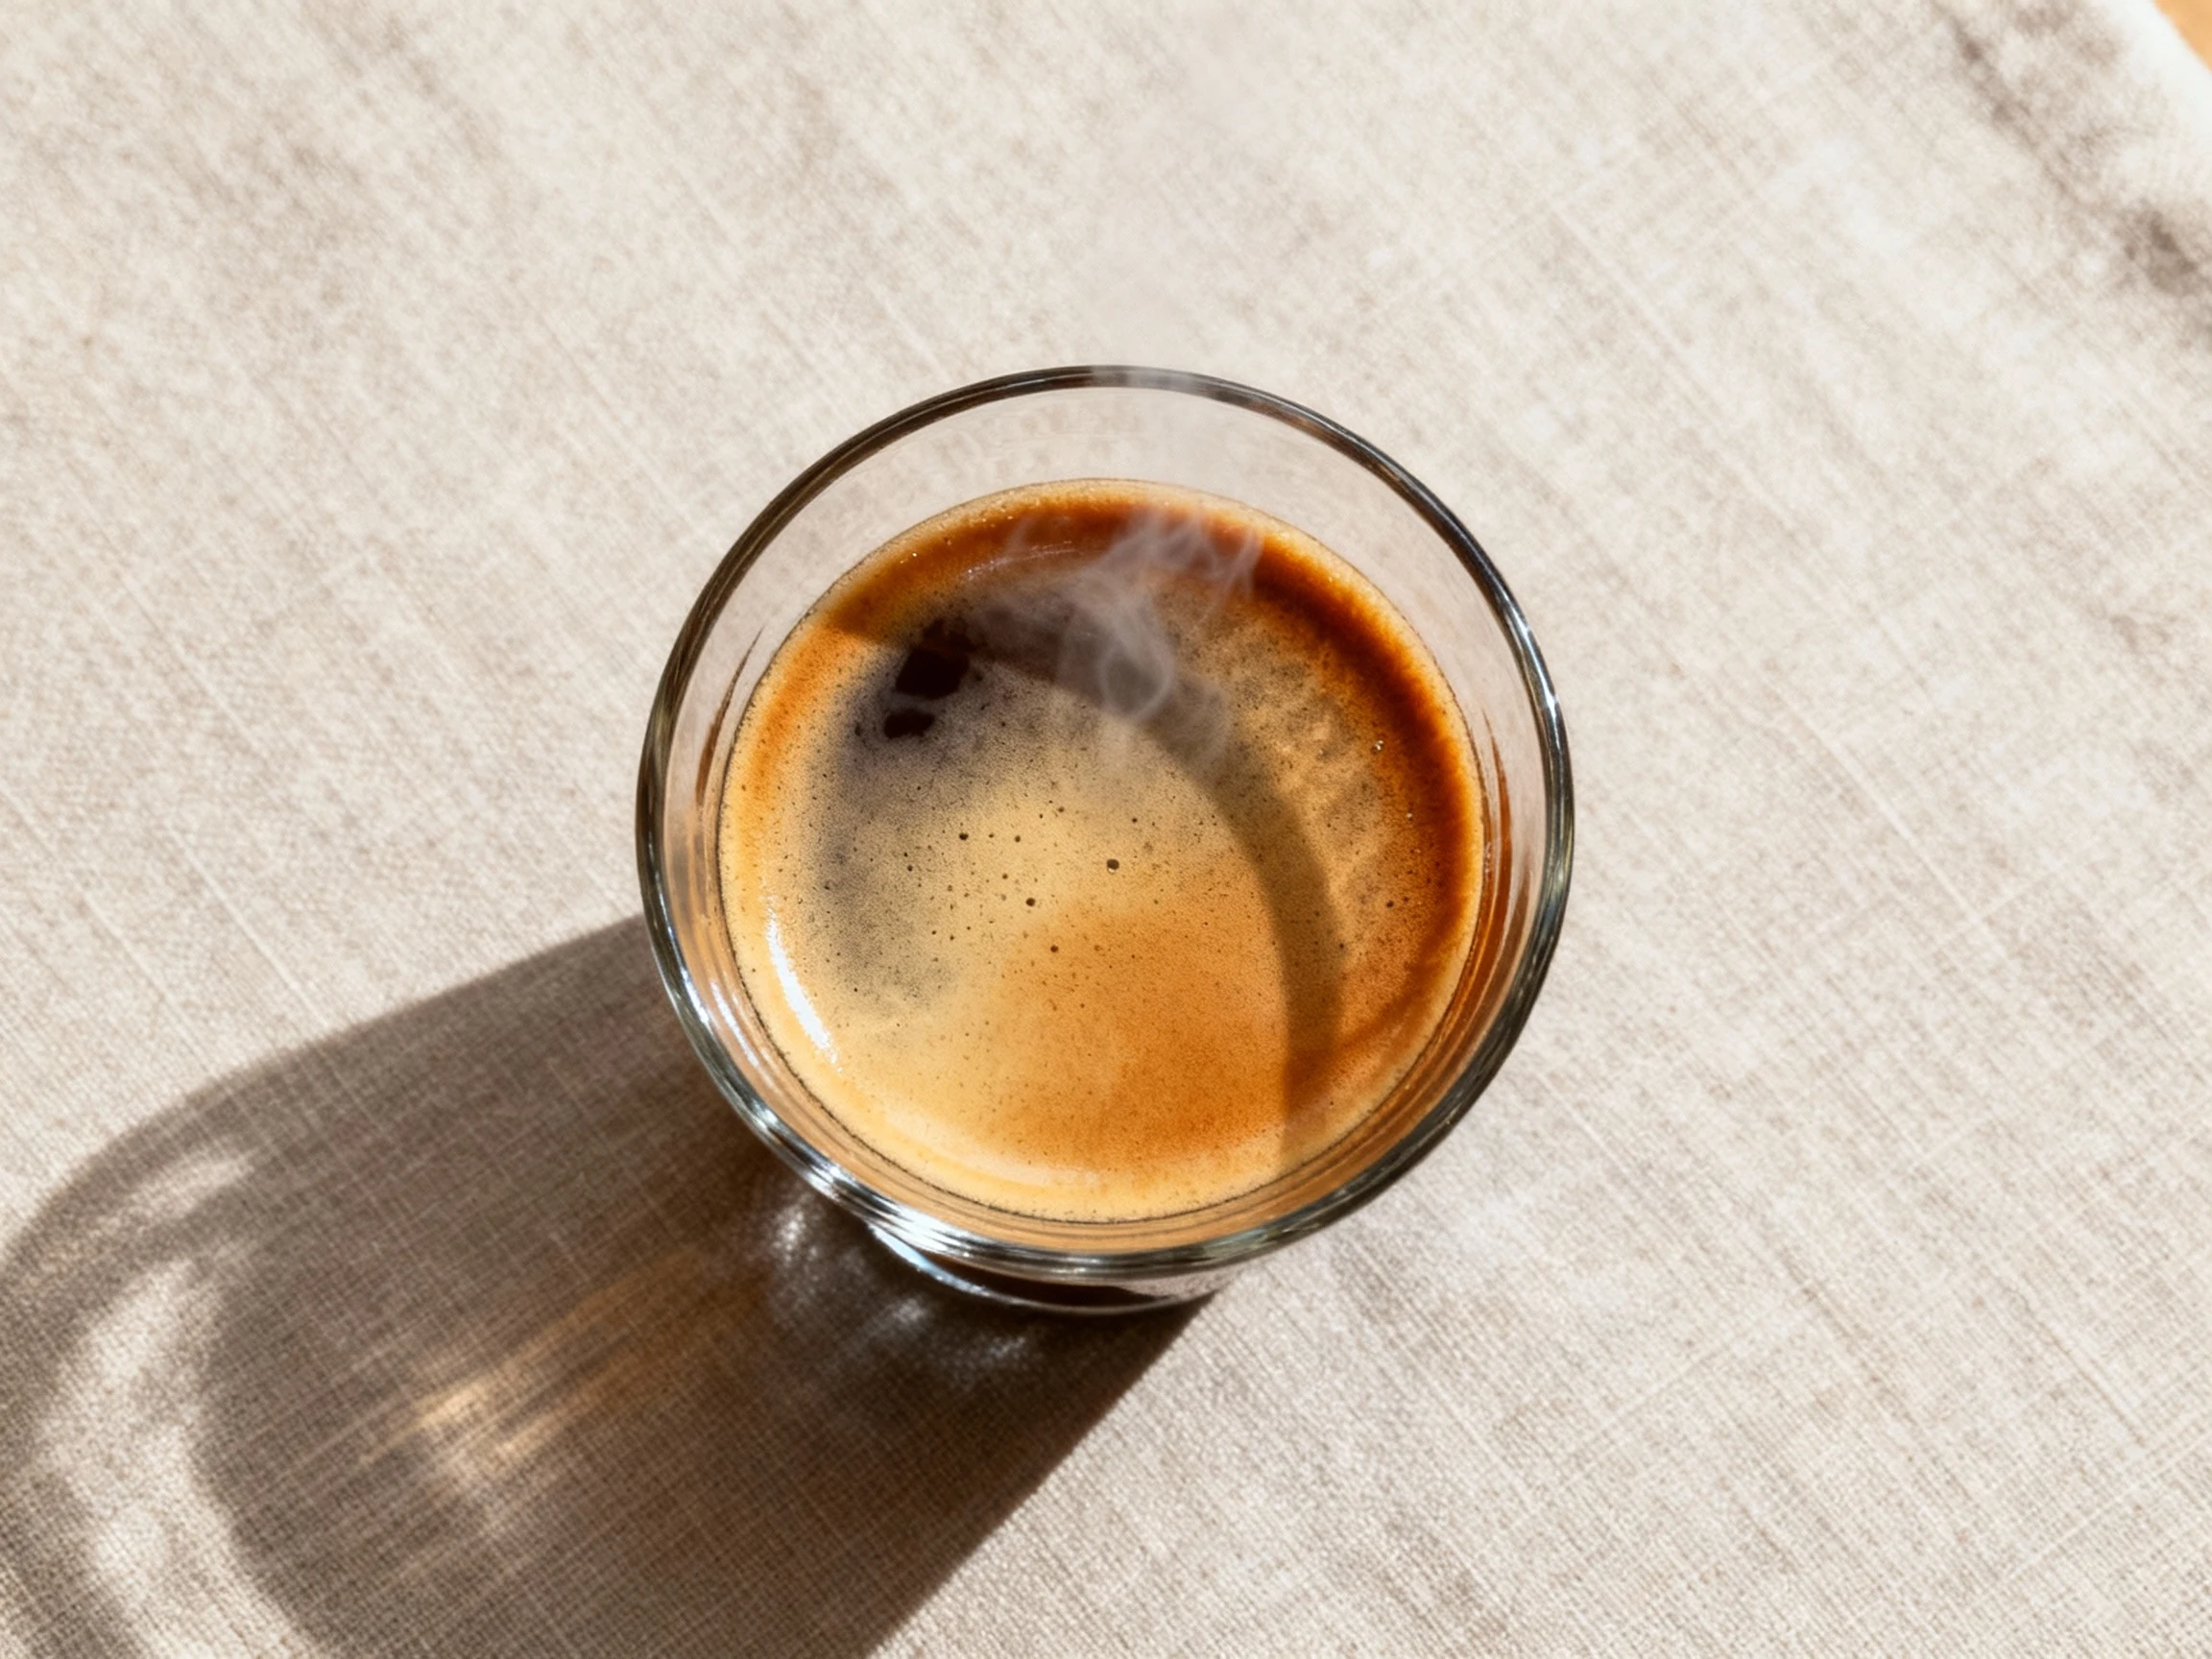
Espresso: Low calories, zero sugar, and packed with antioxidants. A double shot is roughly 5–10 calories, depending on beans.
Milk-based drinks: A 250 ml whole-milk latte lands around 170–200 calories with 9–10 g protein. Use 2% or oat milk to tweak calories and texture.
Sweeteners: Honey or syrups add 15–60 calories per drink depending on dose. Use measured amounts so your cup doesn’t accidentally become dessert (unless that’s the mission, no judgment).
Cocoa: Unsweetened cocoa brings polyphenols and a chocolatey mood boost. Balance with a touch of sugar or vanilla so the drink stays smooth, not chalky.
What Not to Do
- Don’t tamp crooked. Uneven pressure causes channeling and weak, watery shots.
- Don’t chase time without changing grind. Fix extraction with grind size, dose, and yield—time just confirms the dial-in.
- Don’t overheat milk. Anything above 70°C (158°F) tastes flat and ruins microfoam.
- Don’t use distilled water. You need minerals for proper extraction and machine health.
- Don’t pre-grind hours ahead. Aromatics vanish fast; you’ll taste the difference (and not in a good way).
- Don’t ignore cleaning. A gunky steam wand or shower screen wrecks flavor and texture. Keep it tidy.
Recipe Variations
- Flat White: Pull a double ristretto (34–36 g from 20 g), top with 150 ml velvety milk. Less foam, more coffee punch.
- Caramel Latte: Swap honey for 20–30 ml caramel syrup. Finish with a light drizzle—restraint = elegance.
- Iced Vanilla Shaken Espresso: Shake double espresso with 10–15 ml vanilla syrup and ice, top with 120–150 ml cold milk.
- Oat Milk Latte: Use a barista oat milk for better foam. Same ratios, richer texture, plant-based win.
- Dirty Chai: Pull a double shot into 200 ml steamed chai. Sweet, spicy, and a little dangerous.
- Affogato: Pour a fresh double shot over 2 scoops vanilla gelato. Dessert and caffeine? Yes please.
- Espresso Tonic: Fill a glass with ice, add 120 ml tonic, float a double espresso. Citrusy, bubbly, summer in a cup.
- Cortado: Equal parts espresso and warm milk (~40 ml each). Balanced and gently sweet.
FAQ
What beans work best with my Breville?
Use fresh, quality beans roasted within the last 2–4 weeks. For milk drinks, pick medium or medium-dark roasts with chocolate/caramel notes. For americanos or straight espresso, try a lighter roast with fruit and florals—IMO it can taste more complex.
How do I fix sour or bitter shots?
Sour and thin means under-extracted: grind finer, increase dose, or extend yield slightly. Bitter and harsh means over-extracted: grind coarser, reduce yield, or shorten time. Keep your target near a 1:2 ratio in 25–30 seconds and adjust from there.
Which basket should I use—single or double?
Use the double basket. It’s more forgiving and gives better flavor clarity. Single baskets are fussy and require different grind/dose—save that experiment for later.
Can I use pre-ground coffee?
You can, but expect flatter flavor and less crema. If you must, buy espresso grind and brew within 24 hours of opening. Better: invest in a decent burr grinder—FYI it’s the biggest upgrade you can make.
What’s the ideal milk temperature for steaming?
Stop at 55–65°C (130–149°F). Warmer milk loses sweetness and texture. If you lack a thermometer, stop when the pitcher becomes too hot to hold for more than 2–3 seconds.
How do I get consistent microfoam?
Stretch with the tip just kissing the surface for 2–4 seconds, then sink and swirl to incorporate. Keep the pitcher angled and the wand centered to create a whirlpool. Practice makes perfect; your latte art will show the progress.
Is water quality really that important?
Yes. Use filtered water with moderate mineral content. Distilled leads to flat extraction and potential scale issues with additives. Tap is fine if it isn’t overly hard; a basic filter pitcher works in most kitchens.
How often should I clean my Breville?
Daily: purge the wand, flush the group, and wipe the screen. Weekly: backflush with a cleaning tablet. Monthly: descale if your water is hard. Clean gear = better coffee and a happy machine.
Final Thoughts
Master the basics once, then keep stacking wins: dose, distribution, tamp, 1:2 yield, milk at 55–65°C. Your Breville will reward precision with café-level cups on demand. Keep it simple, keep it clean, and keep experimenting—because the best drink is the one you nail consistently, every single morning. FYI: that’s the real barista flex.
Printable Recipe Card
Want just the essential recipe details without scrolling through the article? Get our printable recipe card with just the ingredients and instructions.