Blackberry Pie Filling Recipes — Fast Foolproof Bakery-level Results
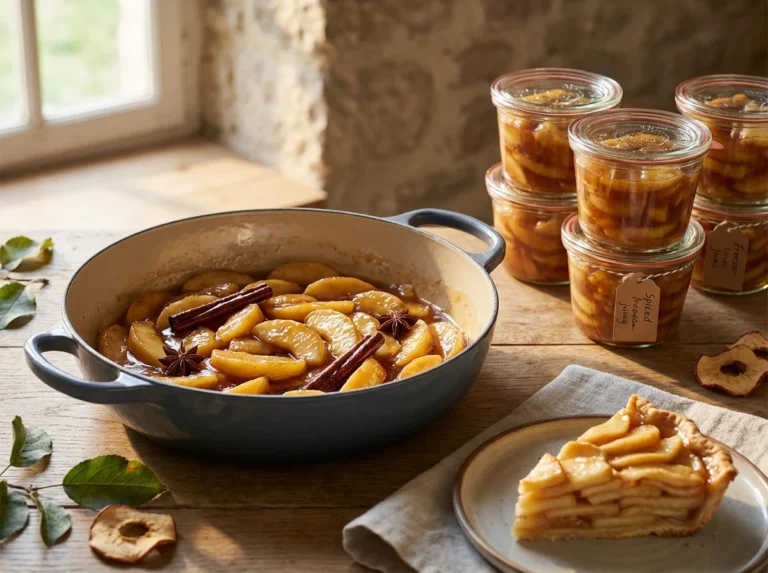
Make glossy, jammy filling in 20 minutes—fresh or frozen berries, zero soggy crust, freezer-friendly, and bakery-worthy results.
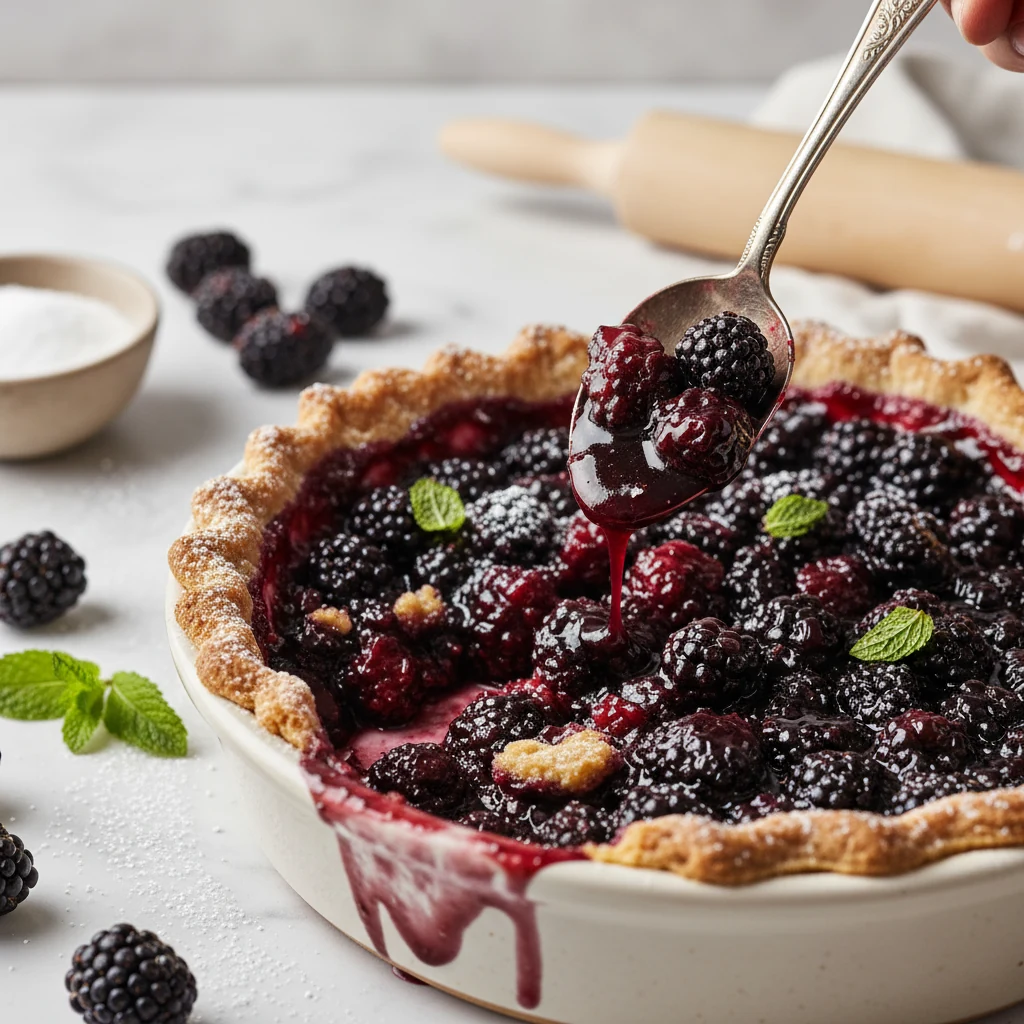
You know that pie filling that slices clean, tastes like summer, and makes store-bought look like a sad compromise? That’s the goal. We’re building a juicy-but-structured blackberry filling that works for pies, bars, turnovers, and spooning straight from the jar because who’s judging? You’ll get a formula you can tweak for sweet or tart berries, with easy swaps for thickener and sweetener. Bonus: it’s ready fast, keeps like a champ, and doesn’t turn your crust into a soggy tragedy.
What Makes This Recipe Awesome

- Quick win: From berries to glossy, spoonable perfection in about 20 minutes on the stove.
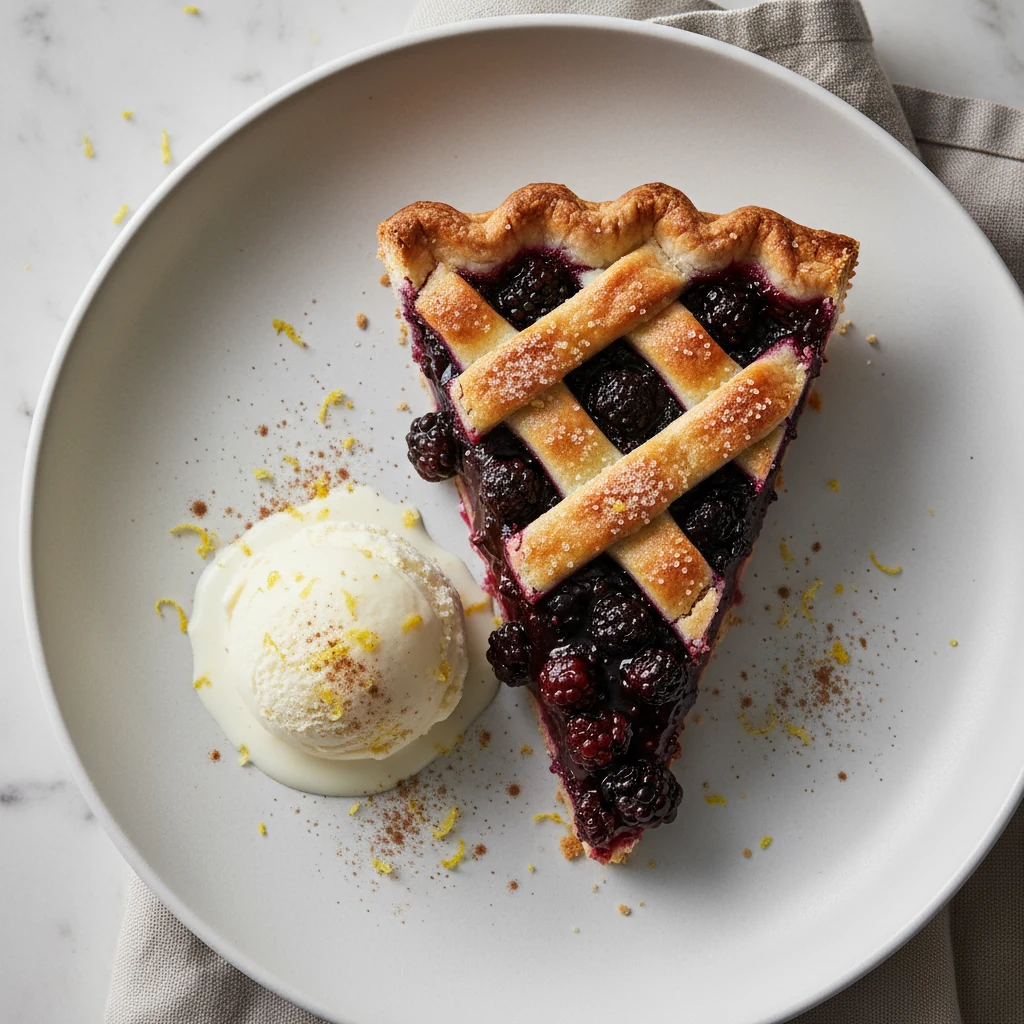
- Sliceable but juicy: The texture lands right between jammy and bright, so your pie slices hold yet taste fresh.
- Works with fresh or frozen: No summer-only gatekeeping here. Frozen berries behave just fine with one small tweak.
- Foolproof thickening: Cornstarch is the default, but tapioca starch, arrowroot, or ClearJel all slot in seamlessly.
- Flavor-first approach: Lemon, vanilla, and a whisper of cinnamon amplify berries without tasting like a candle.
- Freezer-friendly: Make a double batch now, bake epic pies later. FYI: use tapioca or ClearJel if freezing for best texture.
- Minimal sugar, maximal berry: Sweetness is adjustable; the fruit does the heavy lifting (as it should).
Ingredients
- 6 cups blackberries (about 2 pounds/900 g), fresh or frozen
- 3/4 to 1 cup granulated sugar (150–200 g), to taste and depending on berry sweetness
- 1/4 cup cornstarch (about 28 g), see Notes for alternatives and adjustments
- 2 tablespoons lemon juice, plus 1 teaspoon finely grated lemon zest
- 1/8 teaspoon fine sea salt
- 1 teaspoon vanilla extract (optional, but lovely)
- 1/4 teaspoon ground cinnamon (optional)
- 1–2 tablespoons unsalted butter (optional, stirred in at the end for shine and richness)
- 2–4 tablespoons water (for the slurry and as needed)
Notes: For very juicy berries or a deep-dish pie, increase cornstarch to 5 tablespoons. If using frozen berries, plan to add 1 extra tablespoon thickener.
How to Make It – Instructions
- Macerate the berries. In a large bowl, toss blackberries with sugar and lemon zest. Let sit 10–15 minutes until they release some juice. This boosts flavor and jump-starts the syrup.
- Make a slurry. In a small bowl, whisk cornstarch with 2–3 tablespoons water and the lemon juice until smooth. No chalky lumps allowed.
- Cook the base. Scrape the macerated berries and all their juices into a wide saucepan. Add salt and cinnamon (if using). Set over medium heat and gently warm until the berries look glossy and the juices start simmering.
- Thicken. Stir the slurry again (it settles fast), then drizzle it into the pan while stirring constantly. Keep stirring over medium heat until the liquid turns translucent and thick, 2–4 minutes. You want slow bubbles and a visibly gelled syrup.
- Add vanilla and finish. Remove from heat. Stir in vanilla and butter (if using) until melted. The butter adds sheen and rounds flavors—small effort, big payoff.
- Adjust texture. If the filling feels too thick, stir in 1–2 teaspoons water at a time. Too thin? Return to medium heat and cook 30–60 seconds more, or whisk 1 teaspoon cornstarch with 1 tablespoon cold water and stir in while simmering briefly.
- Cool completely. Transfer filling to a shallow dish and cool to room temperature, then chill. Warm filling will steam your crust and sabotage structure. We want hero slices, not berry soup.
- Use as you like. Spoon into a baked shell, layer into bars, swirl into cheesecake, or go classic: fill a 9-inch pie (see below).
- To bake a pie (optional). For a 9-inch double-crust pie: Chill dough, fill with cooled blackberry filling (about 5 cups for standard, 6–7 cups for deep-dish), dot with 1 tablespoon butter, top and crimp. Chill assembled pie 20 minutes. Bake at 425°F/220°C for 20 minutes, then 375°F/190°C for 35–45 minutes, until the crust is deeply golden and the filling bubbles in the center.
- Rest before slicing. Let the baked pie cool at least 3–4 hours. Cutting early is the fastest route to a runny slice. Patience = clean wedges.
Storage Tips
- Refrigerator: Store cooled filling in an airtight container up to 1 week.
- Freezer: For best texture, thicken with tapioca starch or ClearJel and freeze up to 4–6 months. Cornstarch can weep a bit after thawing.
- Thawing: Thaw overnight in the fridge. If slightly loose after thawing, simmer 1–2 minutes to re-gel.
- Reheating: Warm gently on low heat until glossy. Don’t boil hard—overcooking can loosen starch gels.
- Do not can this version: Home canning needs tested formulas and ClearJel for safety and stability. Use a lab-tested recipe if canning.
Why This is Good for You
- Antioxidant powerhouse: Blackberries are rich in anthocyanins that support cellular health and recovery. Pretty color, real benefits.
- Fiber for the win: A cup of berries packs meaningful fiber, which helps satiety and supports a happy gut.
- Smarter sweetness: You control sugar. Use just enough to balance tartness instead of drowning fruit in syrup (looking at you, cans).
- Lemon lift: Bright acidity lets you keep total sugar lower while the filling still tastes vivid and “berry-first.”
- Cleaner label: Simple ingredients, nothing weird. IMO, flavor > additives every day of the week.
Avoid These Mistakes
- Skipping the cool-down: Hot filling in a crust equals steam, leaks, and soggy bottom. Cool it fully.
- Under-thickening: Juicy berries need enough starch. If using frozen fruit, add 1 extra tablespoon thickener.
- Adding dry starch straight in: Always make a slurry. Dry starch clumps like nobody’s business.
- Not cooking to translucent: Starches gel when the liquid turns glossy and clear. Stop early and it’ll set weak.
- Overcooking the gel: Boiling the daylights out of starch can weaken it. Gentle simmer after thickening is plenty.
- Wet pie assembly: Don’t fill a warm crust. Chill the assembled pie before baking for cleaner structure.
- No vents, no bakeware insurance: Vent the top crust, bake on a preheated sheet, and use a metal or glass pie plate for better heat transfer.
Alternatives
Thickener Swaps
- Tapioca starch (or minute tapioca): Use the same volume as cornstarch. Clear, stable gel and freezer-friendly.
- Arrowroot: Use about the same amount as cornstarch. Great clarity; avoid prolonged high heat. Best for pre-cooked fillings (this one qualifies).
- ClearJel (cook type): Use 1/4 cup for 6 cups berries. Excellent for freezing and canning (with a tested recipe).
Sweetener Tweaks
- Maple syrup or honey: Use 2/3–3/4 cup. Add 1 extra teaspoon starch per 1/4 cup liquid sweetener to offset added moisture.
- Coconut sugar: Use 3/4 cup. Expect a deeper, caramel vibe and slightly darker color.
- Stevia/monk fruit blends: Sweeten to taste; these don’t thicken. Keep your starch the same and taste for balance.
Flavor Upgrades
- Ginger-lime: Swap lemon for lime and add 1 teaspoon fresh grated ginger.
- Almond-vanilla: Add 1/2 teaspoon almond extract with the vanilla.
- Lavender-lemon: Steep 1/2 teaspoon culinary lavender in 2 tablespoons hot water, strain, and add with the slurry.
- Black pepper surprise: A tiny pinch of freshly ground pepper boosts berry brightness. Trust the process.
Use It Beyond Pie
- Cheesecake topping: Warm to pourable and cascade over a chilled cheesecake.
- Breakfast hero: Spoon over yogurt or oatmeal; add a crunchy granola hit.
- Bars and squares: Sandwich between shortbread layers for bakery-level bars.
- Hand pies or turnovers: Thick texture = less leakage. Chill filling before assembling.
- Galette: Rustic crust, fancy taste, minimal effort. TBH, it’s hard to mess up.
FAQ
Can I use frozen blackberries?
Yes. Use the same weight as fresh. Don’t thaw fully—semi-frozen is fine—and add 1 extra tablespoon thickener to handle the extra juice. Cook until the syrup turns glossy and thick.
How much filling do I need for a 9-inch pie?
For a standard 9-inch pie, plan on about 5 cups filling. For a deep-dish pie, aim for 6–7 cups. Leave a little headspace so it can bubble without escaping your crust.
Why is my filling runny after baking?
Top culprits: not enough thickener, not cooking the starch until fully translucent, or slicing before the pie cooled. Also, frozen berries release more liquid—use that extra tablespoon of starch and bake until you see steady bubbling in the center.
How do I thicken without cornstarch?
Use tapioca starch or arrowroot in the same amount, or 1/4 cup ClearJel for 6 cups berries. Tapioca and ClearJel freeze best. Arrowroot makes a glossy gel but avoid boiling it hard for long.
Can I can this filling?
Not this version. For safe canning, use a tested recipe formulated with ClearJel and proper acidity from a reliable source (USDA/NCHFP). This stove-top version is perfect for fridge and freezer storage.
Can I reduce the sugar?
Absolutely. You can drop to 1/2 cup if your berries are sweet. Sugar adds flavor and helps texture and color, but the starch does the heavy lifting. Taste and adjust at the end with a squeeze more lemon if needed.
How do I prevent a soggy bottom crust?
Cool the filling completely, chill the assembled pie, and bake on a preheated sheet. A metal pie pan speeds crust browning. Vent well and bake until you see visible center bubbling—underdone pies stay wet.
What if my filling is too thick?
Stir in 1–2 teaspoons water at a time while warm until it loosens slightly. If it’s too thin, simmer briefly or add a teaspoon of slurry and cook until glossy again.
The Bottom Line
This is your flexible, repeatable blueprint for blackberry greatness: a shiny, sliceable filling that tastes like real fruit—because it is. The method is quick, the ingredients are simple, and the results are bakery-level without bakery drama. Master the base, tweak the thickener or sweetness to your taste, and you’ve unlocked pies, bars, galettes, and weeknight sundaes on command. One batch now, endless dessert wins later—who’s mad at that?
Printable Recipe Card
Want just the essential recipe details without scrolling through the article? Get our printable recipe card with just the ingredients and instructions.