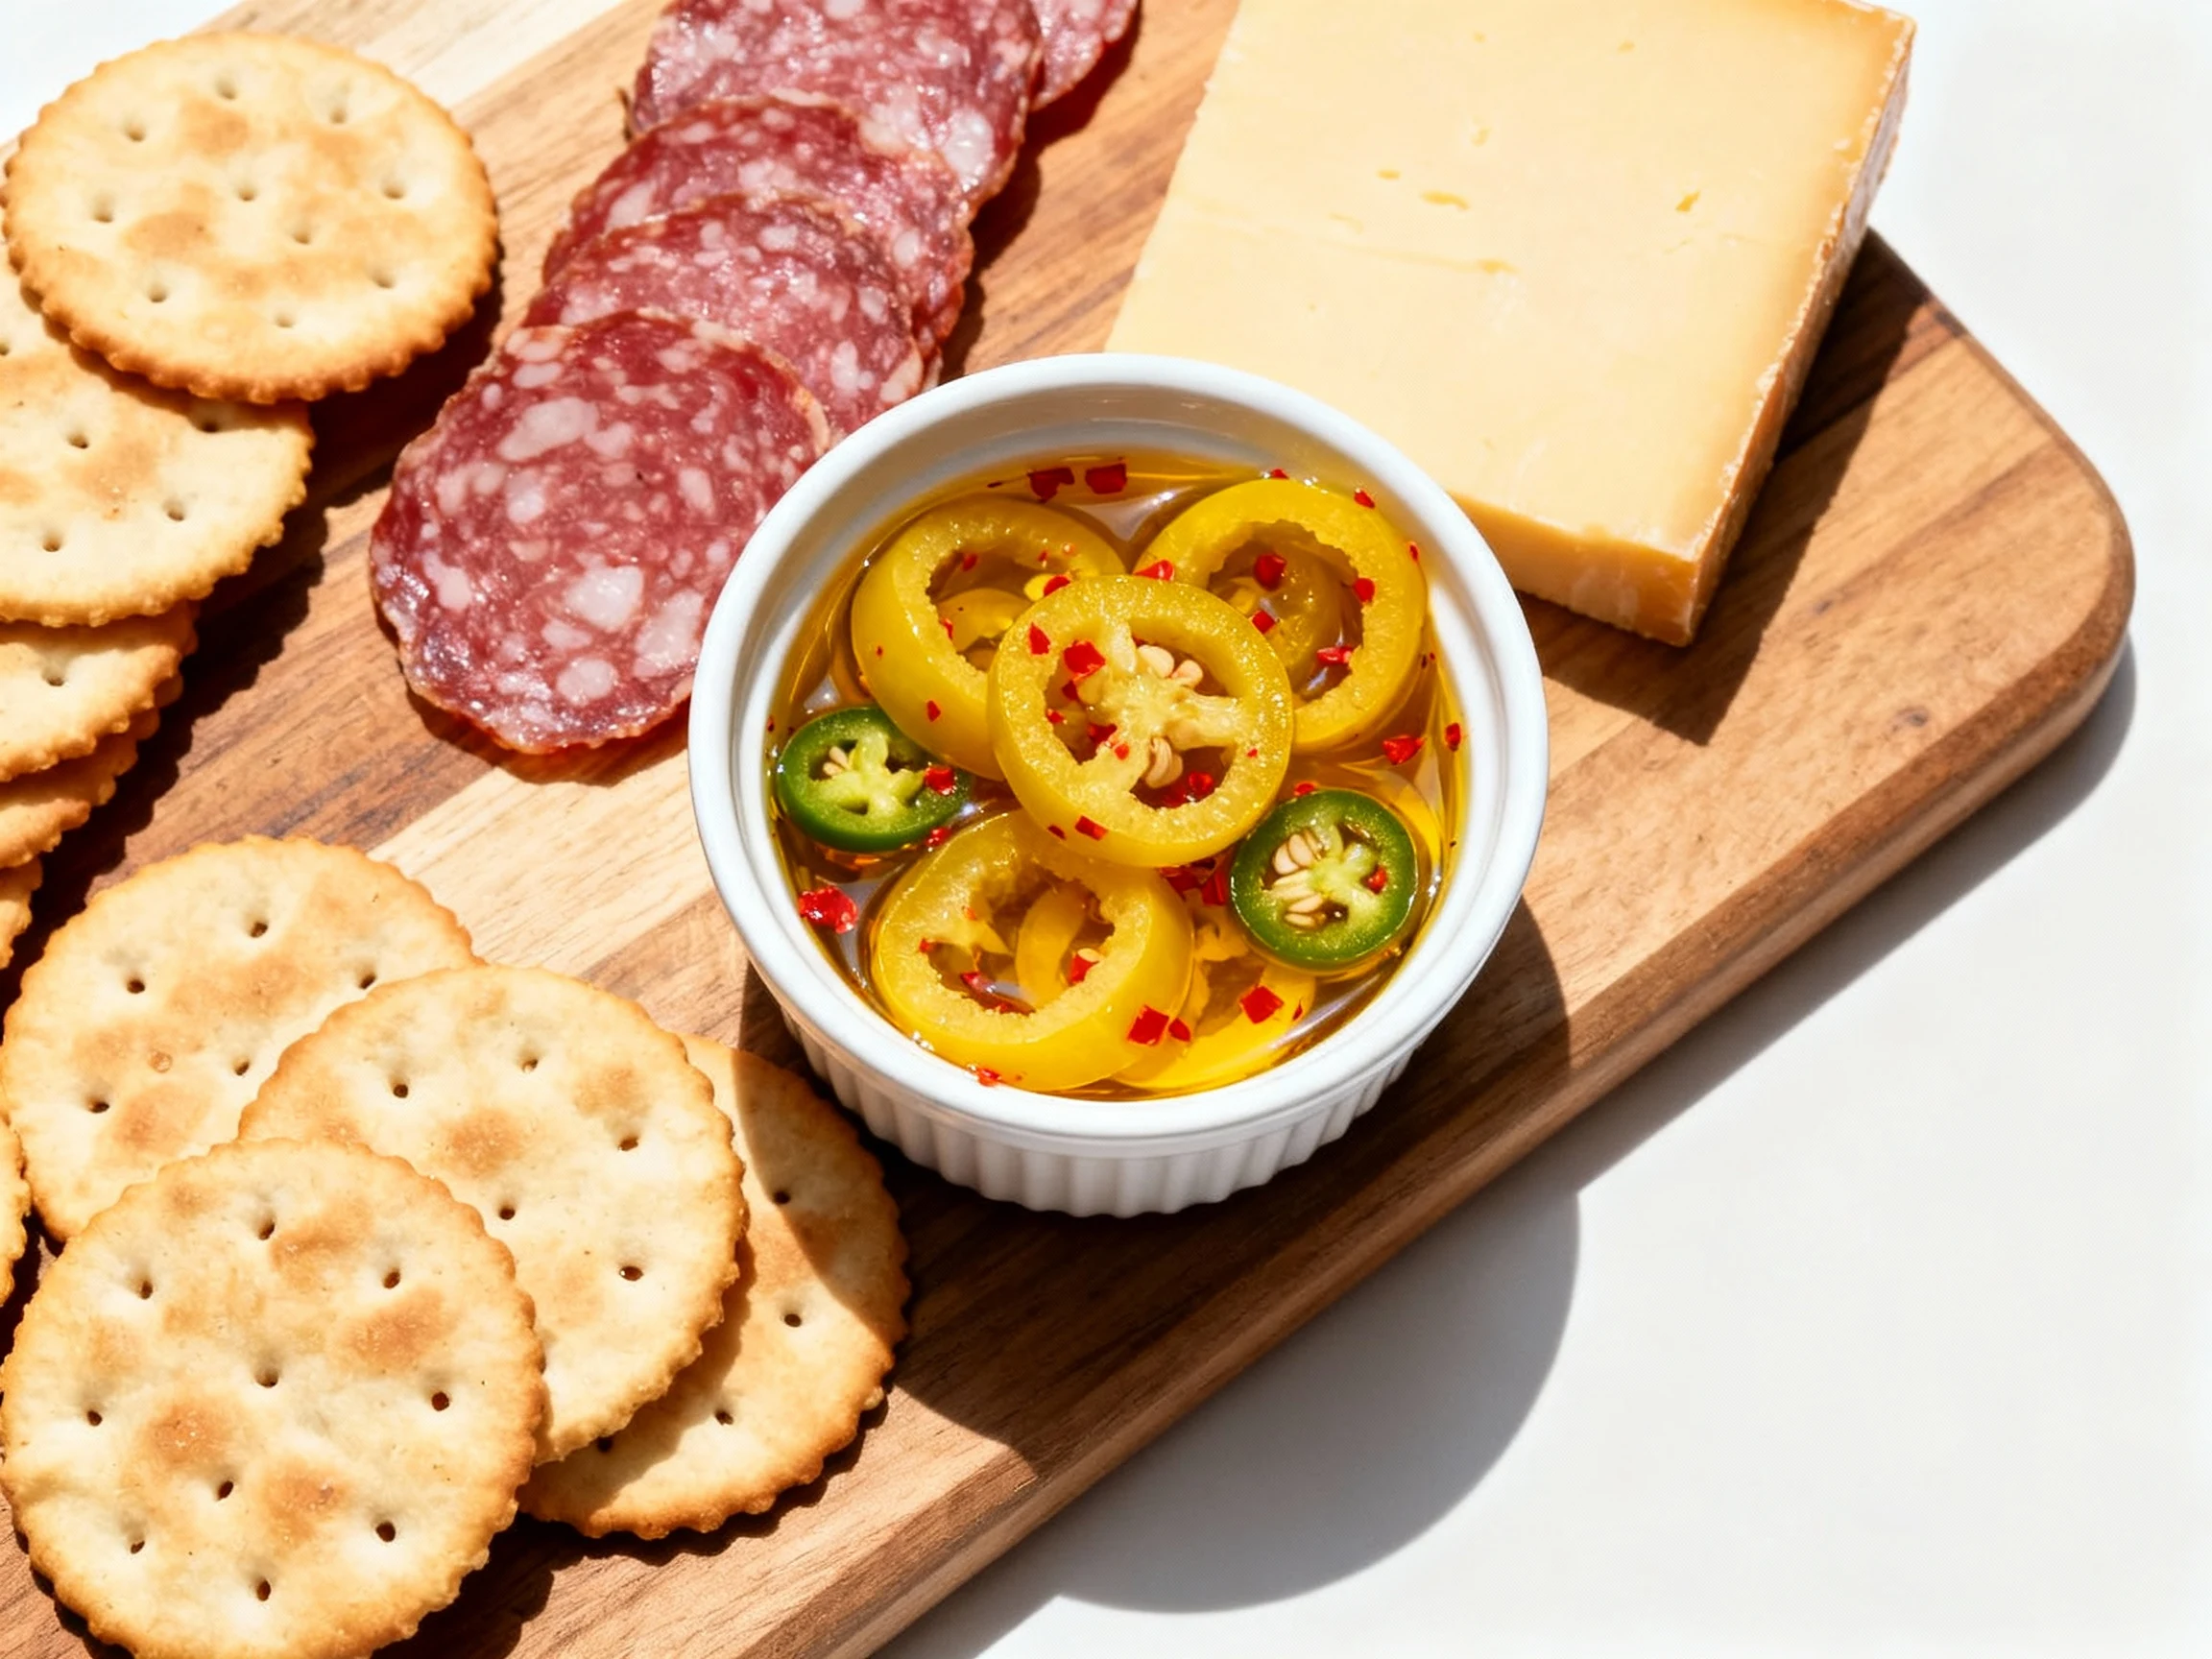
Banana Pepper Canning Recipes That Save Summer Flavor
Small-batch, crunchy, and pantry-safe picks for sandwiches, salads, and snacks—plus safety tips so your jars seal every time.
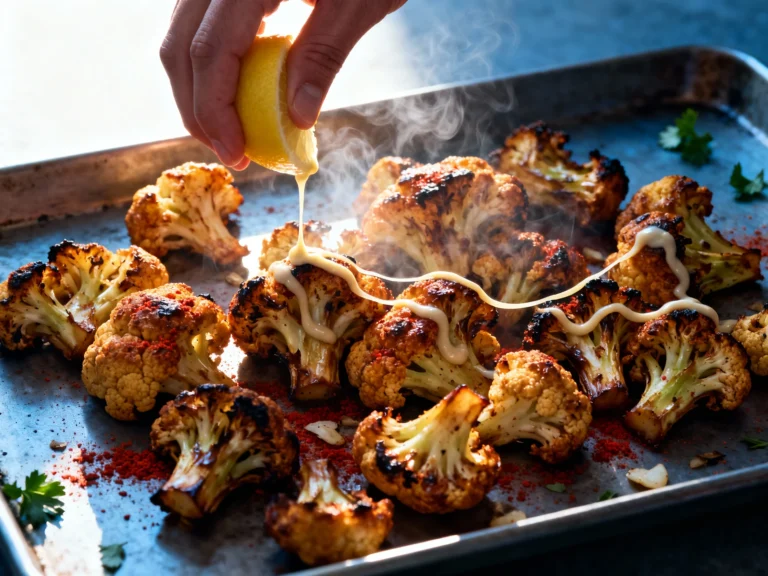
You’re paying $6 for a tiny jar of pepper rings when $6 of peppers can stock your pantry for months. That’s not a bargain—that’s a missed opportunity. With one simple brine, you’ll crank out bright, crunchy peppers that level up subs, tacos, eggs, and charcuterie boards. The method is fast, the ingredients are basic, and your future self will thank you every lunch break. Ready to turn peak-season peppers into a year of flavor without babysitting the stove?
What Makes This Special
- Crunch-first method: Quick blanch? Nope. We pack raw rings and control heat to keep the snap.
- Tested-safe ratios: A high-acid brine (5% vinegar) for water-bath canning you can trust.
- Two paths, same payoff: Fast fridge pickles in 24–48 hours or shelf-stable jars for up to a year.
- Flavor-flex: Classic deli style, sweet heat, or garlicky Italian—you pick the vibe.
- Small-batch friendly: Scale up or down without math headaches, because we gave you clear ratios.
What Goes Into This Recipe – Ingredients
Yields: About 4 pints (or 8 half-pints)
- Banana peppers: 2 pounds (900 g), fresh and firm, seeded and sliced into 1/4-inch rings
- White vinegar (5% acidity): 4 cups (960 ml)
- Water: 1 cup (240 ml) — you can skip water for a sharper bite
- Pickling or kosher salt (non-iodized): 2 tablespoons (30 g)
- Sugar: 2–4 tablespoons (25–50 g), optional for balance
- Garlic: 4–8 cloves, lightly smashed (1–2 per jar)
- Whole spices (mix and match):
- Mustard seeds: 2 teaspoons total
- Black peppercorns: 2 teaspoons total
- Celery seed: 1 teaspoon total
- Turmeric: 1/2 teaspoon (color and warmth)
- Red pepper flakes: 1–2 teaspoons for heat
- Bay leaves: 2–4
- Optional crunch booster: Calcium chloride (Pickle Crisp) 1/8 teaspoon per pint
- For variations (optional): Fresh dill, oregano, jalapeño slices, honey, apple cider vinegar (5% only)
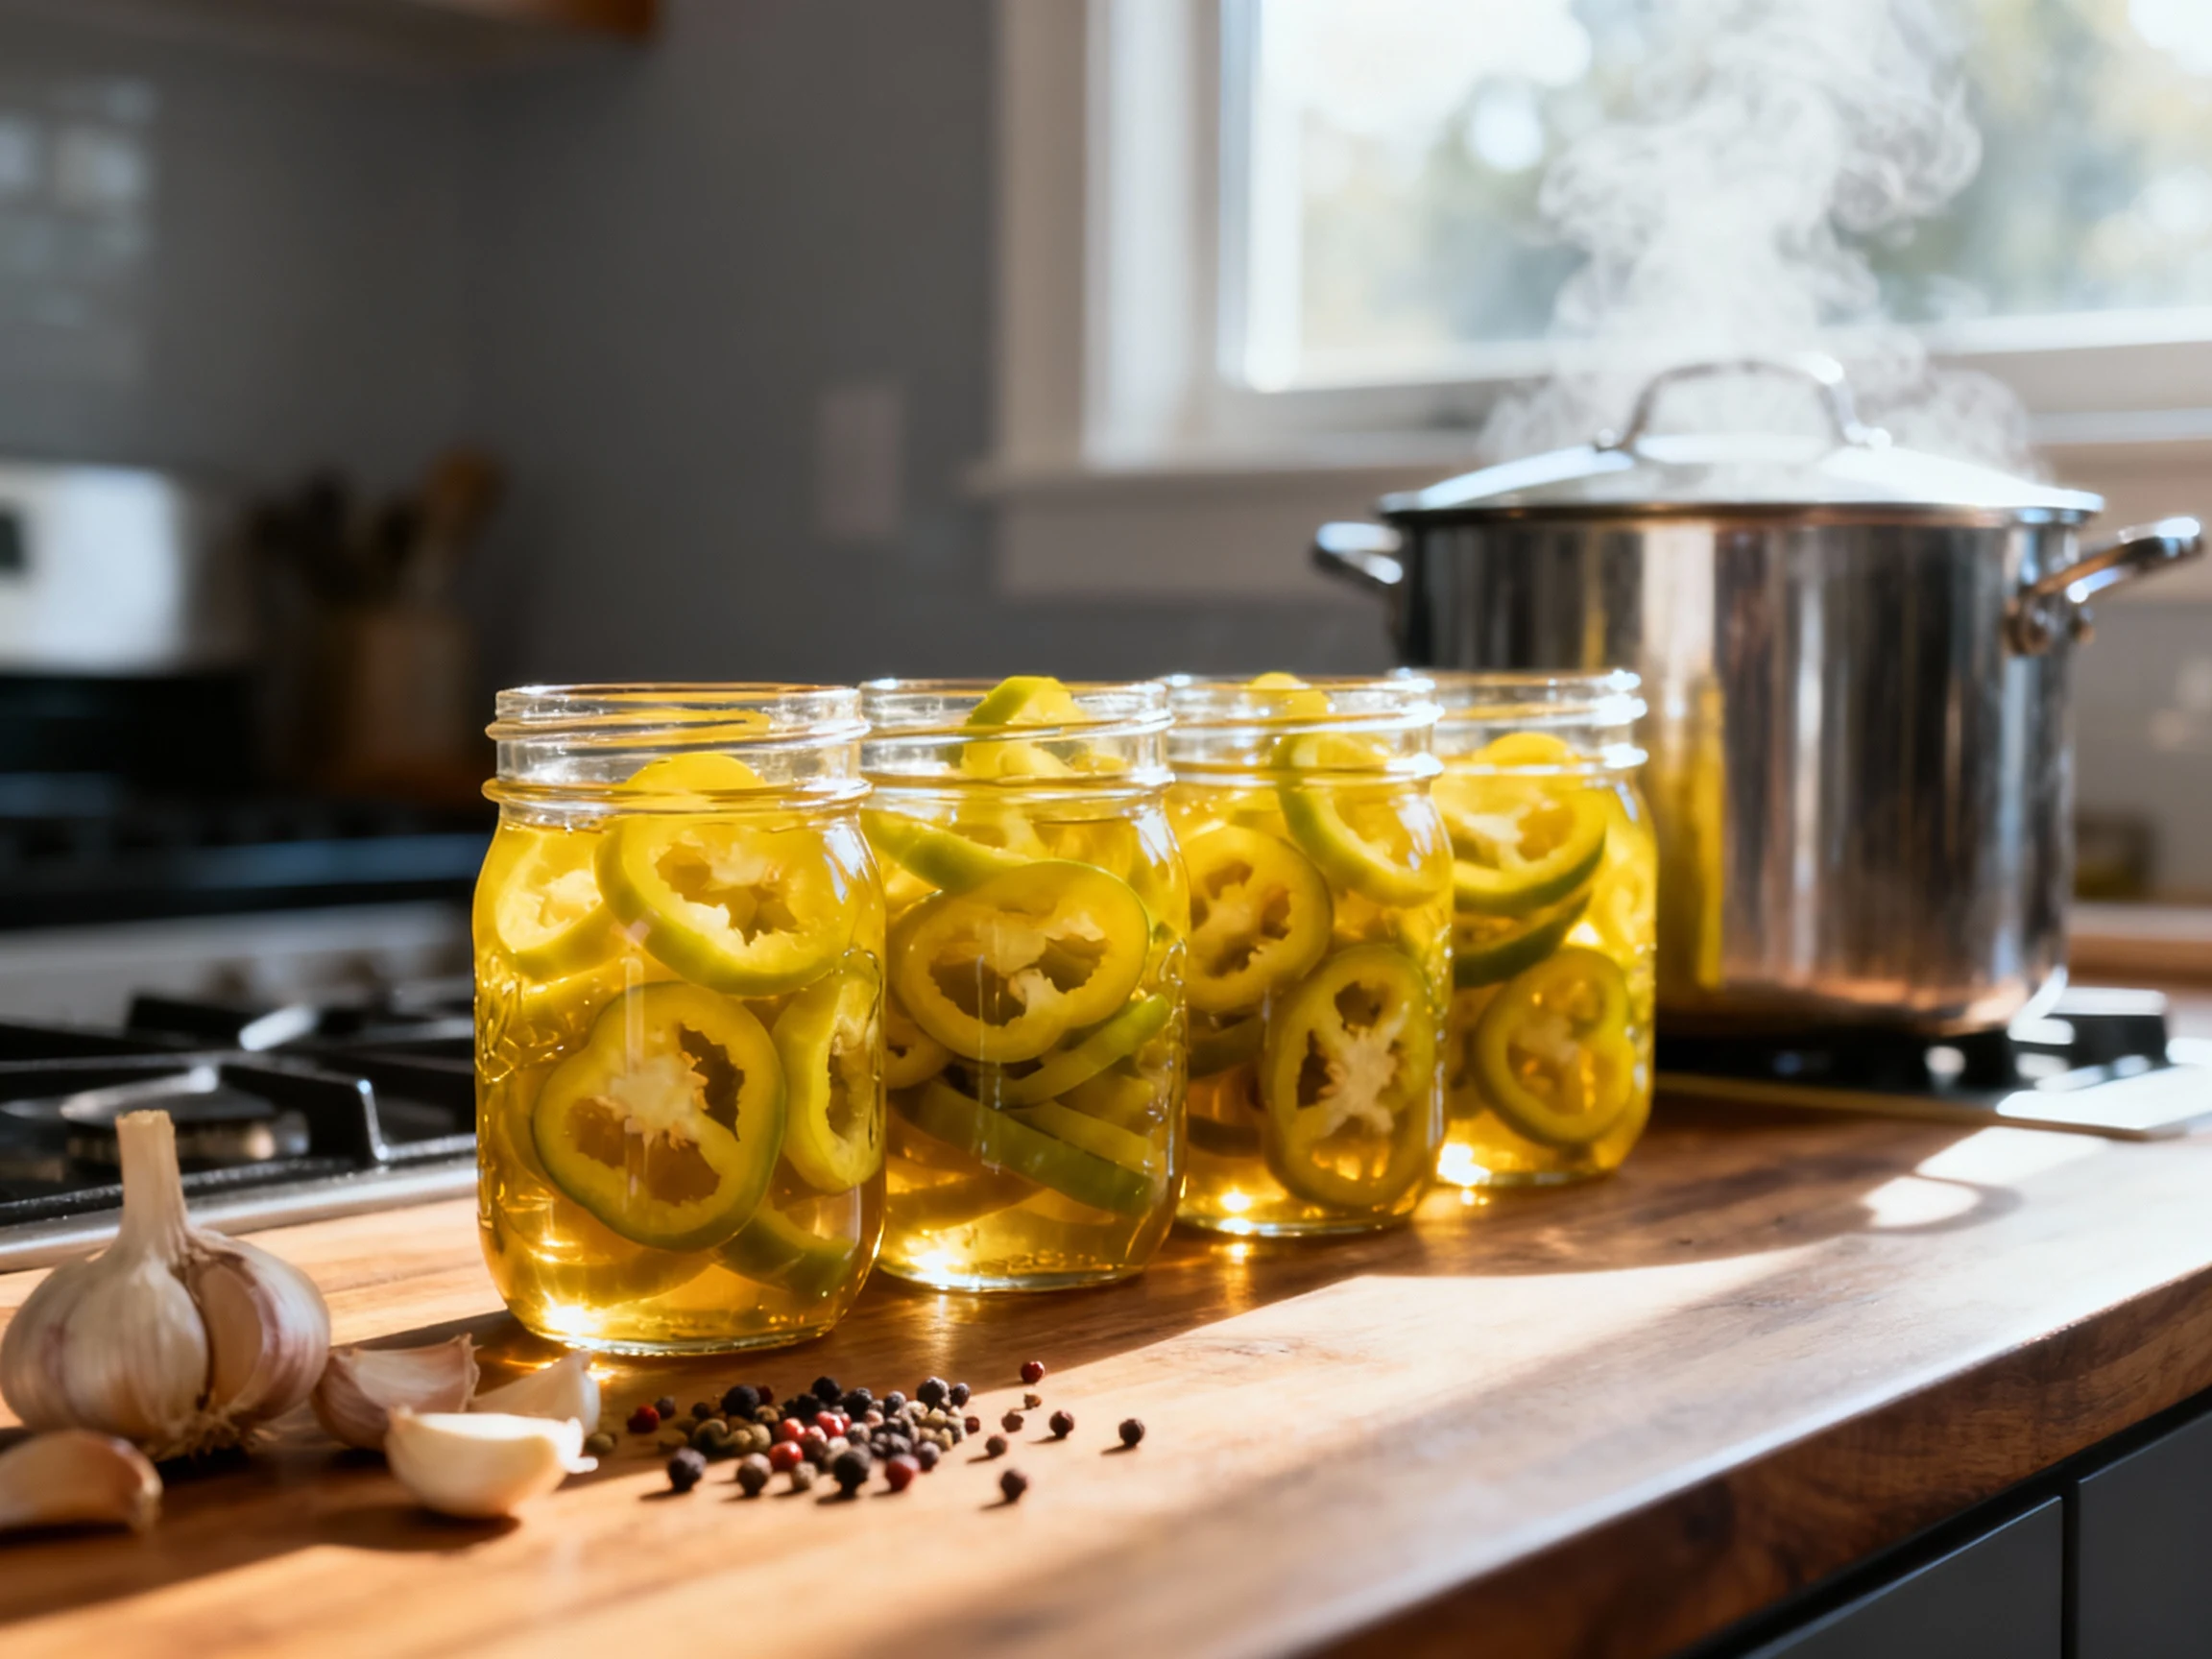
Gear: 4 clean pint jars with new lids and bands, large pot or canner with rack, funnel, ladle, bubble remover or chopstick, clean towels.
Step-by-Step Instructions
Prep the Peppers and Brine
- Wash jars and lids. Keep jars hot in a 180°F (82°C) oven or in simmering water until filling. Lids stay room temp.
- Rinse peppers, slice into 1/4-inch rings, and remove most seeds. Keep them crisp by working quickly.
- In a pot, combine vinegar, water, salt, and sugar. Bring to a simmer, then reduce heat to low to keep it hot.
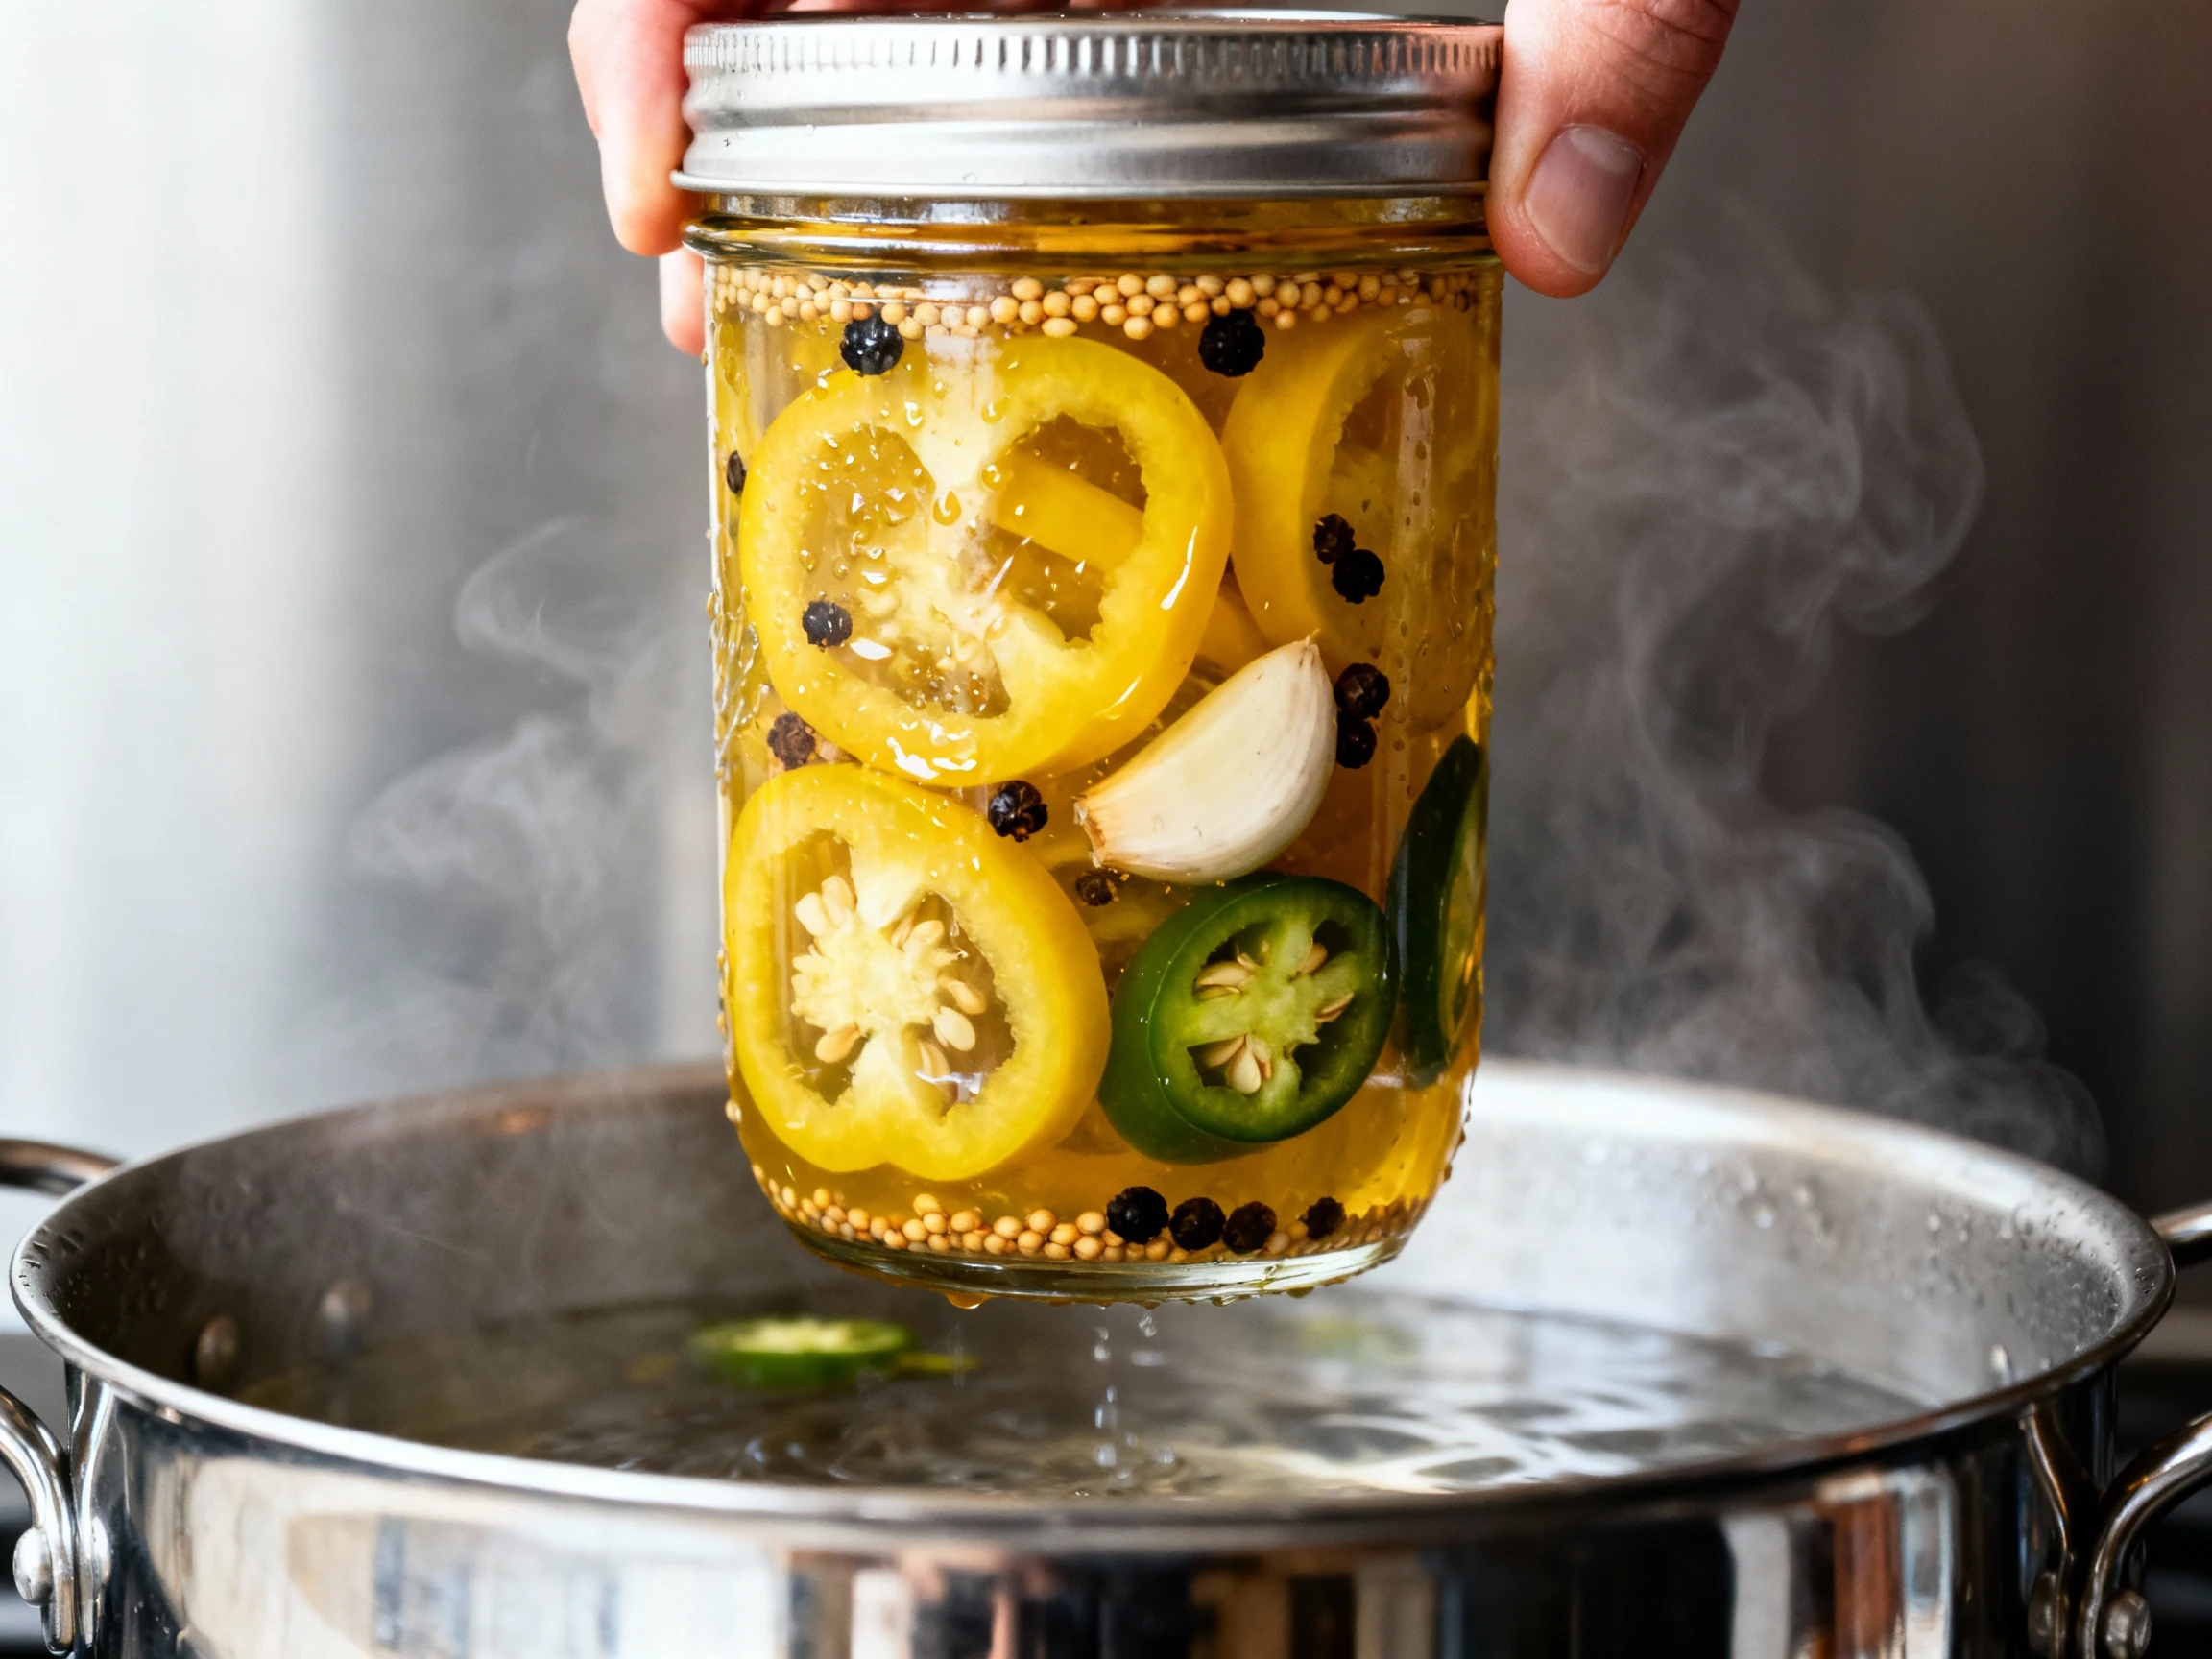
- Lay out hot jars. Add 1/2 teaspoon mustard seeds, 1/2 teaspoon peppercorns, a pinch of celery seed, 1/8 teaspoon turmeric, and 1 clove garlic to each jar. Add Pickle Crisp (optional) now.
For Refrigerator Pickles (Fast Method)
- Pack raw pepper rings tightly into jars, leaving 1/2-inch headspace at the top.
- Pour hot brine over peppers, still leaving 1/2-inch headspace. Remove air bubbles by sliding a chopstick around the jar.
- Wipe rims, apply lids and bands finger-tight. Cool to room temp, then refrigerate.
- Wait at least 24–48 hours before eating; flavor is best after 1 week. Keeps in the fridge for 2–3 months.
For Water-Bath Canning (Shelf-Stable)
- Bring your canner to a vigorous boil with a rack inside. Water should cover jars by 1–2 inches.
- Pack jars tightly with raw pepper rings, leaving 1/2-inch headspace. Add optional jalapeño slices for heat.
- Pour hot brine over peppers to 1/2-inch headspace. De-bubble, then adjust headspace again if needed.
- Wipe rims with vinegar-dampened cloth. Apply lids and bands finger-tight.
- Lower jars into the boiling canner. Process pints for 10 minutes at 0–1,000 ft elevation; adjust to 15 minutes for 1,001–6,000 ft and 20 minutes for 6,001–8,000 ft.
- Turn off heat, rest jars in hot water for 5 minutes. Move to a towel-lined counter. Do not tilt or tighten.
- Listen for seals. After 12–24 hours, check: center of each lid should be concave and not flex. Remove bands, wipe jars, label.
- Cure for 1 week before opening for peak flavor. Store sealed jars in a cool, dark place up to 12–18 months.
FYI: You don’t need to “sterilize” jars separately if you process 10+ minutes; the water bath takes care of that.
How to Store
- Sealed jars: Cool, dark pantry (50–70°F). Best quality for 12 months, safe up to 18.
- Opened jars: Refrigerate and use within 2–3 months. Always use clean utensils.
- Flavor window: Good at 48 hours, great at 7–10 days. The longer the cure, the deeper the flavor.
- No seal? Refrigerate immediately and treat like refrigerator pickles.
Nutritional Perks
- Low-calorie, high flavor: Pepper rings add zip with practically no fat.
- Vitamin C and antioxidants: Peppers and turmeric bring a small but meaningful boost.
- Electrolyte-friendly: Sodium can be helpful post-workout—just keep portions sensible.
- Customizable sugar: Keep it savory or add a touch of sweetness without blowing your macros.
Pitfalls to Watch Out For
- Weak acid: Don’t dilute vinegar below a 1:1 ratio with water for canning. Safety first.
- Wrong salt: Iodized table salt can cloud brine and muddy flavor. Use pickling or kosher salt.
- Overprocessing: Extra minutes in the canner = soft peppers. Start your timer only at a rolling boil.
- Big seeds, big gaps: Too many seeds reduce packing density and flavor infusion. Remove most.
- Oil in the jar: No oil in water-bath recipes—it can cause seal failures. Add oil at serving time.
- Old peppers: Limp produce in = limp pickles out. Use firm, fresh peppers and slice evenly.
- Ignoring altitude: Not bumping time for elevation is a classic “why didn’t it seal?” mistake. Don’t skip it.
Recipe Variations
- Deli-Style Garlic-Dill: Add fresh dill sprigs, extra garlic, and a few coriander seeds per jar.
- Sweet Heat: Use 1/4 cup (50 g) sugar or 3 tablespoons honey in the brine and tuck in jalapeño slices.
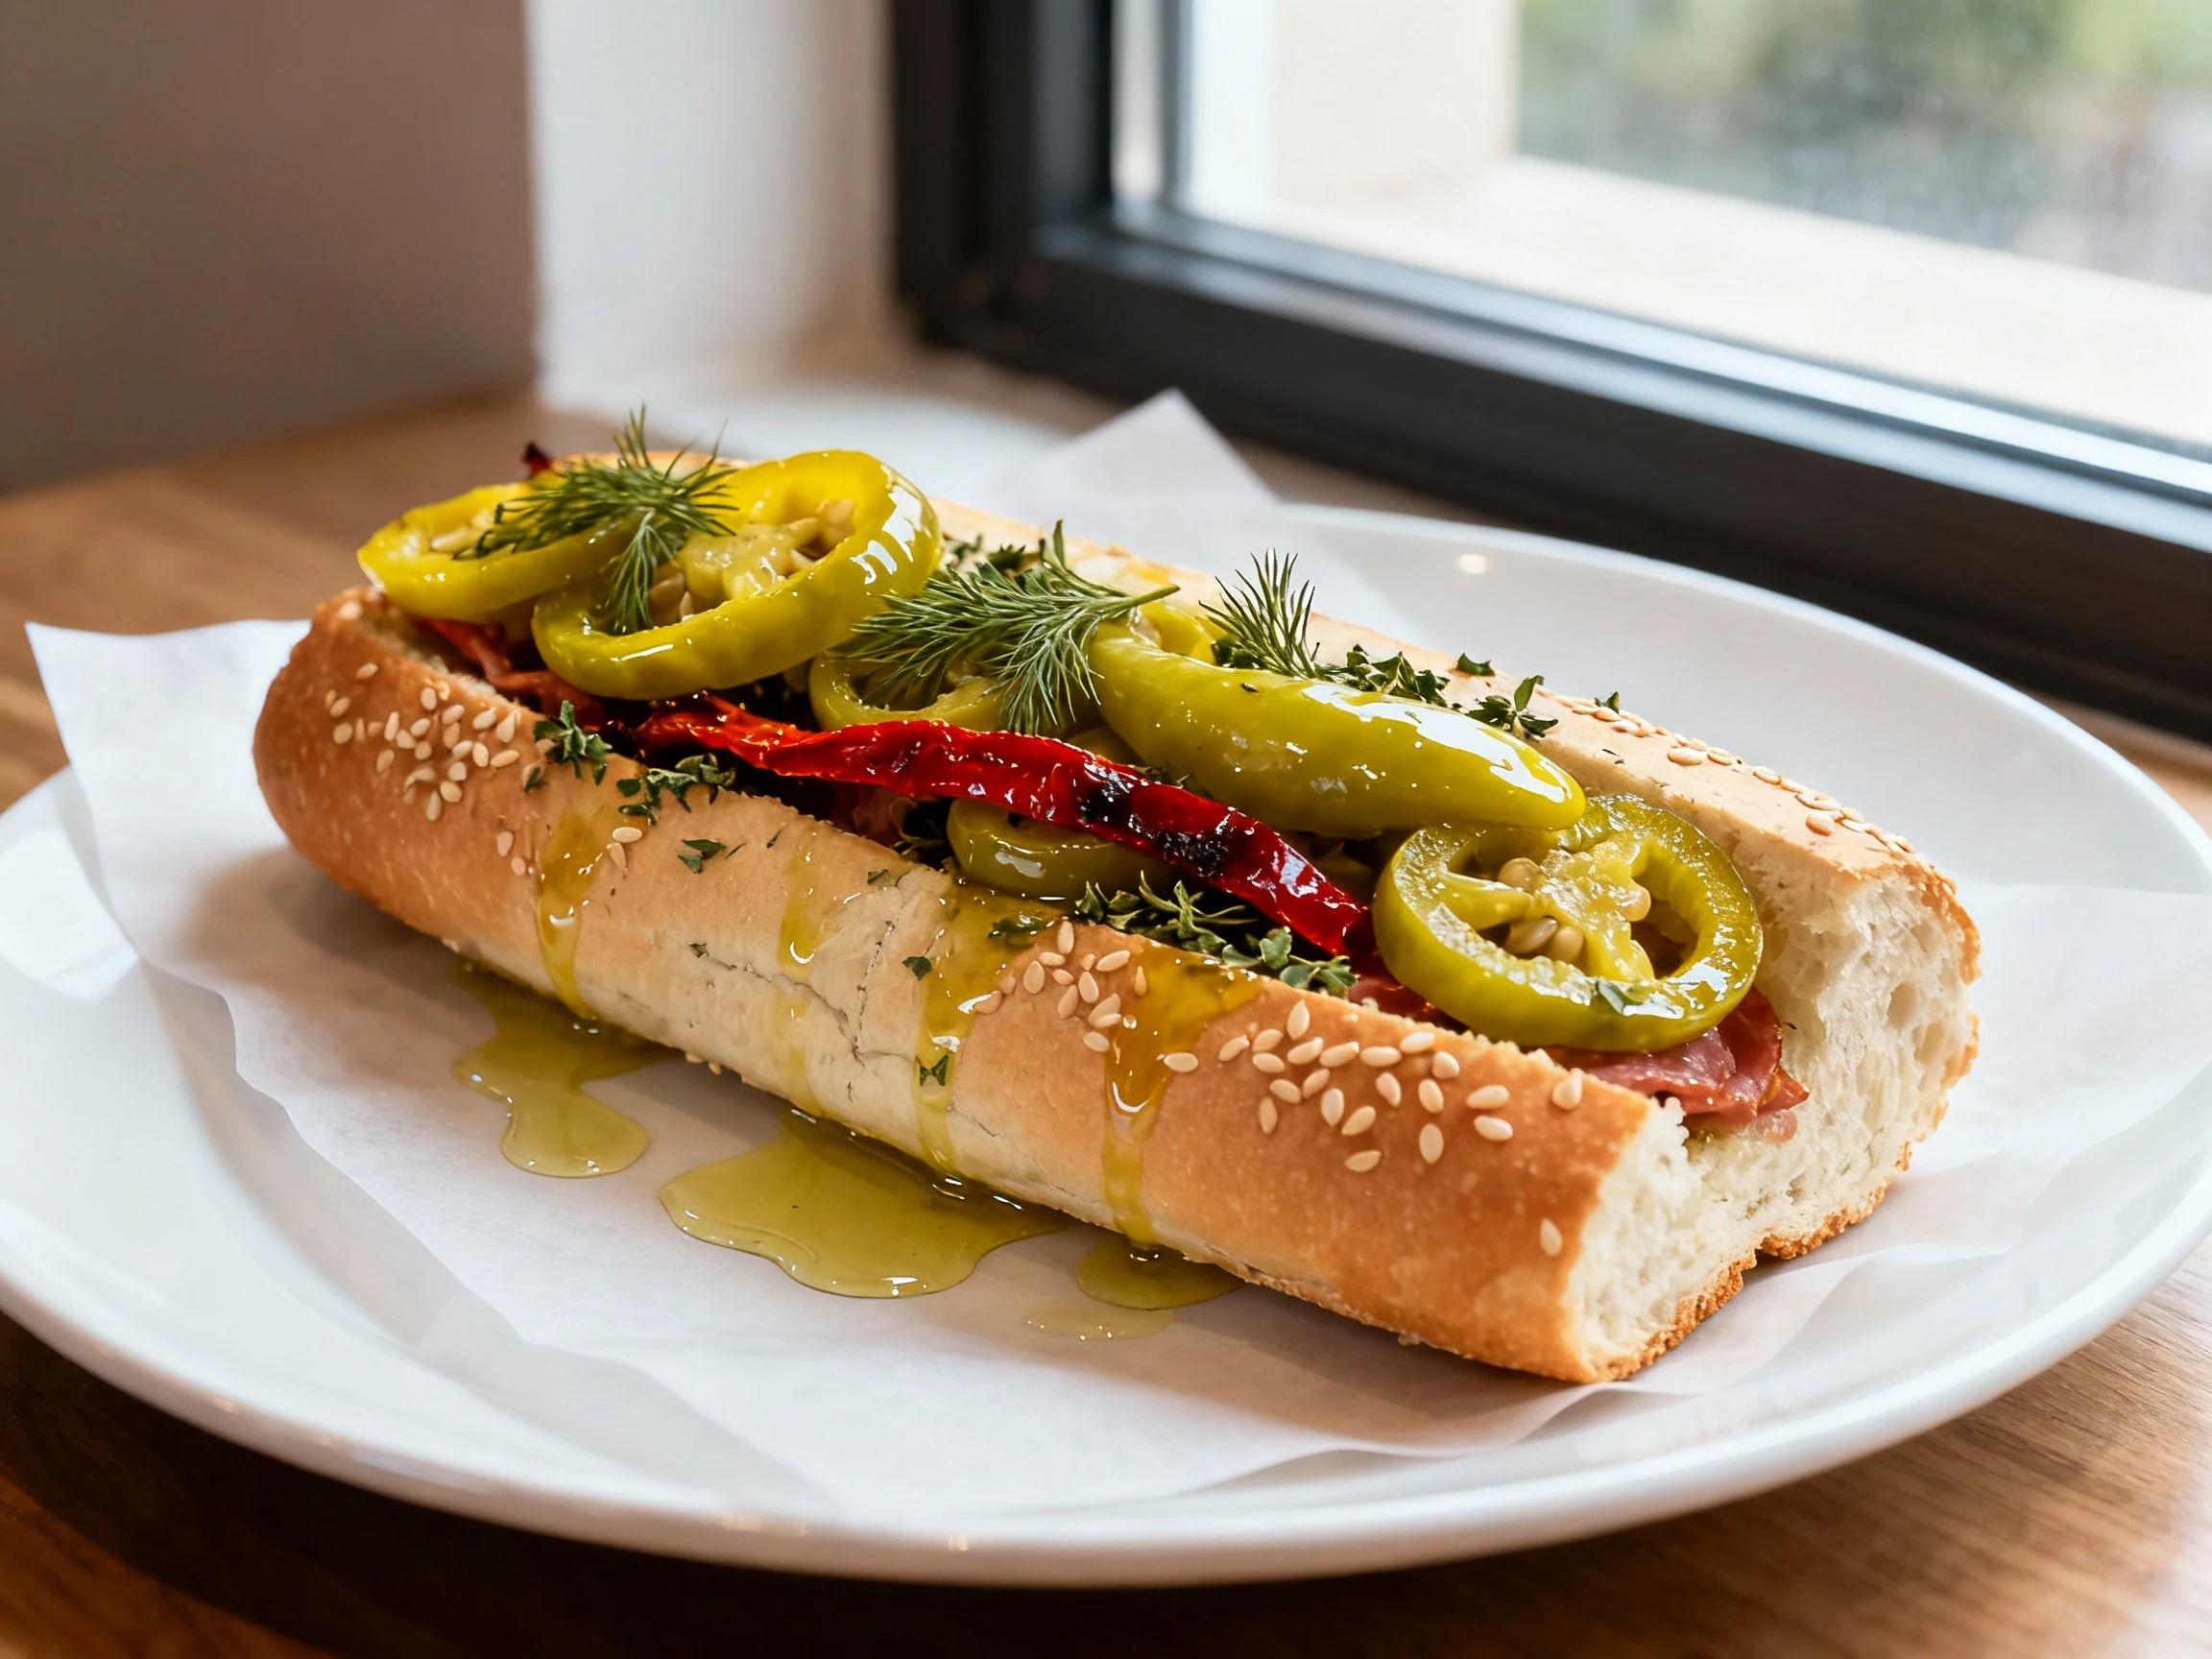
- Italian Sub Vibes: Add dried oregano, a pinch of red pepper flakes, and a strip of roasted red pepper per jar.
- Bread-and-Butter Twist: Increase sugar to 1/3 cup (67 g) and add turmeric and celery seed for a golden, sweet-tangy profile.
- Smoky Chipotle: Add 1/2–1 teaspoon chipotle flakes per jar. Great on tacos and breakfast burritos.
- No-Sugar Option: Skip sugar entirely or use erythritol/stevia blend. Sweeteners don’t affect canning safety, just flavor.
- All-Vinegar Brine: For ultra bright and crisp rings, use 100% vinegar and reduce process time risk by keeping everything hot and moving quickly.
FAQ
How many peppers do I need per pint jar?
Plan on about 8 ounces (225 g) of sliced peppers per pint, which is roughly 3–4 large or 8–10 small peppers. Pack them tight but don’t crush them—headspace matters for a clean seal.
Can I use apple cider vinegar instead of white vinegar?
Yes—make sure it’s 5% acidity. ACV adds fruitiness and a softer tang; it may slightly darken the peppers. Avoid flavored or low-acid vinegars.
Do I need to pressure can these?
Nope. The acidity of the brine makes peppers ideal for a water-bath canner. Pressure canning is unnecessary and can make the peppers softer than you want.
Why did my peppers turn soft after canning?
Likely causes include overprocessing, older peppers, very thin slices, or skipping calcium chloride. Keep slices at 1/4 inch, process only for the recommended time, and consider a tiny dose of Pickle Crisp.
Can I cut back on the vinegar or add more water?
Not for shelf-stable canning. Maintain at least a 1:1 vinegar-to-water ratio by volume, or go all vinegar for extra zip. Reducing acid compromises safety—hard pass.
Is it safe to add oil or fresh herbs?
Skip oil in the jar; it can interfere with seals. Fresh herbs are fine in small amounts but can discolor over time. Dried herbs keep better. Add oil when serving instead.
How long before they taste “ready”?
They’re decent after 24–48 hours in the fridge, but the sweet spot is 7–10 days. Cured flavor deepens over 2–4 weeks, especially in shelf-stable jars.
Can I reuse the brine?
For canning, no—spent brine can be lower in acid and salt after pickling veggies. For fridge use, you can reuse once to marinate another small batch, but expect a milder result.
Are banana peppers and pepperoncini interchangeable?
Close cousins. Pepperoncini are a bit more bitter and sometimes thinner-walled. Use the same brine and add a touch more sugar if you want to smooth the bitterness.
Do I really need Pickle Crisp?
It’s optional. Calcium chloride helps retain firmness without affecting flavor. If you’re working with super-fresh peppers and precise processing, you can skip it and still get good crunch.
My Take
Smart home cooks build “flavor assets” that pay dividends all year—this is one of them. A couple of hours now turns into weeks of better lunches and last-minute appetizers that actually impress. Keep the method tight, the acid high, and the jars hot, and you’ll look like a canning pro without the homestead drama. IMO, the Sweet Heat variation is a knockout on eggs, nachos, and grilled chicken—add it to your rotation, FYI.
Printable Recipe Card
Want just the essential recipe details without scrolling through the article? Get our printable recipe card with just the ingredients and instructions.