Apple Dessert Recipes With Fresh Apples — Quick Cozy Wins
From warm crisps to skillet cobblers, get fast, foolproof sweets for weeknights using in-season apples, pantry staples, and minimal prep.
You’ve got apples on the counter and about 40 minutes until everyone starts prowling the kitchen. Perfect. We’re turning simple fruit and pantry staples into a dessert that tastes like a hug and looks like you planned it. No fancy gear, no pastry degree—just one skillet, one hot oven, and a topping that hits that sweet-crunchy spot.
Here’s the play: brown a little butter, toss fresh apples with spice, crown the whole thing with an oat crumble, and bake until bubbling. It’s fast, it smells like fall, and yes, it absolutely earns the ice cream. Want to stretch it farther? I’ll show you easy variations so you’re stocked with go-to apple desserts for any mood.
What Makes This Recipe Awesome
- One-pan efficiency: Build it in a single oven-safe skillet and bake. Fewer dishes, more dessert energy.
- Fast turnaround: From slicing to serving in about 40 minutes, with most of that time spent letting the oven do the work.
- Texture heaven: Tender apples + crisp, chunky oat topping. That hot-cold contrast with a scoop of vanilla? Elite.
- Flexible and forgiving: Use whatever apples you’ve got; tweak sugar; add nuts or raisins; make it gluten-free with simple swaps.
- Budget-friendly: Apples, oats, butter, sugar. If your pantry isn’t holding these, FYI, it wants to.
What You’ll Need (Ingredients)
- Fresh apples: 6 medium (about 2.5 lb), ideally a mix of tart + sweet varieties; peeled, cored, and sliced 1/4-inch thick
- Lemon juice: 1 tablespoon (to brighten and prevent browning)
- Granulated sugar: 1/3 cup for the apple filling
- Brown sugar: 1/2 cup for the oat topping
- Cinnamon: 2 teaspoons
- Nutmeg: 1/4 teaspoon
- Fine salt: 1/2 teaspoon, divided (1/4 tsp for filling, 1/4 tsp for topping)
- Vanilla extract: 1 teaspoon
- Cornstarch: 1 tablespoon (thickens the juices)
- Unsalted butter: 8 tablespoons (1 stick), browned and divided
- Old-fashioned rolled oats: 3/4 cup
- All-purpose flour: 3/4 cup (or a 1:1 gluten-free blend)
- Chopped nuts (optional): 1/2 cup pecans or walnuts
- Optional add-ins: 1/4 cup raisins; caramel sauce for drizzling; vanilla ice cream or whipped cream for serving
Instructions
- Heat the oven: Preheat to 375°F (190°C) with a rack in the center.
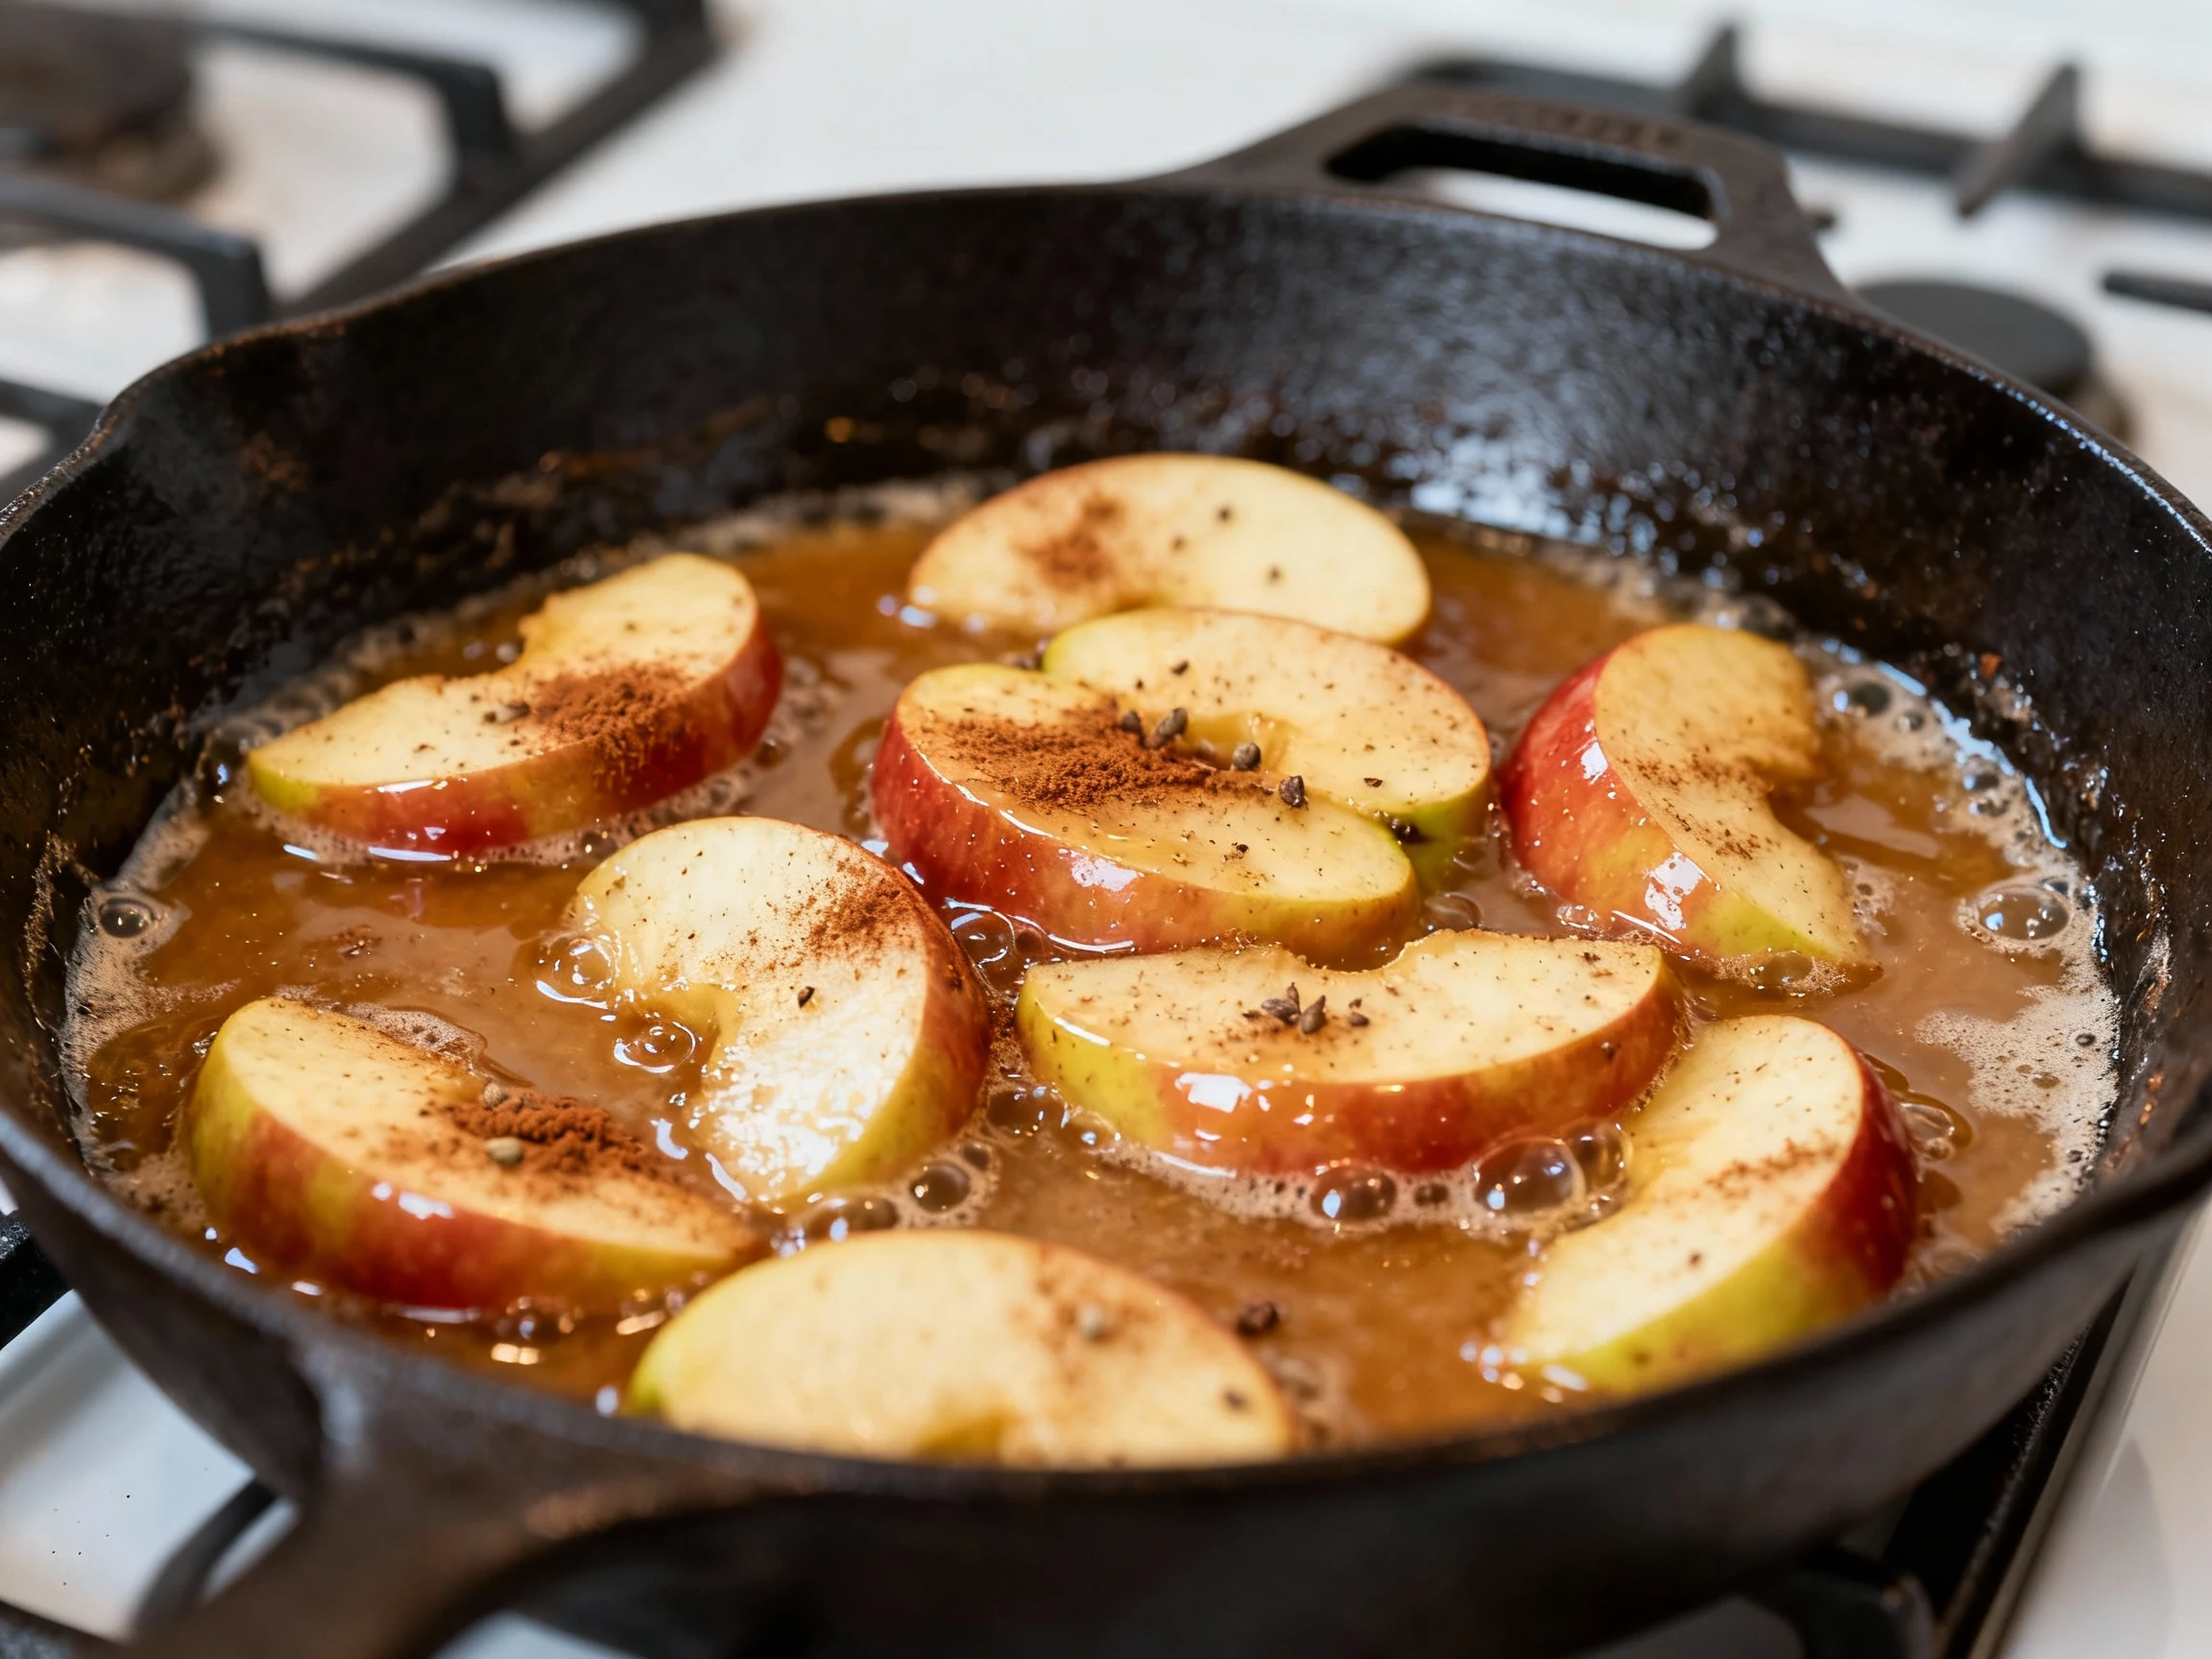
- Prep the apples: Peel, core, and slice the apples 1/4-inch thick. Toss with lemon juice, granulated sugar, 1 teaspoon cinnamon, nutmeg, 1/4 teaspoon salt, vanilla, and cornstarch. Set aside.
- Brown the butter: In a 10-inch oven-safe skillet over medium heat, melt the butter. Cook 3–5 minutes until it smells nutty and turns golden brown. Immediately pour 6 tablespoons into a mixing bowl for the topping, leaving 2 tablespoons in the skillet.
- Warm the apples: Add the apple mixture to the skillet and cook 2–3 minutes, stirring once, just to coat and begin releasing juices. Remove from heat.
- Make the topping: To the bowl with 6 tablespoons brown butter, add oats, flour, brown sugar, remaining 1/4 teaspoon salt, and 1 teaspoon cinnamon. Stir until clumps form. Fold in nuts and raisins if using.
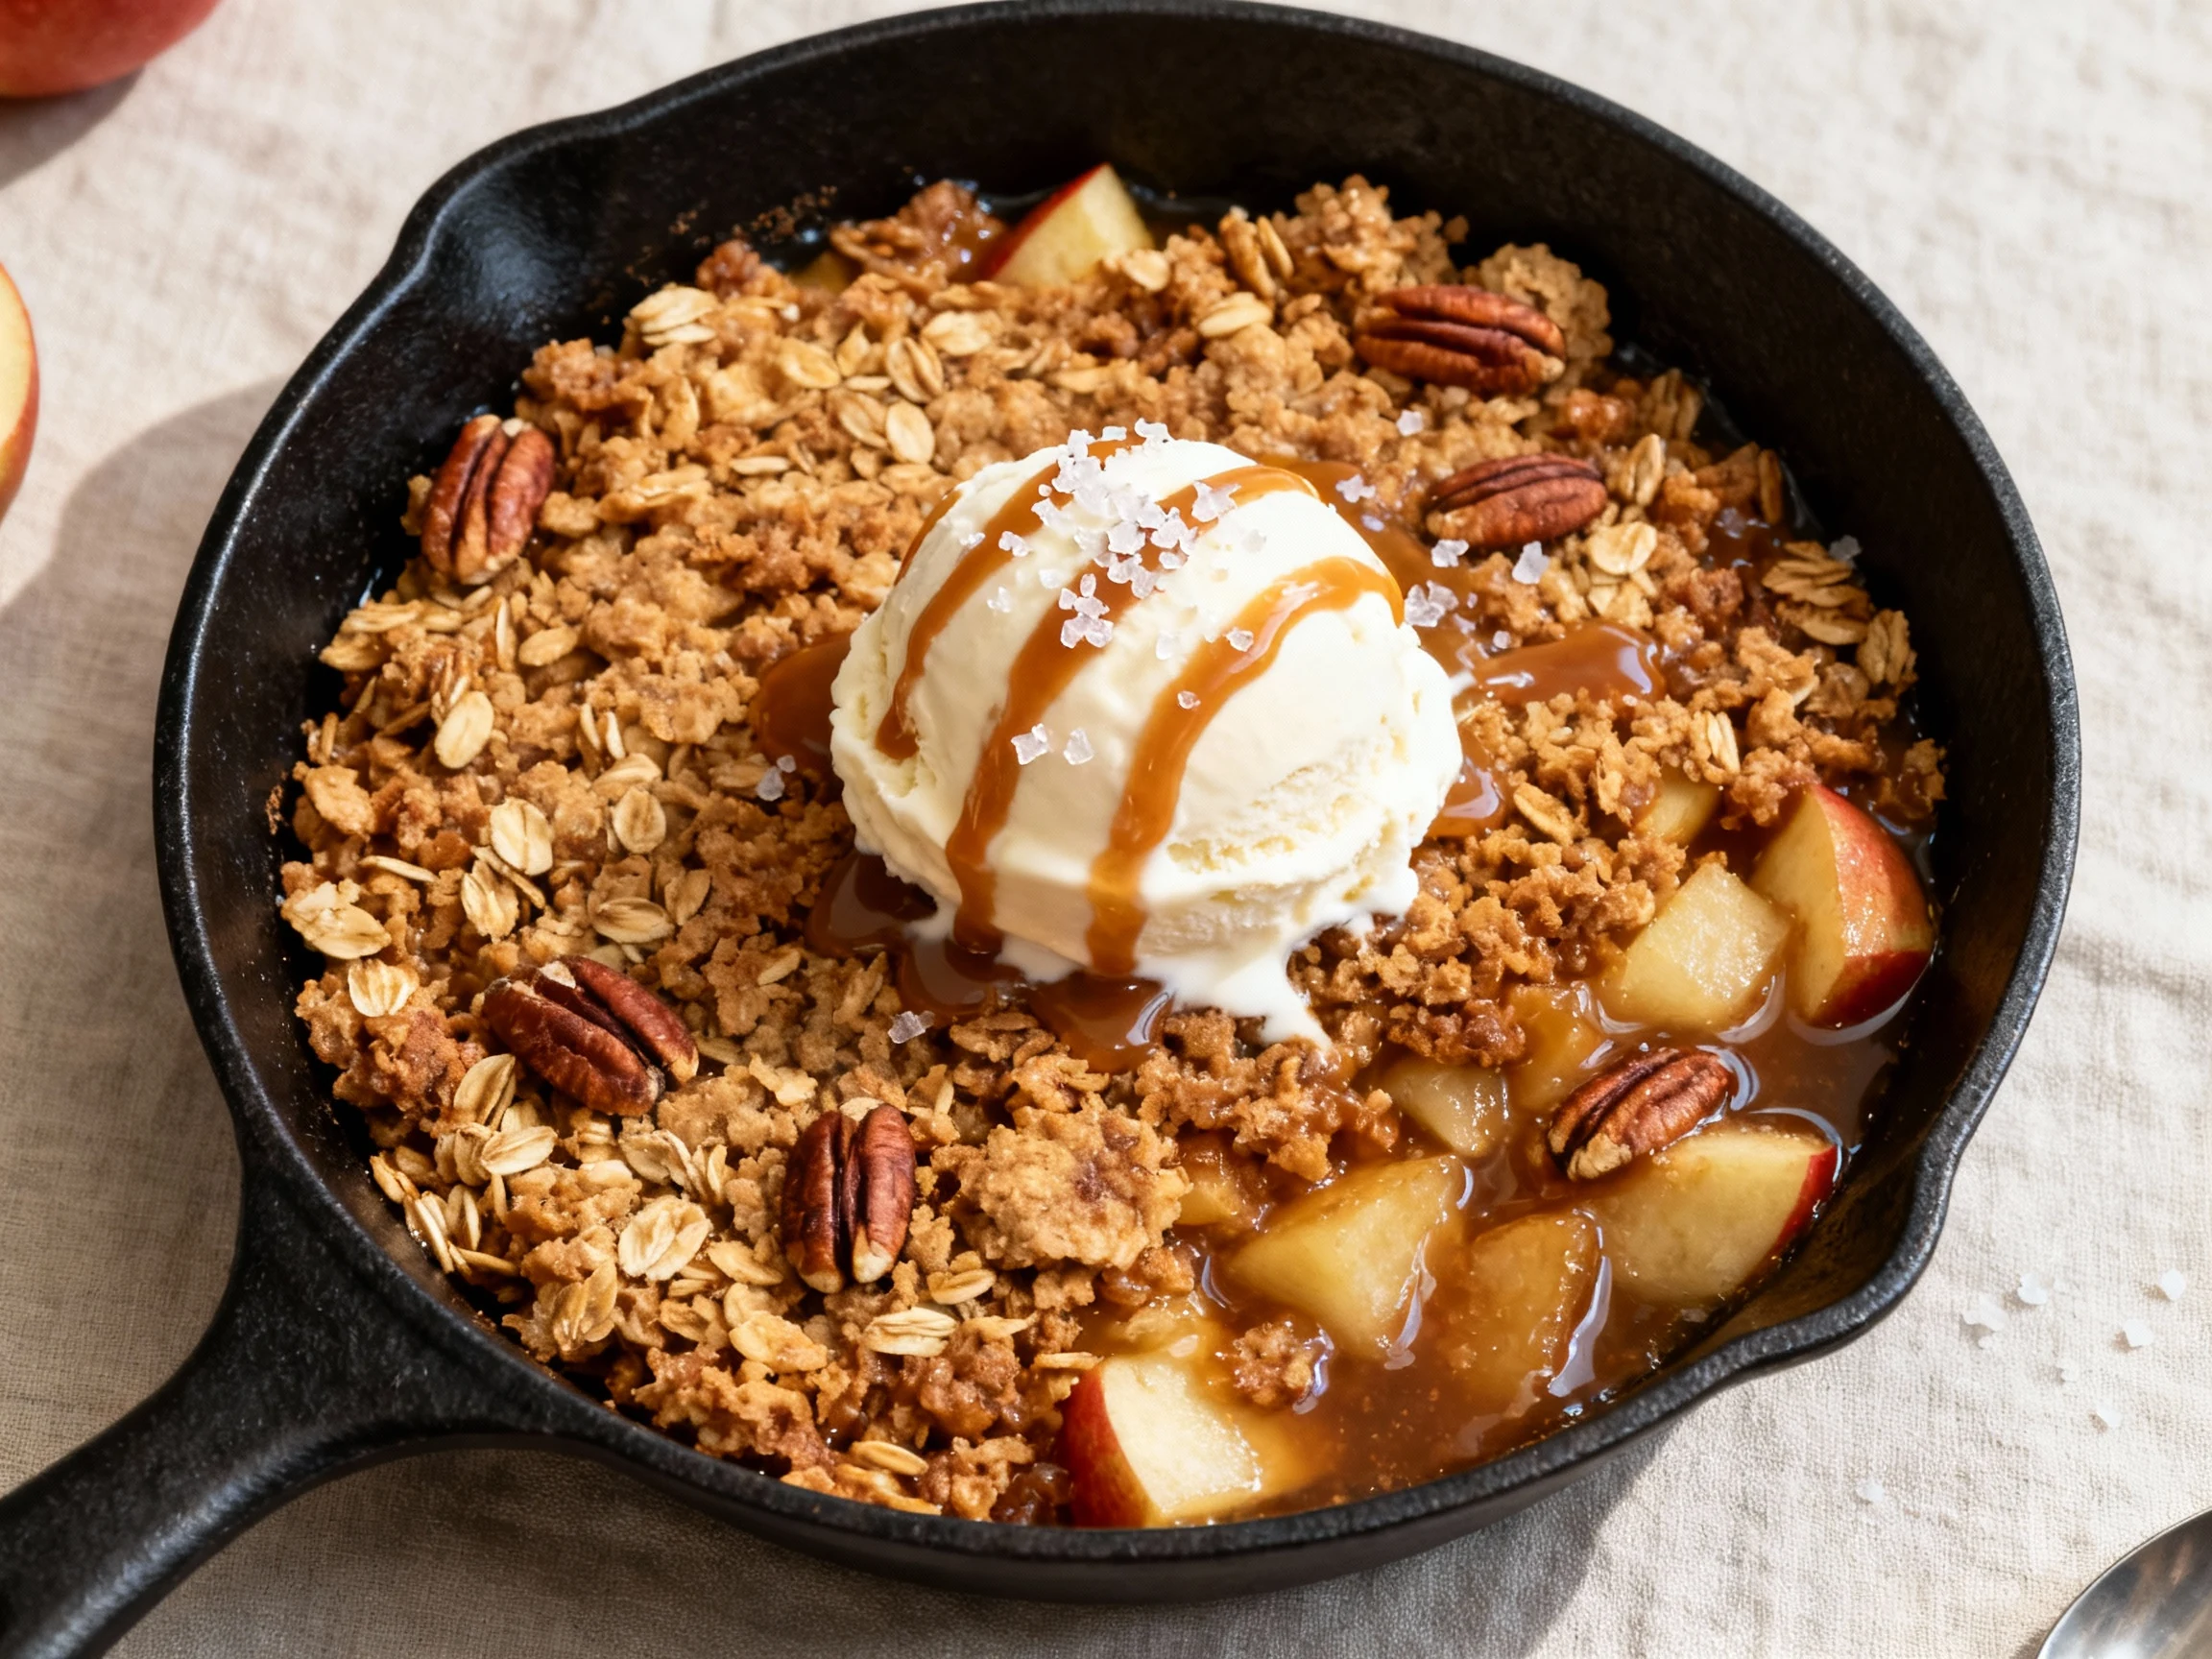
- Top and bake: Scatter the crumble evenly over the apples, leaving a few gaps so steam can escape. Don’t pack it down (we want crisp, not cake).
- Bake: 25–30 minutes, until the topping is golden and the apple juices bubble around the edges. A skewer should meet tender resistance in the center.
- Rest: Cool 10 minutes so the juices settle. This is the longest 10 minutes of your life—worth it.
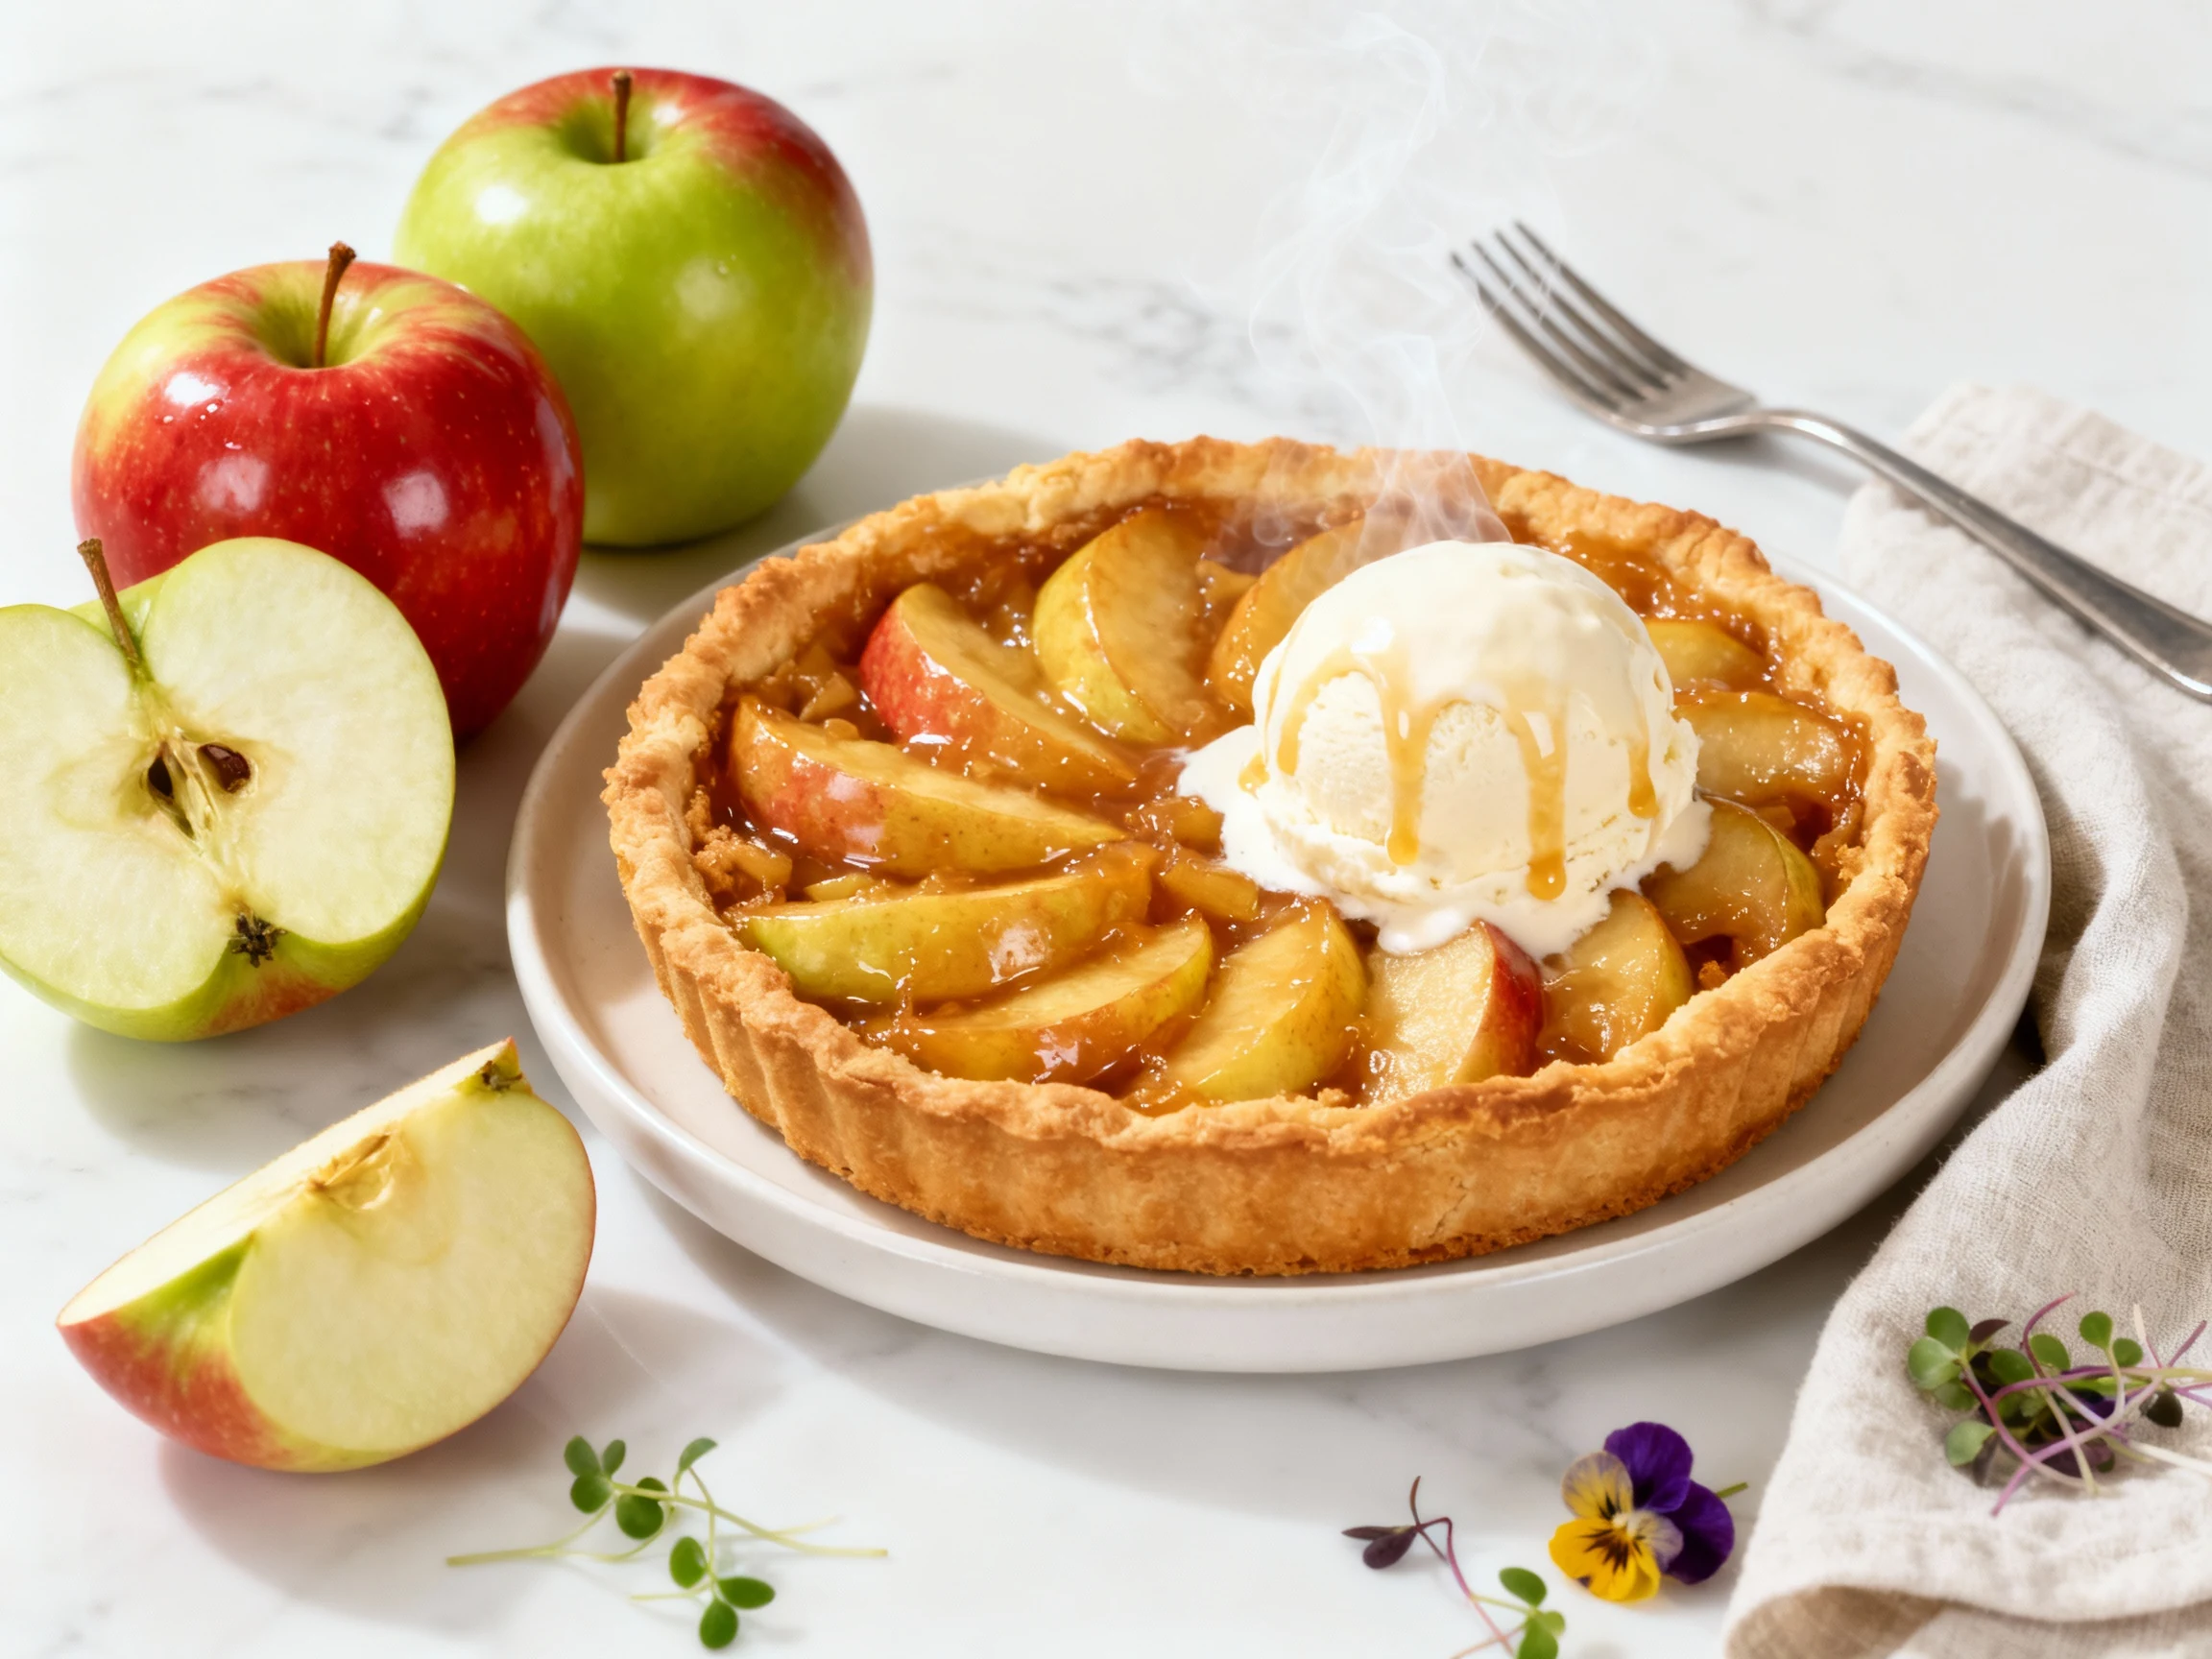
- Serve: Spoon into bowls and add ice cream, whipped cream, or a drizzle of caramel. If anyone asks if it’s “too sweet,” hand them a second scoop and let democracy decide.
How to Store
Cool completely before storing. Warm steam trapped under a lid = soggy topping, and we’re not doing soggy.
For short-term: Cover and keep at room temperature for 24 hours. For longer: Refrigerate, tightly covered, for up to 4 days.
Reheat in a 350°F (175°C) oven for 10–12 minutes to re-crisp the topping. Microwave is fine for speed, but it softens the crumble—choose your fighter.
To freeze: Cool, wrap tightly, and freeze for up to 2 months. Reheat from frozen at 350°F until hot and bubbly (20–25 minutes). IMO, freezing portions in small, oven-safe dishes makes weeknight dessert feel civilized.
Health Benefits
- Fiber forward: Apples deliver pectin (soluble fiber) supporting gut health and steady energy. Oats add beta-glucan for heart-friendly benefits.
- Polyphenols and vitamin C: Apples bring antioxidants that fight oxidative stress. Cinnamon offers anti-inflammatory compounds too, because flavor can be functional.
- Smart swaps: Use less sugar or swap half for maple syrup. Try Greek yogurt instead of ice cream—still creamy, just more protein.
- Better fats: Nuts add monounsaturated fats and crunch. Use grass-fed butter if you’re feeling fancy; it’s dessert, not medical school.
Pitfalls to Watch Out For
- Watery filling: Skipping cornstarch or overpacking the pan leads to soupy results. One tablespoon cornstarch and a little oven space solve it.
- Mushy apples: Slicing too thin or baking too long turns fruit mushy. Keep slices at 1/4 inch and check at 25 minutes.
- Soggy topping: Covering while hot traps steam. Let it cool uncovered for 10 minutes, then tent loosely if you must.
- Blah flavor: Under-seasoning happens. Taste an apple slice pre-bake; adjust sugar, spice, and lemon accordingly.
- Wrong apples only: All-tart or all-sweet can be one-note. Mix varieties (Granny Smith + Honeycrisp) for the win.
Variations You Can Try
- Salted Caramel Apple Crisp: Drizzle caramel over the apples before topping; finish with flaky salt. Sweet-salty magic.
- Apple Cobbler Skillet: Swap the oat topping for drop biscuit dough. Bake until biscuits are golden and the fruit bubbles.
- Apple Crumble Bars: Press half the crumble into an 8×8 pan, layer apples, and top with the rest. Bake 35–40 minutes; cool and slice.
- Maple Pecan Edition: Replace brown sugar with maple syrup; add extra pecans. Expect high praise and empty plates.
- Gluten-Free Crisp: Use certified GF oats and a 1:1 GF flour blend. Texture stays crunchy; nobody misses a thing.
- Dairy-Free Version: Use coconut oil instead of butter; serve with coconut whip. Different vibe, same cozy payoff.
- Stovetop Shortcut: Cook apples in the skillet, top with crumble, cover, and simmer 10 minutes. It won’t be as crisp, but it’s fast.
- Brûléed Top: After baking, sprinkle a tablespoon of sugar and hit with a torch for crackly caramel. Extra? Yes. Worth it? Also yes.
FAQ
Which apples work best for dessert?
Use a mix of tart and sweet for depth: Granny Smith, Honeycrisp, Pink Lady, Braeburn, or Jonagold. Mixing varieties keeps the filling bright and balanced.
Do I need to peel the apples?
Peeling gives a silkier texture and cleaner look. If you prefer rustic vibes, leave the skins on and slice slightly thinner; they’ll soften nicely.
Can I make this gluten-free?
Yes. Use certified gluten-free oats and swap the all-purpose flour for a 1:1 gluten-free blend. The crumble stays crisp and clumpy—no compromises.
How do I keep the apples from browning?
Toss slices with lemon juice right away. If you’re batch-prepping, store in water with a splash of lemon and drain before mixing with sugar and spices.
Can I make it ahead?
Assemble the apple filling and the crumble separately; refrigerate both up to 24 hours. Top and bake just before serving so the crumble stays crunchy.
What size skillet should I use?
A 10-inch oven-safe skillet is ideal. A 9×9 baking pan also works—just avoid deep dishes that trap steam and soften the top.
Can I reduce the sugar?
Absolutely. Drop each sugar by 2 tablespoons and taste the apple mix before baking. If your apples are ultra-sweet, you might not miss it at all.
How do I know it’s done?
Look for golden crumble, bubbling juices at the edges, and tender apples in the center. A skewer should slide in with light resistance.
My Take
This is my go-to move when I need a win and have apples lying around. It’s minimal effort, max payoff, and it actually tastes better than most bakery options because it’s still warm and made with real fruit.
Plus, the variations keep it fresh—swap toppings, tweak spices, add nuts—and suddenly you’ve got a lineup of desserts from the same base. Keep apples on hand, keep oats in the pantry, and you’ll always have a fast path to cozy, crowd-pleasing dessert.
Printable Recipe Card
Want just the essential recipe details without scrolling through the article? Get our printable recipe card with just the ingredients and instructions.