Air Fryer Cake Recipes: One-bowl Chocolate Lava Cake That Oozes
Make a gooey molten-center dessert fast with one bowl, simple pantry staples, and an air fryer that does the heavy lifting.
You want the “wow” dessert without the “why is my kitchen a disaster” aftermath. This is that dessert. One bowl, a whisk, and an air fryer turning batter into a warm cake with a center that behaves like a chocolate fountain. It’s the kind of recipe that makes people assume you tried harder than you did. And honestly, why correct them?
Here’s the deal: molten cake fails when timing gets sloppy and batter gets overmixed. We avoid both. You’ll get a set outer cake, a rich, flowing middle, and clean flavors that taste like a restaurant trick. Except you’re doing it in sneakers, not a chef coat.
Why This Recipe Works
Air fryer heat is intense and fast, which is exactly what molten cakes need. You want the edges to set quickly while the center stays soft. A conventional oven can do it, but it takes longer to preheat and the timing window feels smaller. The air fryer gives you crisp control, and you don’t heat your whole house for two little cakes.
One-bowl mixing keeps texture on your side. Every extra dish invites extra stirring, and extra stirring can push your cake toward chewy brownies. Here, we mix just until smooth so the crumb stays tender and the center stays lava-like. Less mess, less fuss, better result.
Fat plus chocolate equals molten insurance. Butter and melted chocolate create a batter that sets on the outside while staying fluid in the middle. The flour is low on purpose, so the cake doesn’t turn into a fully baked cupcake. If you’ve ever had a “lava cake” that was just cake, this fixes that heartbreak.
Ramekins make portion and timing predictable. The batter depth stays consistent, so you can repeat the outcome. It’s basically training wheels for molten perfection. And yes, you get to flip them out dramatically like you’re on a cooking show.
Ingredients Breakdown
This recipe makes 2 individual lava cakes (or 3 smaller ones), depending on your ramekin size. Use 6-ounce ramekins for the classic effect.
- Dark chocolate (60 to 70%): 3 ounces, chopped; provides deep flavor and structure
- Unsalted butter: 3 tablespoons; adds richness and keeps the center fluid
- Egg: 1 large; sets the edges and adds lift
- Egg yolk: 1; boosts silkiness and the molten vibe
- Granulated sugar: 2 tablespoons; balances bitterness and improves texture
- Vanilla extract: 1 teaspoon; makes the chocolate taste louder
- Salt: 1 pinch; sharpens flavor, don’t skip it
- All-purpose flour: 2 tablespoons; just enough to hold the cake shape
- Unsweetened cocoa powder (for dusting): 1 teaspoon; helps release and adds flavor
- Butter or cooking spray (for greasing): as needed; prevents sticking
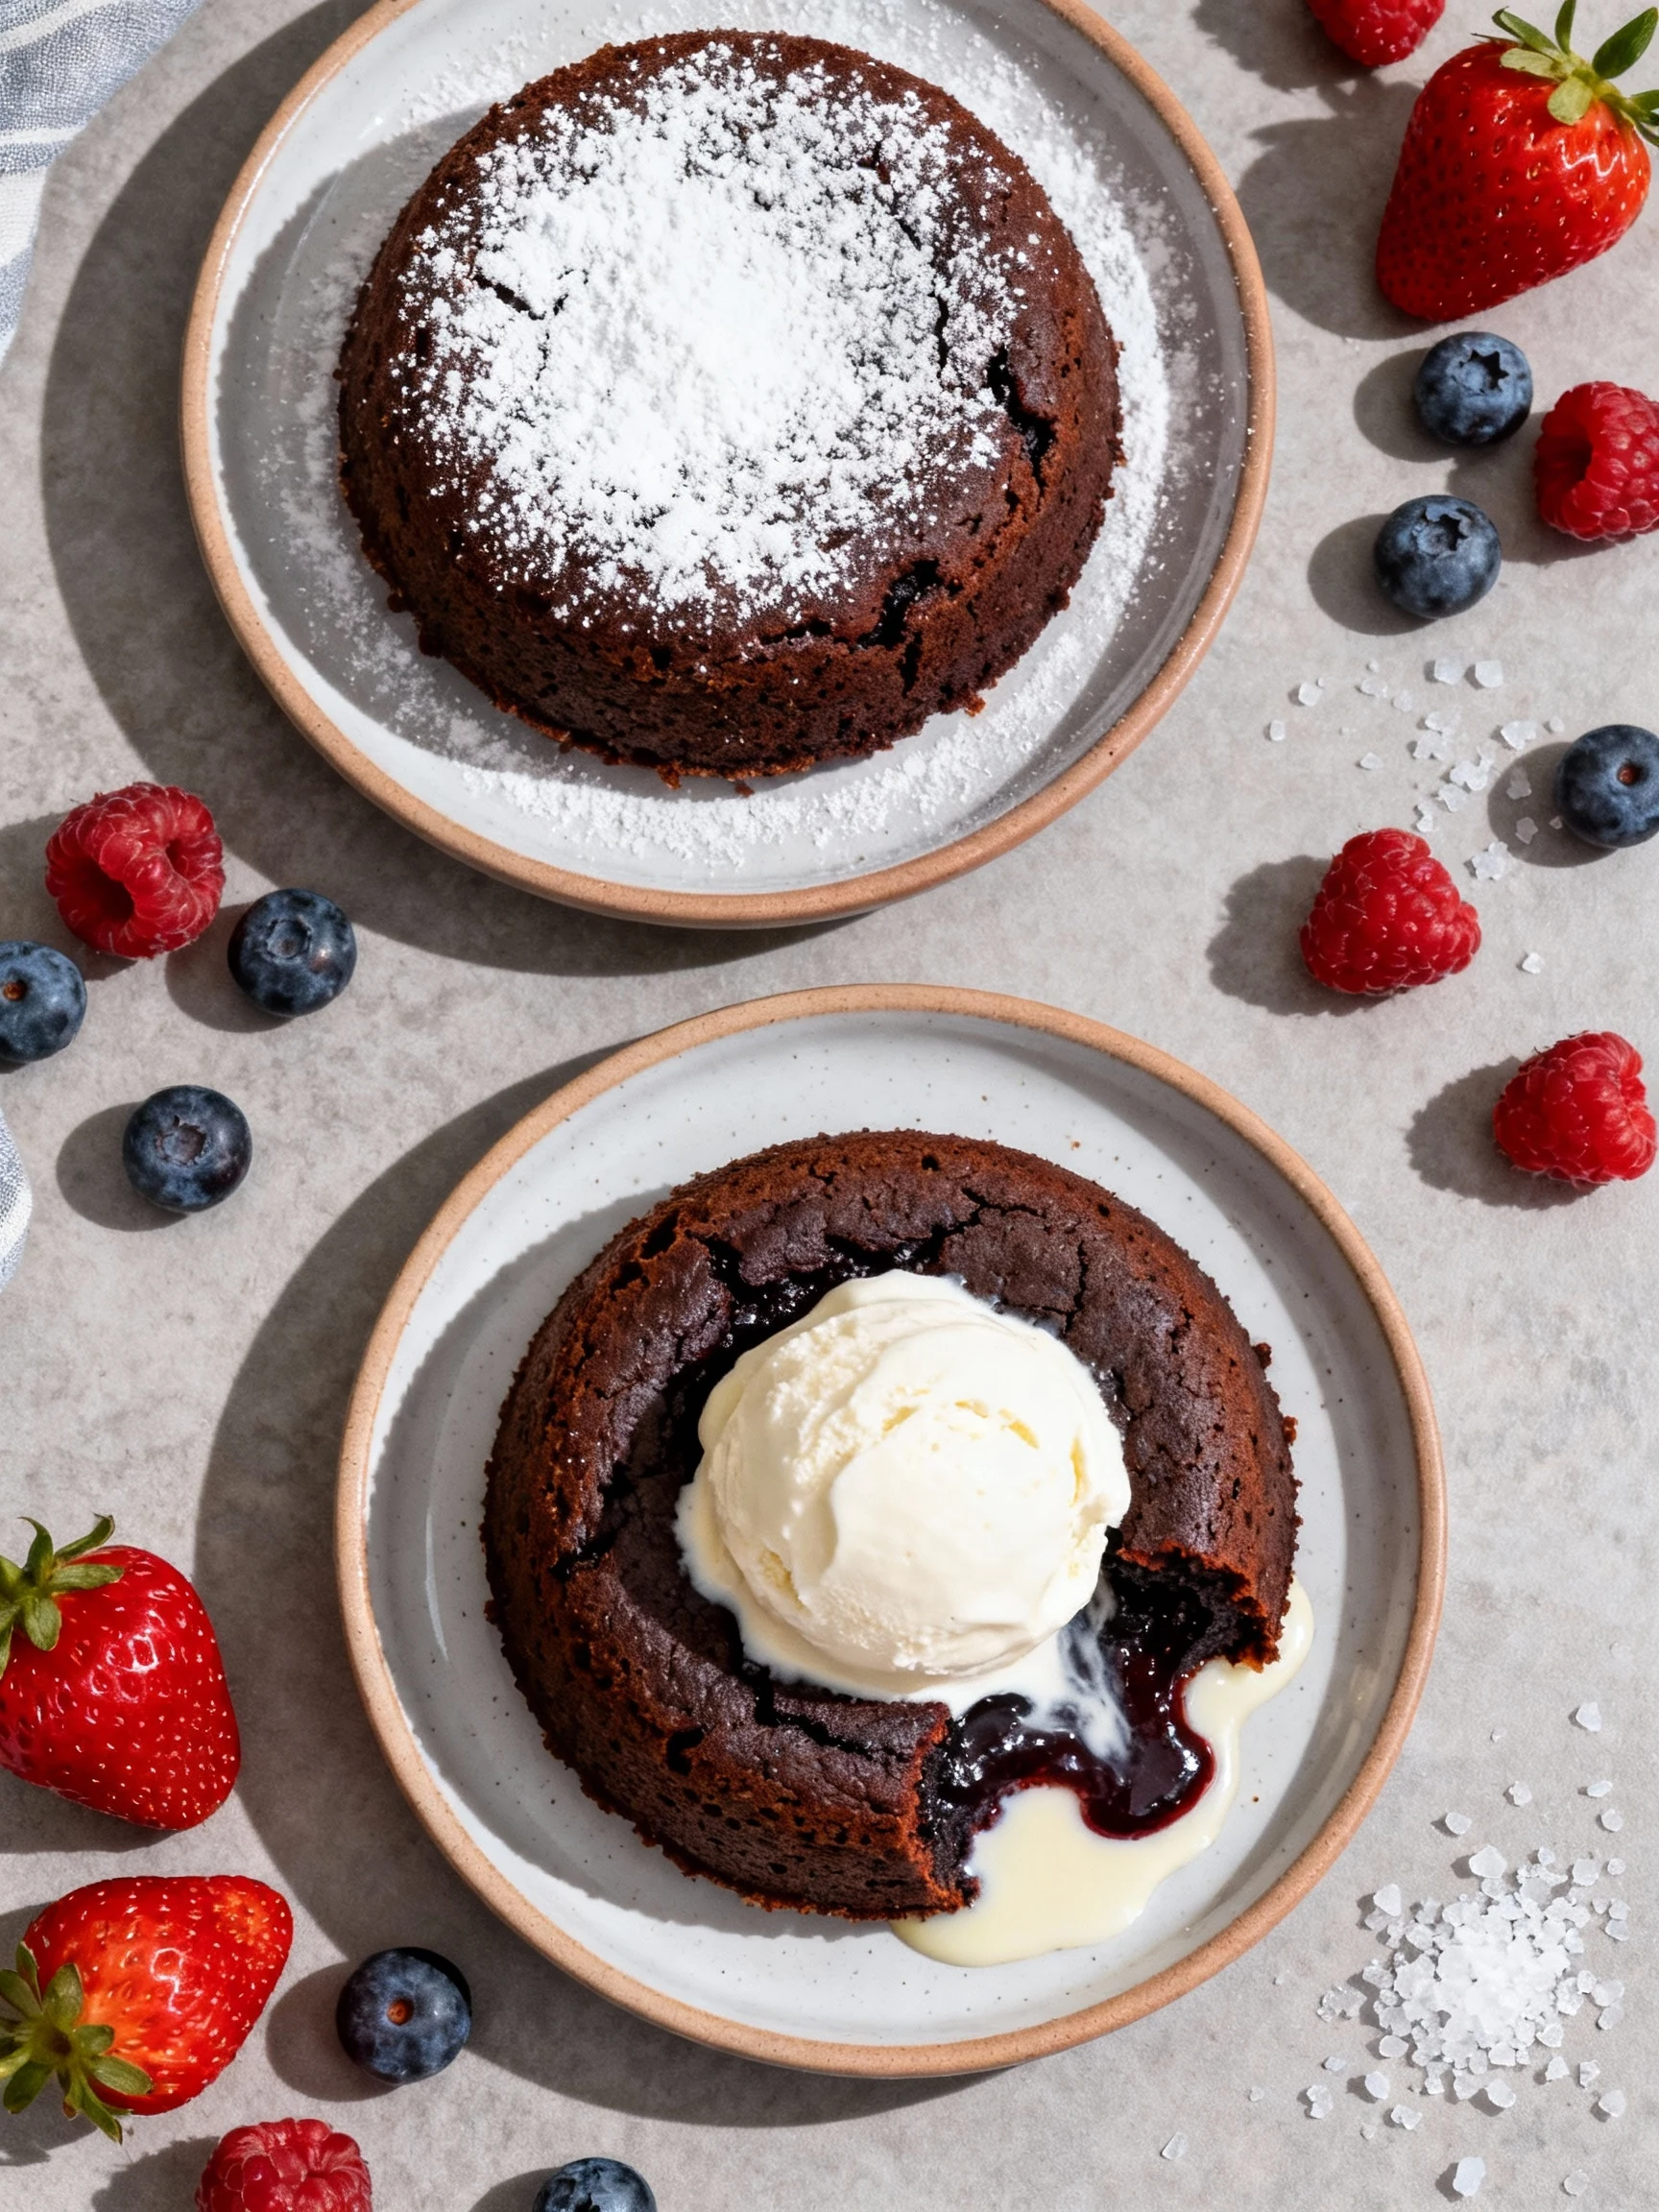
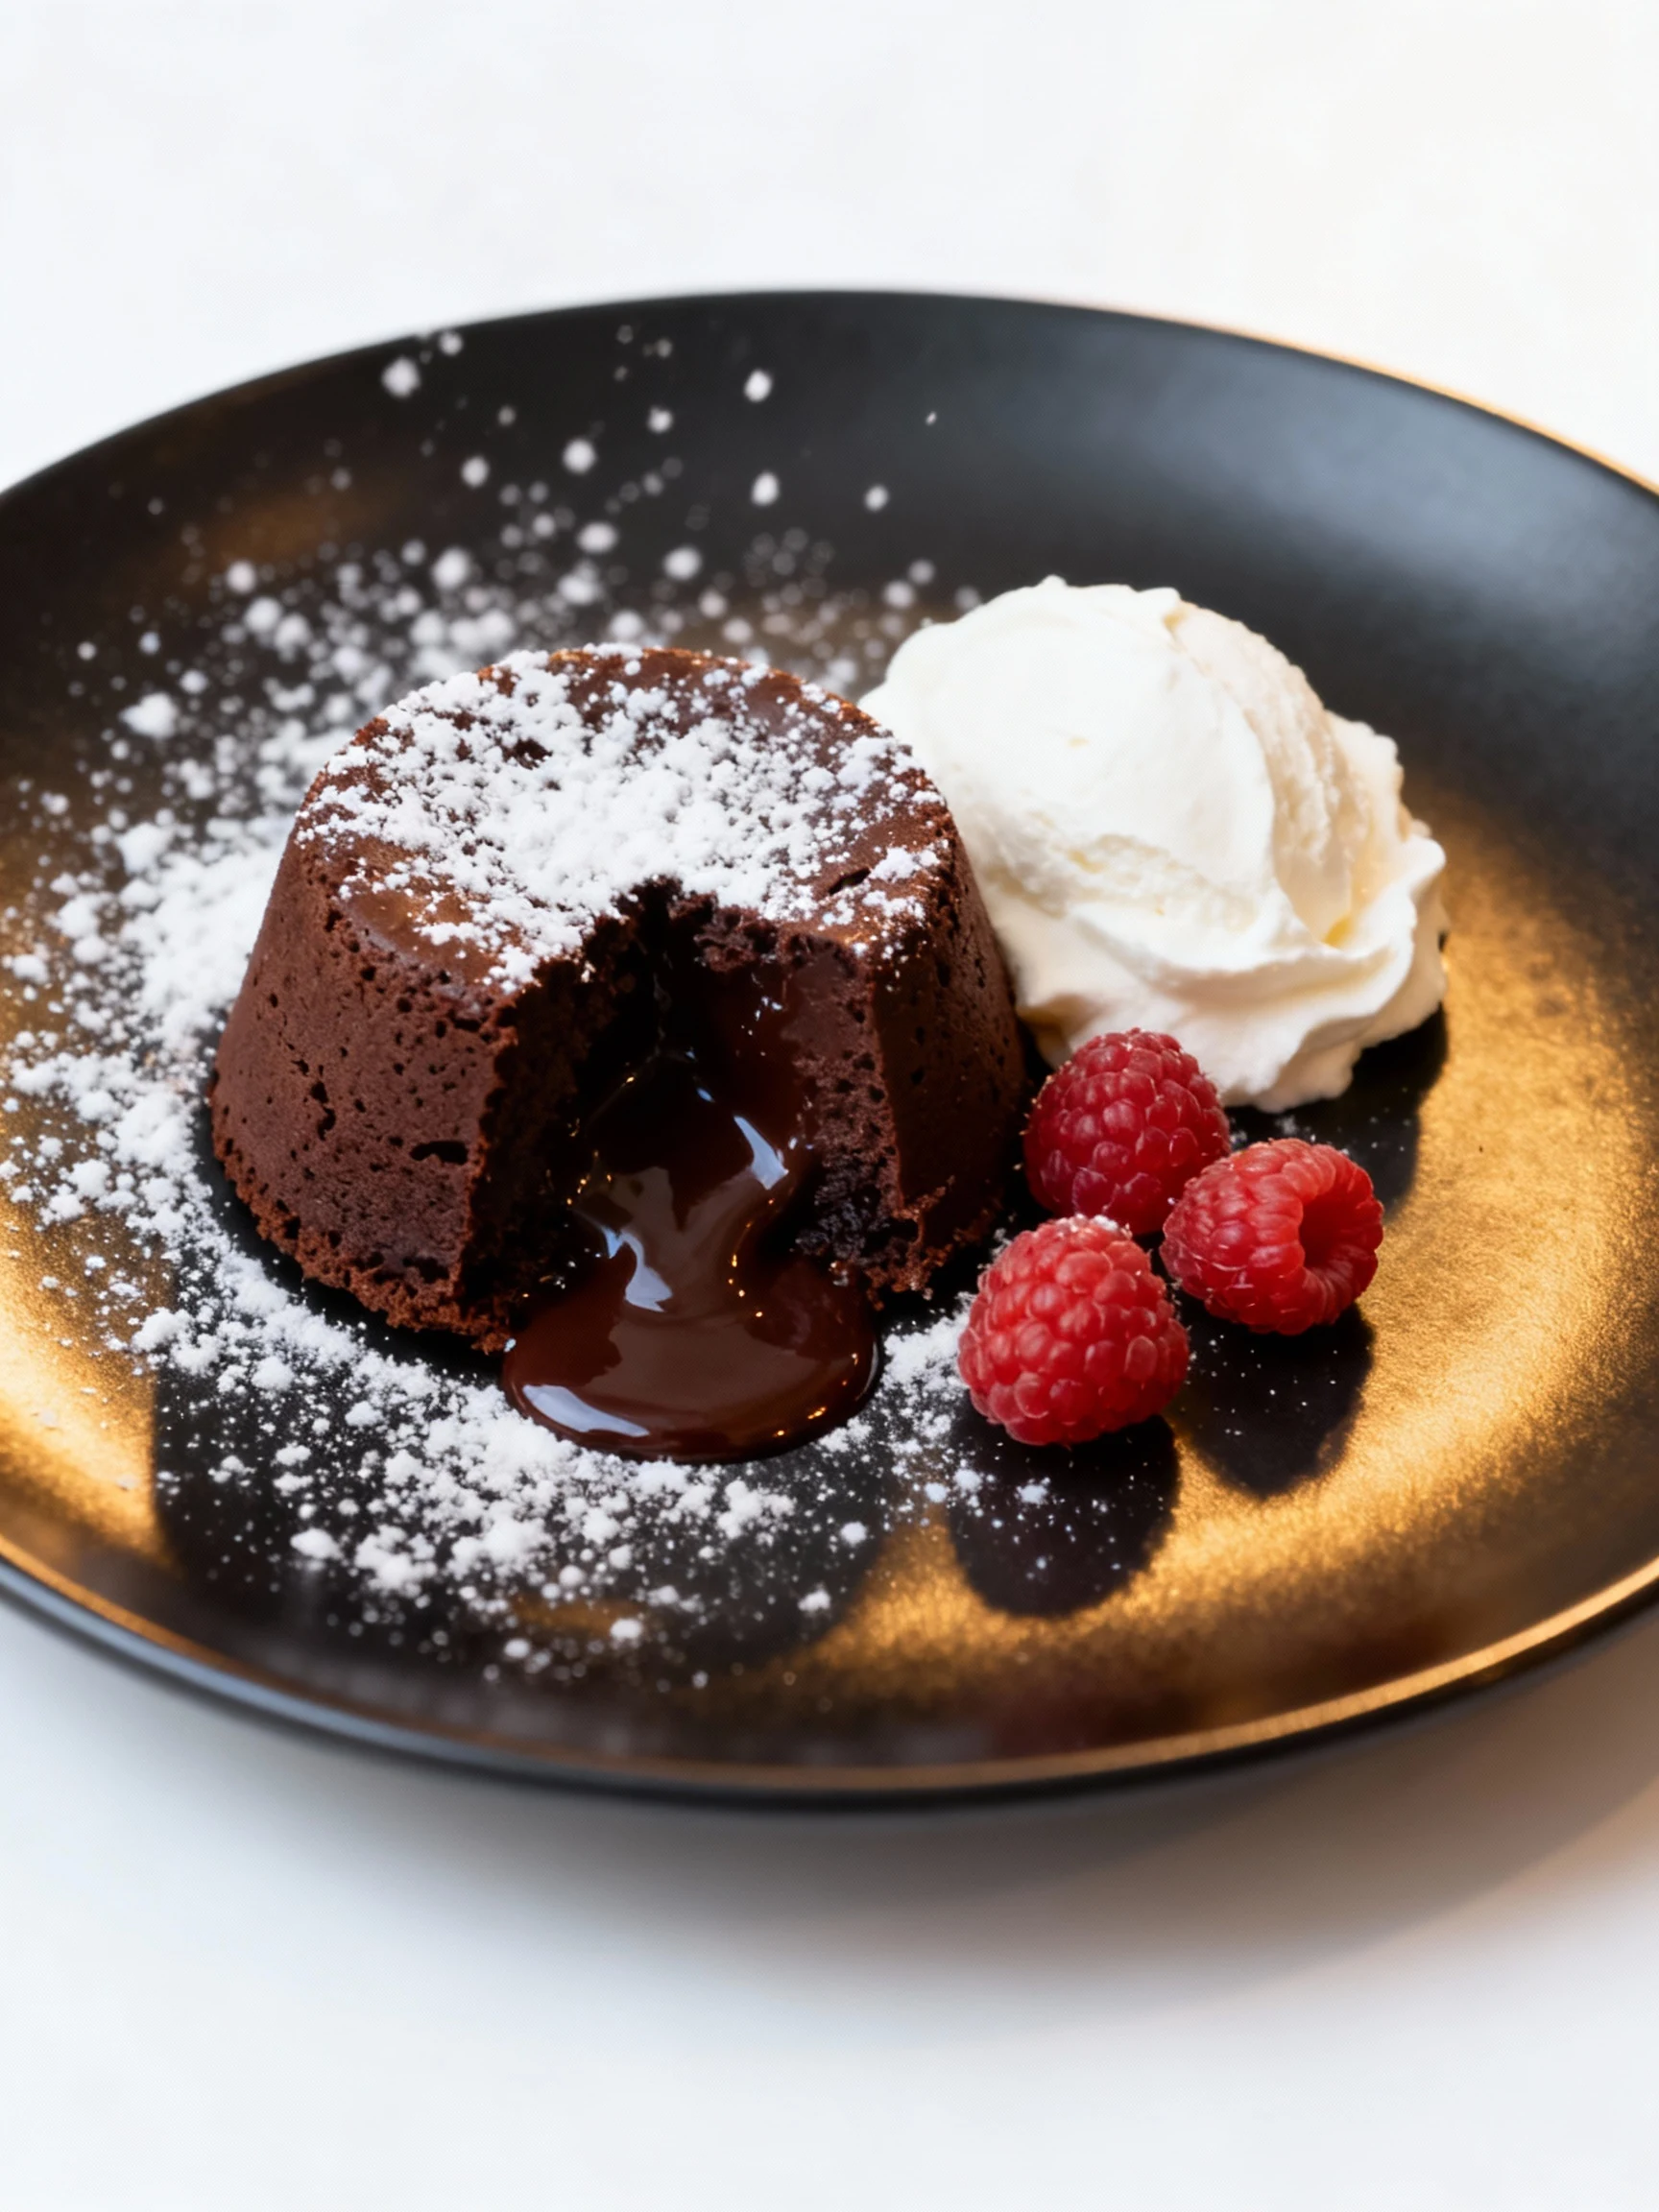
Optional for serving: powdered sugar, vanilla ice cream, whipped cream, berries, flaky salt, or a spoonful of peanut butter. Choose your own adventure.
Instructions
FYI, timing matters more than almost anything here. You’re not baking a loaf of bread; you’re aiming for a controlled underbake.
-
Grease the ramekins with butter or spray, then dust with cocoa powder. Tap out the excess so you don’t get bitter patches. Set ramekins in the fridge while you mix, which helps the edges set faster.
-
Melt chocolate and butter together until smooth. Use a microwave in short bursts (15 to 20 seconds) and stir between bursts, or melt over low heat on the stove. Let it cool for about 2 minutes so it doesn’t cook the egg.
-
Whisk in sugar, vanilla, and salt directly into the chocolate mixture. You want it glossy and cohesive, not gritty. If it looks thick like pudding, you’re on track.
-
Add the egg and yolk, then whisk until smooth and slightly thicker. Give it 15 to 20 seconds of confident whisking, not a five-minute arm workout. We want combined, not aerated into a soufflé.
-
Fold in flour until you don’t see dry streaks. Stop immediately when it looks uniform. Overmixing is how lava cakes turn into “nice cupcakes,” which is not the assignment.
-
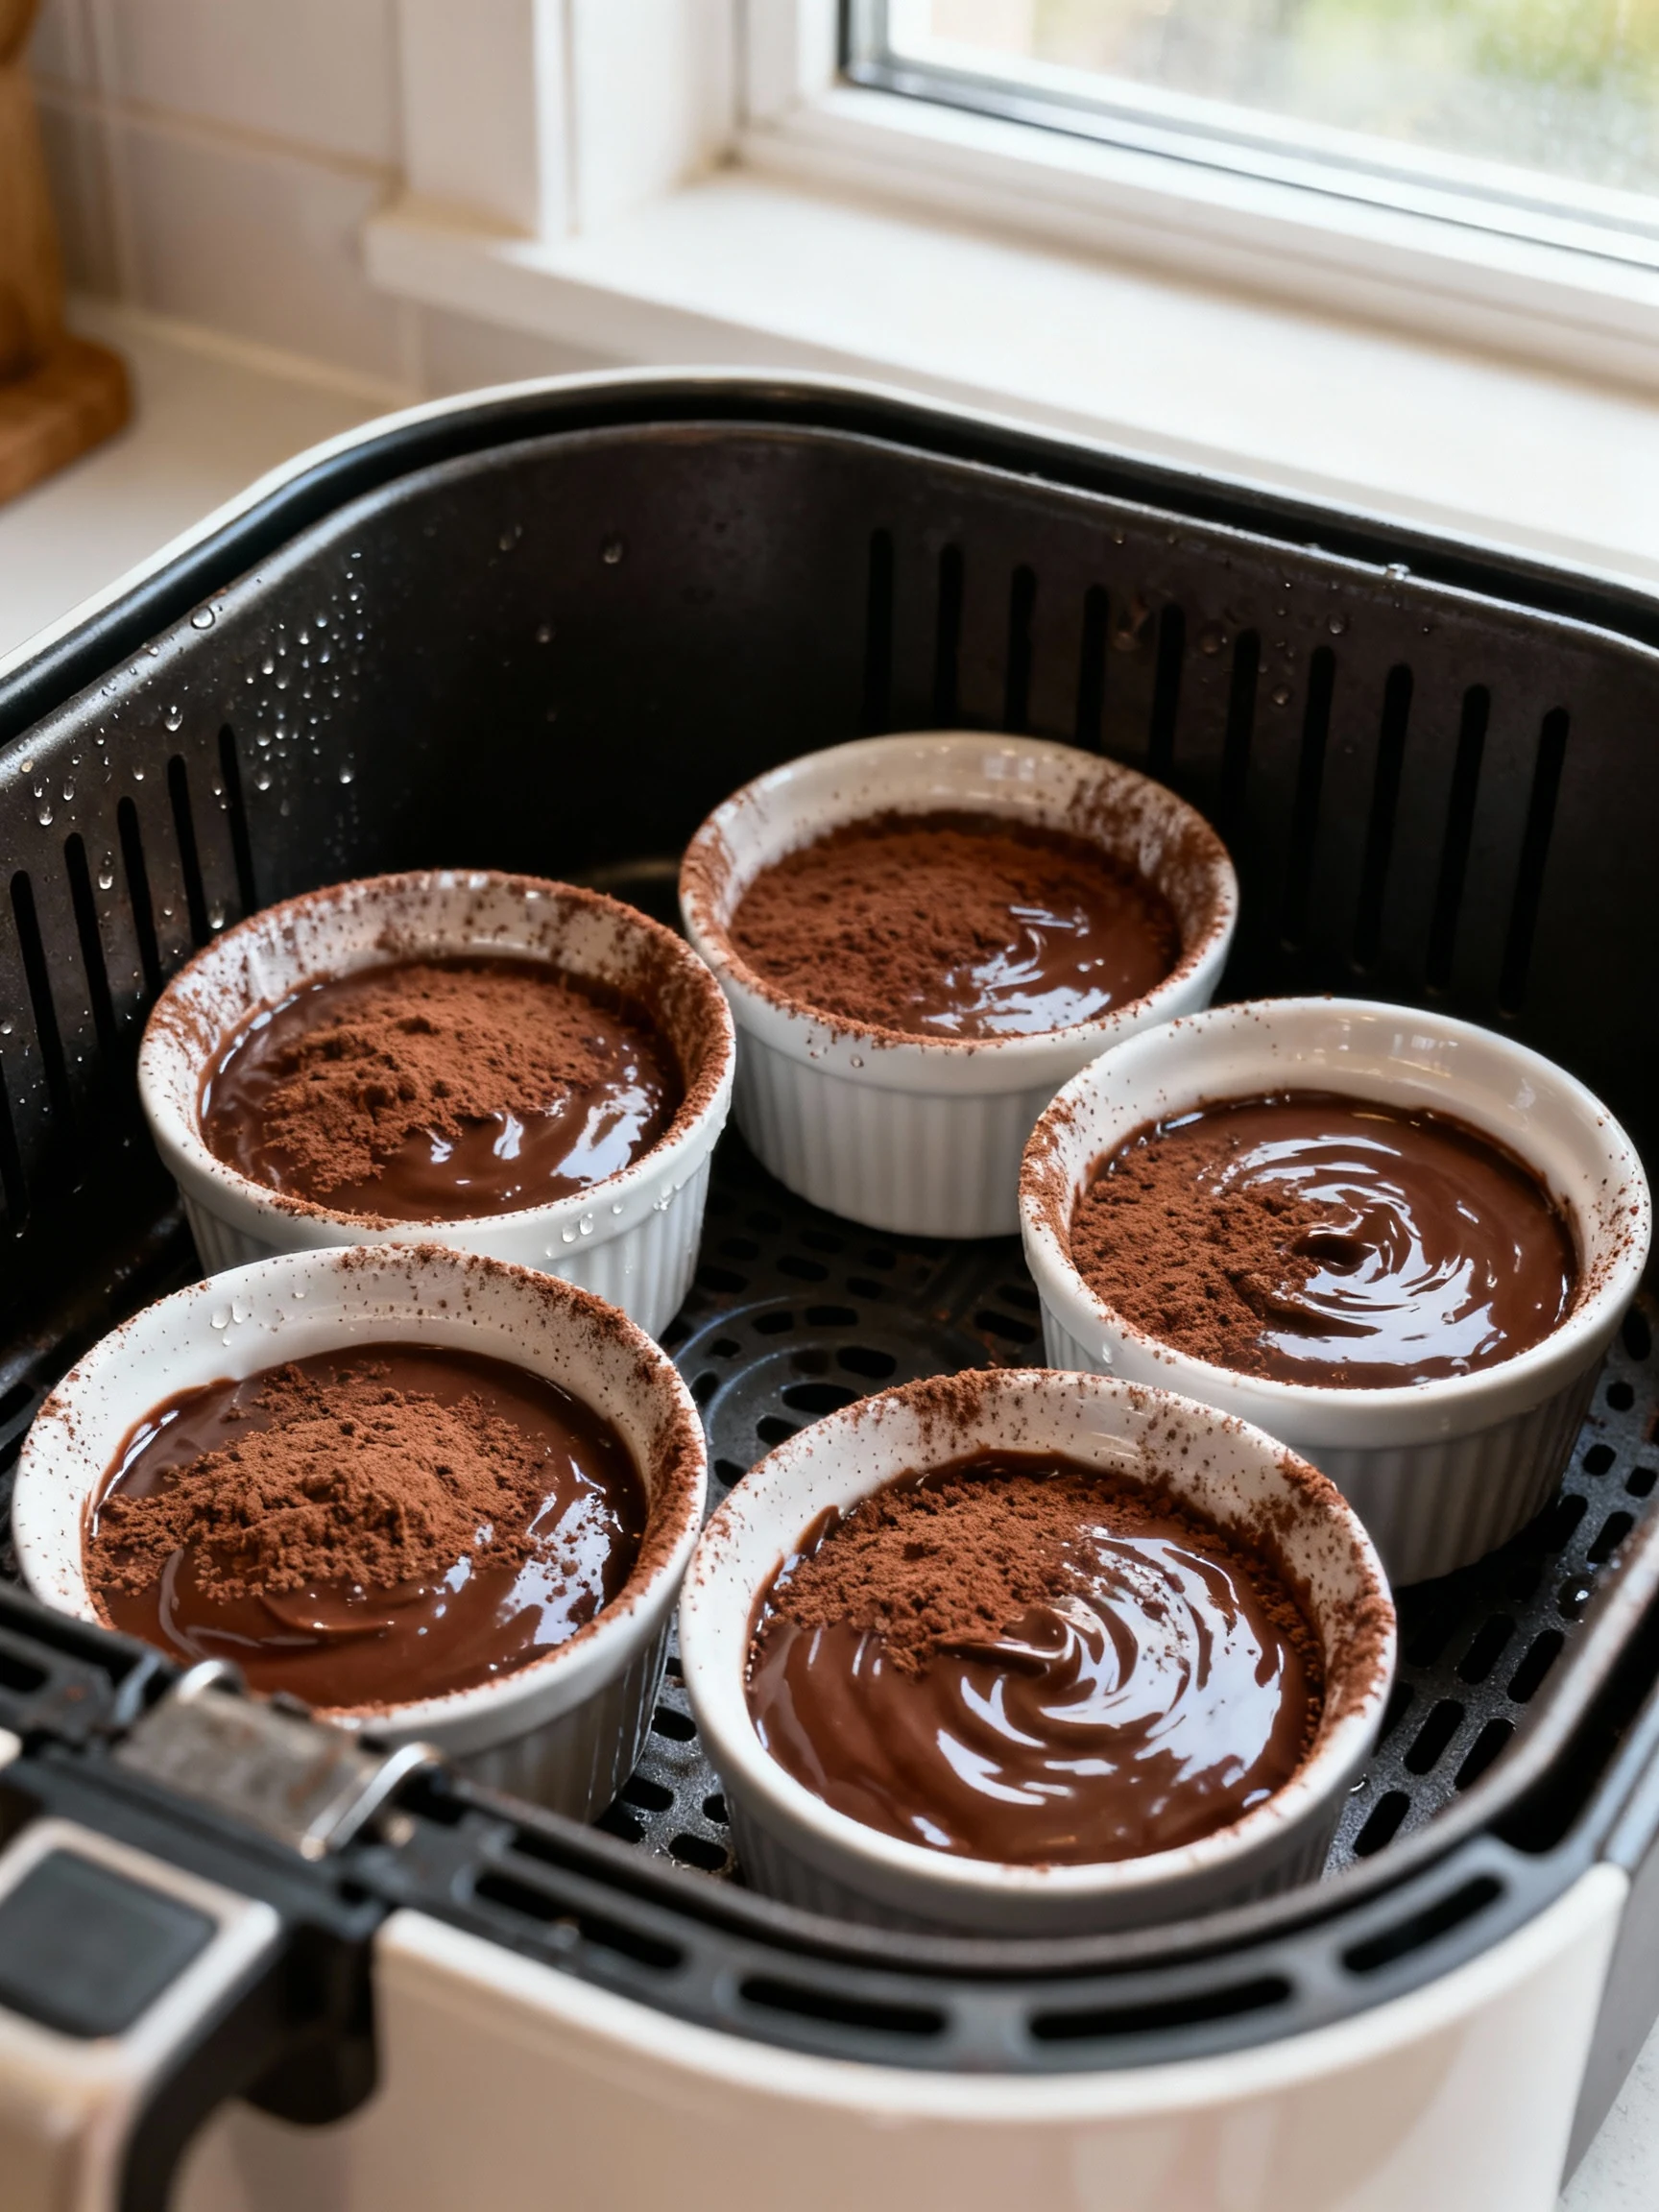
Fill ramekins about 3/4 full. If you want an extra-gooey center, spoon a small chunk of chocolate or a teaspoon of chocolate spread into the middle, then cover with batter. Yes, it’s slightly unfair how good this is.
-
Preheat the air fryer to 370°F for 3 minutes if your model benefits from preheating. If yours runs hot, drop to 360°F. Air fryers have personality, and not all of them are charming.
-
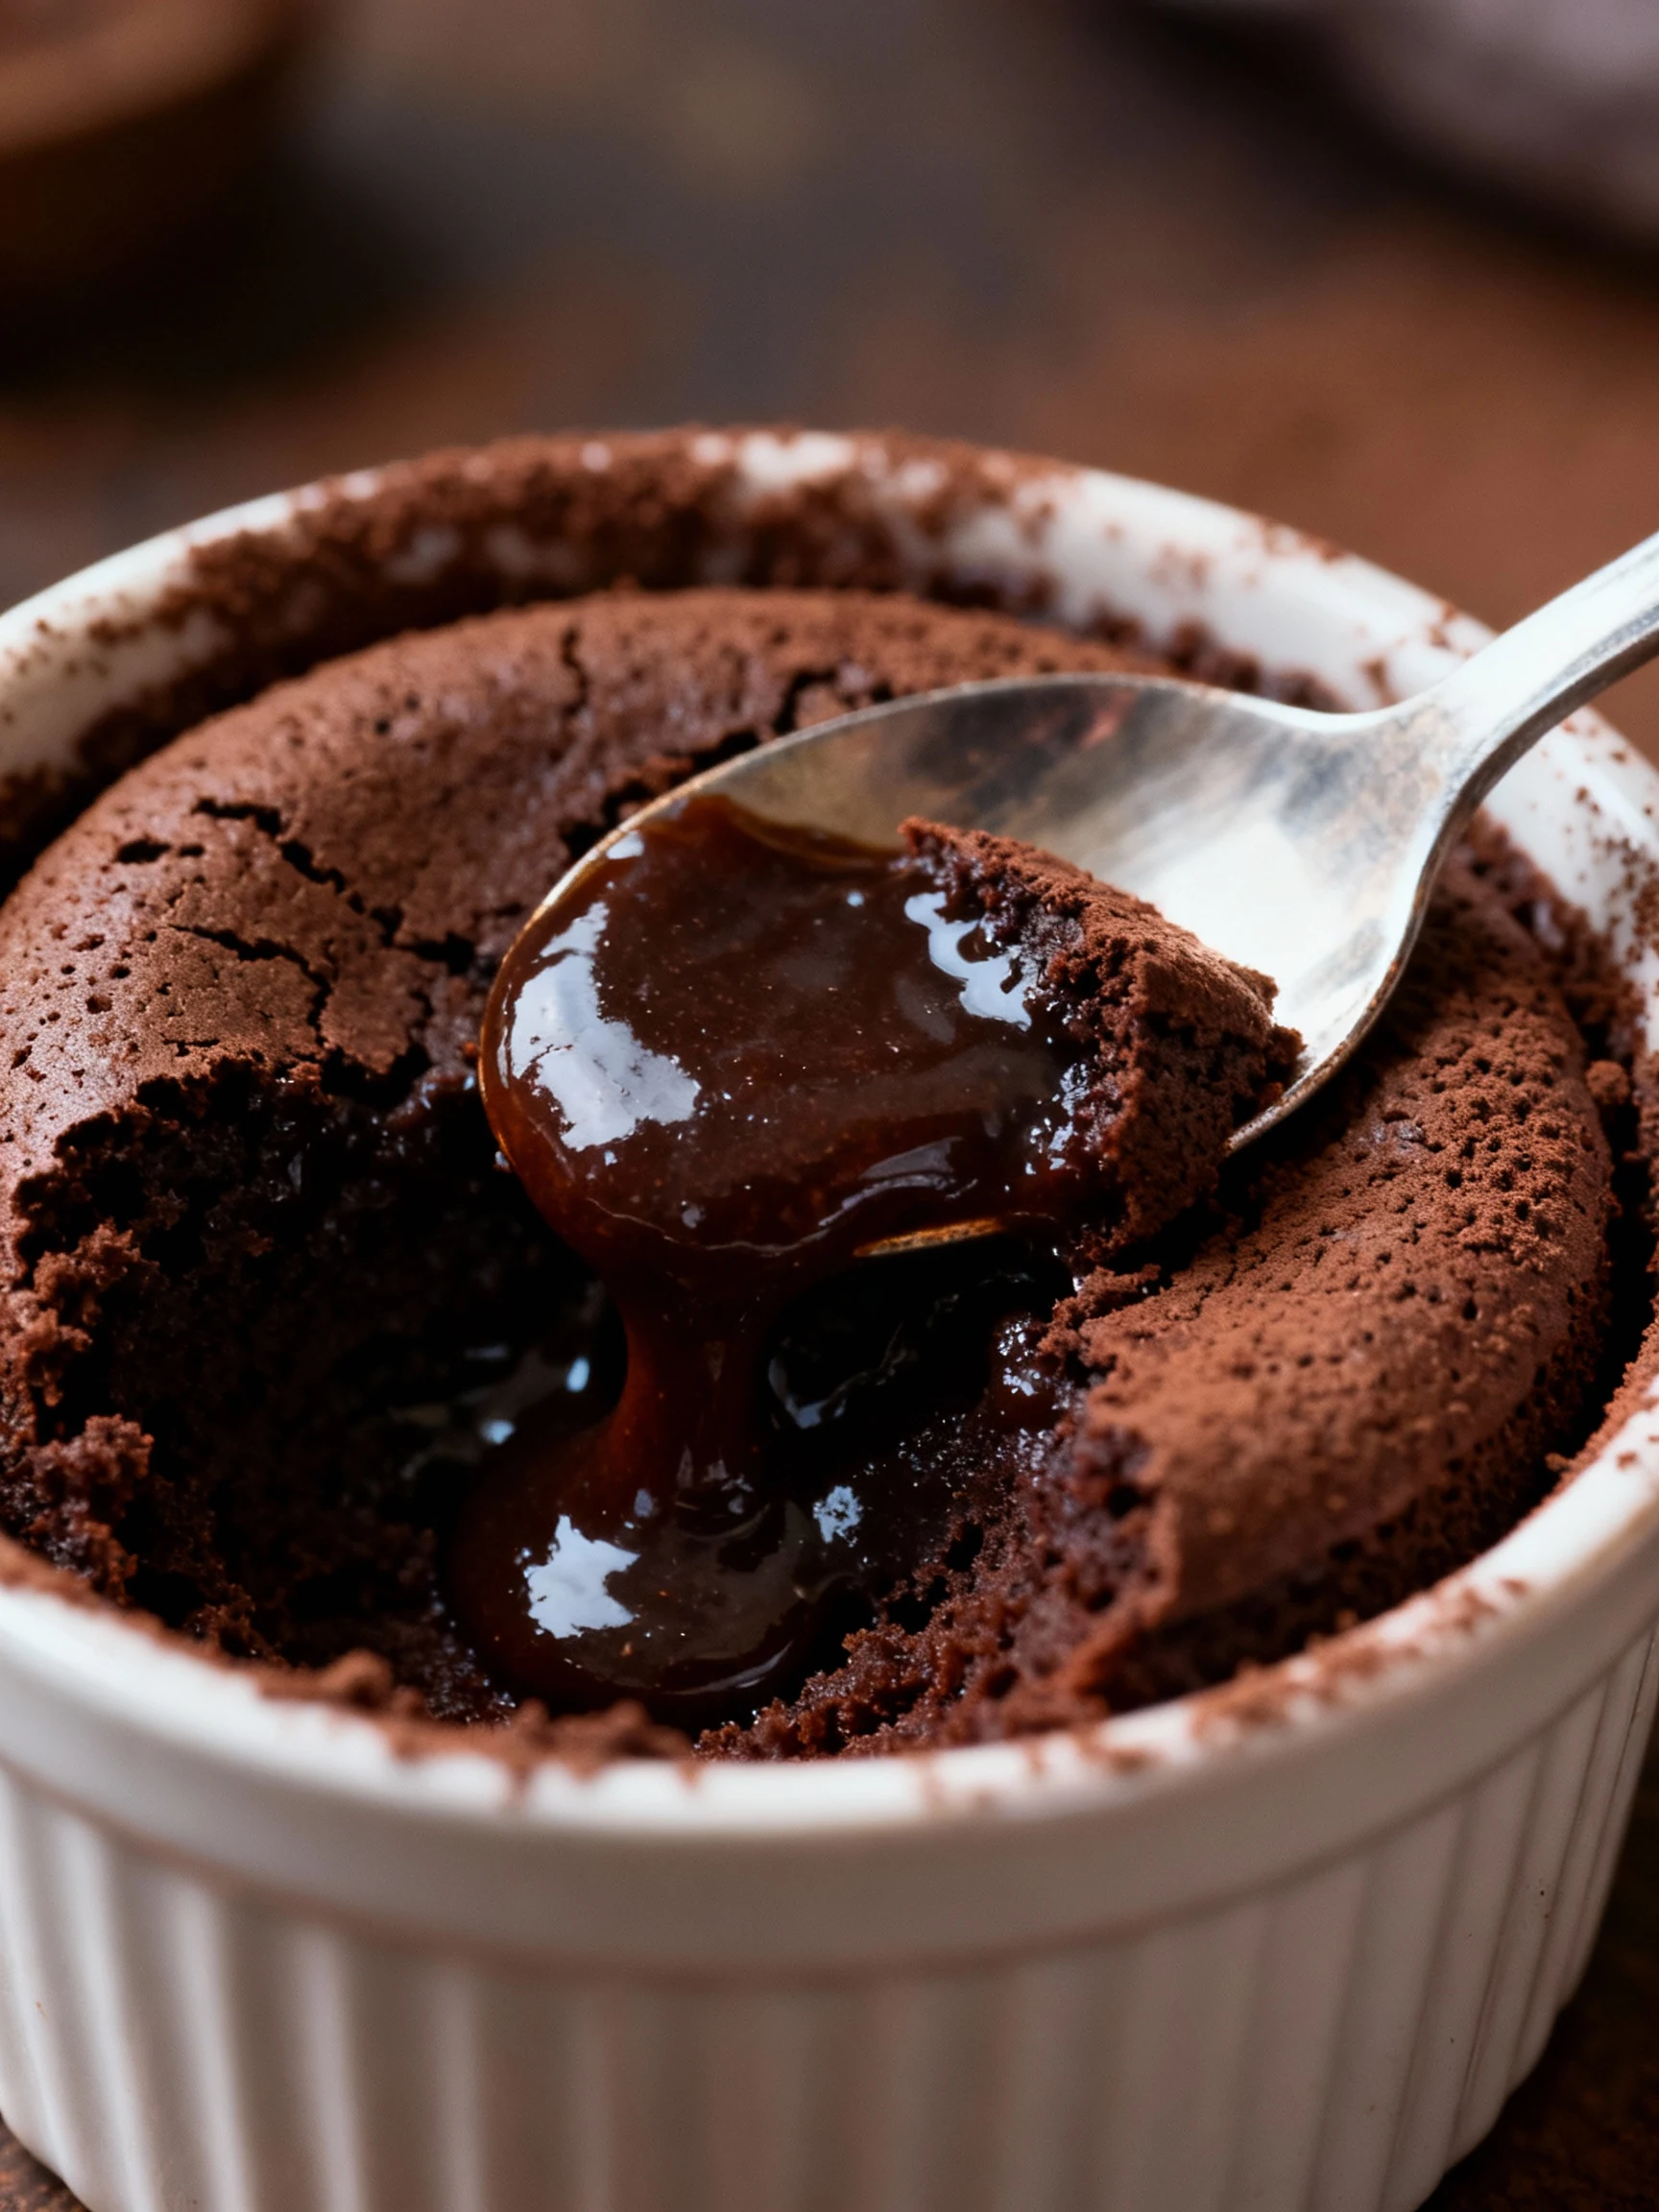
Air fry for 7 to 9 minutes at 370°F. Start checking at 7 minutes. The edges should look set and slightly puffed, while the center should still look softer and a bit shiny.
-
Rest for 1 minute after cooking. This lets the outer structure firm up so it unmolds cleanly. Don’t walk away and forget it, unless you enjoy scraping cake out with a spoon like a raccoon.
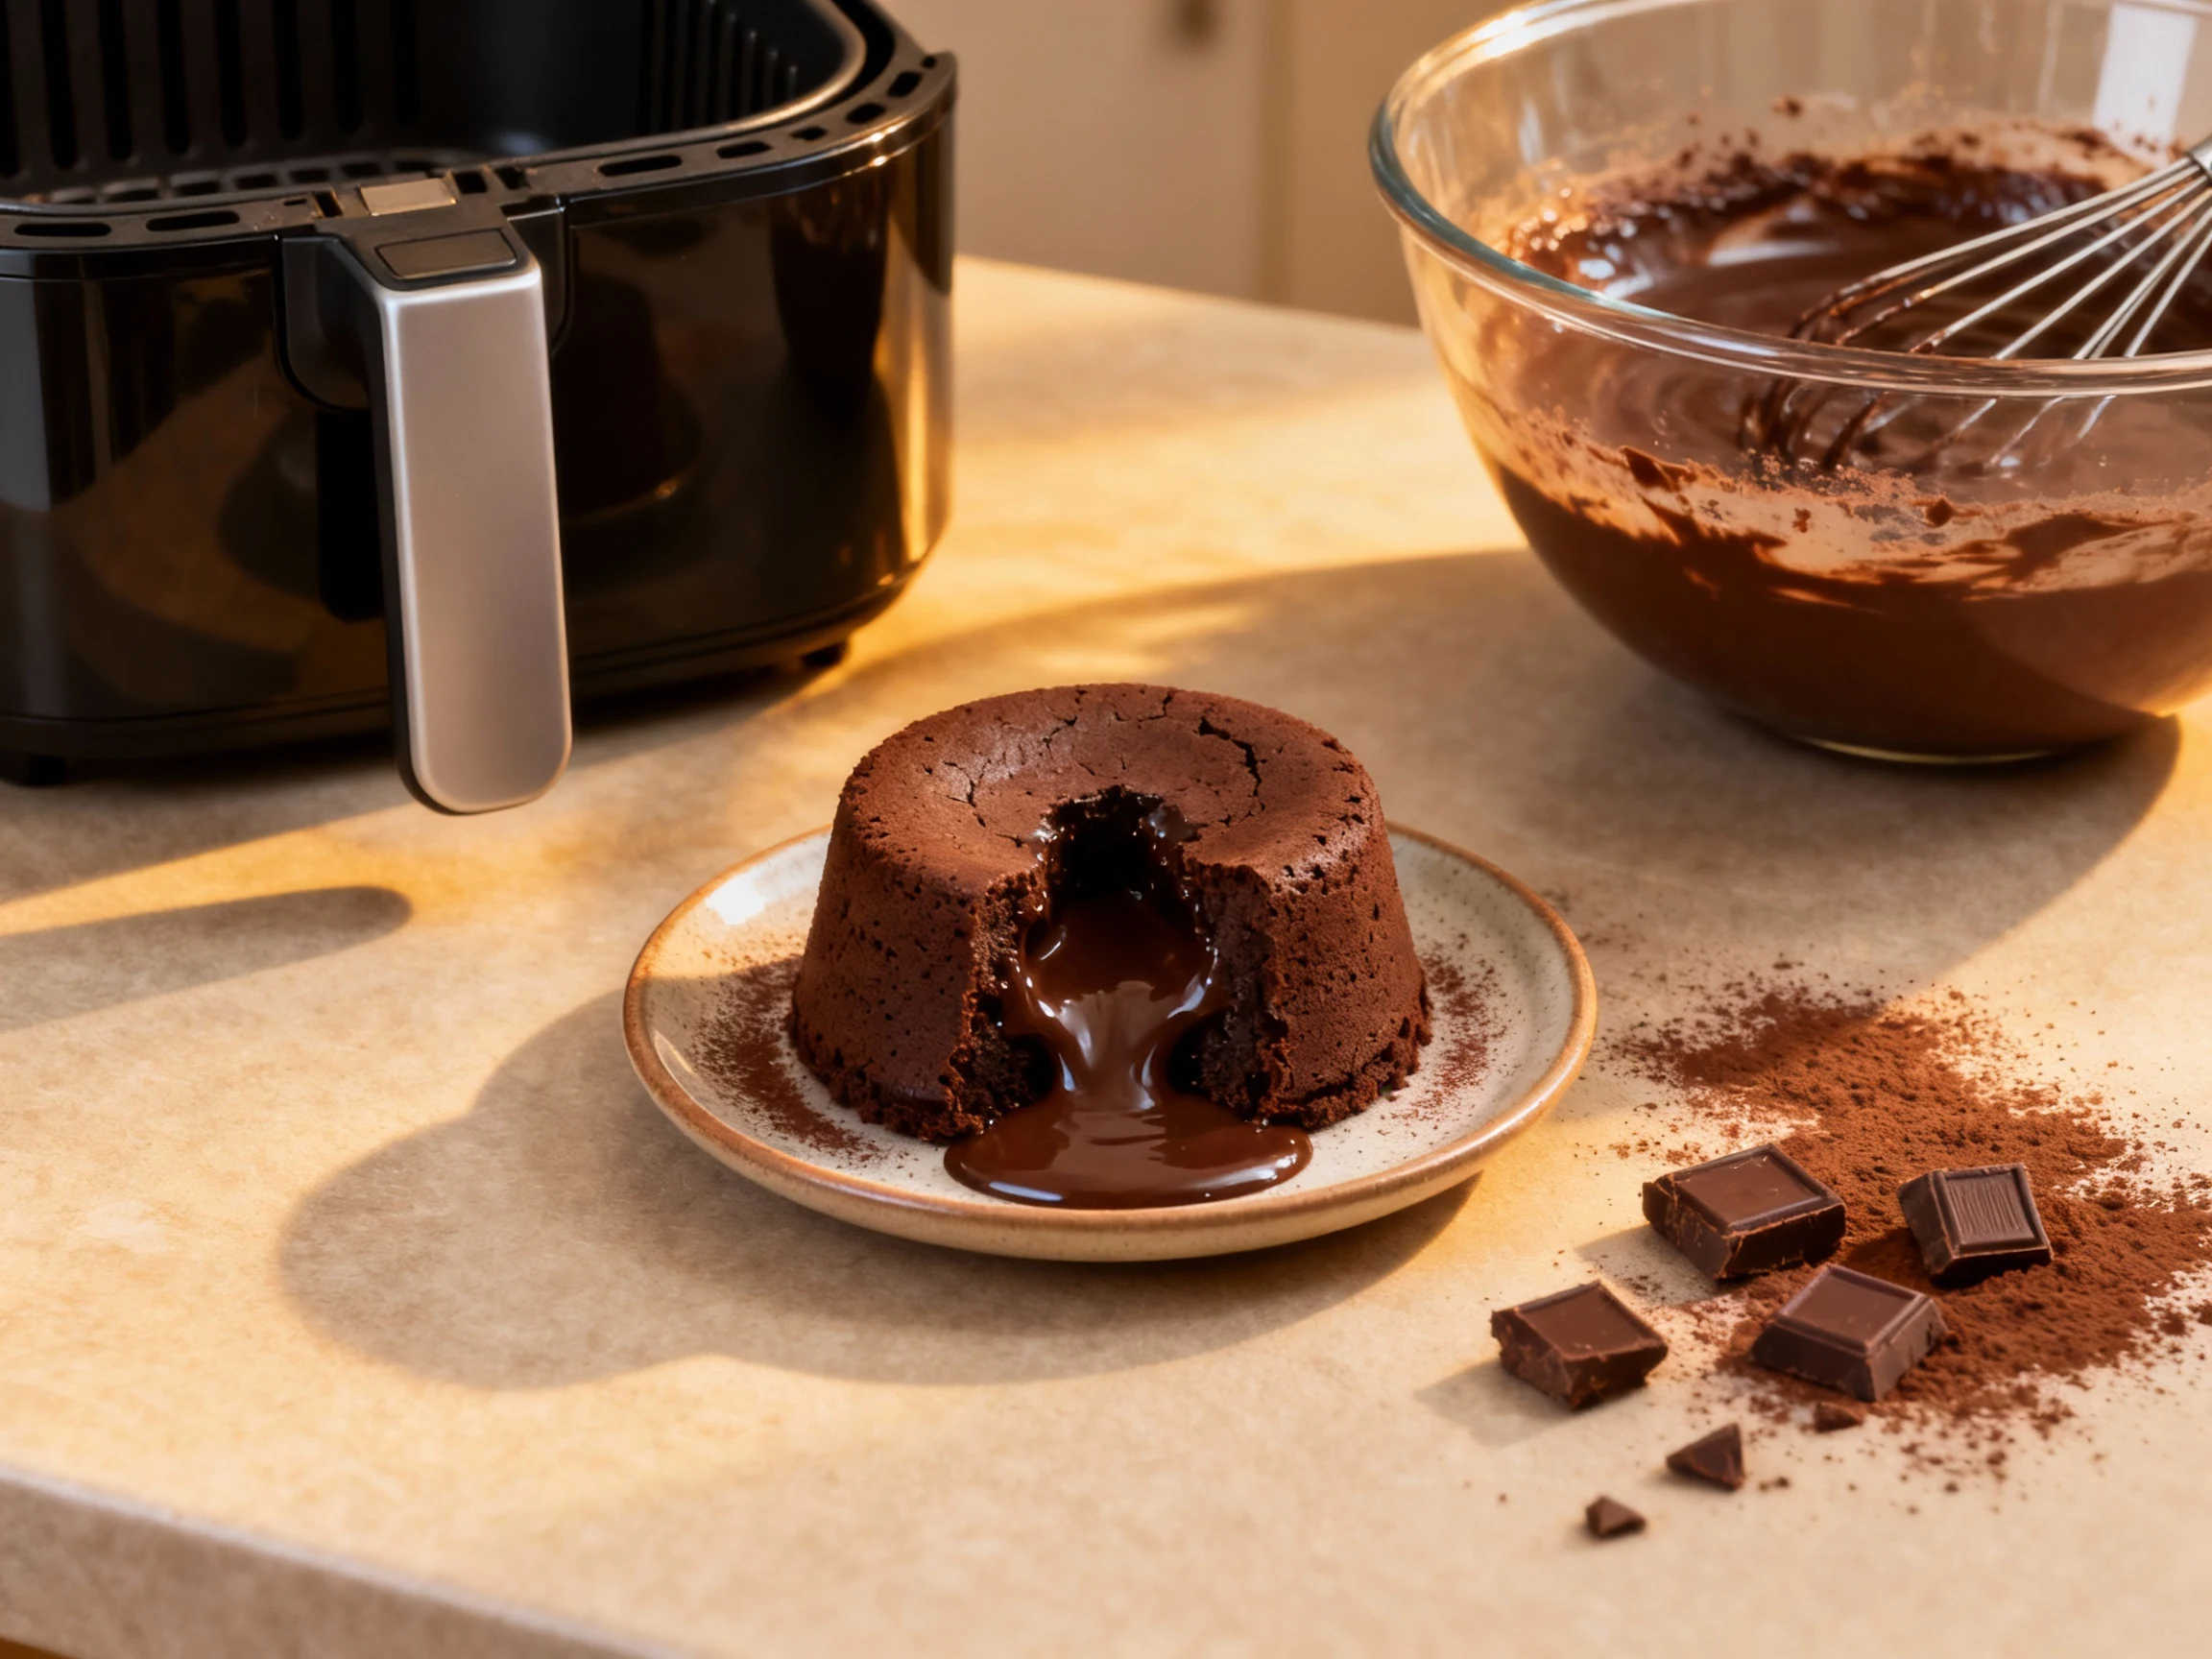
-
Unmold and serve by running a thin knife around the edge, placing a plate on top, then flipping. Dust with powdered sugar, add ice cream, and serve immediately for the molten effect.
Storage Tips
Molten cakes shine when fresh, but you can still store leftovers. Cover and refrigerate the cooked cakes for up to 2 days. The center will firm up, so think “fudgy cake” rather than lava.
To reheat, warm in the air fryer at 300°F for 3 to 5 minutes or microwave in short bursts. Don’t blast it on high for a minute unless you want dry edges and a sad core. If you’re planning ahead, store the batter instead of the baked cake.
For make-ahead batter, fill the ramekins, cover tightly, and refrigerate up to 24 hours. Air fry straight from cold, adding about 1 extra minute. This is a sneaky way to look like you “just whipped these up,” which is technically true.
Health Benefits
This is dessert, not a multivitamin, but it’s not totally devoid of upsides. Dark chocolate contains polyphenols that support heart and brain health, and it delivers minerals like iron and magnesium. IMO, that’s a respectable resume for something that also tastes like luxury.
You also control the ingredients, which matters. You can keep the sugar modest, skip weird additives, and choose higher-quality chocolate. Portion size stays built in because you’re making individual cakes, not a pan you “accidentally” keep revisiting.
Air frying can reduce extra added fats compared to some desserts that rely on heavy frosting or deep flavors from loads of oil. Plus, it’s fast, which reduces the odds you’ll “snack while you wait” and then still eat dessert anyway. We’ve all been there.
Don’t Make These Errors
These mistakes turn molten magic into regular cake, or worse, a stuck-in-the-ramekin tragedy.
- Overcooking: If you air fry past the window, the center sets and you lose the lava. Start checking early, especially with small ramekins.
- Not greasing and dusting: Skipping this makes unmolding a gamble. Cocoa powder beats flour here because it keeps the chocolate vibe strong.
- Overmixing after adding flour: This develops gluten and changes the texture. Fold just until combined, then stop like you mean it.
- Using very thin batter depth: If you use wide, shallow dishes, the whole cake bakes through. Use proper ramekins for the molten center.
- Melting chocolate too aggressively: Scorched chocolate tastes bitter and ruins the batter. Low and slow, stir often.
- Ignoring air fryer differences: Some run hot. If your first batch sets too fast, lower the temp by 10°F next time.
Variations You Can Try
Once you nail the base, you can customize without wrecking the molten core. Keep add-ins small and concentrated.
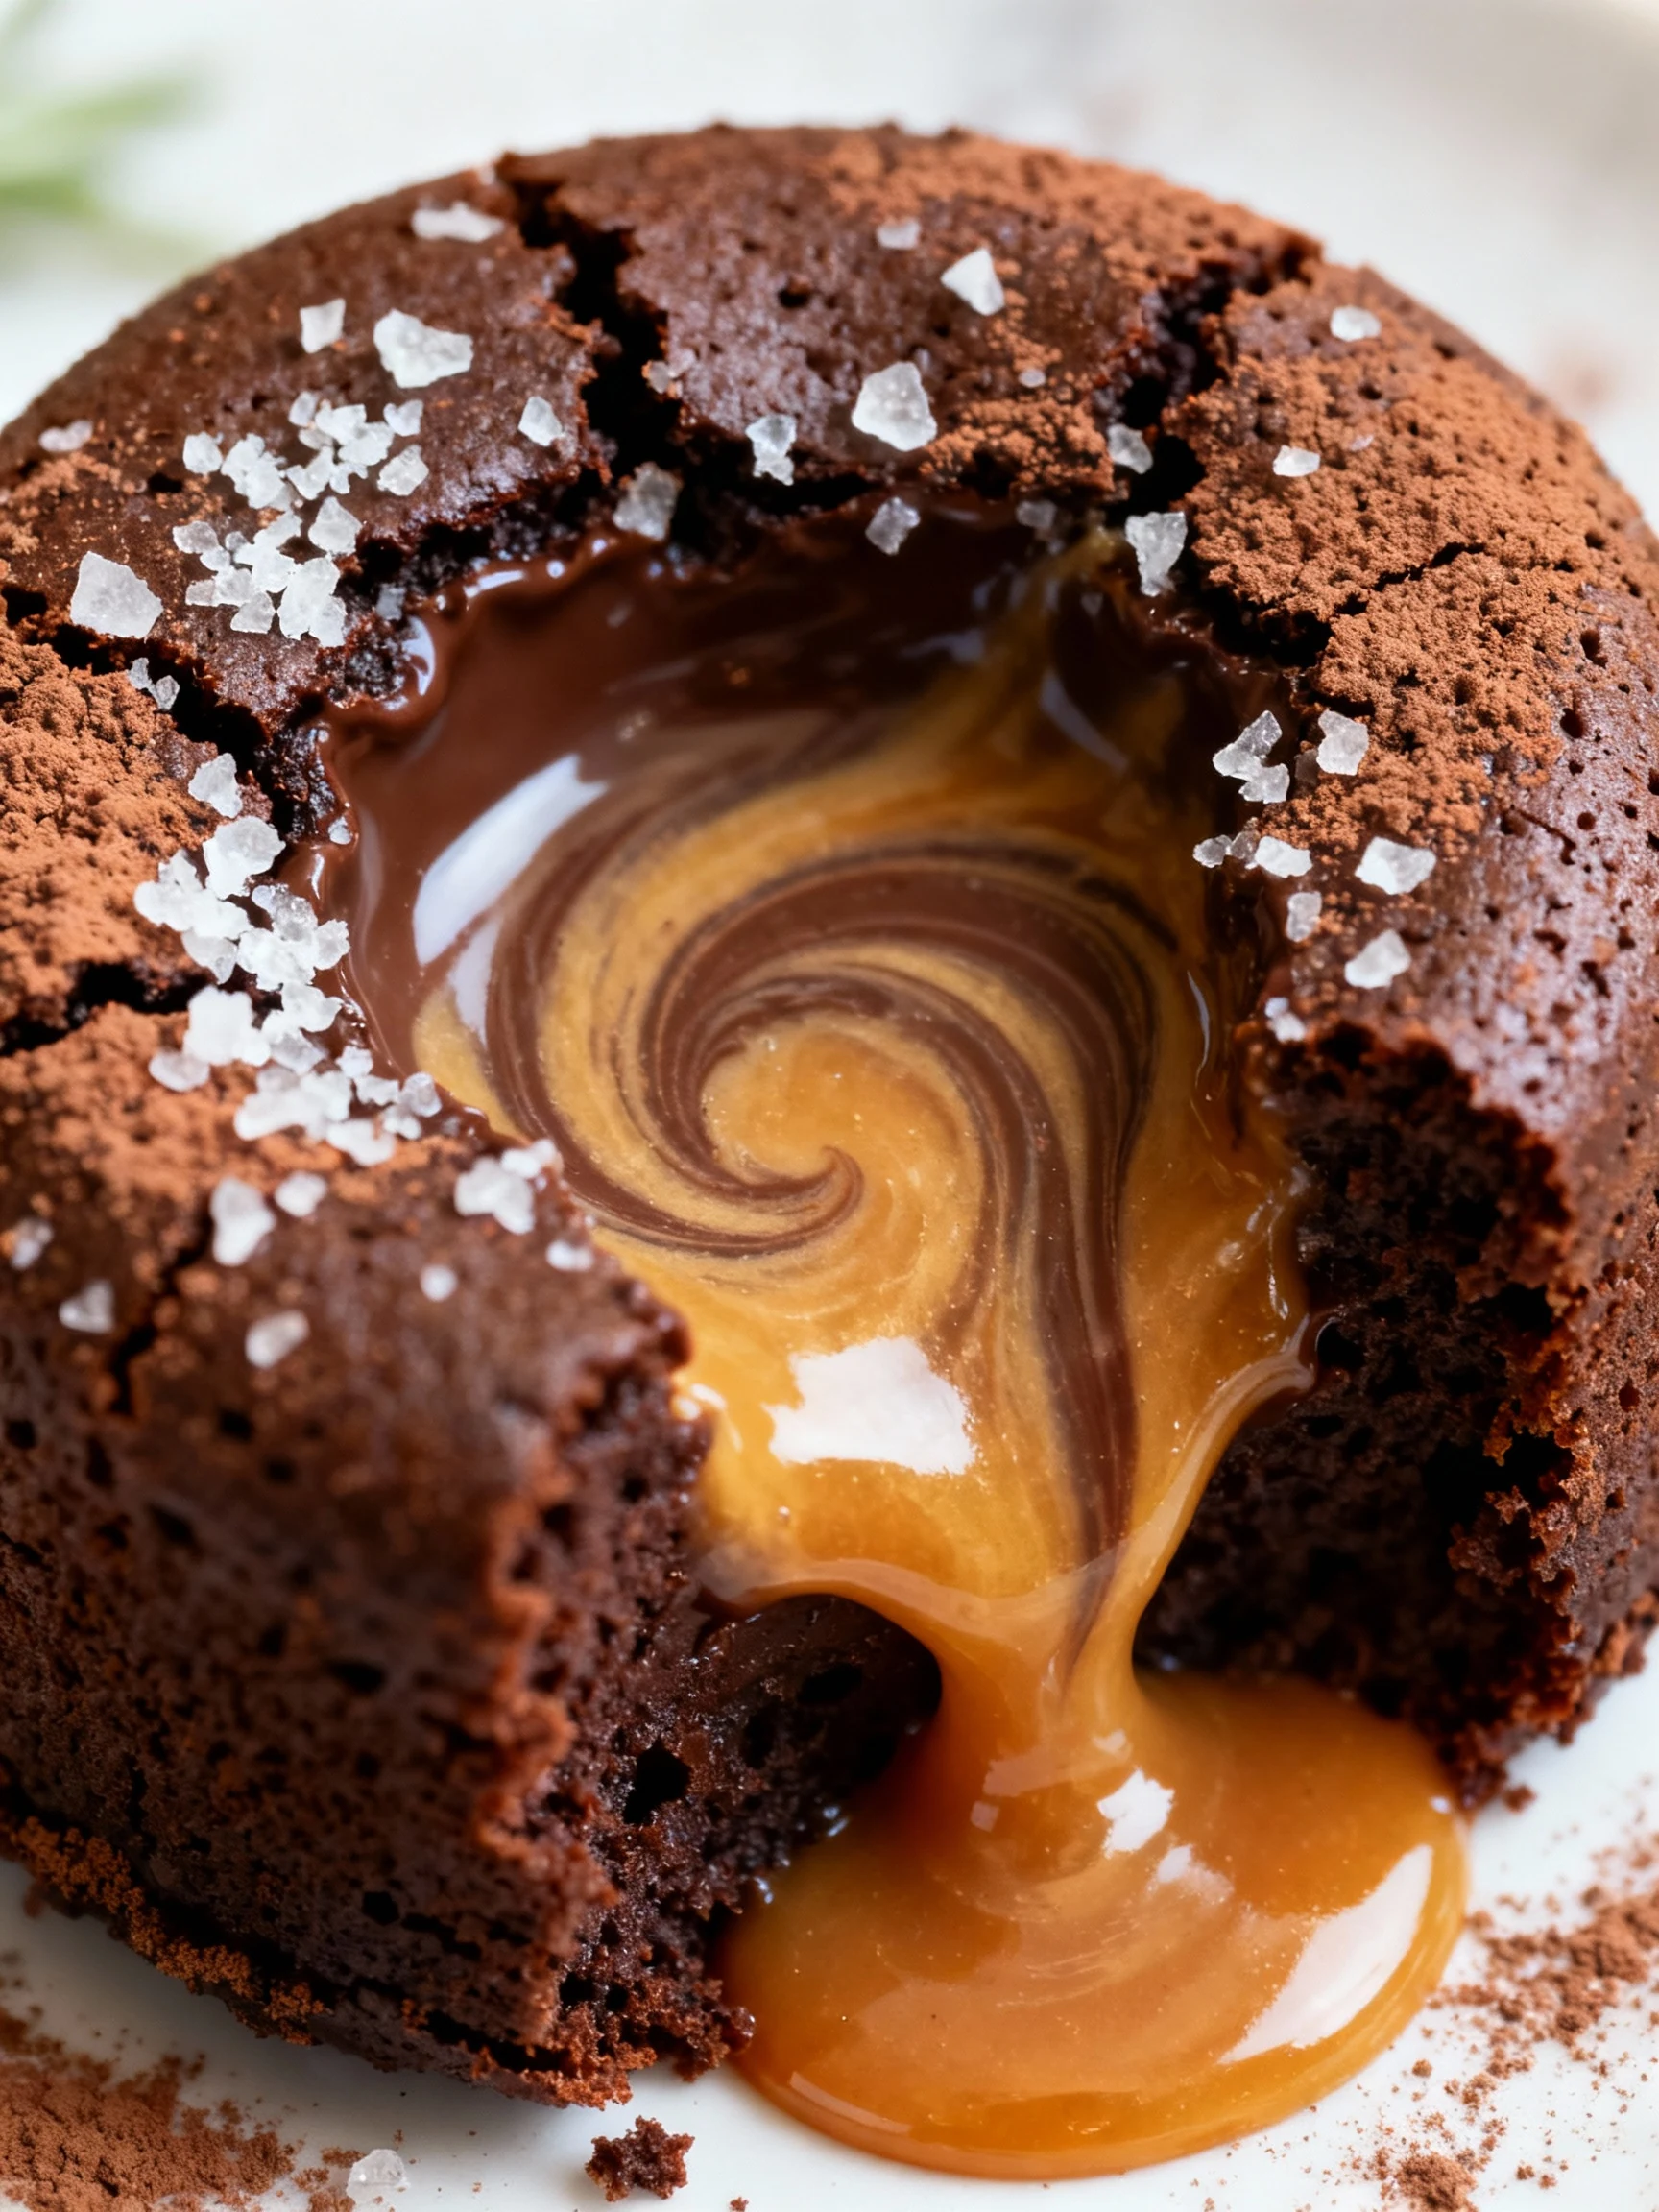
- Salted caramel center: Add 1 teaspoon thick caramel sauce in the middle before air frying; top with flaky salt.
- Peanut butter lava: Freeze small peanut butter dollops, then tuck one into each ramekin for a molten PB core.
- Espresso intensifier: Stir 1/2 teaspoon instant espresso powder into the melted chocolate for deeper flavor.
- Orange-chocolate: Add 1/2 teaspoon orange zest and a tiny splash of orange extract; serve with berries.
- Chili-chocolate: Add a pinch of cayenne and cinnamon for a subtle kick; it’s surprisingly addictive.
- Gluten-free: Swap flour for the same amount of almond flour or a gluten-free all-purpose blend; the texture turns slightly denser but still molten.
If you want it sweeter, use semi-sweet chocolate instead of dark. If you want it more intense, keep dark chocolate and finish with a pinch of flaky salt. Sweet plus salt equals “why is this so good?” every time.
FAQ
What temperature should I use for lava cake in an air fryer?
Start at 370°F for 7 to 9 minutes in 6-ounce ramekins. If your air fryer runs hot, use 360°F and check early. You’re looking for set edges and a softer-looking center.
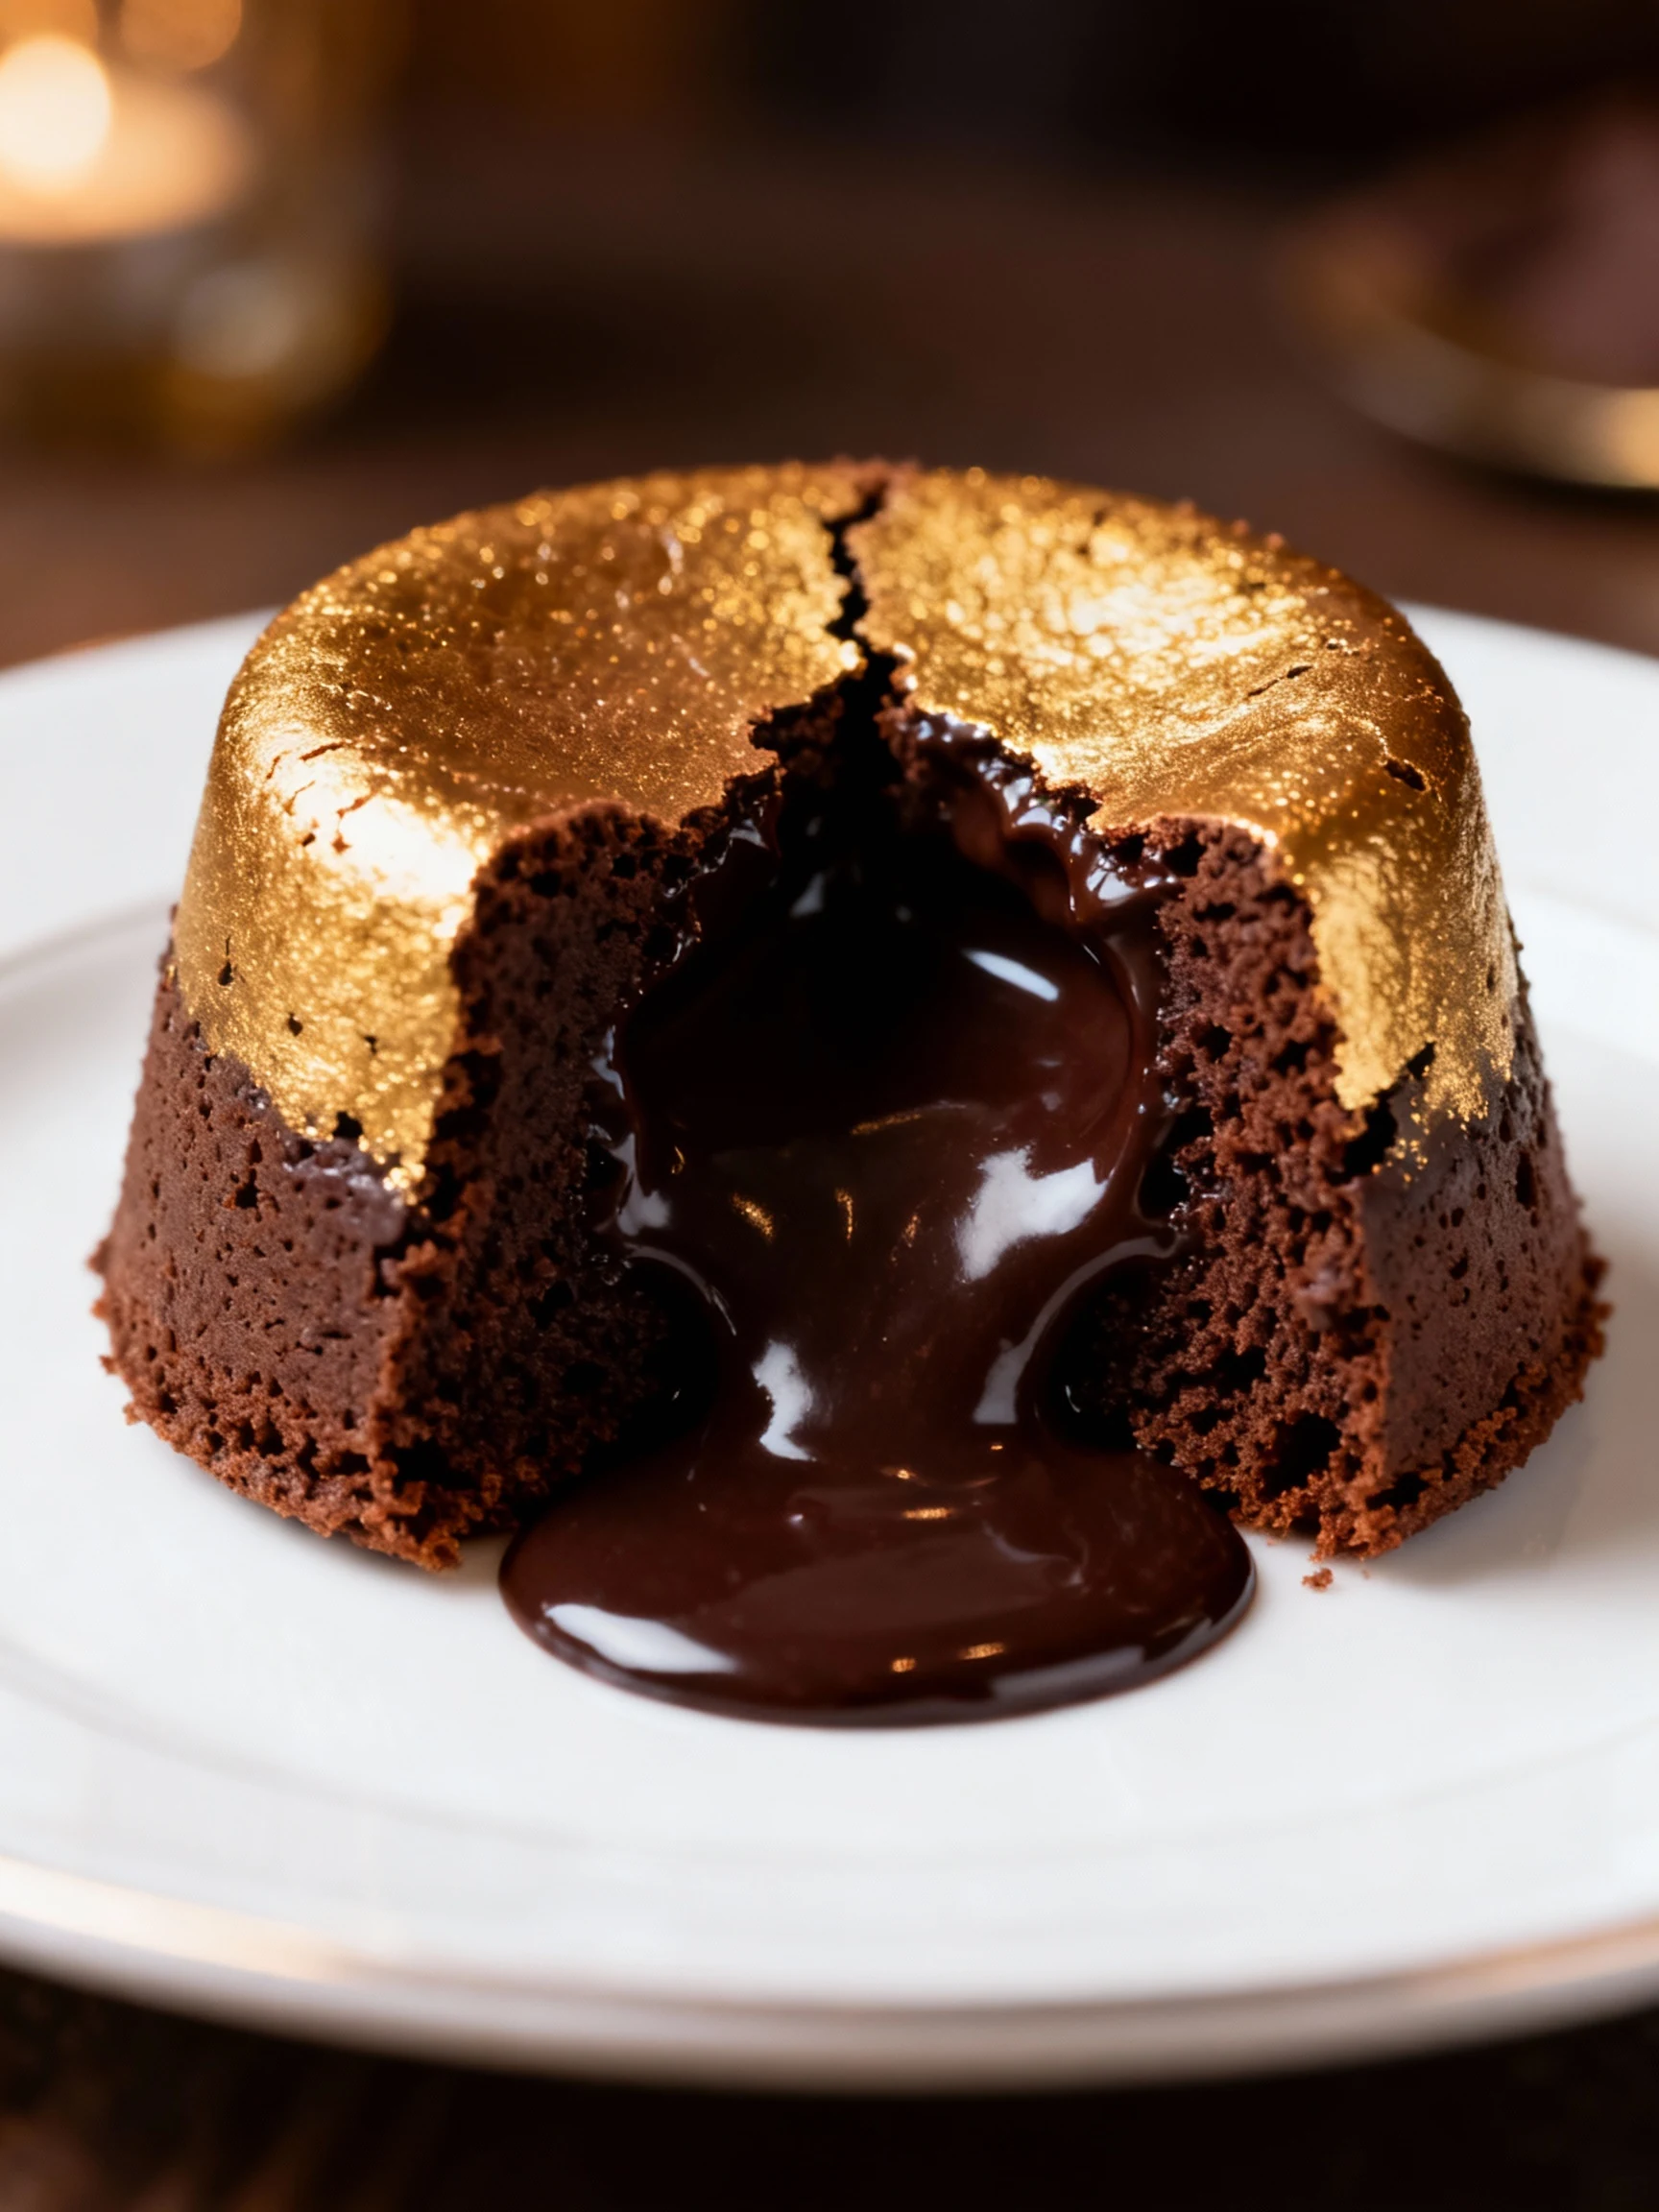
How do I know when it’s done but still molten?
The cake should look puffed around the edges and slightly matte on top, with the very center still a bit glossy and soft. If it jiggles like liquid everywhere, it needs another minute. If it looks fully firm, you went too far, but it will still taste great.
Can I make the batter ahead of time?
Yes. Fill the ramekins, cover tightly, and refrigerate up to 24 hours. Air fry straight from cold and add about 1 minute to the cook time.
Do I have to unmold it, or can I eat it from the ramekin?
You can absolutely eat it from the ramekin. Unmolding looks impressive, but spooning it warm from the dish feels cozy and requires zero suspense about sticking.
Why did my lava cake turn into a normal cake?
Most of the time, it cooked too long or your ramekins were too small or shallow for the timing you used. Next time, reduce the cook time by 1 to 2 minutes and check earlier. Also confirm you didn’t add extra flour “to be safe,” because that removes the molten center.
Can I use silicone molds instead of ramekins?
Yes, but silicone insulates differently and can change timing. Place the silicone molds on a stable tray if needed, and start checking 1 minute earlier. Grease them well so they release cleanly.
What’s the best chocolate for this recipe?
Use a bar you’d actually enjoy eating. Dark chocolate in the 60 to 70% range gives a rich result without tasting too bitter. Chocolate chips can work, but they often contain stabilizers that melt less smoothly.
The Bottom Line
This one-bowl air fryer lava cake is the fastest route to a dessert that feels expensive and dramatic. You get crisp-set edges, a molten chocolate center, and almost no cleanup. Nail the timing once, and you’ll have a reliable “company’s coming” move that takes less effort than pretending you didn’t plan this. Make it tonight, serve it warm, and accept the compliments like it’s your job.
Printable Recipe Card
Want just the essential recipe details without scrolling through the article? Get our printable recipe card with just the ingredients and instructions.