Bread Machine Recipes for Bakery Quality Loaves at Home
Turn your bread maker into a weeknight bakery: streamlined formulas, minimal effort, and fluffy, golden loaves every single time.
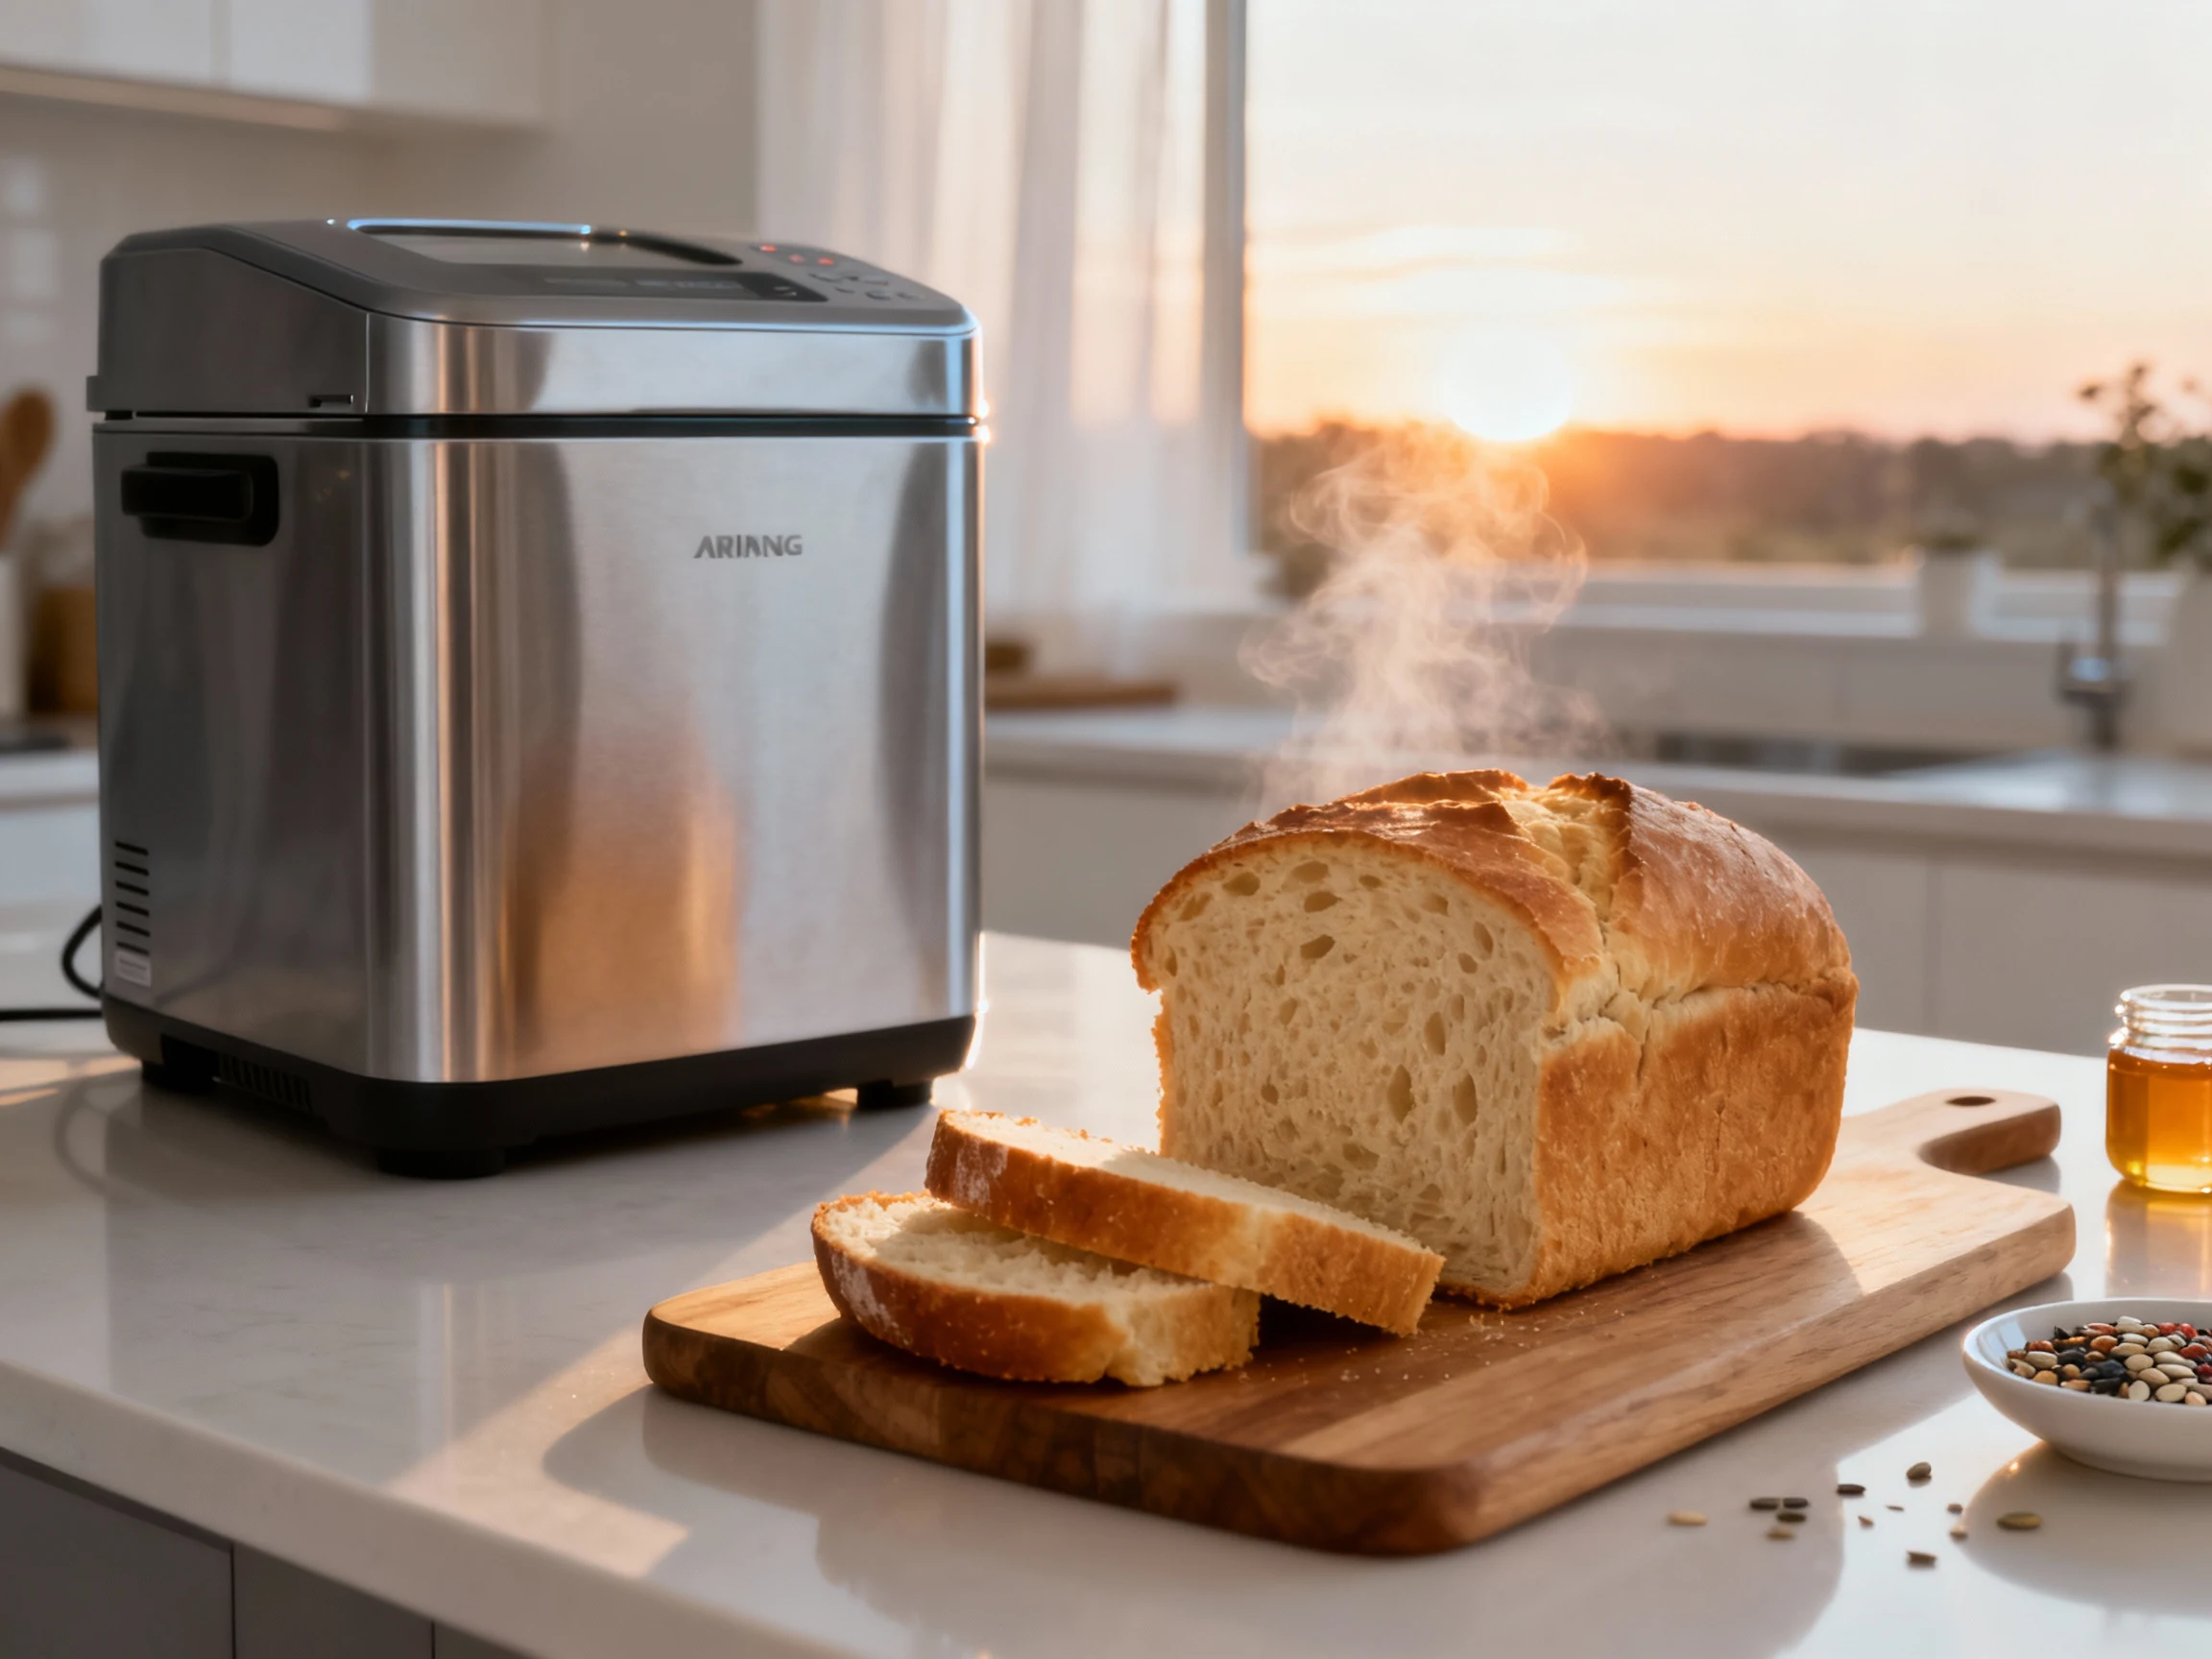
You bought the bread maker to save time, not babysit dough. Yet here you are, scrolling for something that actually works, consistently. This playbook gives you bakery-level results with zero guesswork, plus tweaks to fit your taste and schedule. Want pillowy slices for PB&J, crusty ends for toast, or a timer-ready loaf for 7 a.m.? Done. Your kitchen’s about to smell like a corner boulangerie, minus the 4 a.m. wake-up call.
What Makes This Special
Most machine-made loaves flop because the dough isn’t tuned for your device. This master formula is built around hydration and timing, then adapted for richer or leaner styles. It’s flexible, foolproof, and tested to handle small adjustments without throwing a tantrum.
You’ll learn how to fix dough on the fly, get a clean slice (no giant paddle crater), and use your machine’s programs like a pro. The result? Consistent crumb, reliable rise, and flavors that beat supermarket bread every day.
Ingredients
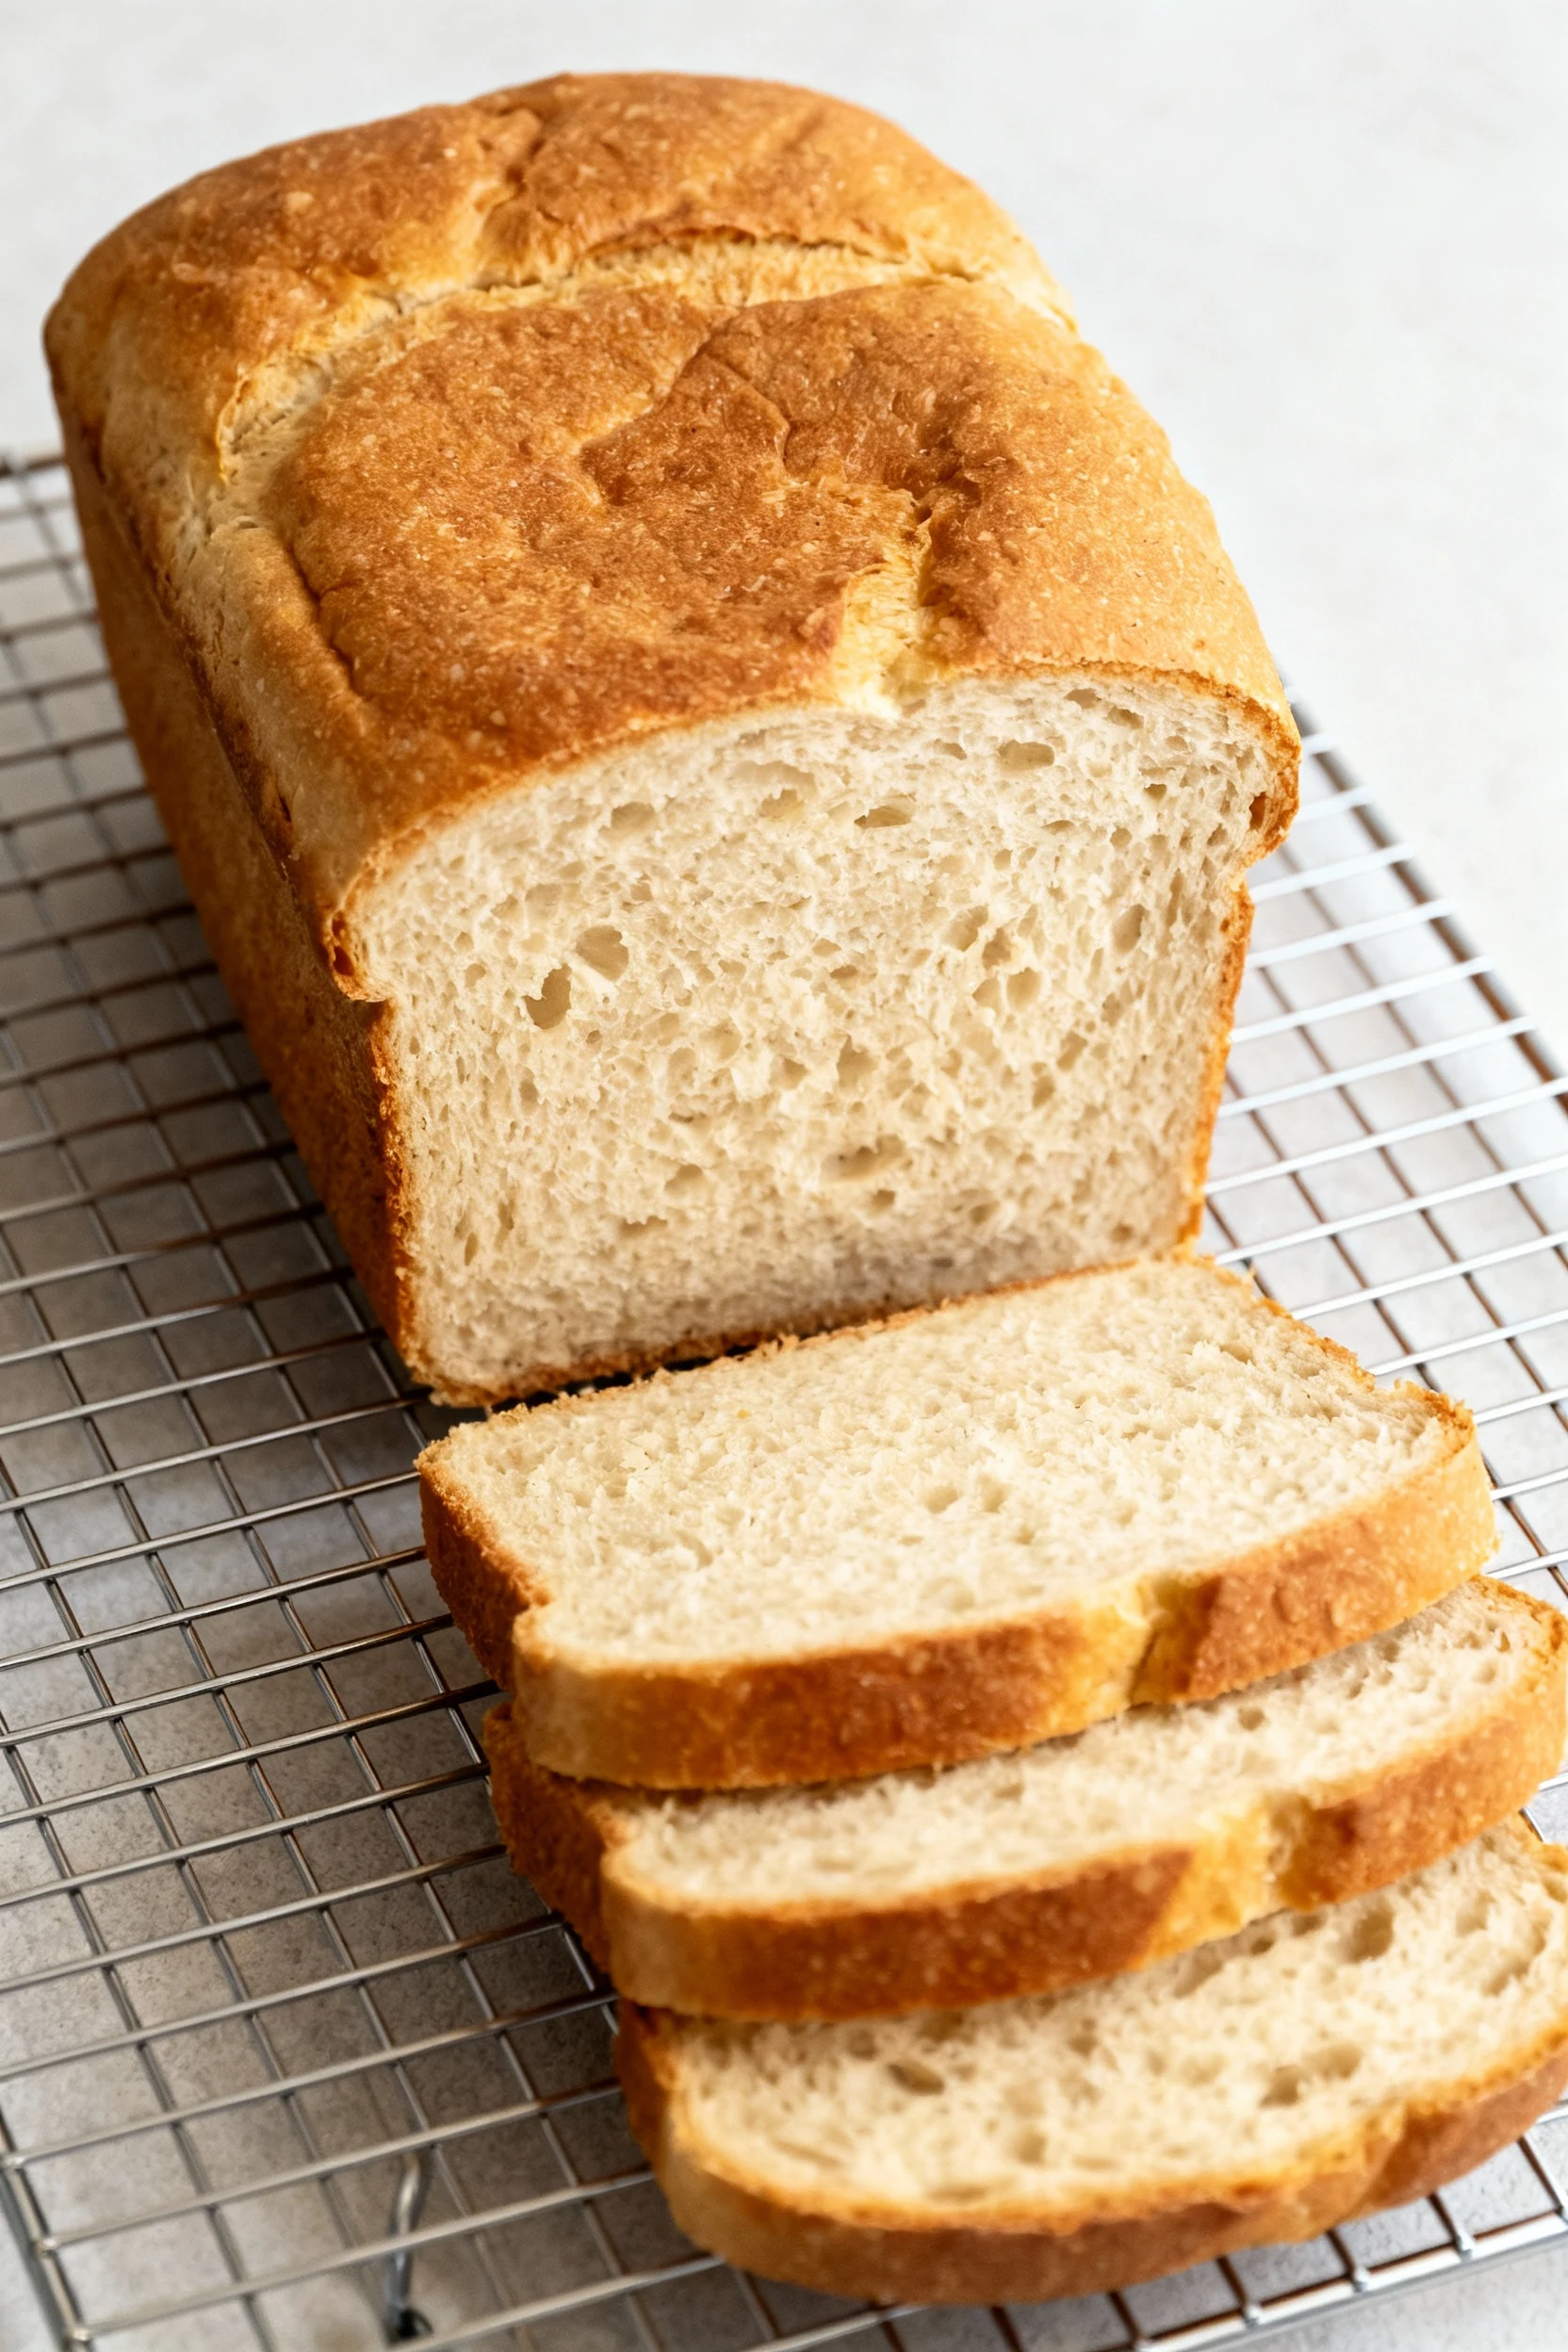
This base recipe yields one 1.5 lb loaf (about 12–14 slices). It’s the foundation for the variations below.
- Water: 1 cup (240 ml), room temperature. For richer bread, use 3/4 cup water + 1/4 cup milk.
- Bread flour: 3 cups (360 g). All-purpose works in a pinch, but add 1–2 tbsp vital wheat gluten if you have it.
- Sugar or honey: 2 tbsp (25–30 g). Reduces staling and feeds the yeast.
- Salt: 2 tsp (10–12 g). Flavor and structure—don’t skip.
- Butter or neutral oil: 2 tbsp (28 g). Adds tenderness and keeps the crumb soft.
- Dry milk powder (optional): 2 tbsp (12–14 g) for a finer, more tender crumb.
- Instant yeast: 2 tsp (6–7 g). If using active dry, use the same amount but bloom it in a bit of the water first.
Optional add-ins (choose 1–2):
- Seeds (sunflower, sesame, poppy): 1/4–1/3 cup
- Rolled oats: 1/4 cup (swap in for 1/4 cup flour)
- Herbs (rosemary, thyme): 1–2 tbsp, finely chopped
- Raisins or chopped dried fruit: 1/2 cup
Cooking Instructions
- Load ingredients in the right order. Add liquids first, then dry ingredients, with the yeast on top kept away from salt. This prevents premature yeast activation when using delayed timers.
- Select the right program. For the base loaf, choose “Basic/White” with your preferred crust setting. If your machine has a “Rapid” option, stick to the standard cycle for best flavor development.
- Check the dough early. Peek 5–10 minutes into mixing. The dough should form a smooth, slightly tacky ball. If it’s too sticky, add 1 tablespoon flour at a time. If it’s stiff or tearing, add 1 teaspoon water at a time. This two-minute check is the difference between meh and amazing.
- Manage the mix-ins. If using nuts or raisins, add them at the machine’s “add-in” beep. No beep? Sprinkle them in after the first 10 minutes of kneading.
- Optional: Remove the paddle. If your machine beeps before the final rise, quickly remove the dough, take out the paddle, reshape the dough, and return it. Result: smaller hole in the bottom, cleaner slice.
- Let the machine finish the cycle. Avoid opening the lid during the final rise or early bake; heat loss equals sad loaf. When baking ends, the crust should be golden-brown and the internal temp should hit ~195–200°F (90–93°C).
- Cool completely before slicing. Remove the loaf, unmold, and cool on a rack for at least 1 hour. Cutting too soon compresses the crumb and releases steam that dries the loaf faster (aka bread sabotage).
Storage Instructions
Cool your loaf fully, then store it in a bread box or a zip-top bag at room temp for up to 3 days. Avoid the fridge—it accelerates staling. For longer storage, slice, wrap well, and freeze for up to 2 months. Reheat slices straight from the freezer in a toaster, or thaw the whole loaf overnight, then refresh in a 300°F (150°C) oven for 8–10 minutes.
What’s Great About This
- Fail-safe hydration and ratios: A dough that’s forgiving yet structured.
- Pantry-friendly ingredients: Nothing weird or rare—just everyday staples.
- Adaptable to your schedule: Works on regular or delayed timer modes.
- Customizable crumb: Lean and airy for toast, richer and tender for sandwiches.
- Minimal effort, maximum payoff: The machine handles the labor, you get the glory.
What Not to Do
- Don’t skip the early dough check. Five minutes now prevents a dense brick later.
- Don’t let salt touch yeast at loading. It can slow down or even stunt your rise.
- Don’t overstuff add-ins. More than 1/2 cup nuts or fruit can shred the crumb.
- Don’t slice hot bread. You’ll squash the structure and steam out moisture. Patience, friend.
- Don’t refrigerate the loaf. Store at room temp or freeze. Fridge = stale city.
Variations You Can Try
- Whole Wheat Honey Loaf: Use 2 cups bread flour + 1 cup whole wheat flour. Add 1 extra tablespoon oil and 1–2 extra tablespoons water if the dough looks stiff. Sweeten with 2–3 tbsp honey. Choose “Whole Wheat” cycle if available.
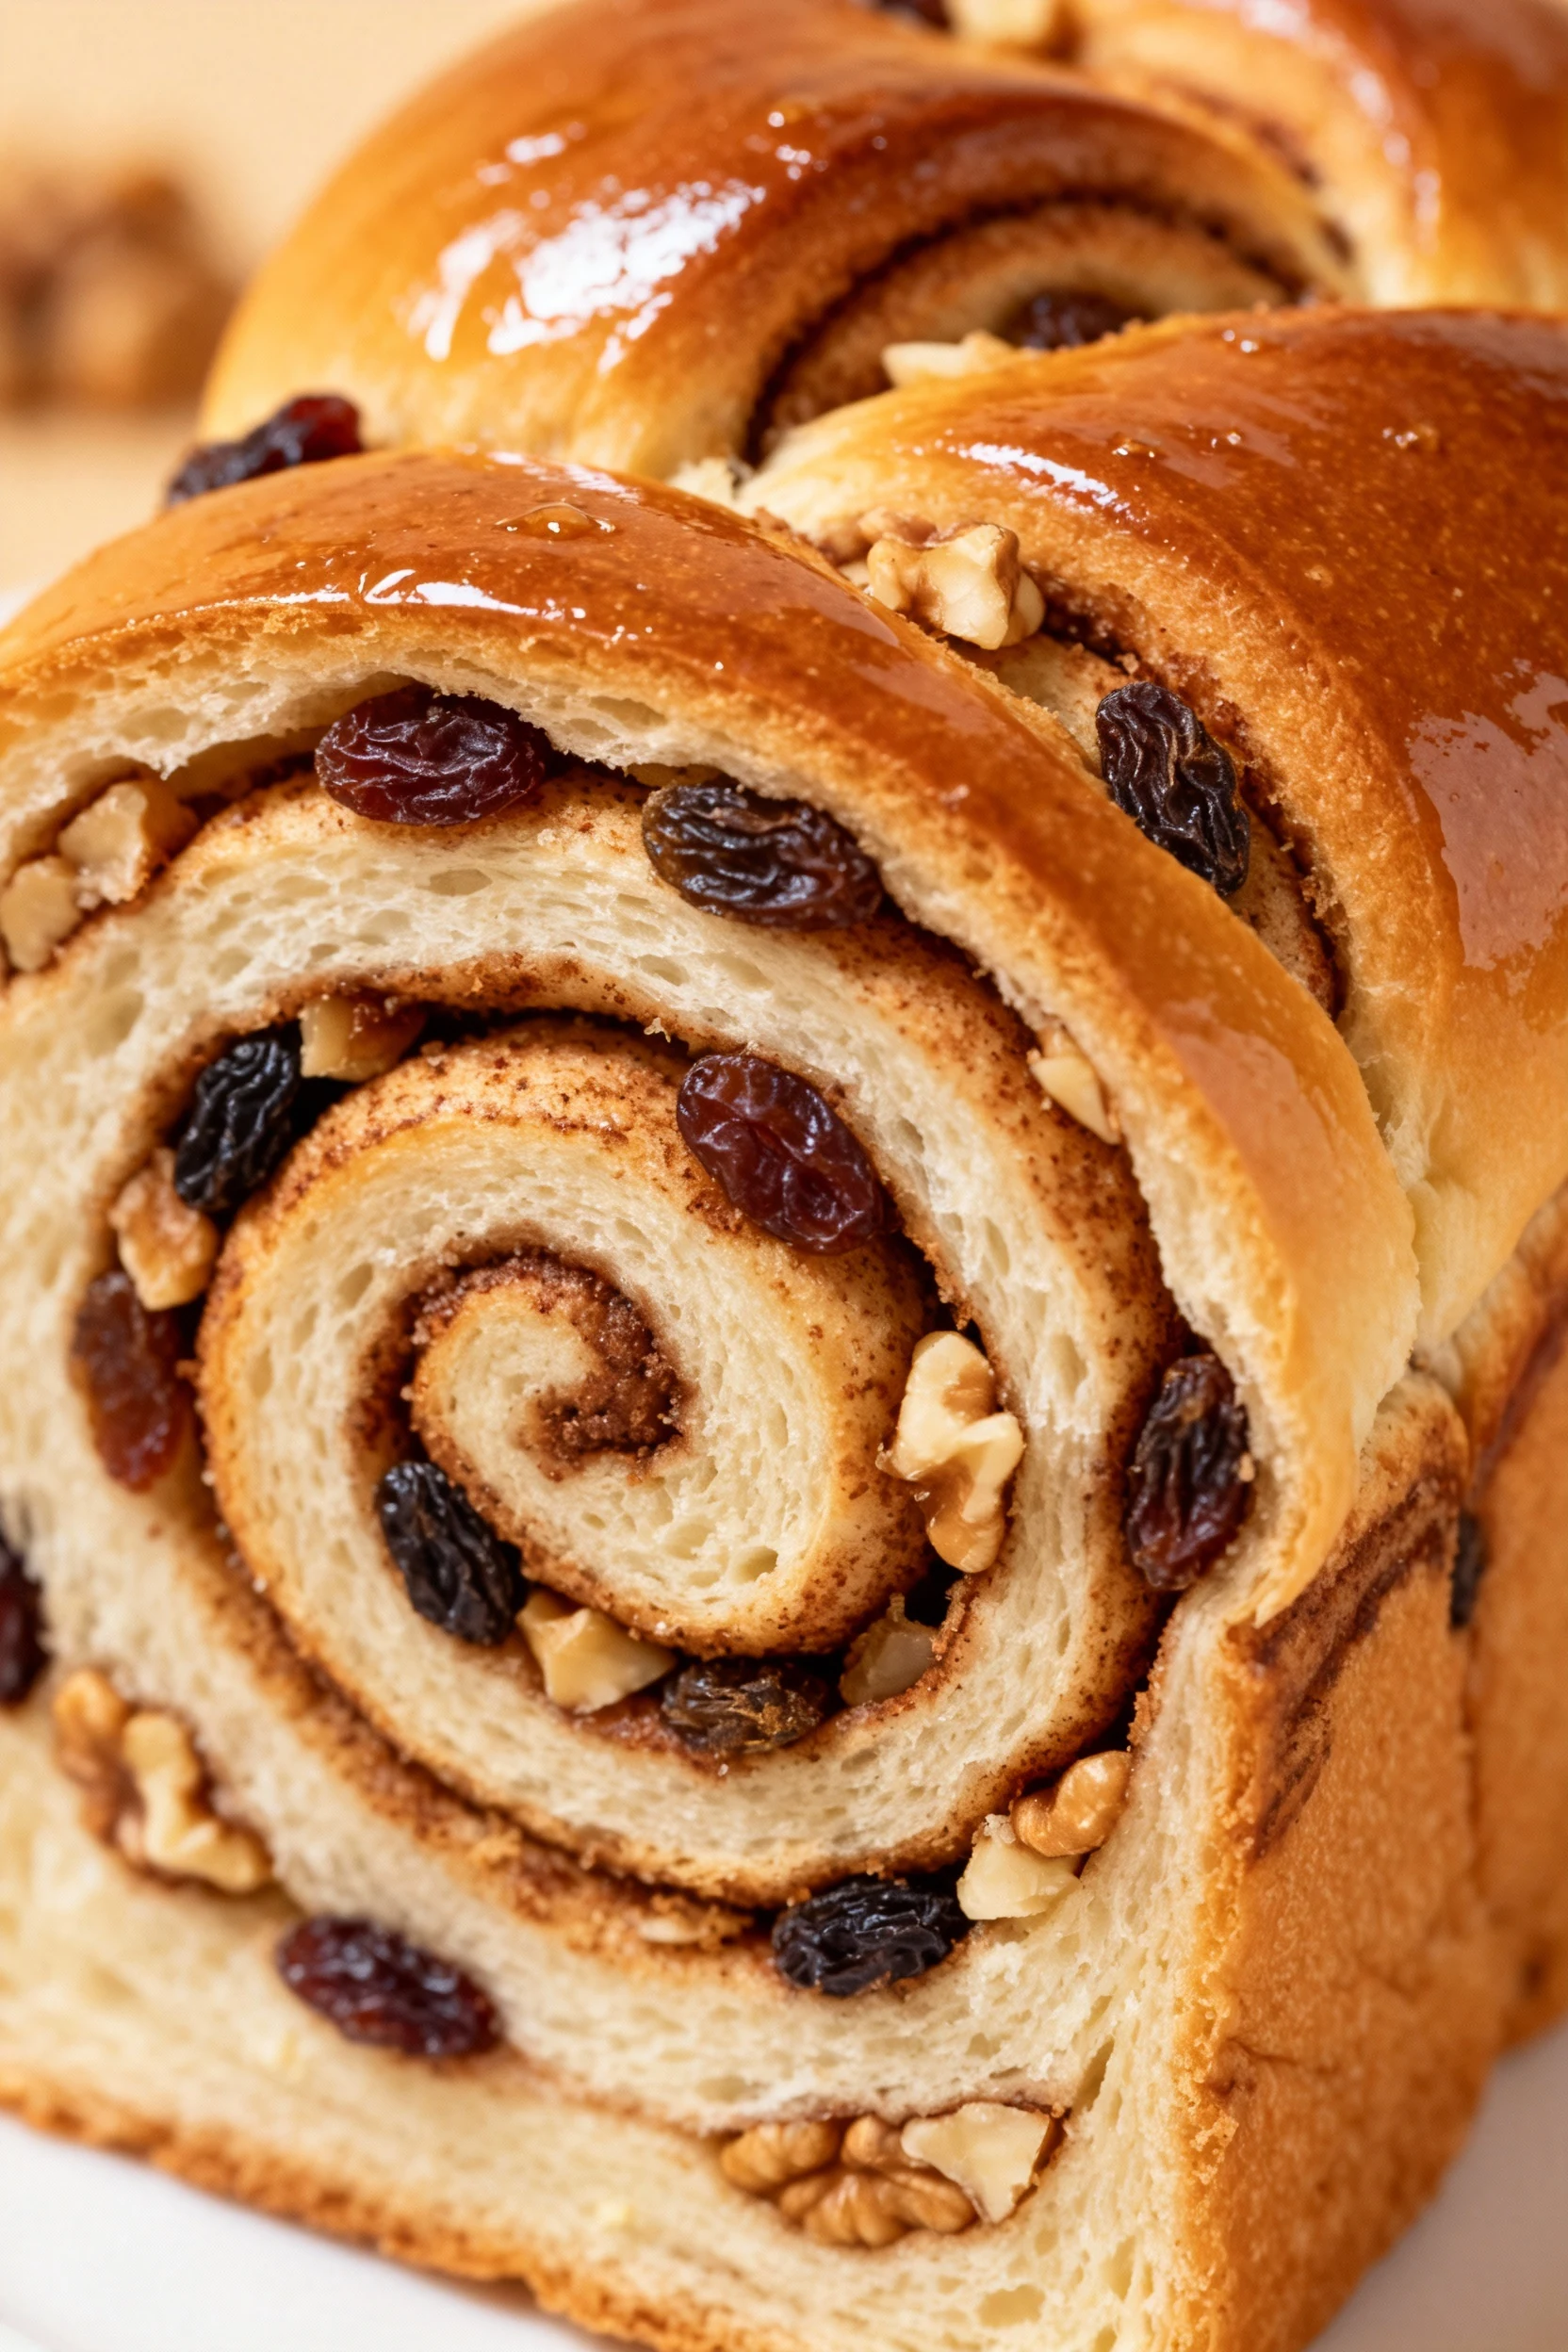
- Cinnamon Raisin: Add 1 tsp cinnamon to the dry mix. At the add-in beep, toss in 1/2 cup raisins and 2 tbsp chopped walnuts (optional). For a swirl effect, use Dough cycle, roll out, sprinkle with cinnamon sugar, roll back up, and bake in the machine on Bake cycle.
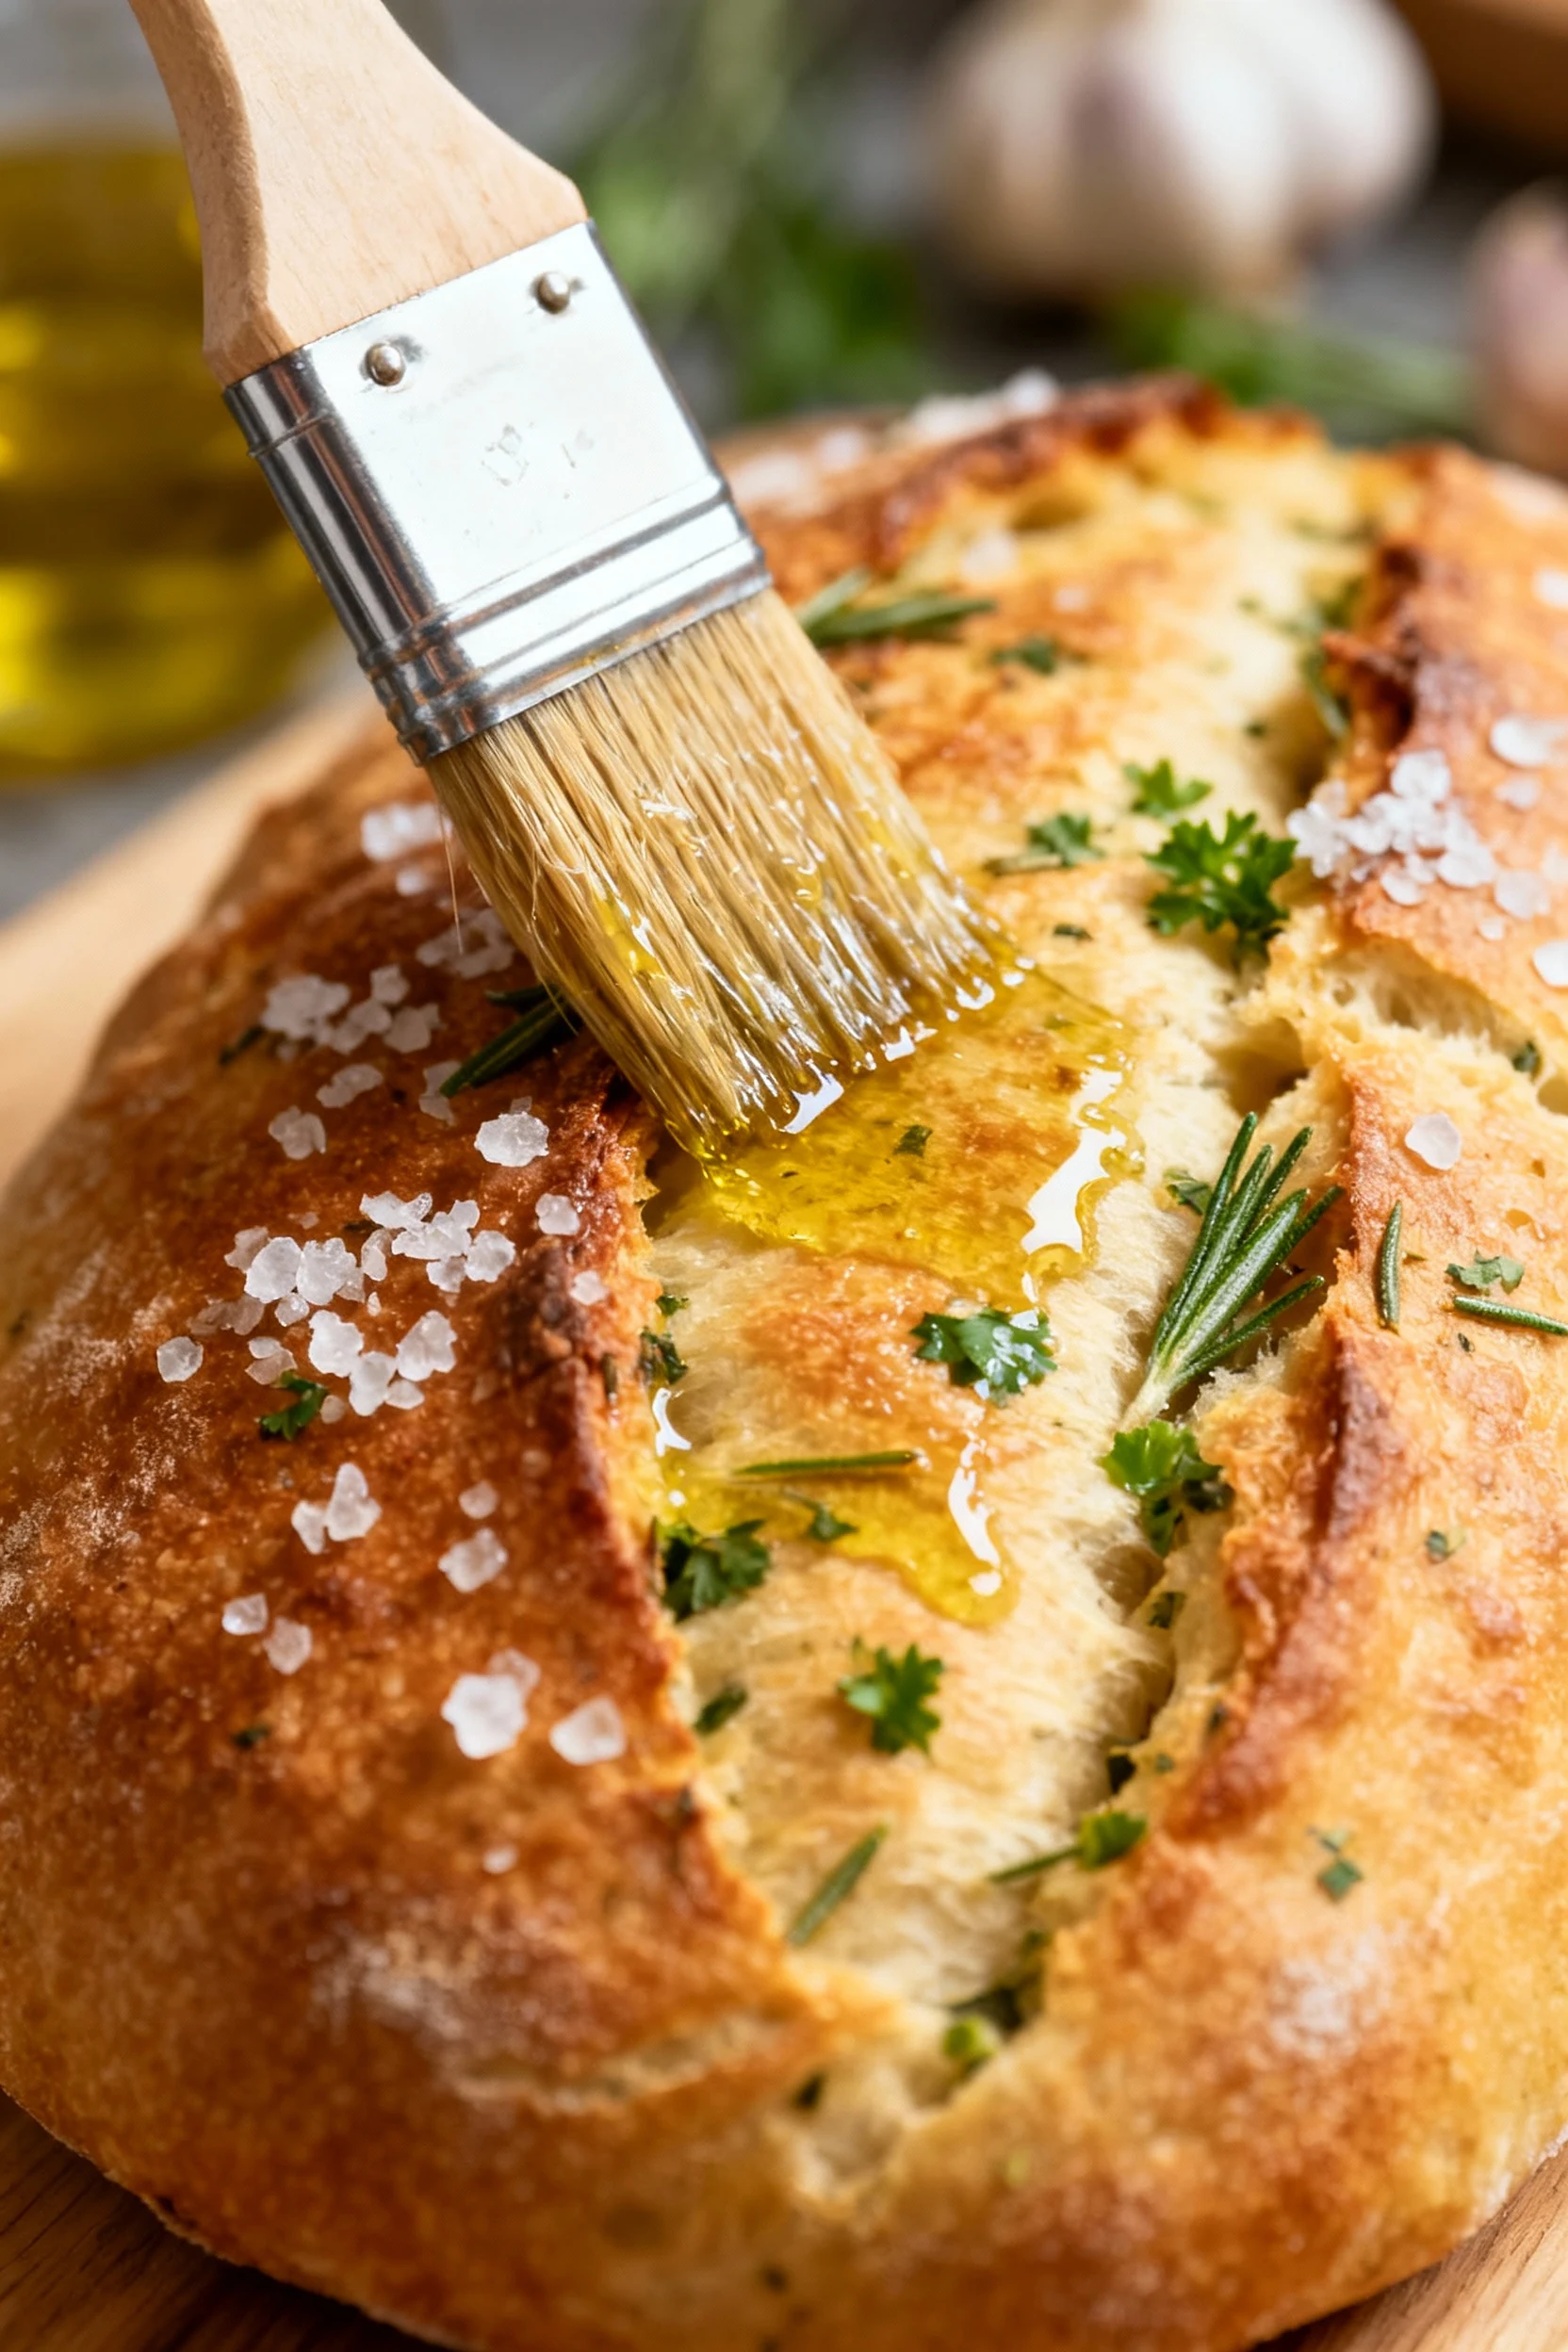
- Garlic Herb: Mix 2 tbsp finely chopped herbs (rosemary, parsley) and 1 tsp garlic powder into the flour. Brush the finished loaf with olive oil and a pinch of flaky salt. Killer for soups and pasta night.
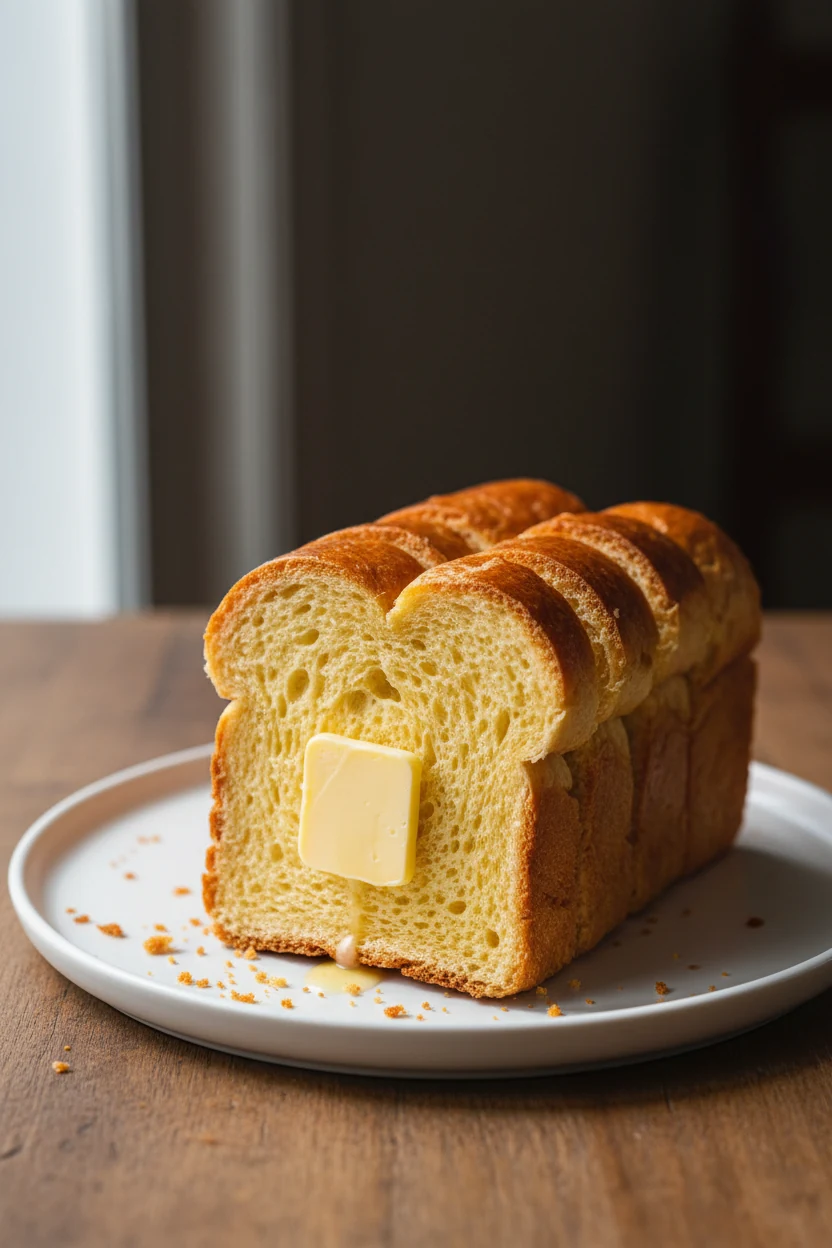
- Milk-and-Butter “Brioche-Style”: Swap water for 1 cup milk. Increase butter to 4 tbsp and add 1 egg. If the dough gets sticky, sprinkle in 1–2 tbsp flour. Expect a richer, tender crumb (yes, it’s dreamy).
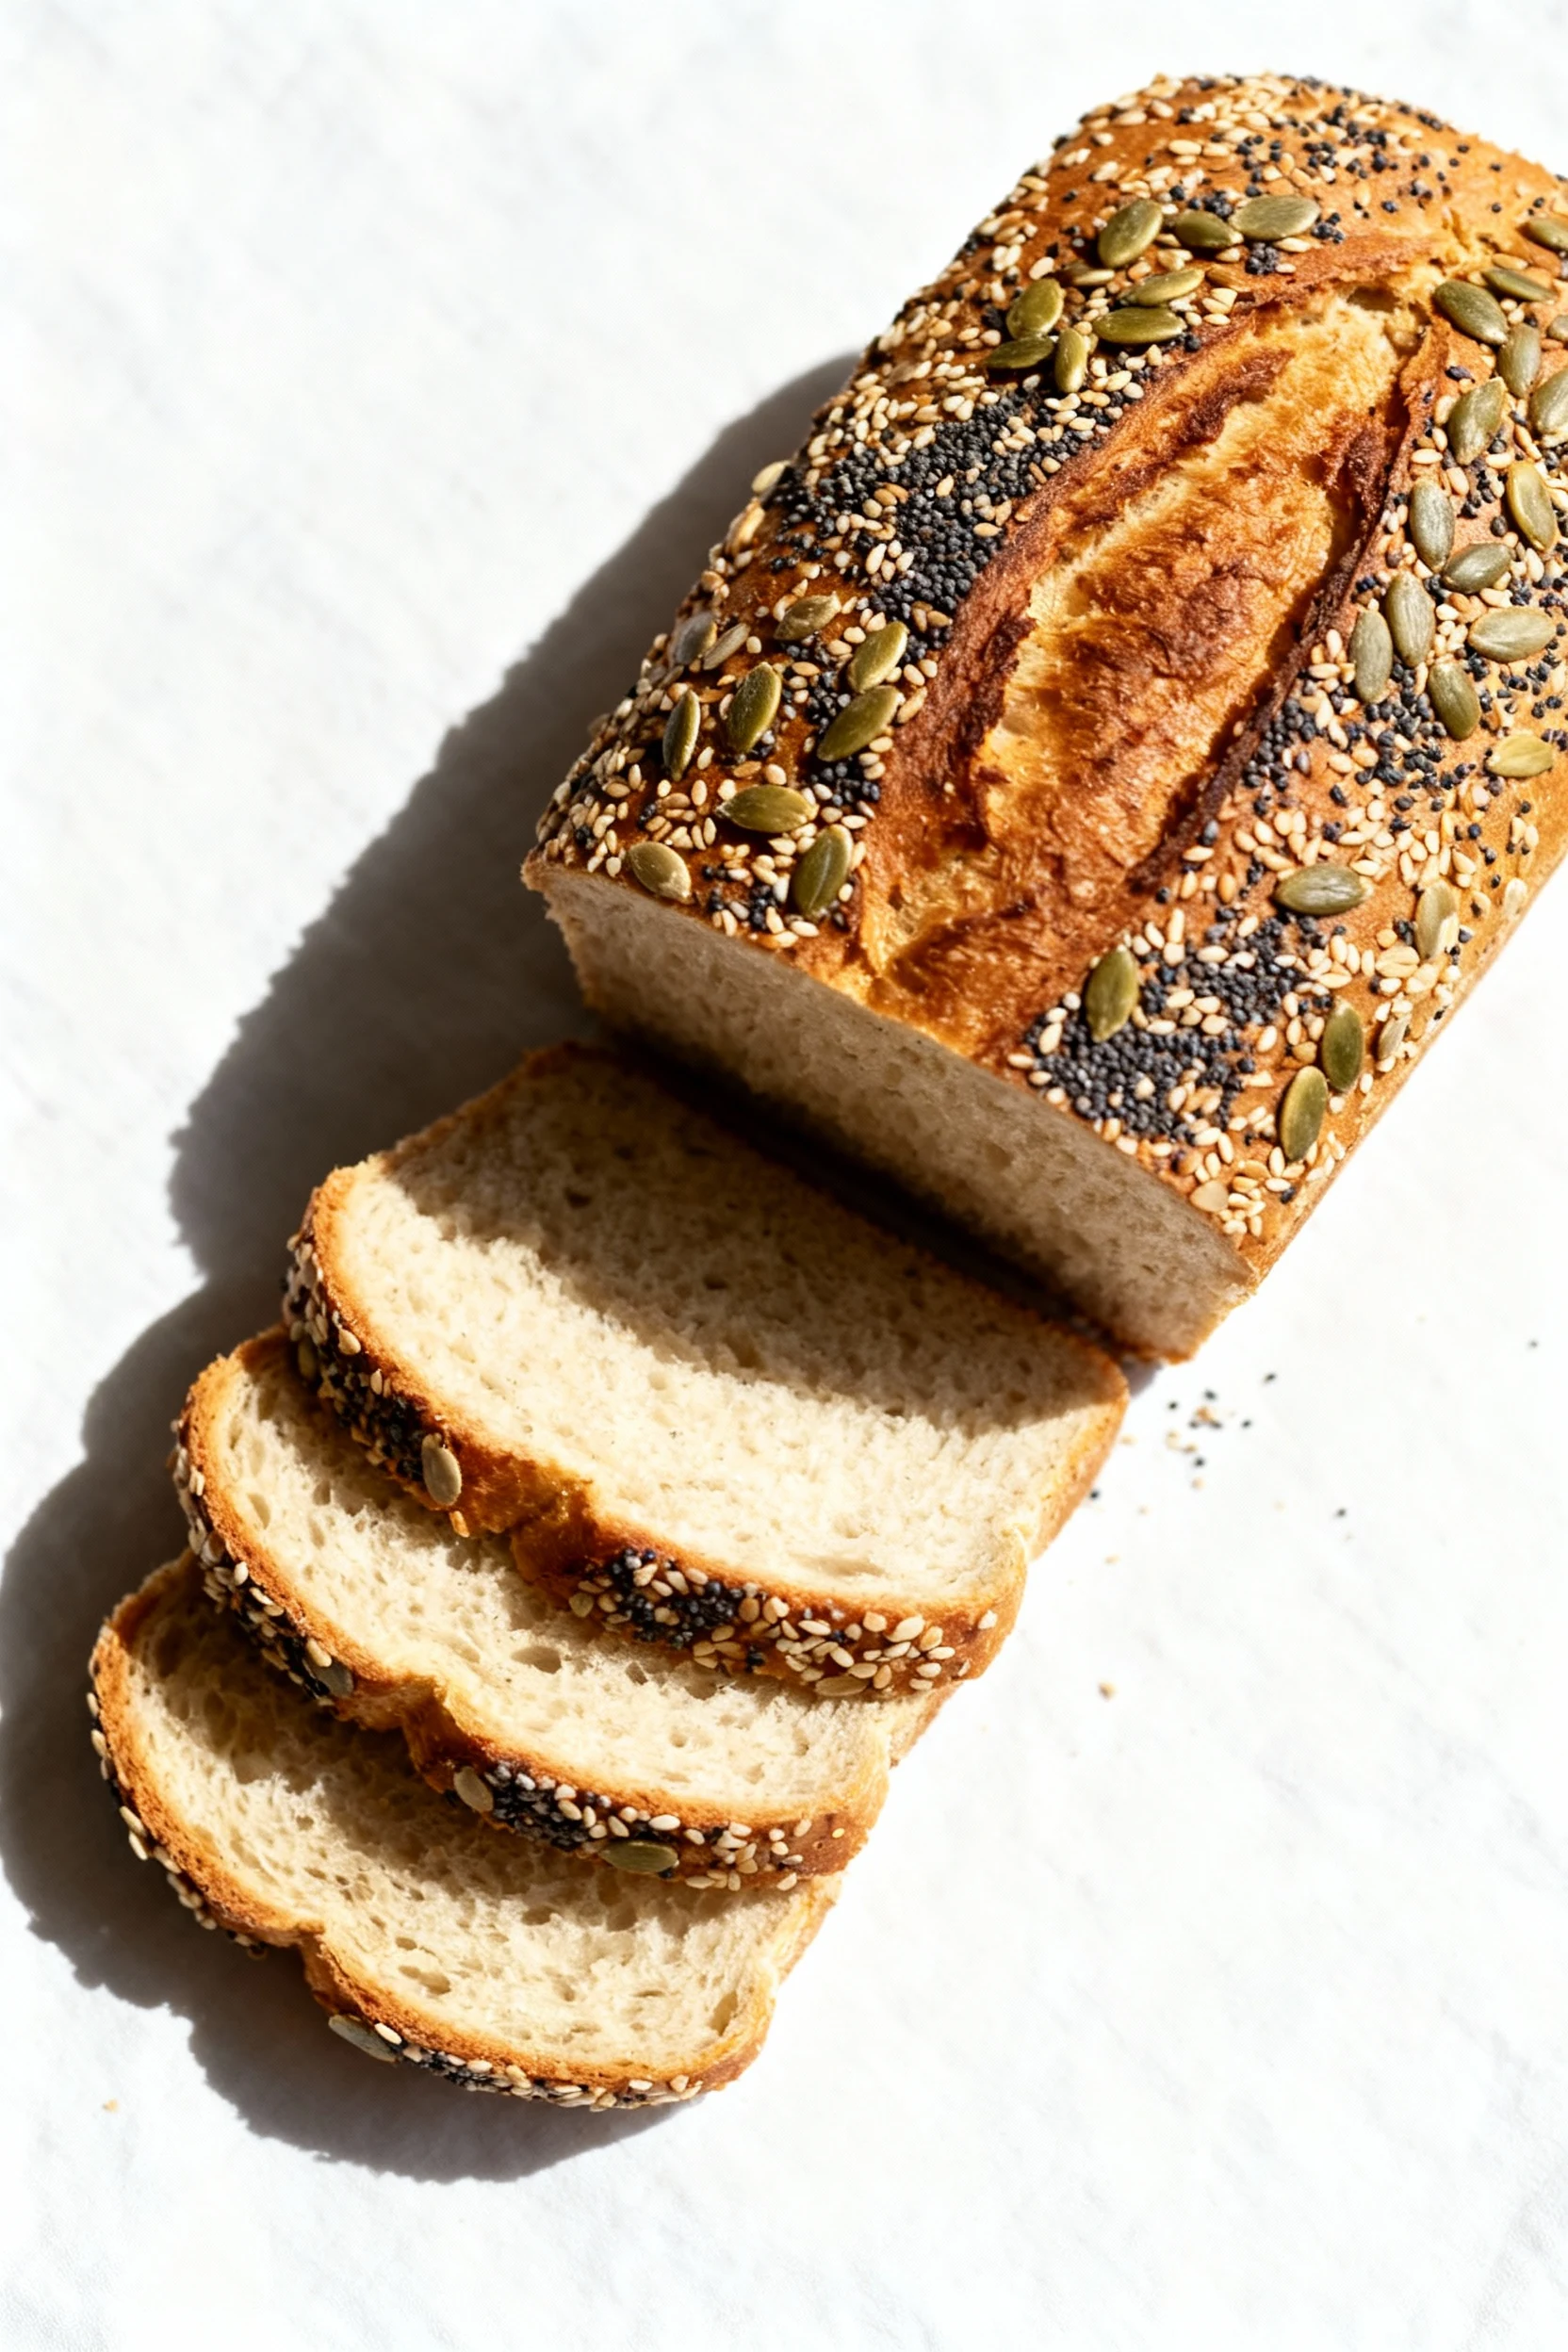
- Seeded Sandwich Bread: Add 1/3 cup mixed seeds and 1 tbsp sesame oil. Top with seeds after the final rise—lightly mist the dough with water so they stick.
- Oatmeal Maple: Replace 1/3 cup flour with rolled oats. Sweeten with 2 tbsp maple syrup. Dough may need 1 extra tbsp water. Great toast; absurd with butter.
- Pizza Dough (Dough Cycle): Use 1 cup water, 2 3/4 cups bread flour, 2 tbsp olive oil, 1 tsp sugar, 1 1/2 tsp salt, 2 tsp instant yeast. Run Dough cycle, then rest 20 minutes. Stretch, top, bake in a hot oven.
- Gluten-Free (Dedicated Mix): Use a reliable GF bread mix formulated for machines. Follow the package exactly, as ratios and binders (xanthan gum, psyllium) are critical. IMO, this is one area where a proven mix saves headaches.

FAQ
Can I use all-purpose flour instead of bread flour?
Yes. You’ll still get a good loaf, but expect slightly less chew and structure. If possible, add 1–2 tablespoons vital wheat gluten to mimic bread flour’s protein. Keep an eye on dough feel—adjust water in teaspoons until it’s smooth and slightly tacky.
Why does my loaf collapse after baking?
Usually it’s too much hydration, too little salt, or overproofing. Reduce liquid by 1–2 tablespoons, ensure salt is measured correctly, and avoid opening the lid during the final rise. Also check your yeast freshness; old yeast is sneaky and underperforms.
Which yeast is best—instant or active dry?
Instant yeast is plug-and-play for machines—no blooming required. Active dry works too, but bloom it in a few tablespoons of the recipe’s water for 5–10 minutes until foamy. If your cycles are short, instant is the safer bet.
How do I get a crispier crust?
Use less fat, skip milk powder, and choose a darker crust setting. If your machine has a “Bake Only” option, you can finish the loaf on that for 5–10 extra minutes. For ultra-crisp, remove the loaf at bake end and pop it in a 375°F (190°C) oven for 8 minutes.
My dough sticks to the sides. Is that bad?
A little tackiness is fine; full adhesion is not. Add 1 tablespoon flour at a time during the first 10 minutes until the dough forms a smooth ball that cleans the bowl. If it’s dry and tearing, add water in 1 teaspoon increments. Tiny tweaks = big win.
Can I set the timer overnight?
Absolutely. Load liquids first, then dry ingredients, with yeast on top and kept away from salt. Avoid fresh dairy and eggs with long delays. Dry milk powder is timer-safe and keeps the crumb tender. Wake up to bread? Yes, please.
How do I reduce the paddle hole?
If your machine signals before the final rise, quickly remove the dough, take out the paddle, reshape, and return the dough. No beep? Use the Dough cycle, then shape and bake in the machine’s Bake cycle if available. Or accept the hole—it’s part of the machine charm, FYI.
Do high-altitude adjustments matter?
Yes, at 3,000+ feet you may need slightly more liquid and a touch less yeast. Start by adding 1 tablespoon water and reducing yeast by 1/4 teaspoon. Keep a close eye on the dough during kneading and the rise; altitude speeds up fermentation.
Is weighing ingredients really necessary?
It’s not mandatory, but it’s the fastest route to consistency. Flour compacts by volume; 1 cup today isn’t the same as 1 cup tomorrow. A cheap kitchen scale gets you pro-level repeatability without the drama.
Can I use sourdough in the machine?
You can, but it’s trickier. Use the Dough cycle with your starter, then let the shaped loaf proof outside the machine and bake in the oven. Timers don’t play well with wild yeast. For flavor, add 1/4 cup discard to your base dough and adjust water slightly.
Is milk powder necessary?
No, but it helps with tenderness and browning. If you skip it, your loaf will still be great—just a bit leaner. For richer results without powder, swap some water for milk and watch hydration during the early knead.
Final Thoughts
This is the bread maker blueprint that gives you repeatable, brag-worthy loaves with minimal fuss. Start with the base formula, do the quick dough check, and tailor hydration to your machine. Then layer in variations to match your mood—sandwich-soft, toast-crisp, or Sunday-brunch rich. The best part? Once you nail the feel, every loaf becomes “set it and forget it” good. Your toaster is about to get very busy.
Printable Recipe Card
Want just the essential recipe details without scrolling through the article? Get our printable recipe card with just the ingredients and instructions.