Easy Cookie Recipes for Busy Nights — Big Flavor Zero Fuss
Weeknight-friendly cookies with pantry staples, quick prep, and bakery-level taste—ready in 30 minutes, no chilling, minimal cleanup
You want warm, chewy cookies in less time than your takeout driver needs to find parking. Fair. Here’s the play: one master dough, four craveable variations, and zero chilling or fancy gear. You’ll go from “I could eat a cookie” to a tray of golden edges and soft centers faster than a sitcom episode. And because I respect your time (and your sink), it’s a one-bowl situation with pantry staples. Bake a batch now, freeze a batch for later, and thank yourself tomorrow when the 9 p.m. sweet tooth kicks in.
What Makes This Recipe Awesome

- 30 minutes start to finish: 10 minutes to mix, 10 minutes to bake, 10 minutes to cool just enough to not scorch your tongue.
- No chill required: The dough is balanced to hold shape without fridge time, so you get lift, chew, and perfectly crinkled tops now, not later.
- One-bowl, one-pan cleanup: Melted butter = no creaming, no mixer. Stir, scoop, bake, flex.
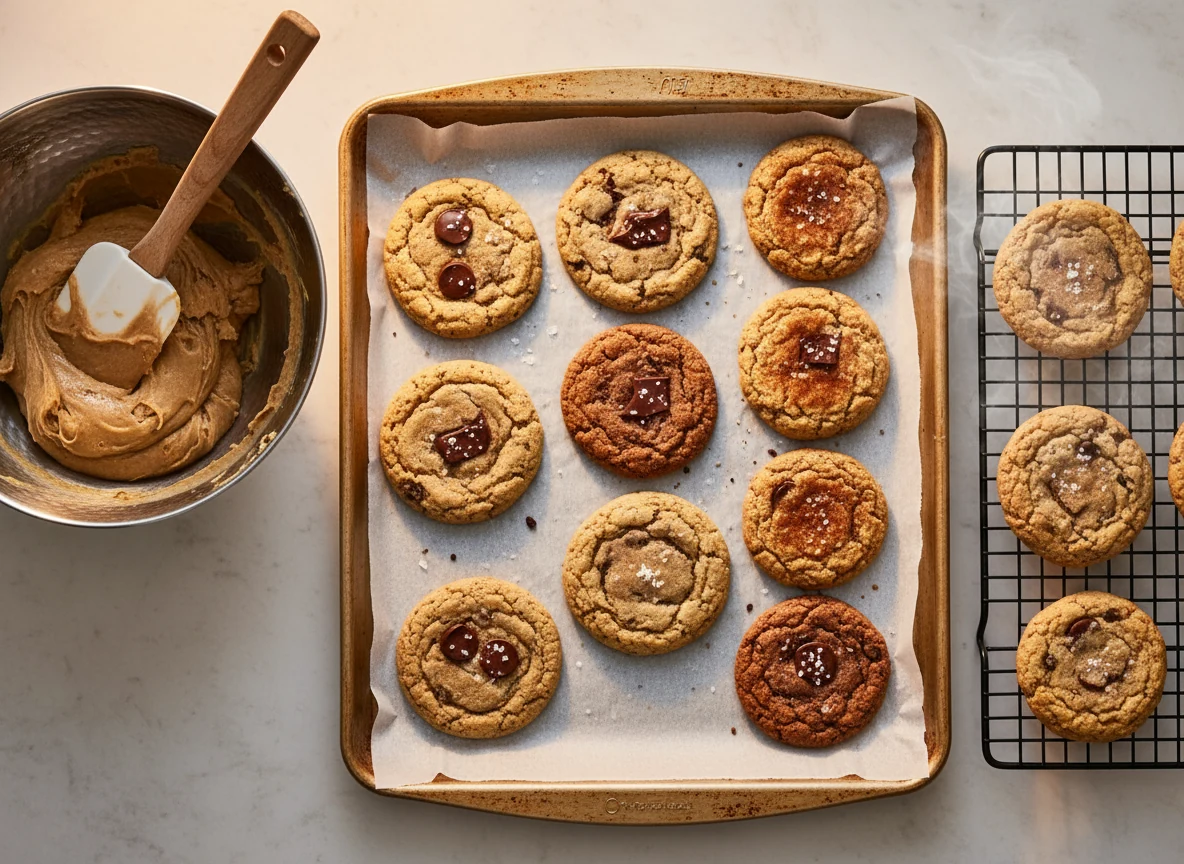
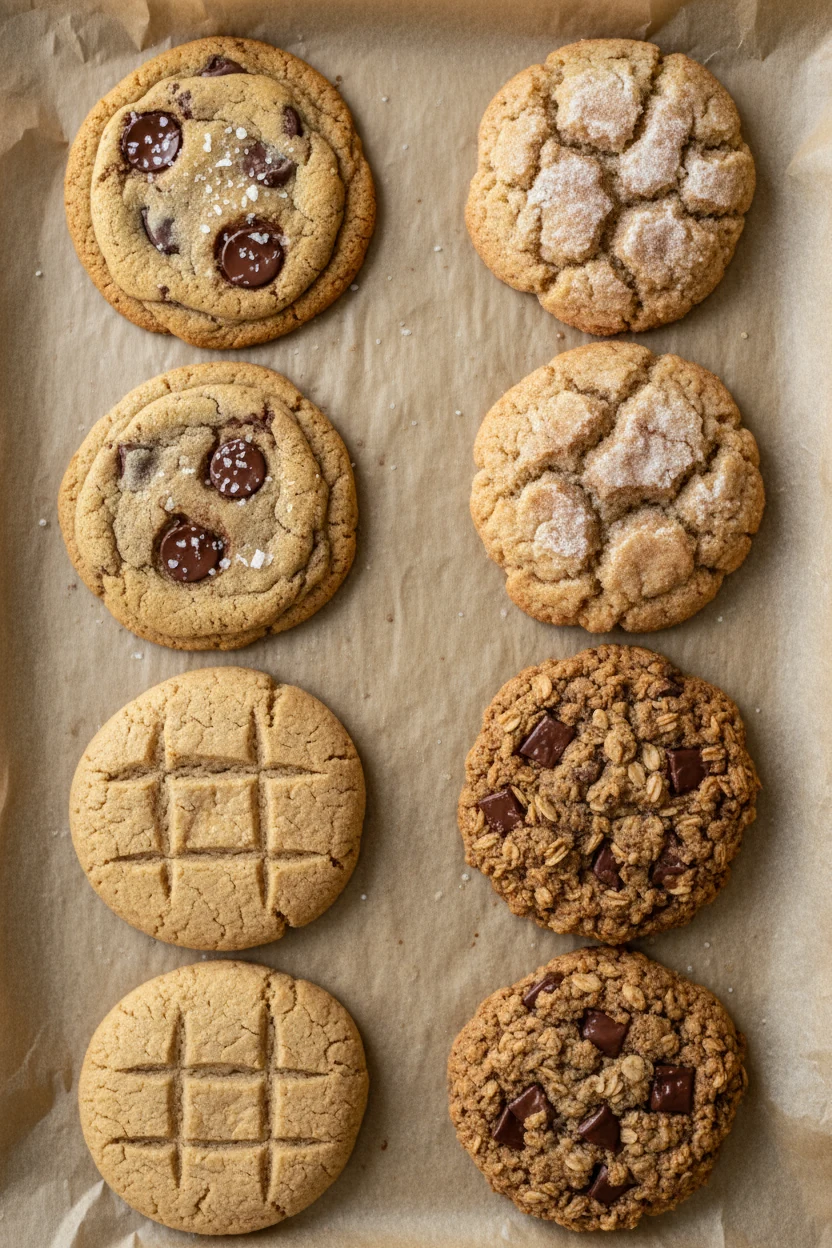
- Master dough, many flavors: Chocolate chip, peanut butter, snickerdoodle, or oatmeal-chocolate—four crowd-pleasers from one base.
- Bakery-level texture: A mix of brown and white sugar for chew + crisp edges; an extra yolk for tenderness.
- Pantry-staple ingredients: Flour, butter, sugars, egg, vanilla. Add your favorite chips or spices and you’re in business.
- Scales up beautifully: Double it for parties or stash pre-scooped dough balls in the freezer for instant dessert insurance.
What Goes Into This Recipe – Ingredients
Yield: About 20 medium cookies using a 2-tablespoon scoop.
- 2 cups (240 g) all-purpose flour
- 1/2 teaspoon baking soda
- 1/2 teaspoon fine salt
- 1/2 cup (113 g) unsalted butter, melted and slightly cooled
- 3/4 cup (150 g) packed light brown sugar
- 1/2 cup (100 g) granulated sugar
- 1 large egg + 1 large yolk (for extra chew)
- 2 teaspoons pure vanilla extract
Choose your mix-ins/variants (pick one path below):
- Chocolate Chip: 1 to 1 1/2 cups (170–255 g) semisweet or milk chocolate chips or chunks.
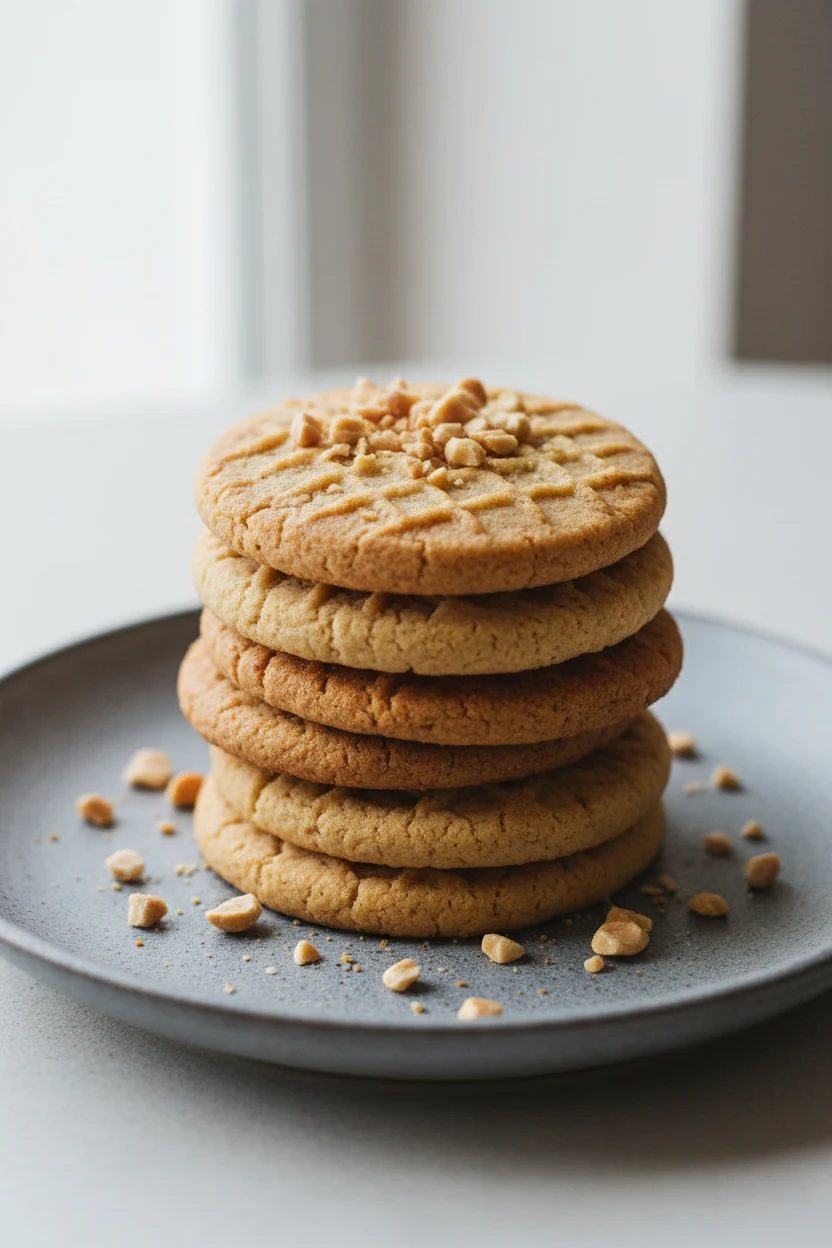
- Peanut Butter: Add 1/2 cup (120 g) creamy peanut butter; reduce melted butter to 6 tablespoons (85 g). Optionally add 1/2 cup (70 g) chopped peanuts.
- Snickerdoodle: Add 1 teaspoon cream of tartar to dry ingredients. Make a rolling mix with 1/4 cup (50 g) sugar + 1 tablespoon ground cinnamon.
- Oatmeal-Chocolate: Use 1 1/2 cups (180 g) flour + 1 cup (90 g) quick oats; add 1 cup (170 g) chocolate chips; optional 1/4 teaspoon cinnamon.
Optional but clutch: Flaky sea salt for finishing.
The Method – Instructions
- Heat the oven: Set to 350°F (175°C). Line two baking sheets with parchment. If you only have one sheet, bake in batches—no big deal.
- Combine dry: In a medium bowl, whisk flour, baking soda, and salt. For snickerdoodles, whisk in the cream of tartar now. For oatmeal-chocolate, use the adjusted flour and whisk in the oats here.
- Mix wet: In a large bowl, stir the melted butter, brown sugar, and granulated sugar until shiny and cohesive, about 30 seconds. Beat in the egg, yolk, and vanilla until smooth.
- Bring it together: Add the dry mix to the wet in two additions. Stir just until a soft dough forms. For peanut butter cookies, blend in the peanut butter before adding dry ingredients. Fold in your mix-ins (chips, nuts) gently. Don’t overmix; you’re making cookies, not rubber balls.
- Scoop: Use a 2-tablespoon scoop to portion dough onto the prepared sheet, spacing 2 inches apart. For snickerdoodles, roll each ball in the cinnamon-sugar mix. For peanut butter, gently press with a fork for a crosshatch pattern.
- Bake: Bake 9–11 minutes (8–10 for smaller scoops, 11–13 for larger). Look for set, lightly golden edges and soft, pale centers. If the centers look a bit underdone, congrats—that’s the secret to chewy cookies.
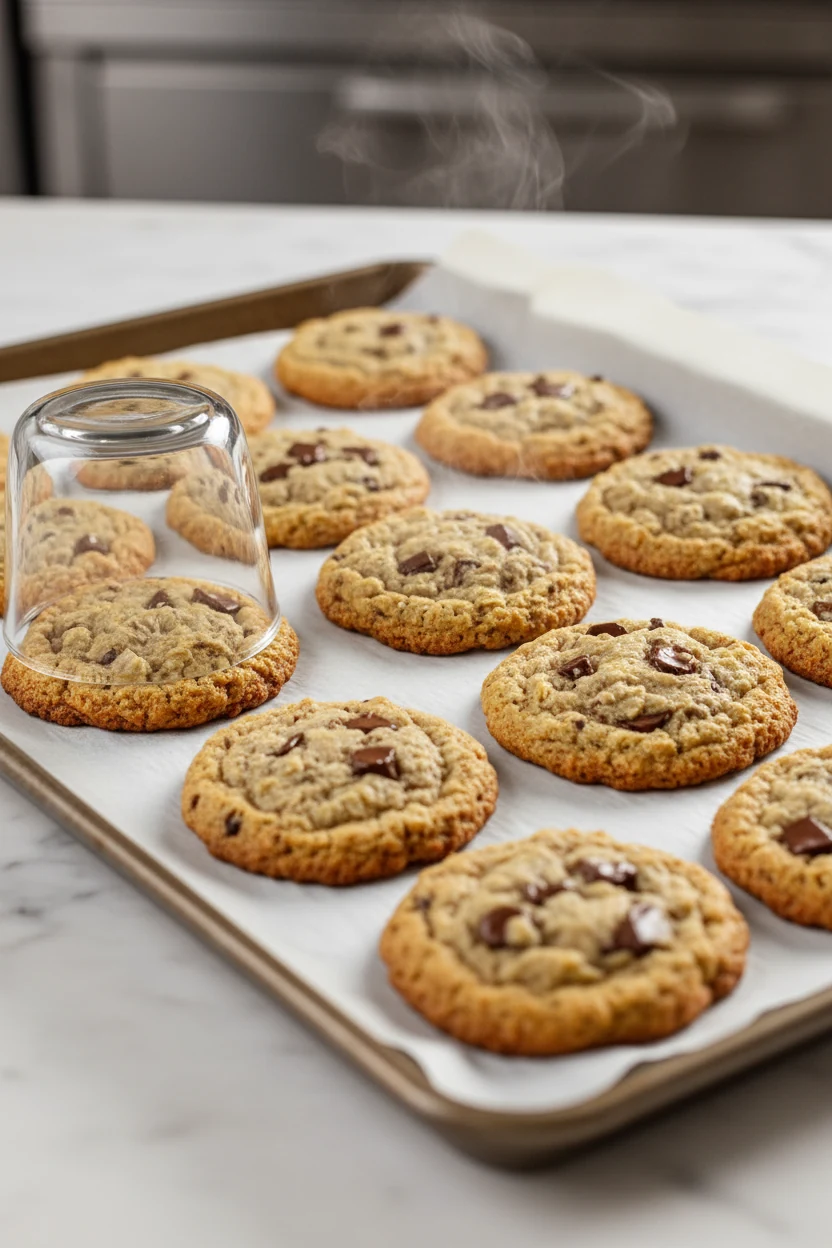
- Finish like a pro: Immediately after baking, tap the tray on the counter once for crinkles. If you like neat edges, use a round glass or cookie cutter to scoot each cookie into a perfect circle. Sprinkle with flaky salt if you’re into that (you are).
- Cool: Let cookies rest on the sheet for 5 minutes, then transfer to a rack to cool another 5–10 minutes. Or eat one now. I won’t tell.
FYI: If your kitchen is hot and the dough seems loose, chill the scooped dough balls for 10 minutes while the oven finishes heating. You’ll get thicker cookies without drama.
Storage Instructions
- Room temp: Store in an airtight container up to 4 days. Add a slice of bread to keep them soft (bread takes the hit, your cookies stay glorious).
- Freeze baked: Cool completely, then freeze in a zip bag up to 2 months. Thaw at room temp or warm 3–4 minutes at 300°F (150°C).
- Freeze dough: Scoop onto a sheet, freeze solid, then bag for up to 3 months. Bake from frozen at 350°F (175°C) adding 1–2 minutes.
- Re-crisp edges: A 2–3 minute reheat at 350°F (175°C) brings back that fresh-baked magic.
What’s Great About This
- Ridiculously adaptable: One base, endless flavors—chips, spices, zest, nuts, dried fruit. Your pantry is the only limit.
- Texture dialed in: Chewy middle, crisp rim, soft bite. The brown sugar + extra yolk combo does the heavy lifting.
- Beginner-proof: Melted butter and a spoon. No creaming, no anxiety, no “Did I overbeat the butter?” spiral.
- Fast gratification: No chilling means cookies now, not in 24 hours. Patience is a virtue, but so are warm cookies.
- Budget-friendly: Pantry staples become bakery-level snacks for a fraction of the price of store-bought.
Don’t Make These Errors
- Overbaking: Pull them when centers still look soft. They finish setting on the sheet. Dry cookies are sadness baked at 350°F.
- Butter too hot: If your melted butter is steaming, it’ll scramble the egg and flatten the cookies. Let it cool 5 minutes first.
- Heavy-handed flour: Scooping compacts flour. Spoon-and-level or use a scale. Too much flour = cakey pucks.
- Skipping salt: A tiny bit sharpens sweetness. Dessert isn’t a salt-free zone.
- Packing the pan: Give cookies room to spread—at least 2 inches apart.
- Overmixing: Stop when you don’t see dry streaks. Stirring for sport builds gluten and kills the tender vibe.
Alternatives
- Gluten-free: Swap in a 1:1 gluten-free baking blend. If it lacks xanthan gum, add 1/4 teaspoon. Check spread; you may need to chill 15 minutes.
- Dairy-free: Use refined coconut oil (melted) or a plant butter stick at the same weight. Expect slightly more spread; bake 1 minute less.
- Vegan: Use plant butter and a flax egg (1 tablespoon ground flax + 3 tablespoons water, rest 5 minutes). Add 1 tablespoon plant milk if dough seems dry.
- Brown butter flex: Brown the butter, cool to room temp, then proceed. You’ll get nutty, toffee notes—worth the extra 5 minutes, IMO.
- Lower sugar: Reduce each sugar by 2 tablespoons. Texture will be slightly less chewy but still solid.
- Mix-in ideas: White chocolate + macadamia; dried cranberries + orange zest; toffee bits + pecans; pretzel chunks + dark chocolate; mini M&M’s for kid joy.
- Air fryer: 300°F (150°C), 6–8 minutes, small scoops, parchment liner with holes. Check early—air fryers move fast.
FAQ
How do I get thicker, bakery-style cookies?
Use a slightly larger scoop (3 tablespoons), chill the scooped dough 10–15 minutes, and bake on a cool, thick sheet. Pull them when edges set and centers look puffed but soft. A quick post-bake “pan bang” helps crinkles without extra spread.
Why did my cookies spread too much?
Likely culprits: butter too hot, too little flour, or a warm pan. Let butter cool until just warm, measure flour accurately, and use a fresh parchment-lined, cool sheet for each batch. A 5–10 minute chill on scooped dough also controls spread.
Can I make the dough ahead of time?
Yes. Store the dough covered in the fridge up to 48 hours, or freeze scoops up to 3 months. If refrigerated, let dough sit at room temp 10–15 minutes so it’s scoopable. From frozen, bake as directed adding 1–2 minutes.
Do I need a mixer for this?
Nope. This is a melted-butter, spoon-and-bowl recipe designed to be mixer-free. A whisk and a sturdy spatula get you from dry ingredients to warm cookie in record time. FYI: A mixer won’t hurt, but it’s not required.
Can I halve or double the recipe?
Absolutely. Halve everything for a small batch or double for a crowd. If doubling, bake on multiple sheets and rotate halfway for even browning. Keep an eye on timing; bigger cookies and full ovens can add 1–2 minutes.
Should I use salted or unsalted butter?
Use unsalted for control, then add salt per the recipe. If you only have salted butter, reduce the added salt to a tiny pinch. Taste the raw dough (hey, you’re the boss) and adjust.
How do I measure flour correctly?
A scale is best (240 g total here). If measuring by volume, fluff flour, spoon into the cup, and level with a knife. Scooping compacts up to 25% more flour, which leads to dry, cakey cookies you did not order.
What’s the best way to reheat cookies?
For just-baked edges and gooey chips, warm cookies on a sheet at 300°F (150°C) for 3–4 minutes. Microwaving works in a pinch (10–12 seconds), but the oven gives you that crisp-chewy contrast.
My Take
These cookies are my weeknight cheat code: a base dough that behaves, flavors that feel intentional, and a timeline that respects real life. The melted-butter method keeps it simple while still unlocking that bakery texture we all chase. Make the chocolate chip version once, then branch into snickerdoodle or brown-butter pecan and watch your “house cookie” reputation form. Keep a stash of frozen scoops and you’re always 10 minutes from warm-cookie energy. That’s a power move I’ll back any day.
Printable Recipe Card
Want just the essential recipe details without scrolling through the article? Get our printable recipe card with just the ingredients and instructions.