Baby Food Recipes Stage 1: Simple Purees Parents Swear By
Your quick-start guide to silky first purees, safe textures, smart prep, and batch hacks so you can feed confidently all week.
You don’t need a fancy gadget garage to nail first foods. You need one simple method, a few hero ingredients, and a plan that actually fits your week. This playbook gives you exactly that: silky, single-ingredient purees, portioned like a pro, with zero guesswork. You’ll learn the best produce to start with, how to nail texture, and a storage routine that makes future you want to high-five present you. Big promise? Yes. Big payoff when your little one opens wide and smiles.
Why This Recipe Works
This method is built around one big idea: keep it simple, keep it smooth, keep it safe. Stage one is about helping your baby learn how to move food around their mouth and swallow without stress. That means single-ingredient purees with a perfectly thinned, silky texture.
We focus on produce that cooks soft and blends ultra-smooth with minimal effort. Think sweet potatoes, pears, apples, peas, zucchini, squash, banana, and avocado. These choices deliver gentle flavors, natural sweetness, and easy digestibility.
The technique minimizes waterlogging (hello, bland puree) and maximizes nutrients by using quick, moisture-smart cooking methods. Steaming locks in vitamins, while roasting concentrates flavor. Then we blend, thin, and strain if needed for a magic-smooth finish.
Finally, you get a portioning system that prevents waste and keeps mealtimes chill. Small servings, smart freezing, and clear reheating rules create a reliable routine. When baby is ready, you scale texture up—not chaos.
Ingredients Breakdown
- Choose 1 main produce (about 8–10 ounces uncooked):
- Sweet potato or butternut squash – naturally sweet, vitamin A rich.
- Pears or apples – gentle on tummies, mild flavor.
- Peas or zucchini – smooth when blended, fiber plus vitamin C.
- Banana or avocado – no-cook options, creamy texture in seconds.
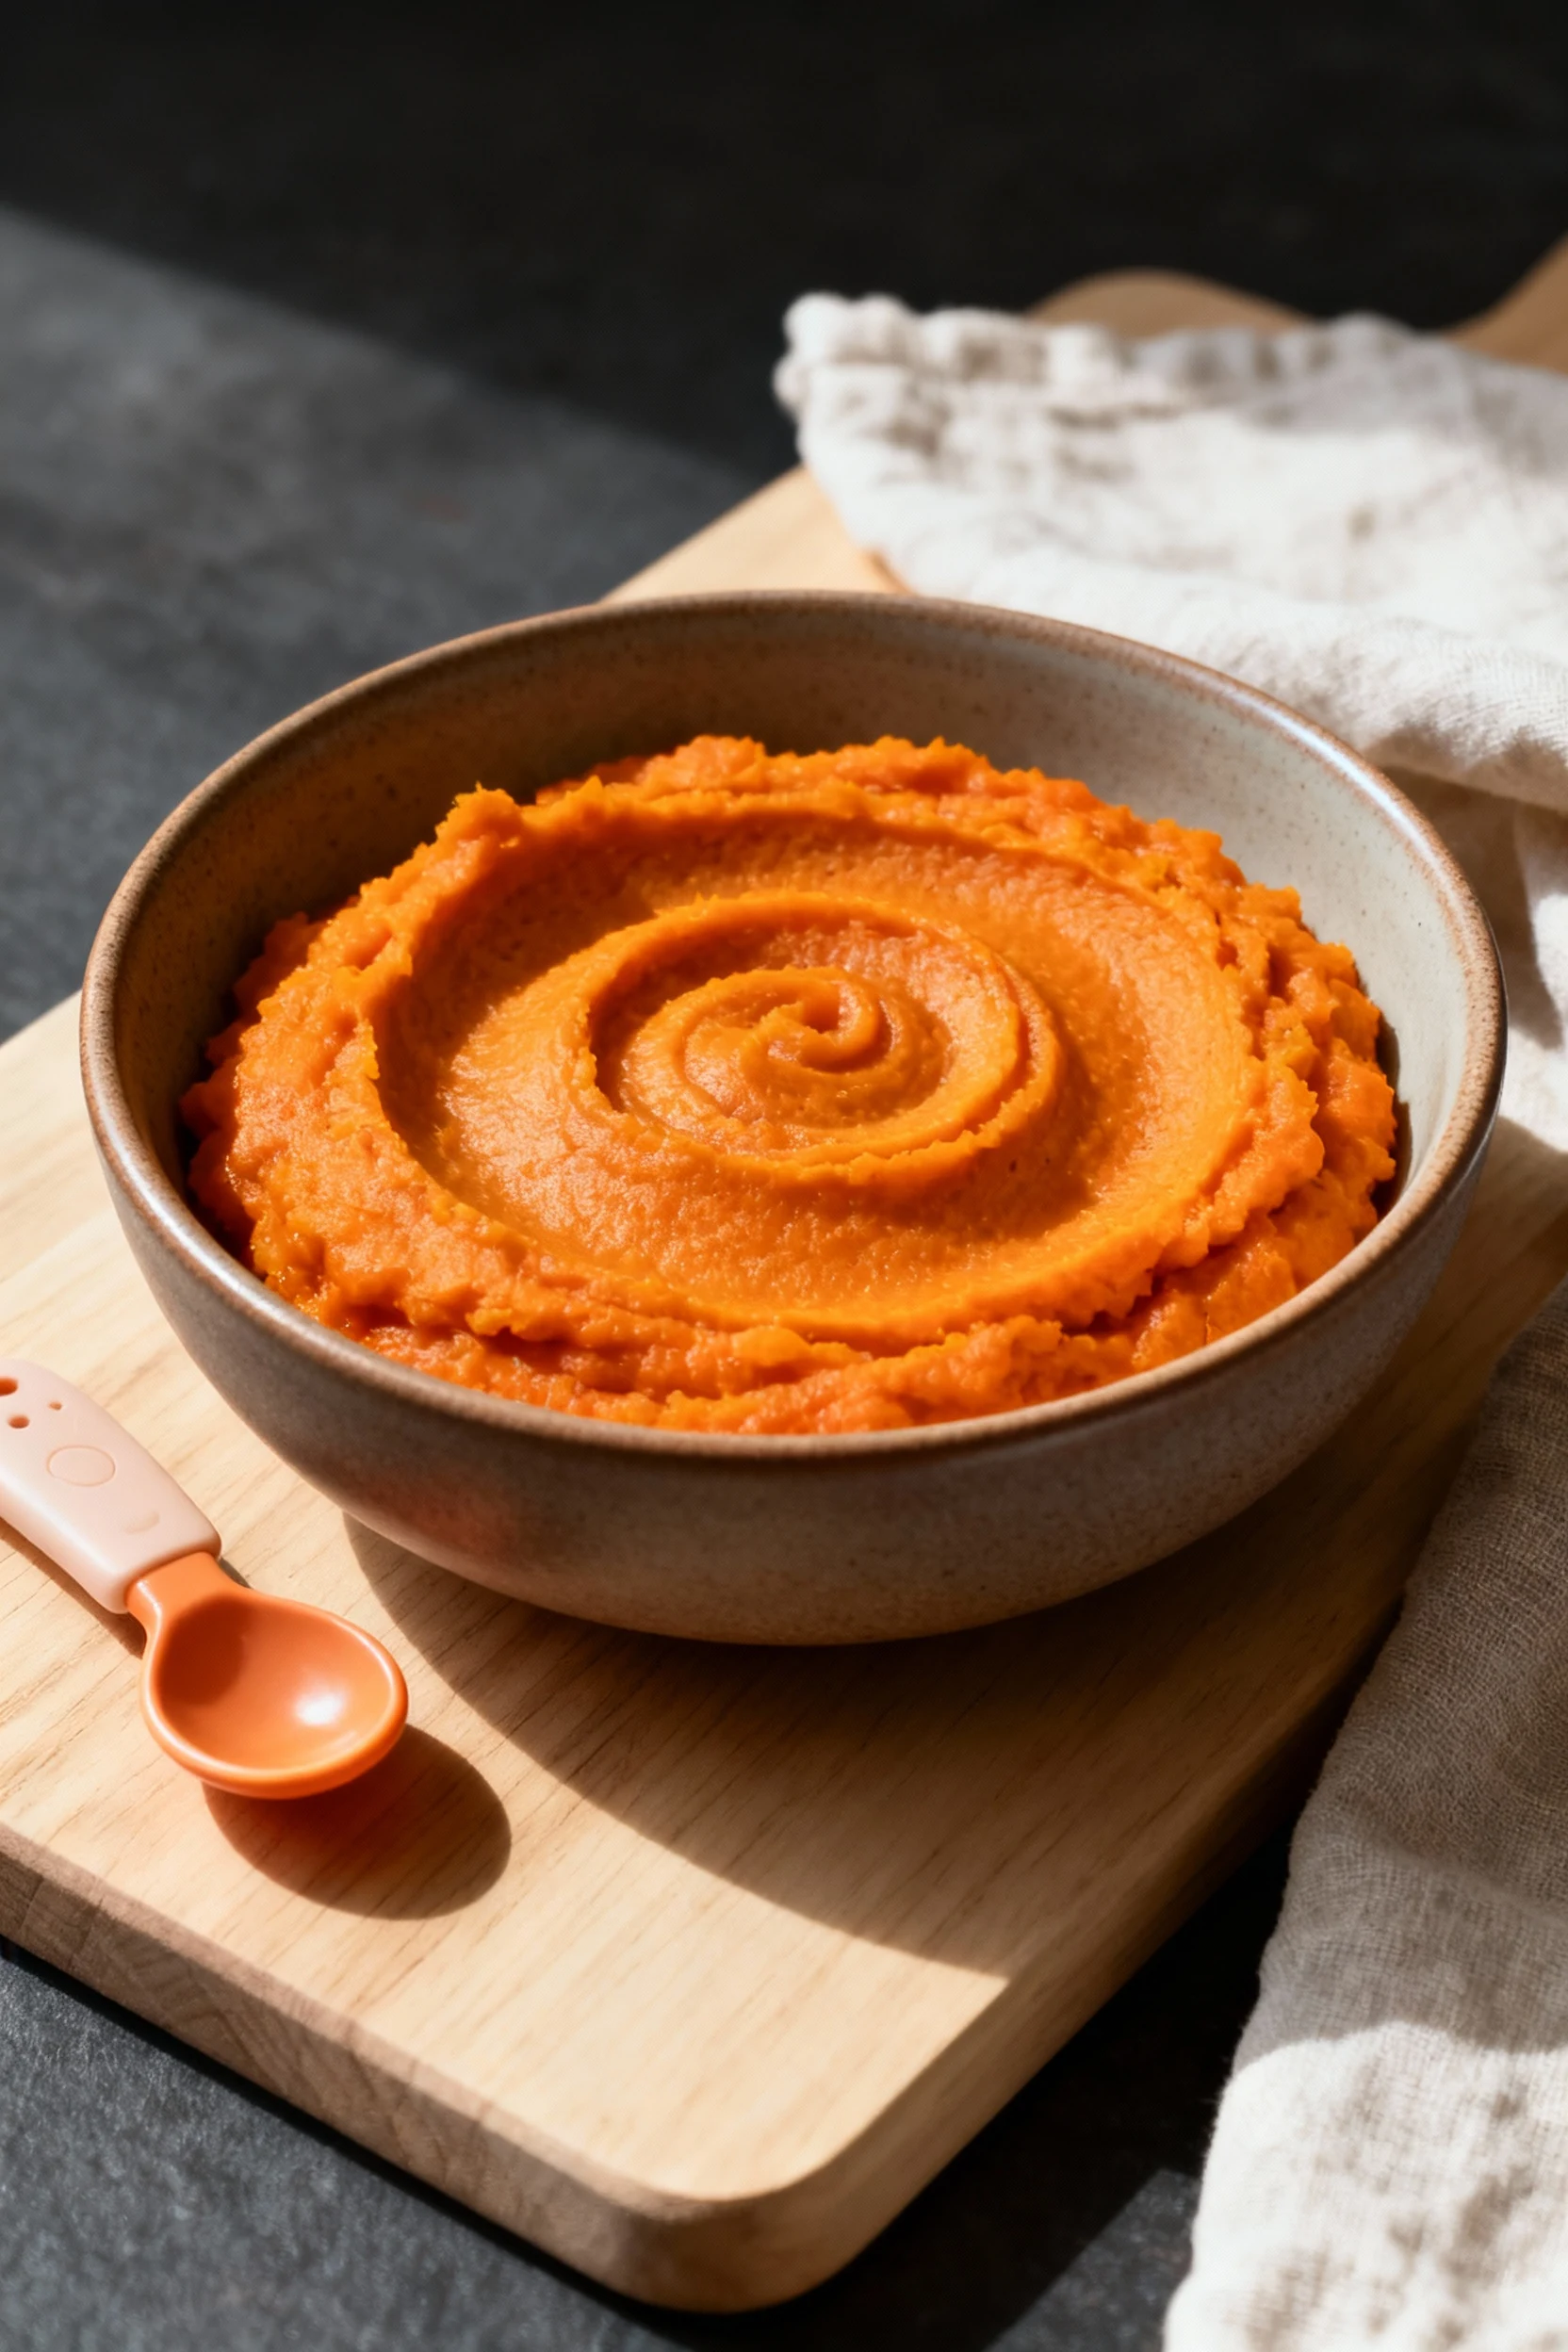
- Carrots – steam well and puree glossy with a hint of sweetness.
- Thinning liquid:
- Warm water – neutral and easy.
- Breast milk or prepared formula – add after cooking to thin and enrich.
- Optional brightness:
- 2–3 drops lemon juice for apples or pears to slow browning and lift flavor.
- Optional iron boost:
- 1 teaspoon iron-fortified baby oatmeal powder, after baby tolerates the main ingredient.
Note: No salt, no sugar, and no honey. Keep it single-ingredient until baby tolerates each food. Then you can mix, but one step at a time.
Cooking Instructions
- Prep the produce. Wash, peel, and remove seeds or pits. Chop into 1-inch pieces for even cooking. For banana or avocado, skip peeling ahead—prep right before blending to avoid browning.
- Choose your cook method. Steaming preserves nutrients and yields a clean, mild taste. Roasting concentrates flavor and natural sugars, great for sweet potato and squash. Banana and avocado are no-cook.
- Cook until fork-tender.
- Steam: 8–12 minutes for pears, apples, zucchini, peas; 12–15 minutes for carrots; 15–20 minutes for sweet potato or squash.
- Roast: 375°F, 20–30 minutes for sweet potato or squash, until easily pierced.
- Blend smooth. Transfer cooked produce to a blender or food processor. Start with a splash of warm water. Blend 30–60 seconds. Scrape down sides and blend again until silky.
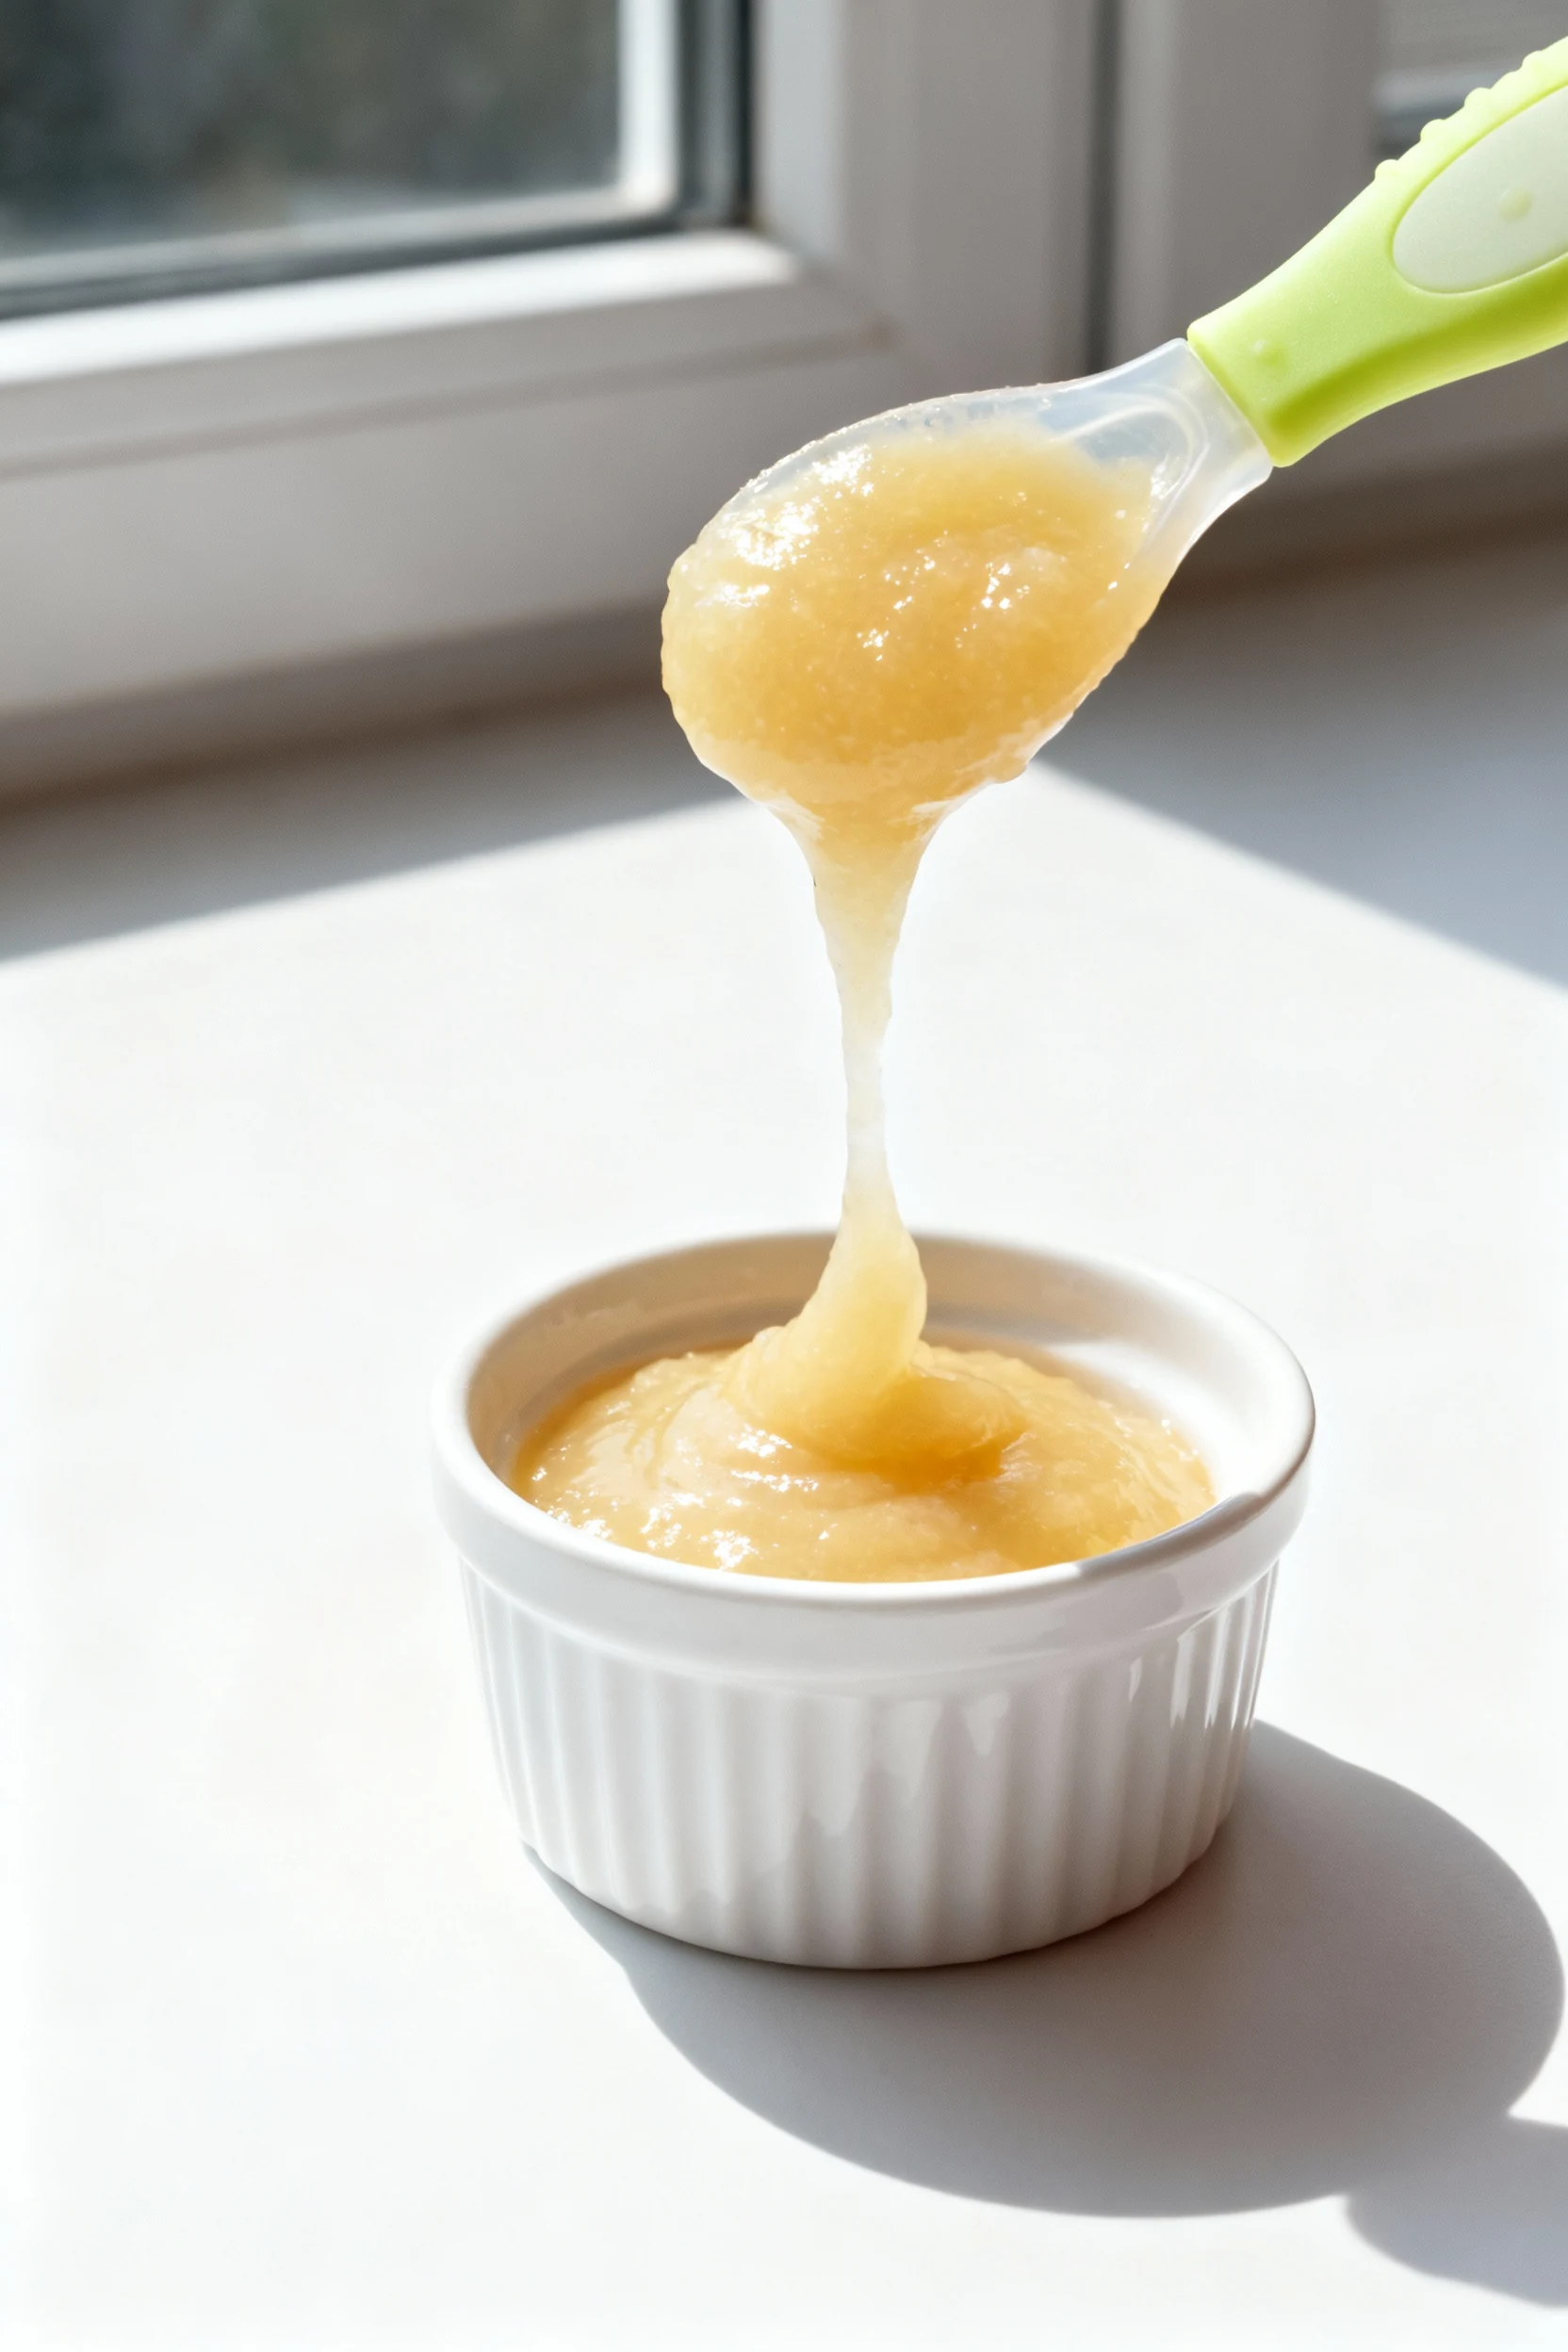
- Thin to the right texture. Add warm water, breast milk, or prepared formula in small increments—about 1–2 teaspoons at a time—until the puree drips easily off a spoon. Baby’s first purees should be pourable, not pasty.
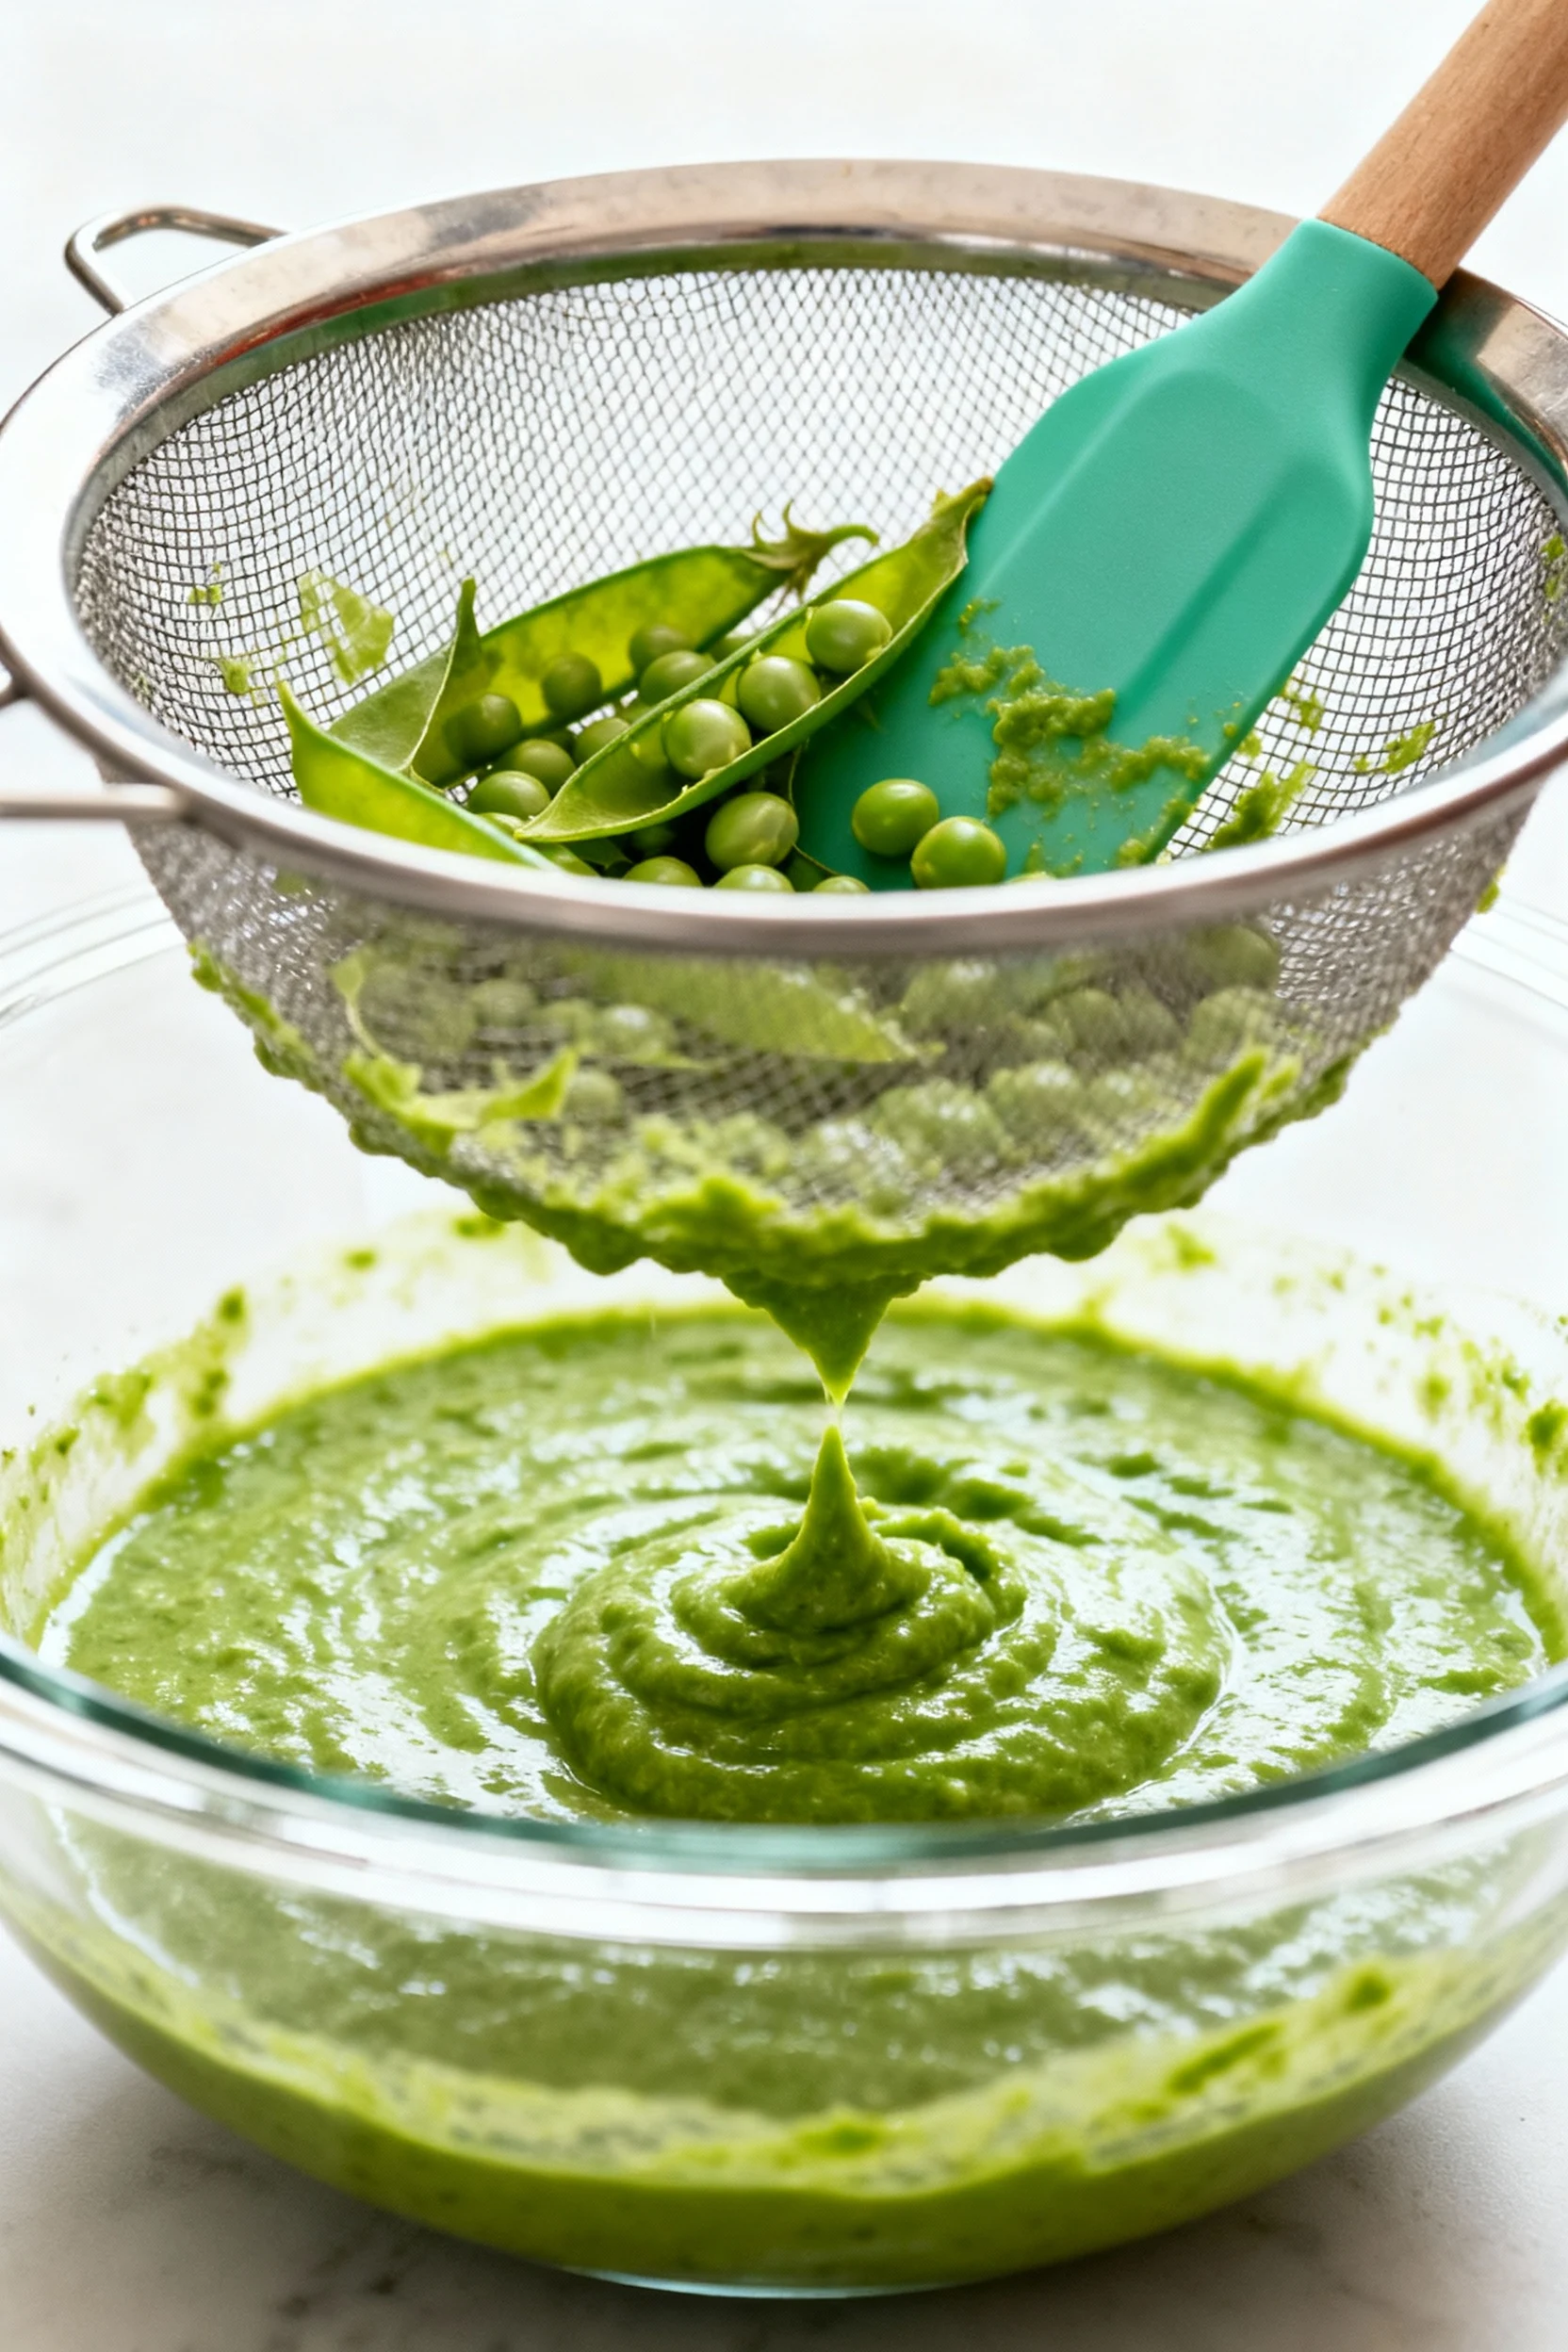
- Optional: strain for extra-smooth. Push the puree through a fine-mesh sieve if you see tiny skins or fibers (peas and pears sometimes benefit). This step makes the texture dream-level smooth.
- Taste and brighten. For apple or pear, a couple drops of lemon juice helps keep color and adds a light lift. Skip citrus if your pediatrician prefers later introduction—your call.
- Cool safely. Let the puree cool until just warm. Stir well if you warmed anything in the microwave to avoid hot spots. Always test a small spoonful on your wrist.
- Serve a tiny portion. Start with 1–2 teaspoons. Watch baby’s cues. If they lean in and open wide, offer a bit more. If they turn away, no pressure—try again tomorrow.
- Store the rest. Chill within 2 hours. See storage tips below for fridge and freezer details.
- Introduce one new food at a time. Offer the same single-ingredient puree for 2–3 days before trying another. This makes spotting reactions simple and stress-free.
Storage Tips
- Fridge: Store in an airtight container for up to 3 days. Place on the coldest shelf, not the door.
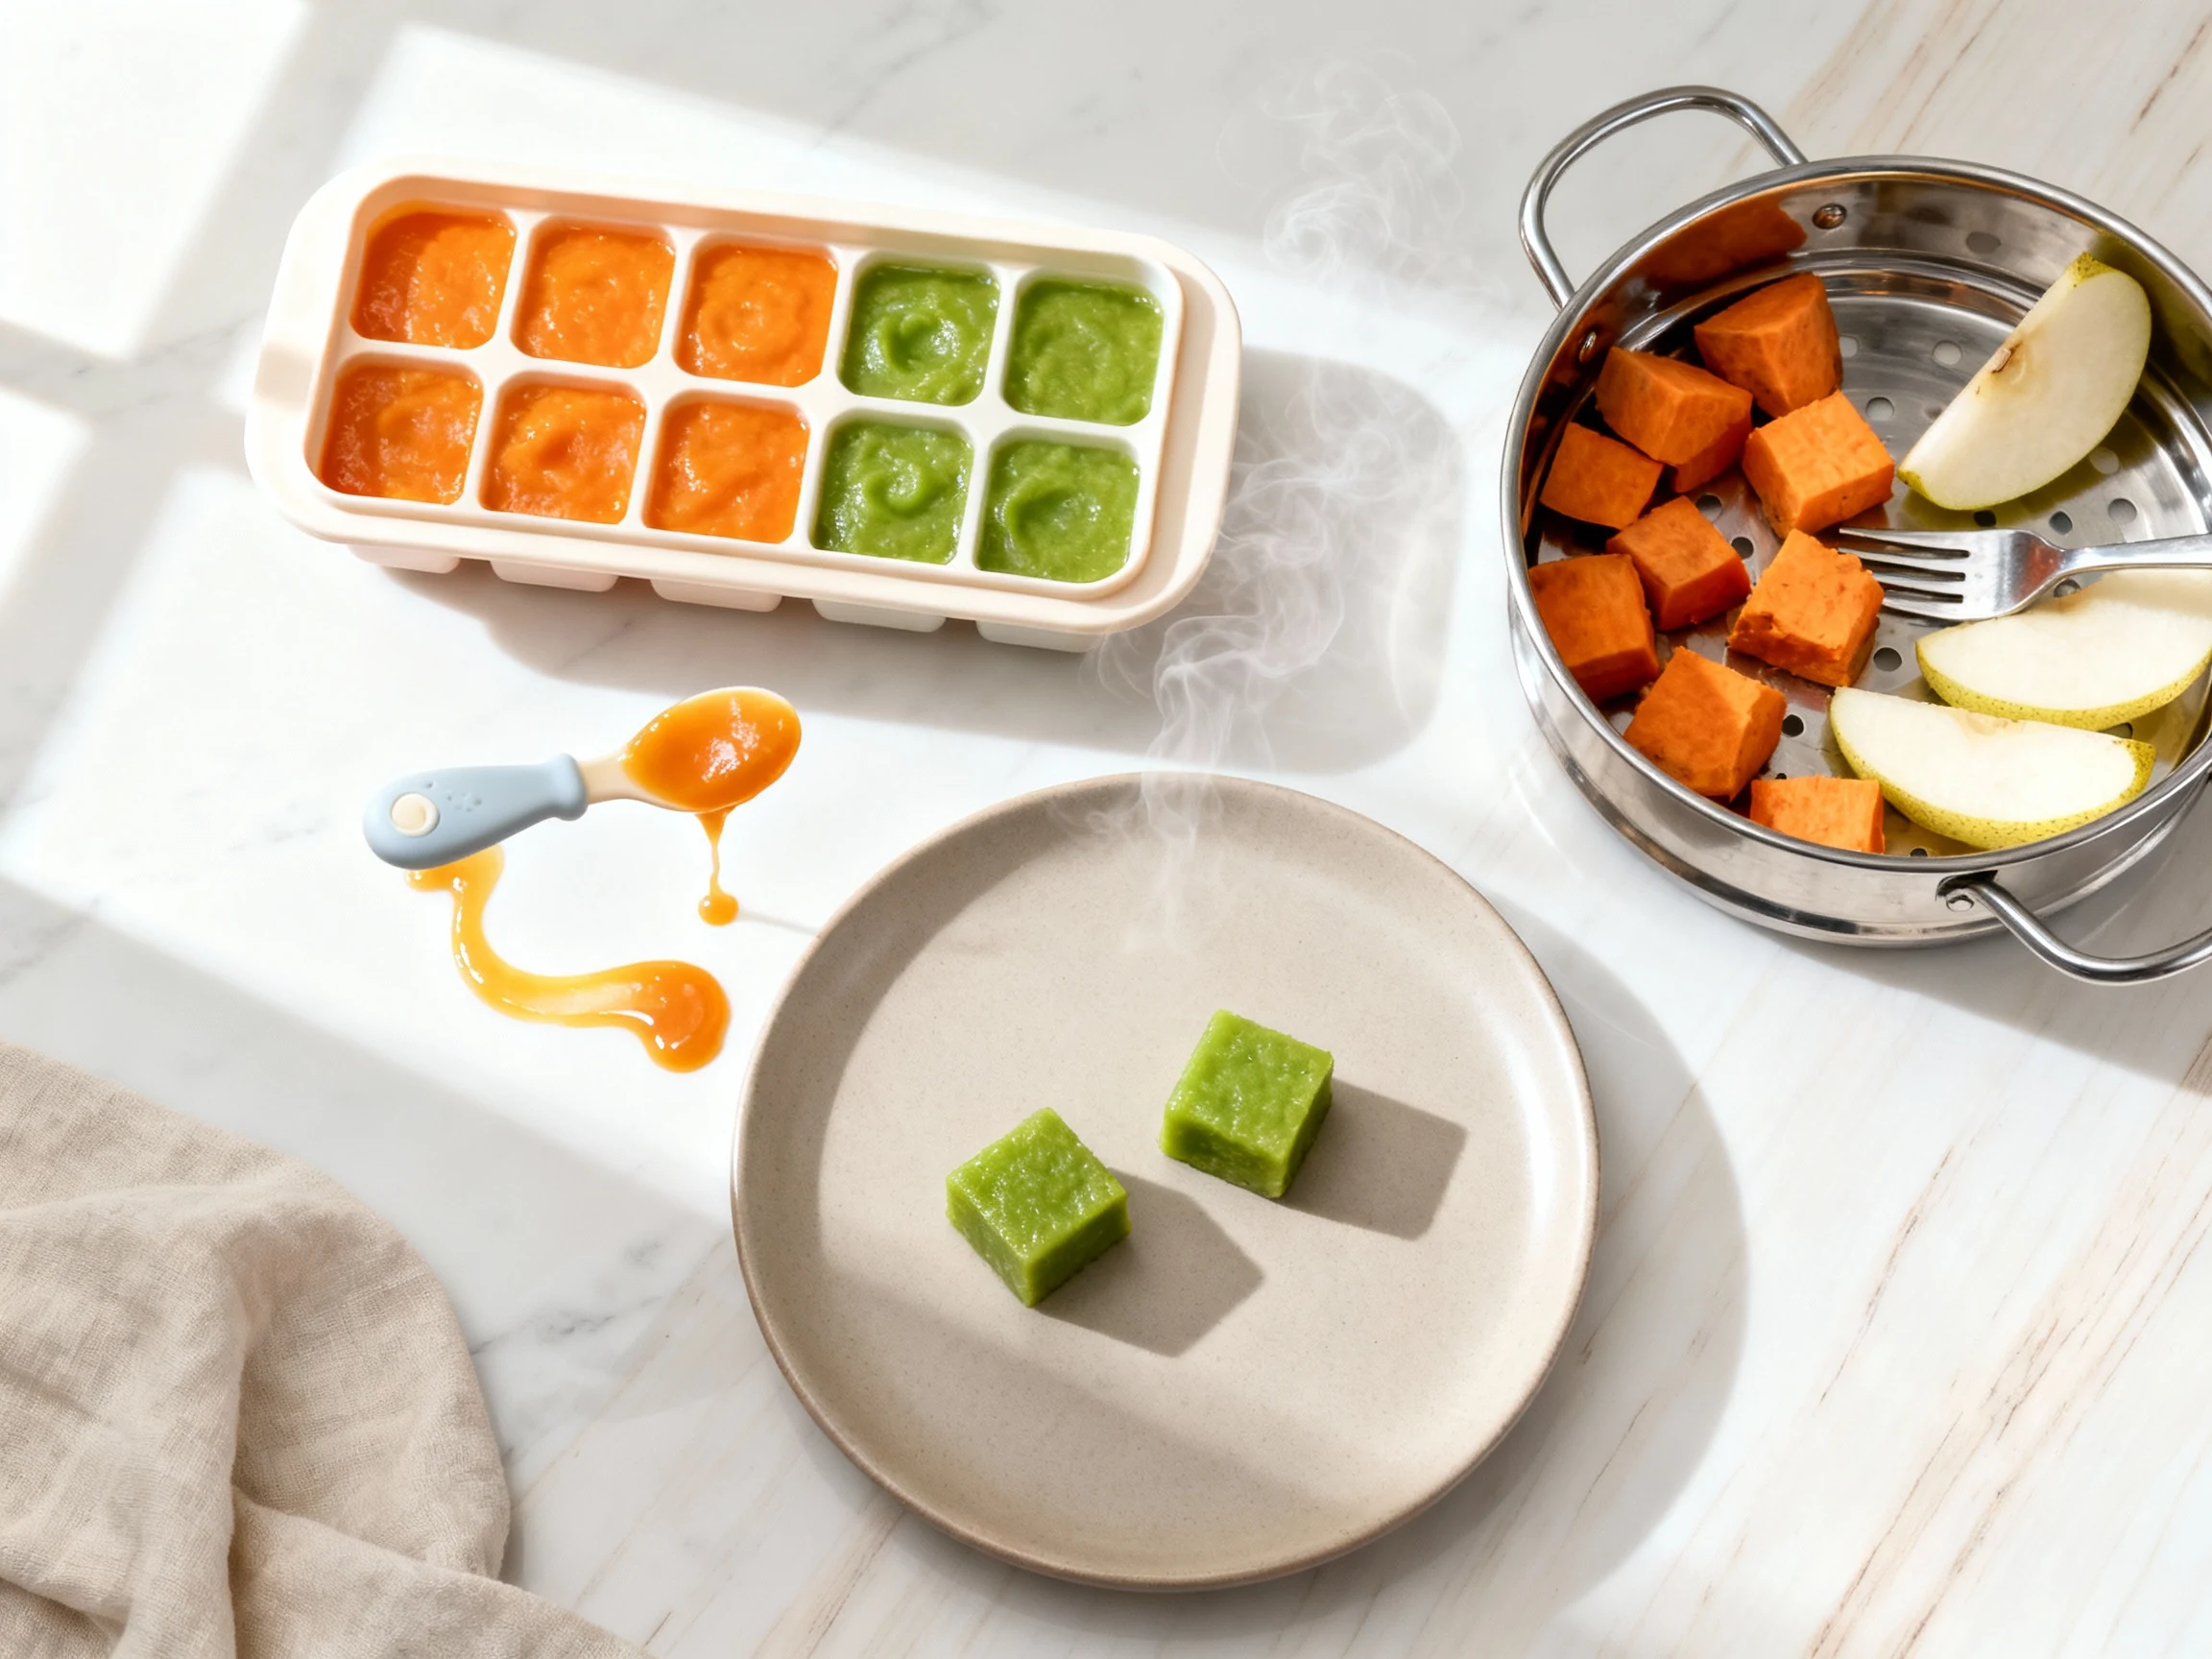
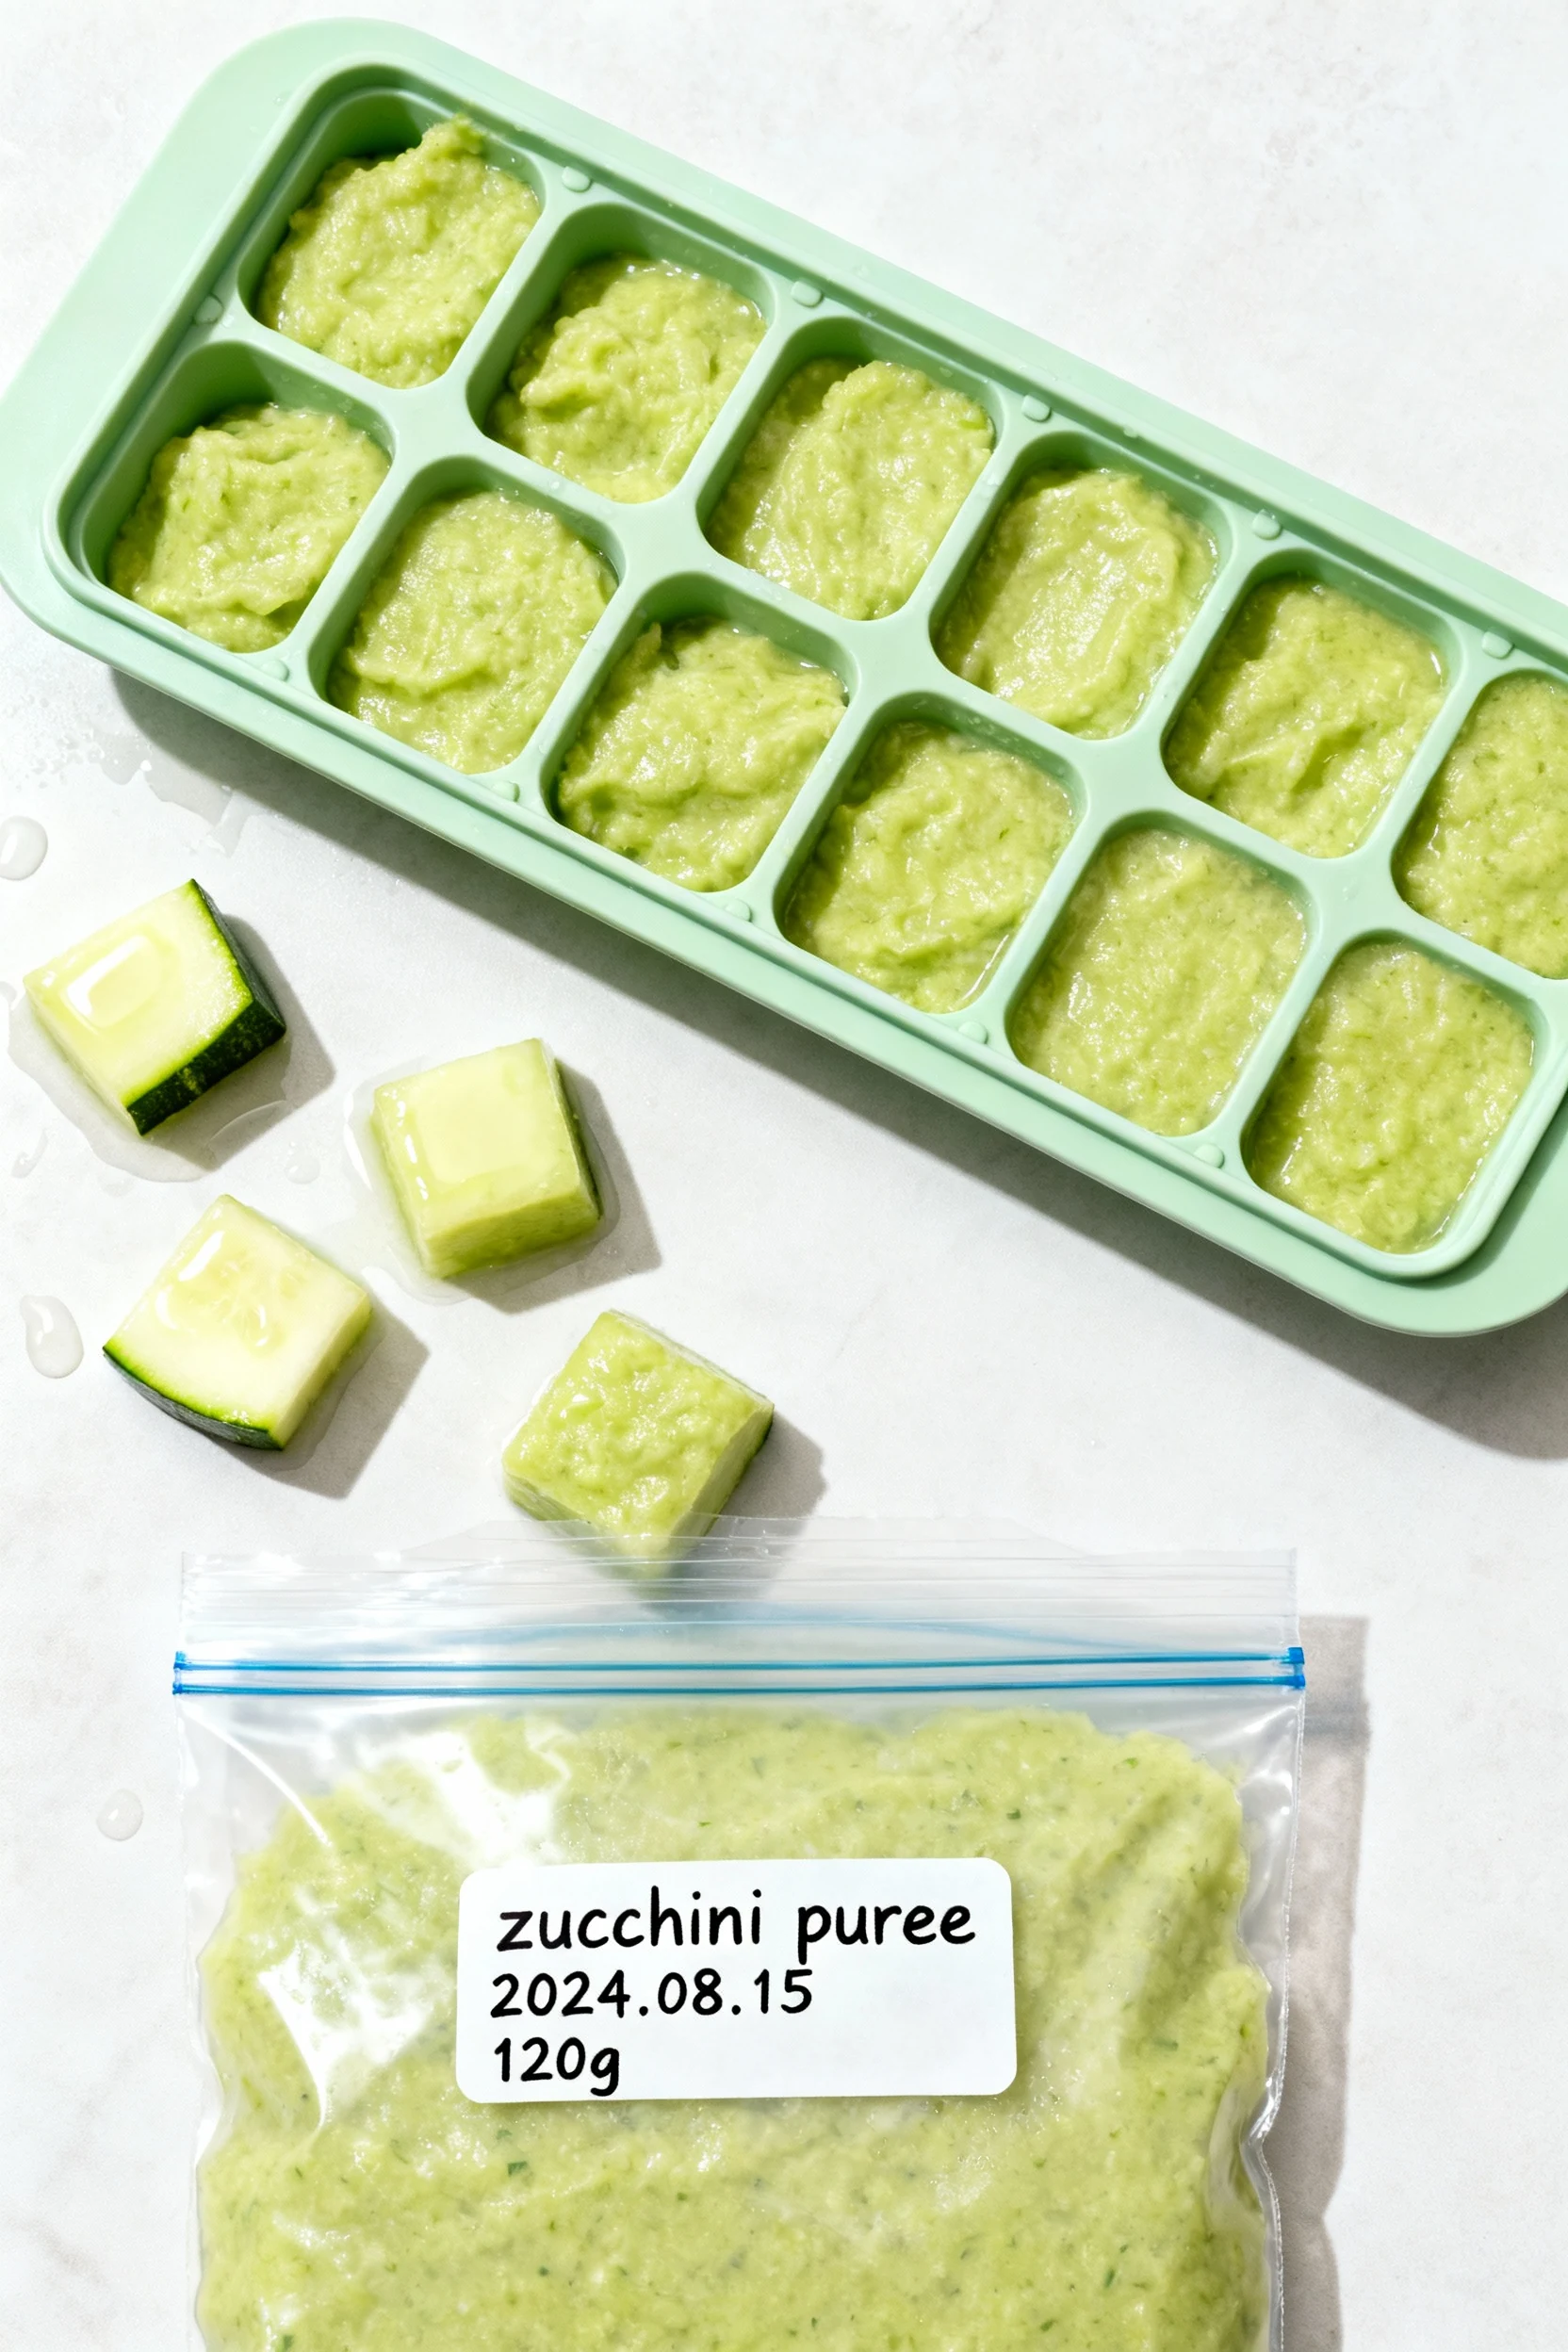
- Freezer: Portion into silicone trays or ice cube trays. Freeze solid, then transfer cubes to a labeled freezer bag. Use within 3 months for best flavor.
- Thaw: Overnight in the fridge, or gently in a covered bowl over warm water. Stir well. If using breast milk to thin, add after thawing for best quality.
- Reheat: Warm to steaming, then cool to just warm. Microwave in short bursts, stirring between each to prevent hot spots.
- No double-dipping: Any puree that touched a used spoon or baby’s mouth should be discarded after the meal. Portion small amounts to avoid waste.
- Label everything: Write the food, date, and portion size. Your future self will thank you at 6 a.m., IMO.
Benefits of This Recipe
- Perfect first texture: Silky, thin puree helps baby learn to swallow safely and confidently.
- Low ingredient stress: Single-ingredient approach makes identifying likes, dislikes, and sensitivities straightforward.
- Nutrition-forward: Produce picks deliver vitamins, fiber, and energy. Add an optional iron boost as advised.
- Budget-friendly: One sweet potato can make multiple servings for a fraction of store-bought jars.
- High control: You choose freshness, ripeness, and the exact texture—no mystery additives.
- Batch-friendly: Cook once, portion into cubes, and you’ve got a week’s worth of meals on tap.
- Flexible for growth: As baby progresses, you simply reduce thinning and skip straining to increase texture.
Don’t Make These Errors
- Making it too thick. Early purees should be pourable. If the spoon stands up, it’s not a badge of honor—add liquid.
- Adding salt or sugar. Babies don’t need it, and salt strains tiny kidneys. Let natural sweetness win.
- Using honey. Hard no under 12 months. Botulism risk isn’t worth it, even for “just a dab.”
- Mixing multiple new foods at once. You won’t know what caused a reaction. One new food per 2–3 days is the move.
- Skipping peeling at first. For a smoother texture, peel apples, pears, carrots, and similar produce in the early weeks.
- Overcooking into mush-water. Extra water dilutes flavor and nutrients. Steam until tender, not falling apart.
- Microwaving without stirring. Hot spots are sneaky. Stir, rest, and test before serving.
- Refreezing thawed puree. Once thawed, use within 24 hours or discard. No second freeze, FYI.
- Ignoring iron. Babies need iron from around 6 months. Consider iron-fortified cereal mixed in after tolerance to the main food is clear.
- Serving straight from the big container. Saliva contamination shortens shelf life. Portion first, then serve.
Recipe Variations
- Sweet Potato Silk: Steam cubes, blend with warm water, thin to a drip-off-the-spoon texture. Freezes like a dream.
- Pear Cloud: Steam peeled pear slices 8–10 minutes, blend, and add 2–3 drops lemon juice to keep it bright.
- Apple Velvet: Steam or roast, then puree ultra-smooth and strain if needed. Add a splash of formula for extra creaminess.
- Pea Velvet: Steam frozen peas 6–8 minutes, blend with water, then push through a sieve to catch skins.
- Zucchini Glow: Steam peeled chunks 6–8 minutes. Blend, then mix in a teaspoon of oatmeal powder after tolerance for a gentle iron boost.
- Butternut Basics: Roast halved squash cut-side down until soft. Scoop, blend, and thin gradually—roasting concentrates flavor.
- Banana Breeze: Mash ripe banana thoroughly or blend with a splash of formula. Serve fresh; browns fast but still fine.
- Avocado Cream: Mash fully ripe avocado with warm water or breast milk until glossy-smooth. For freezing, cover the surface tightly to reduce browning.
- Texture Step-Up: After a week or two, thin a little less and skip straining to gently increase texture while maintaining safety.
- First Mix-ins (after tolerance): Stir in 1 teaspoon iron-fortified cereal to apple, pear, or zucchini purees for extra iron. Keep it simple and single-step.
FAQ
When can I start offering first purees?
Most babies show readiness around 4–6 months. Look for good head and neck control, interest in food, and the ability to sit with support. Confirm timing with your pediatrician, since every baby’s timeline is unique.
How smooth should the puree be?
Early on, aim for a thin, silky puree that easily drips off a spoon. If it looks like thick hummus, add more liquid. You’re teaching skills, not winning a cement-mixing contest.
What liquid is best for thinning?
Warm water is simple and works well. Breast milk or prepared formula adds familiar flavor and nutrients—add after cooking and just before serving to keep quality high.
Can I freeze these purees?
Absolutely. Freeze in small portions for up to 3 months. Thaw overnight in the fridge and stir thoroughly; never refreeze thawed portions.
Do I need organic produce?
Use what fits your budget and access. Wash produce well and peel early on for the smoothest texture. Buying organic for the most delicate items if feasible is a nice-to-have, not a must-have.
How much should my baby eat per meal?
Start with 1–2 teaspoons and follow your baby’s cues. Many babies work up to 2–4 tablespoons over time. Appetite will vary—growth spurts and naps don’t read the schedule, FYI.
Which foods are the easiest first options?
Sweet potato, pear, apple, zucchini, peas, banana, and avocado blend ultra-smooth and have gentle flavors. They’re forgiving to cook and easy for babies to enjoy.
What about allergen introduction?
Discuss a plan with your pediatrician. Once baby handles a few simple purees, small amounts of common allergens (like thinned peanut powder or yogurt later on) may be introduced safely and gradually under guidance.
Can I use a hand masher instead of a blender?
For banana and avocado, yes. For cooked produce, a blender or food processor creates the smoothest early-stage texture. If you mash by hand, check for lumps and thin more generously.
Is it okay if the puree changes color after freezing?
Yes. Slight browning in banana and avocado is normal and harmless. A few drops of lemon in apple or pear slows browning, but appearance changes don’t mean it’s unsafe.
Should I warm the puree before serving?
Room temperature or lightly warm tends to be most accepted. If warming in the microwave, heat briefly, stir well, and test the temperature before feeding. No lava mouth on your watch.
Do I need to follow the 2–3 day rule for every new food?
It’s a smart safety practice in the early phase. Offering one new food for a couple of days makes it easy to spot reactions and build a clear food history. After a handful of tolerances, your pediatrician may greenlight a faster pace.
Final Thoughts
Your first-foods game doesn’t need to be complicated. With a handful of forgiving produce picks, a simple cook-blend-thin routine, and smart storage, you’ll have silky purees ready whenever your tiny boss wants a snack. Keep it single-ingredient, keep it smooth, and let your baby lead the pace. Build consistency now, and you’ll unlock calmer meals and happier tummies—wins all around.
Printable Recipe Card
Want just the essential recipe details without scrolling through the article? Get our printable recipe card with just the ingredients and instructions.