Onion Recipes to Win Weeknights and Wow Guests — Fast
From caramelized gold to tangy pickles, master one base and spin it into weeknight dinners and party apps without extra fuss.
The cheapest flavor upgrade in your kitchen isn’t truffle oil—it’s onions. Treat them right and you unlock steakhouse sweetness, jammy depth, and a punchy crunch for tacos, burgers, and salads with almost zero extra cost. This master method turns a bag of bulbs into a weeknight cheat code and a party trick that tastes like you spent all day. We’ll show you the high-ROI path: one pan, minimal ingredients, maximum payoff. Ready to turn one humble base into three fast wins? Good.
What Makes This Recipe So Good
Here’s the play: make a batch of deeply caramelized onions that flex across your week. They level up eggs at breakfast, become a grilled-cheese power move at lunch, and moonlight as steak’s best friend at dinner. Sounds dramatic, sure—but the math checks out.
Caramelizing pulls water out and concentrates natural sugars, building complex flavor that tastes like you added stock, wine, and a chef. You didn’t. You used time and a pan. Add optional acid at the end and you get balance so clean you’ll swear there’s a sommelier hiding in your spatula.
The best part? The base is simple and scalable. Double it, freeze it, and boom—instant flavor bombs for soups, dips, and tarts whenever you need help fast. FYI, restaurants do exactly this. You can too.
Ingredients Breakdown
Core
- 3 pounds yellow onions (about 6–8 medium), peeled and thinly sliced
- 2 tablespoons unsalted butter (for richness and browning)
- 1 tablespoon olive oil (prevents butter from burning)
- 1–1.5 teaspoons kosher salt (season early to pull moisture)
- Pinch of baking soda (optional; speeds browning—use sparingly)
- 1/2 cup water or low-sodium stock, divided (for deglazing and moisture control)
Flavor Boosters (optional but recommended)
- 2–3 sprigs fresh thyme or 1/2 teaspoon dried
- 1 bay leaf (remove before serving)
- 1 teaspoon sugar (optional jumpstart; helpful if onions aren’t very sweet)
- 1–2 teaspoons balsamic vinegar (or sherry/white wine vinegar) to finish
- Freshly ground black pepper, to taste
- Pinch smoked paprika (for subtle depth)
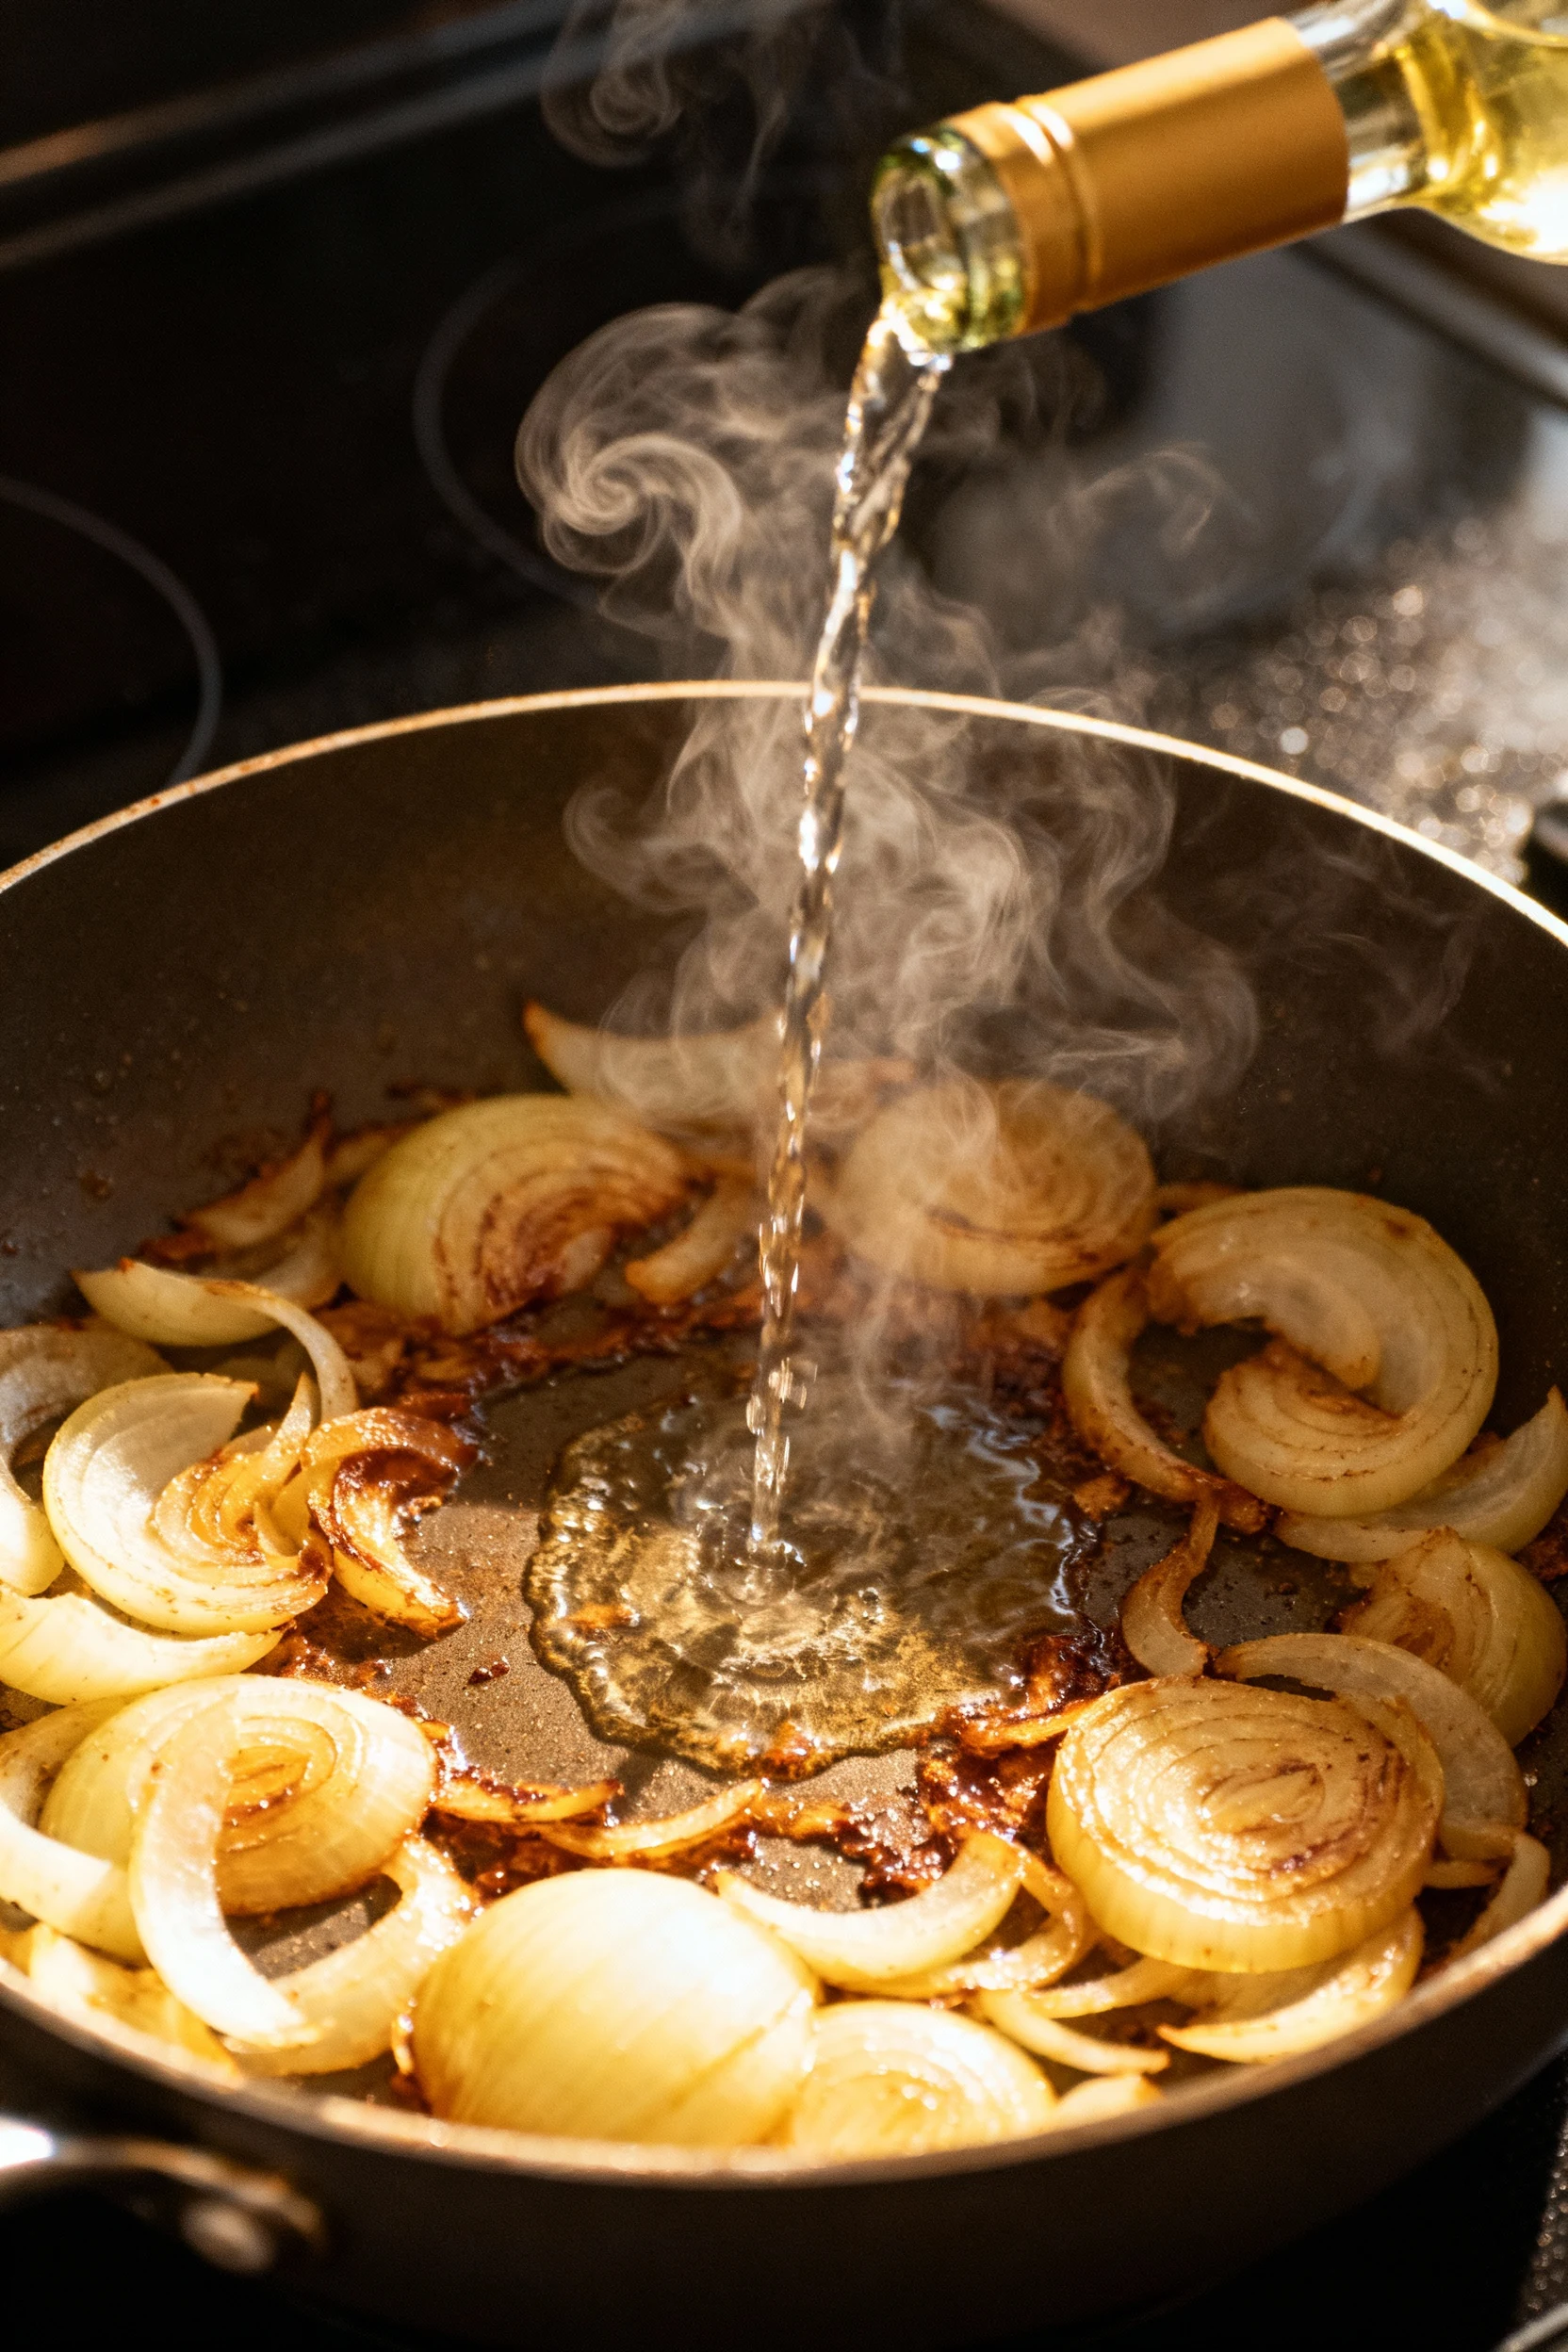
- 1/4 cup dry white wine (optional deglaze for extra oomph)

Finishers & Use-Cases
- 1 teaspoon lemon juice (brightens at the end)
- Grated Gruyère or Parmesan (melty sandwich/tart vibes)
- Fresh chopped parsley or chives (color and freshness)
- Sour cream or Greek yogurt (stir with onions for dip)
How to Make It – Instructions
- Slice smart. Halve onions pole-to-pole, trim ends, then slice into 1/8–1/4-inch half-moons. Thinner slices cook faster but need more babysitting.
- Heat the pan. Use a 12-inch heavy skillet or Dutch oven. Add butter and oil over medium heat until the butter melts.
- Load and season. Add onions, sprinkle with salt right away, and stir to coat. Salt draws out moisture, which helps them soften evenly.
- Set the tempo. Cook on medium for 5–7 minutes until translucent, then drop to medium-low. If you want to hustle, add a tiny pinch of baking soda now. Tiny means tiny.
- Stir, don’t babysit. Stir every 5–7 minutes. If the pan dries, add a splash of water/stock. Repeat as needed to prevent sticking and encourage even browning.
- Build flavor layers. Around the 20-minute mark, add thyme, bay, and sugar (if using). Keep cooking until onions turn light brown and jammy.
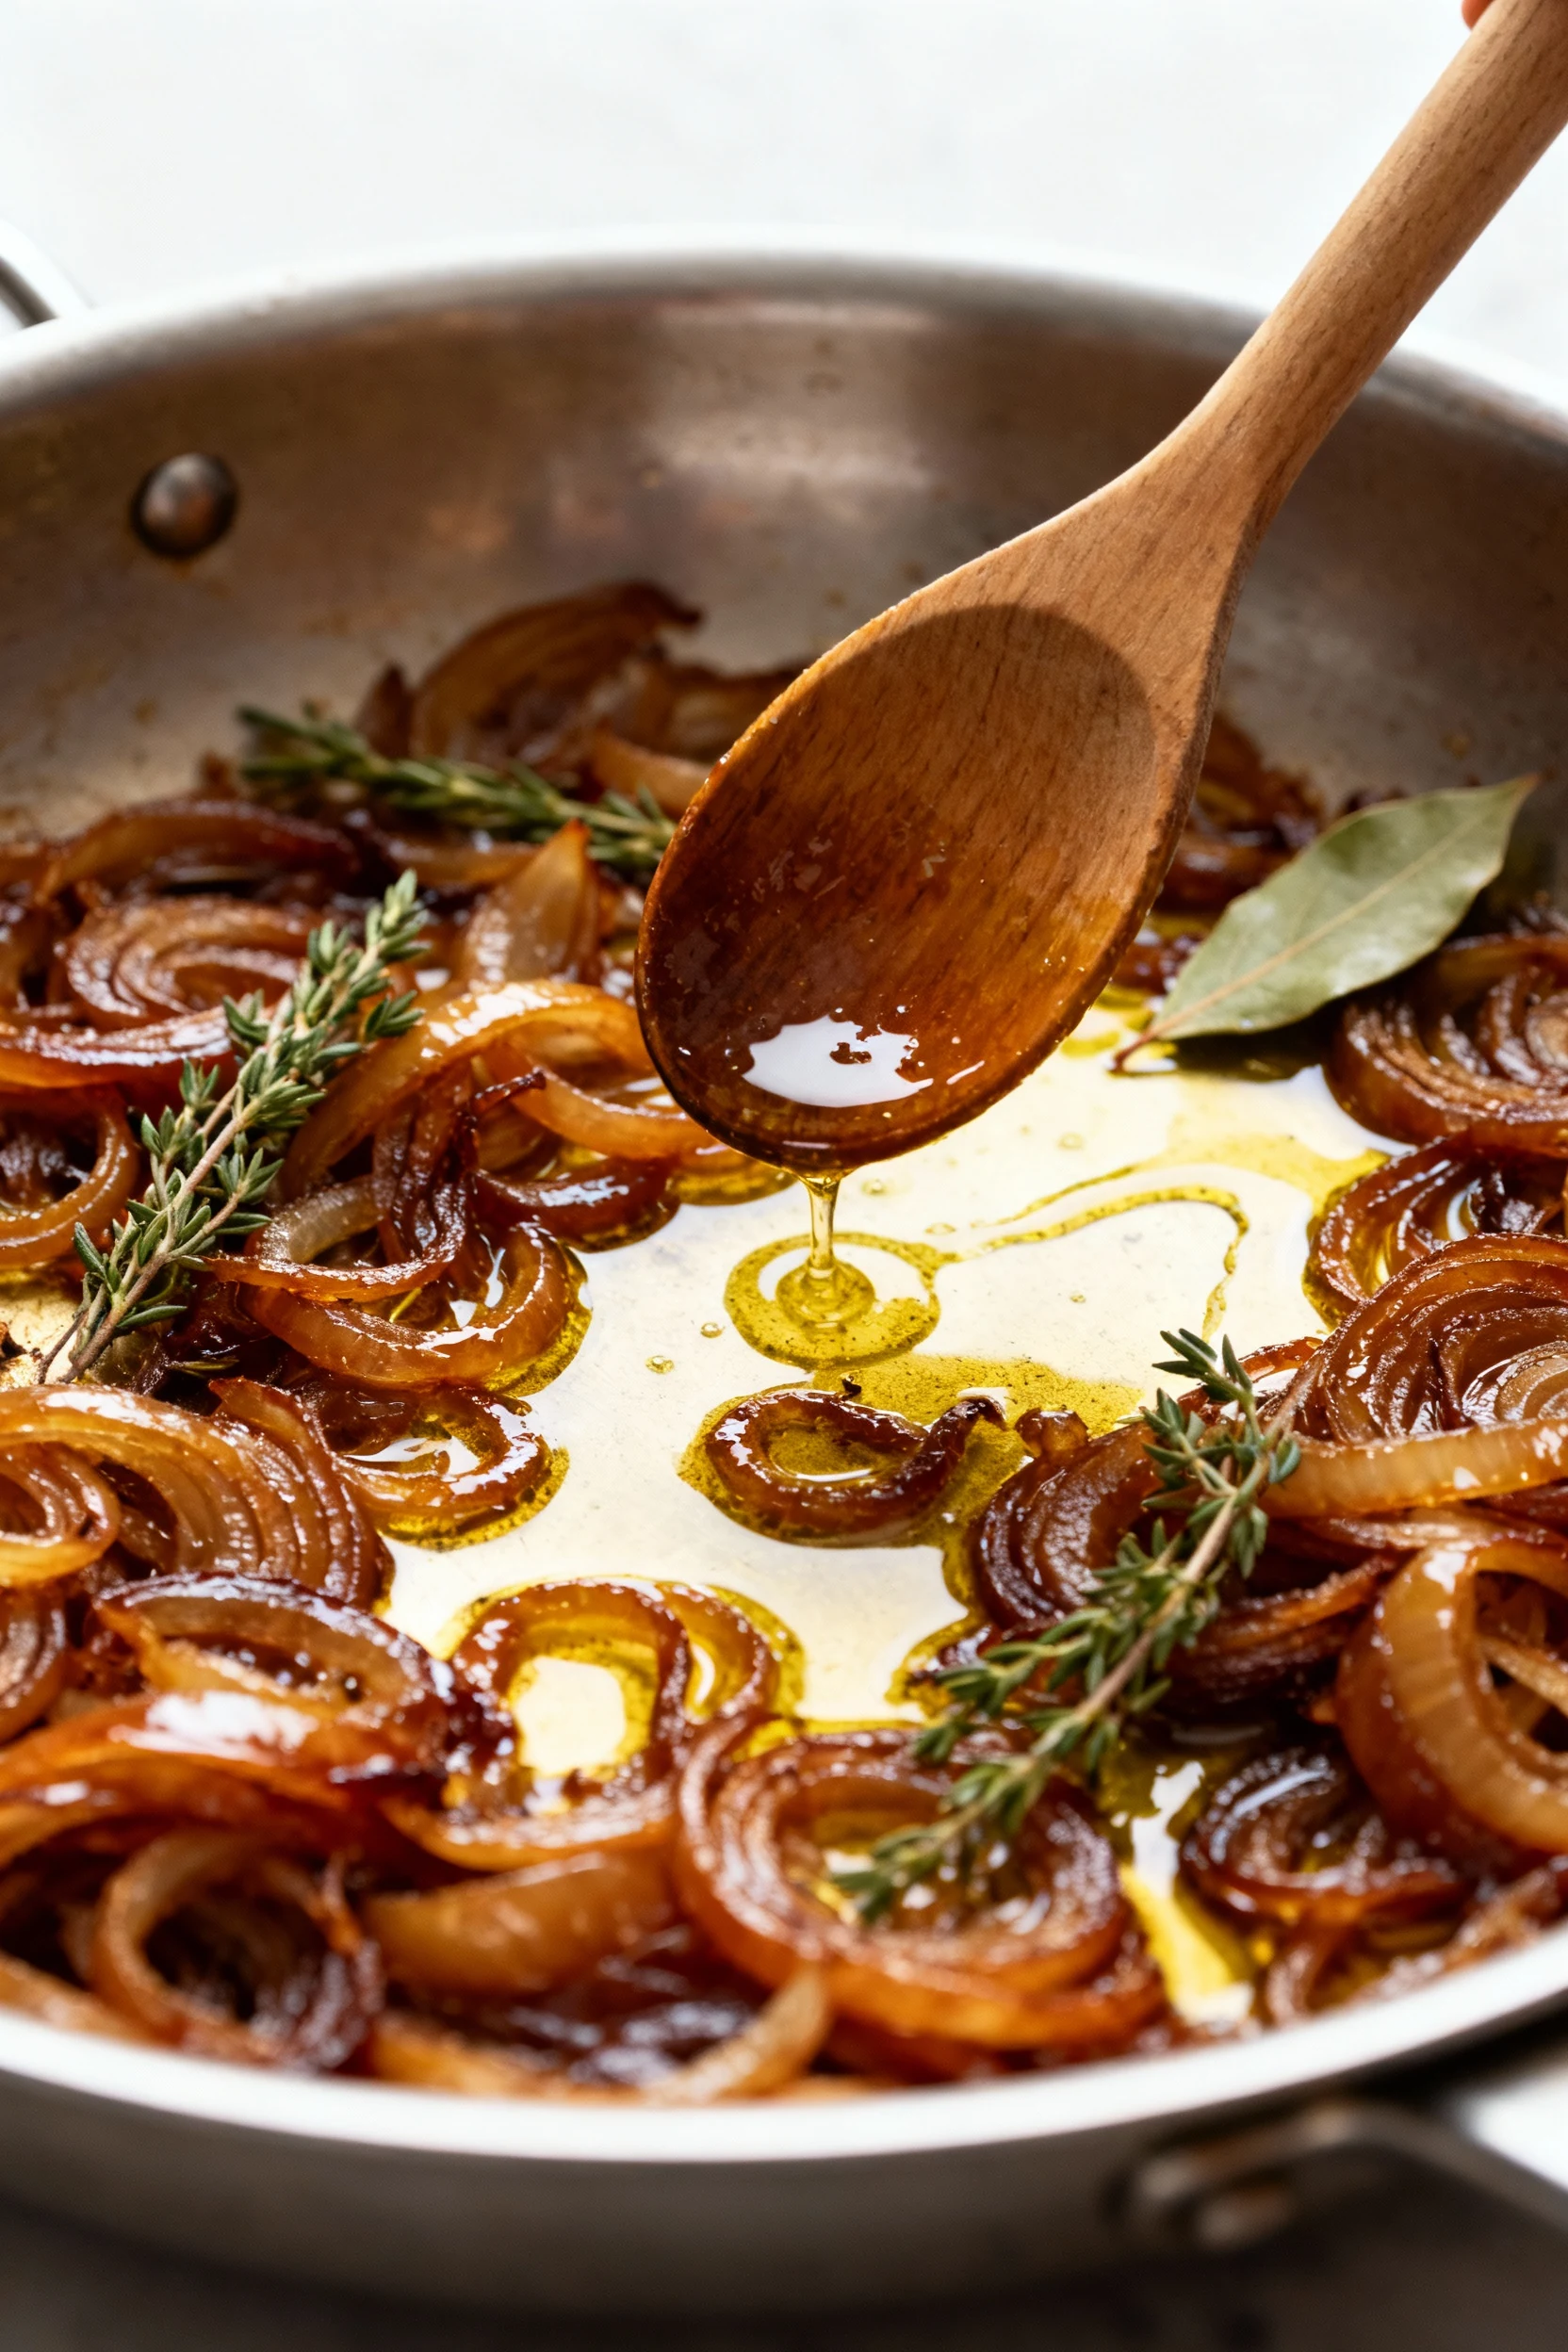
- Deglaze like a pro. When fond (brown bits) develops, add 2–3 tablespoons water or wine. Scrape with a wooden spoon to pull that flavor back into the onions.
- Go for gold. Continue 35–45 minutes total for deep amber. If they threaten to burn, lower heat and add a splash of liquid. Slow is smooth; smooth is tasty.
- Balance the finish. Fish out bay leaf. Stir in 1–2 teaspoons balsamic and 1 teaspoon lemon juice. Add pepper. Taste and adjust salt.
- Decide the vibe. Want spreadable? Smash lightly with a spoon. Want strands? Leave them. Both are correct—choose your destiny.
- Cool and stash. Let cool 10 minutes. Portion into containers (1/2–1 cup each) for easy meal prep.
Preservation Guide
- Fridge: Store in airtight containers for 5–7 days. Keep surface covered to reduce oxidation.
- Freezer: Portion into small bags or silicone cubes; freeze up to 3 months. Press flat for rapid thawing.
- Reheat: Warm gently in a pan over low heat with a splash of water/stock. Microwaves work, but stir halfway for even heat.
- Label like you mean it: Date and note “caramelized onions.” Future-you will appreciate it. Very much.
- Food safety: Cool to room temp (under 2 hours) before refrigerating. Don’t leave out overnight unless you enjoy risk. Don’t.
Benefits of This Recipe
- High flavor ROI: A few pantry items make restaurant-level depth.
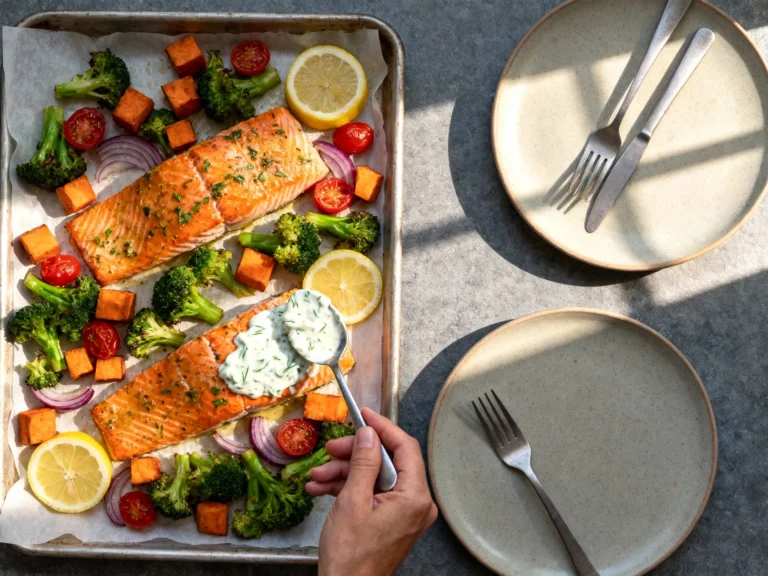
- Versatility: Works on burgers, flatbreads, soups, dips, eggs, steak, and roasted veg. If it’s savory, onions probably help.
- Meal prep friendly: Batch once, win repeatedly. Weeknights feel easy, which is the whole goal, IMO.
- Budget: Onions are cheap. Taste is not. This bridges the gap.
- Customizable: Sweet, tangy, smoky—you control the finish.
- Diet-friendly: Naturally gluten-free; simple to make vegan.
What Not to Do
- Don’t rush on high heat. You’ll get scorched, not caramelized. Burnt sugar equals bitterness and regrets.
- Don’t overuse baking soda. A pinch speeds Maillard; more turns onions mushy and soapy. You’ll taste the chaos.
- Don’t skip salt early. It helps draw moisture out and keeps the cook consistent.
- Don’t walk away for 20 minutes. Stir every 5–7 minutes. This is not set-and-forget rice.
- Don’t ignore fond. Deglaze those brown bits; they’re flavor hunks, not decorations.
- Don’t finish without acid. A splash of vinegar or lemon makes the sweetness sing instead of drone.
Alternatives
Quick Pickled Red Onions
Need tang in 30 minutes? Thinly slice 1 large red onion. Bring 1 cup vinegar + 1 cup water + 1.5 teaspoons salt + 1 tablespoon sugar to a simmer. Pour over onions in a jar. Cool, then chill. Great on tacos, bowls, and grilled meats.
Sheet-Pan Roasted Onions
Crave roasty edges? Toss wedges of yellow or sweet onions with 2 tablespoons olive oil, salt, pepper. Roast at 425°F for 25–35 minutes, flipping once. Finish with a hit of vinegar or lemon.
Smash-Burger Griddled Onions
Ultra-savory, fast. Cook thinly sliced onions on a hot griddle with a little oil and salt for 5–8 minutes until soft and browning. Smash burger patties right on top. All the diner vibes, none of the waiting.
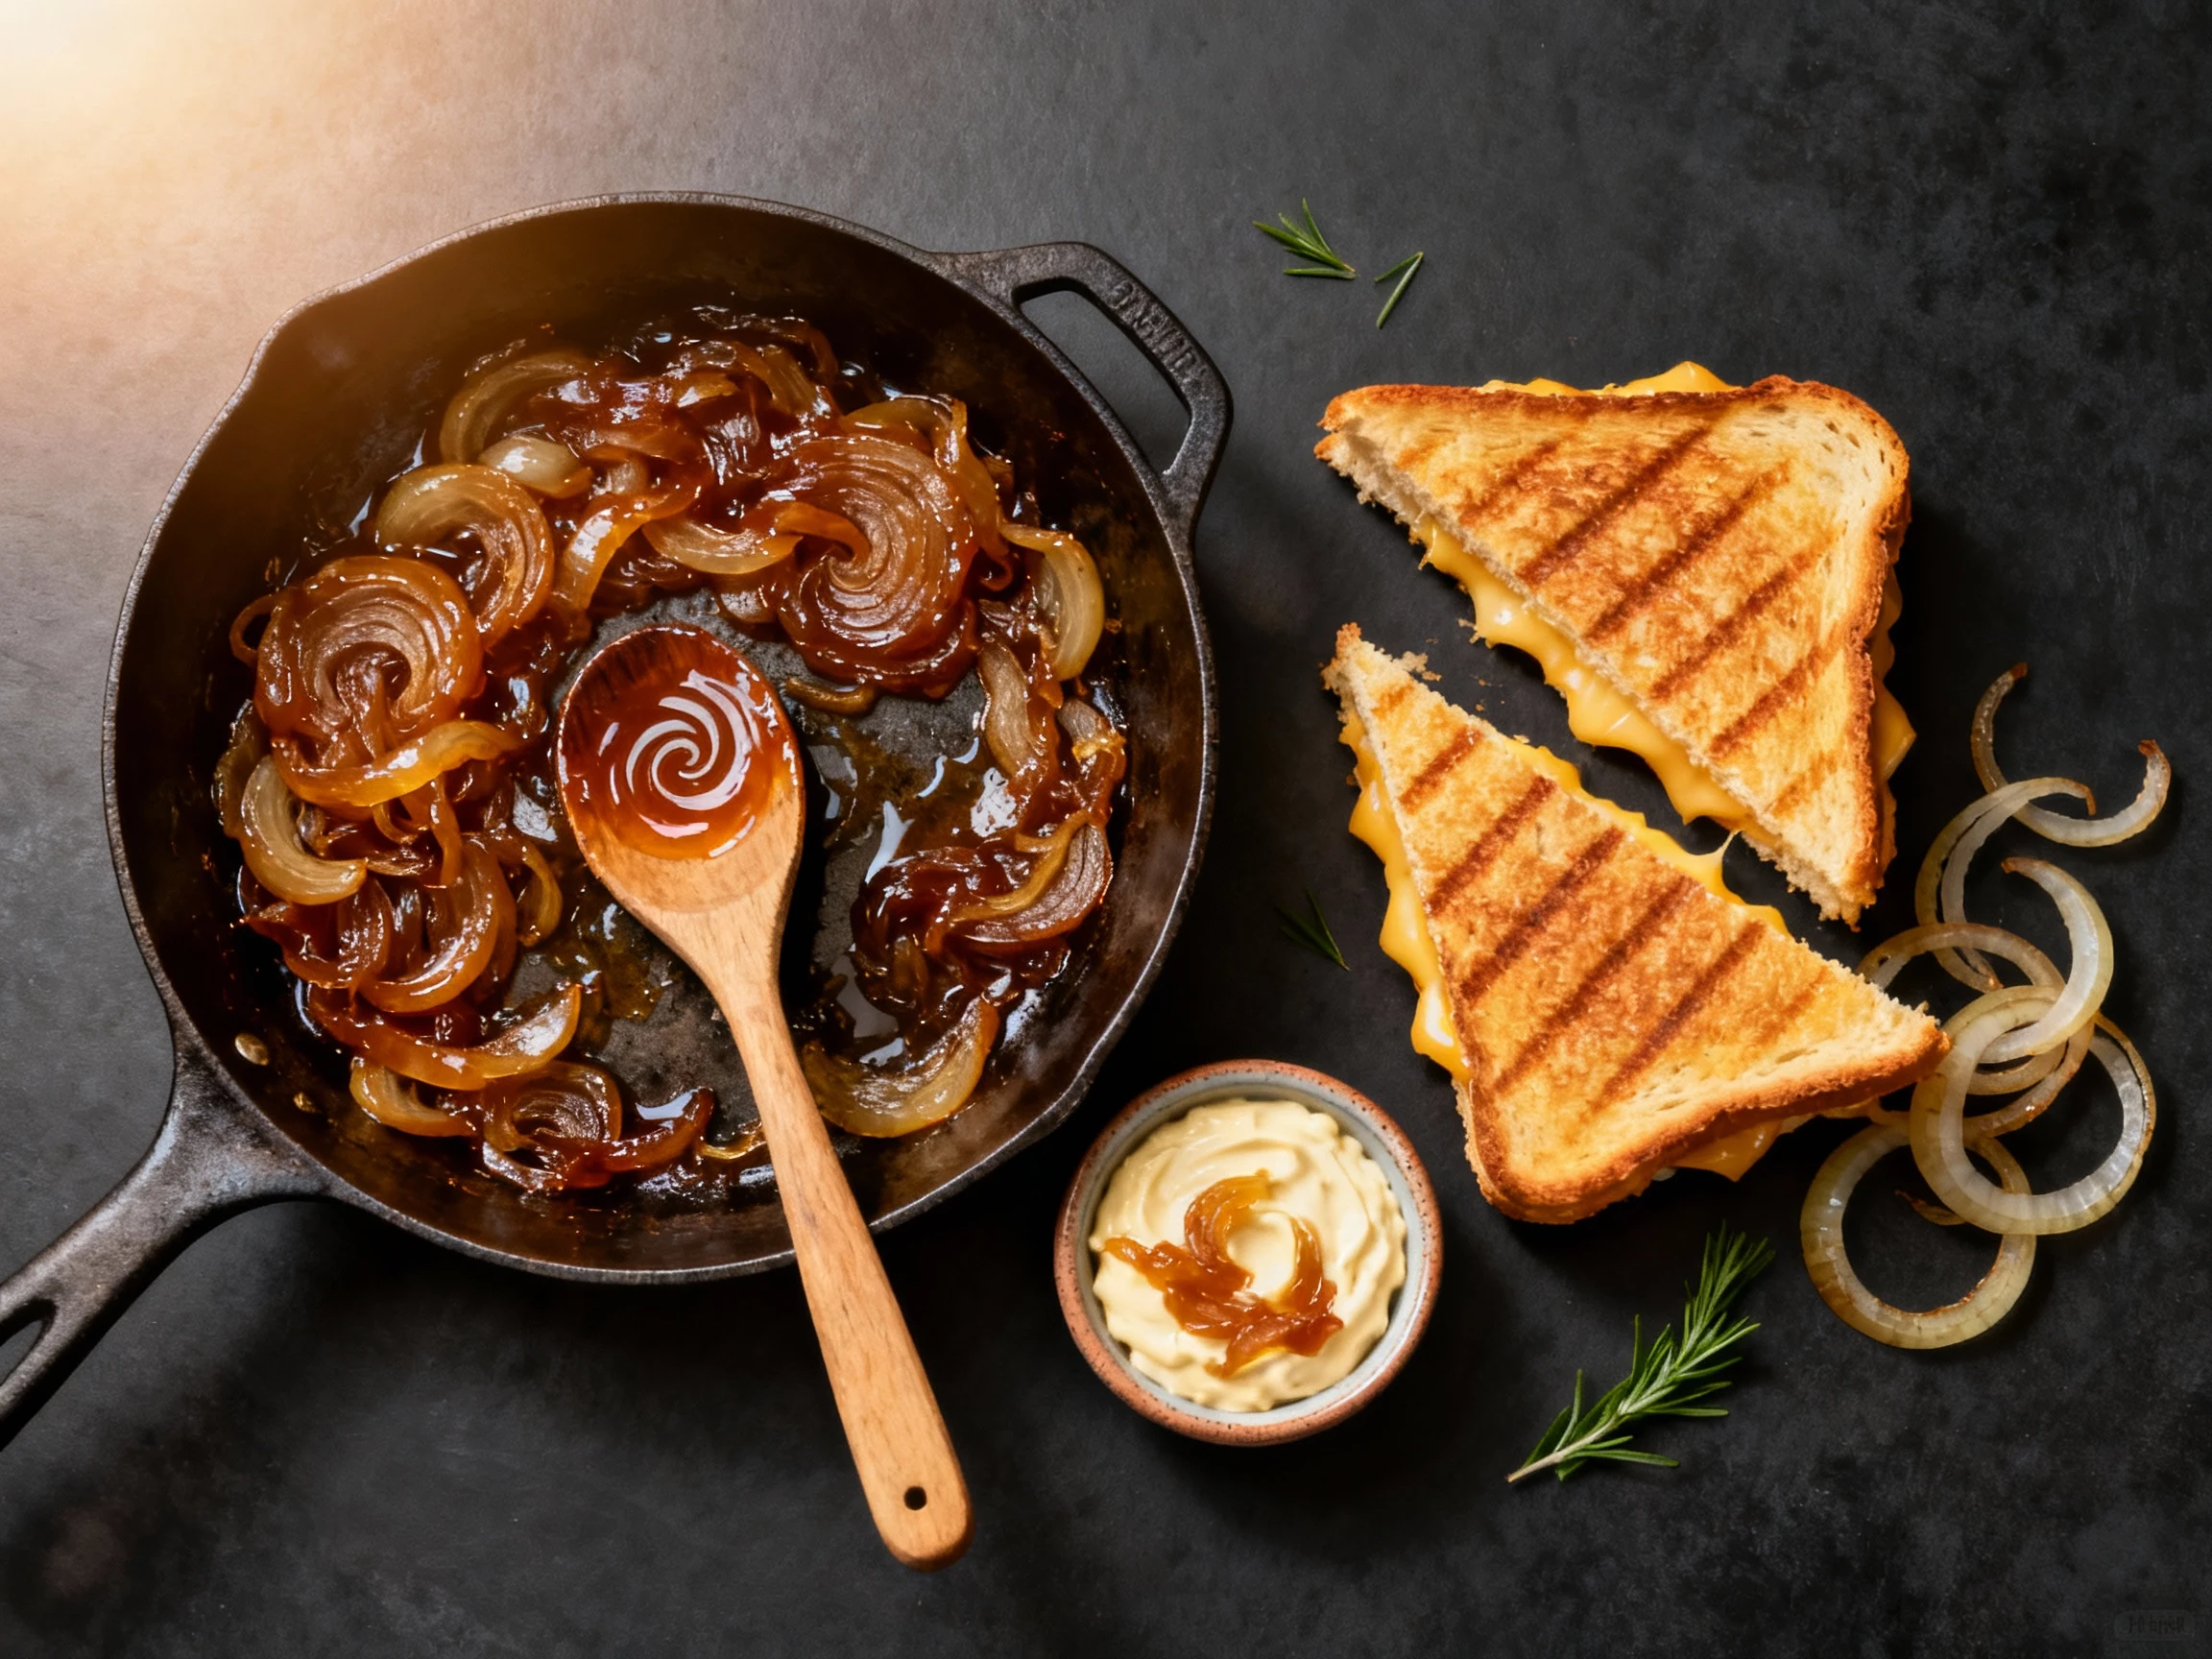
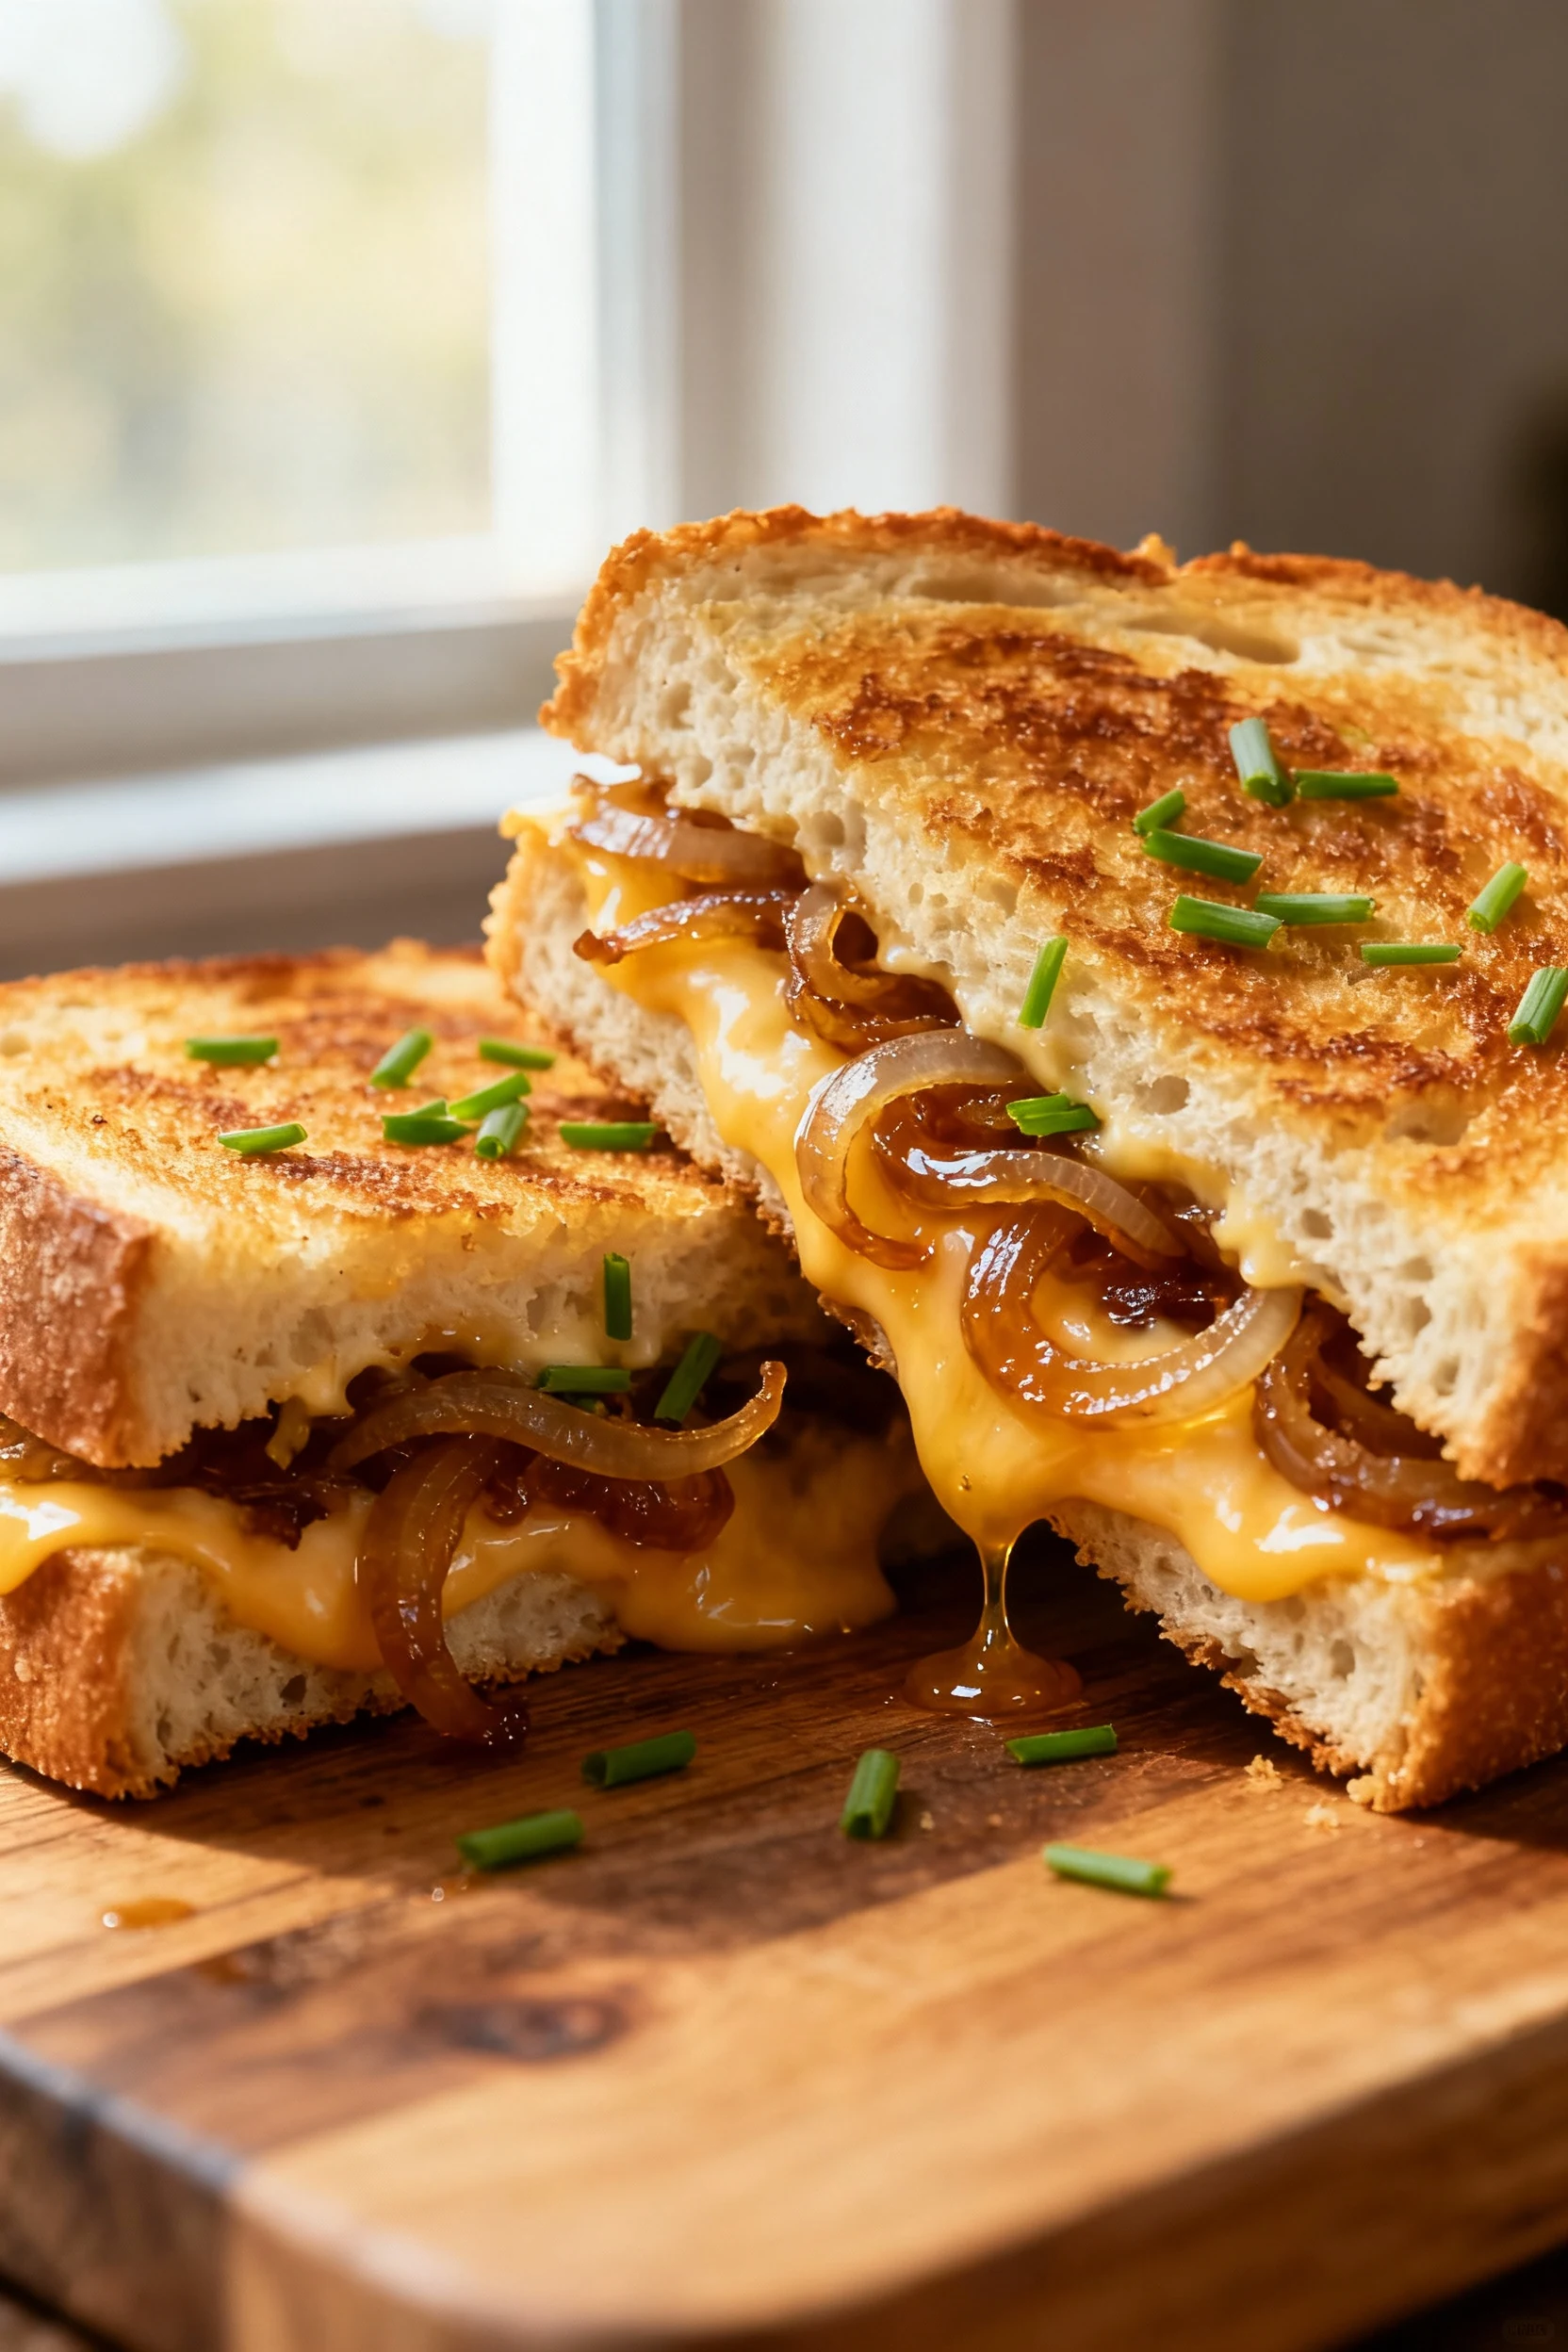
French-Onion Grilled Cheese
Butter bread, add caramelized onions and Gruyère, and toast in a skillet until melty. Dip in warm stock if you’re feeling dramatic. Spoiler: you’re feeling dramatic.
Caramelized Onion Dip
Mix 1 cup caramelized onions with 1 cup sour cream or Greek yogurt, add 1/2 teaspoon Worcestershire, salt, pepper, and chives. Chill 30 minutes. Then pretend you didn’t eat half before guests arrived.
FAQ
Which onions work best for caramelizing?
Yellow onions are the MVP: balanced sweetness, great texture, and reliable results. Sweet onions (Vidalia, Walla Walla) caramelize faster and sweeter; just watch the burn risk. Red onions work, but their color shifts and they’re better for pickling.
Can I speed up caramelization without ruining flavor?
Yes. Use a pinch of baking soda to nudge browning and keep heat around medium. Deglaze with water or wine as fond forms. You’ll cut time by 10–15 minutes, but don’t go aggressive or you’ll get onion mush.
Why do my onions burn or turn bitter?
Heat’s too high, moisture’s too low, or you forgot to stir. Add small splashes of water/stock to loosen stuck bits, reduce heat, and scrape the pan regularly. Finishing with acid helps tame minor bitterness.
How do I slice onions without crying?
Use a sharp knife, chill onions briefly, and slice near a vent or fan. Cutting pole-to-pole reduces damage to the cells that release tear-inducing compounds. Also, don’t rub your eyes unless you enjoy chaos.
Can I make this recipe vegan?
Absolutely. Swap butter for 2–3 tablespoons olive oil (or half oil, half neutral vegan butter). Everything else stays the same, and you’ll still get luscious, jammy onions.
How long do caramelized onions last?
In the fridge, they’re solid for 5–7 days. In the freezer, up to 3 months when portioned and sealed well. Reheat gently with a splash of liquid to bring them back to life.
What can I do with leftover onions besides burgers?
Everything: fold into scrambled eggs, top flatbreads, stir into soups, whisk into vinaigrettes, layer into quesadillas, or spoon onto roasted veggies. They also make a killer tart with puff pastry and cheese.
Do I need sugar to caramelize onions?
No. Onions have natural sugars that caramelize over time. Sugar helps jumpstart pale or underripe onions, but it’s optional. Focus on patience, heat control, and deglazing.
My Take
If there’s a single move that upgrades your cooking fast, it’s learning this onion base. It’s cheap, repeatable, and ridiculously useful. Make a batch on Sunday, stash a few portions, and watch your weeknight cooking transform from “meh” to “why is this so good?” Minimal effort, maximum win. That’s the whole point, right?
Printable Recipe Card
Want just the essential recipe details without scrolling through the article? Get our printable recipe card with just the ingredients and instructions.