Crispy Coconut Flour Waffles (freezer-friendly) — Meal Prep Magic
Light, golden, and gluten-free waffles that stay crunchy, reheat like a dream, and make weekday breakfasts feel like a win.
Breakfast doesn’t need to be a sugar crash with a syrup chaser. Make these crisp, golden waffles on a lazy Sunday, freeze the extras, and you’ve got grab-and-toast wins all week. They’re gluten-free, satisfyingly high in fiber, and actually stay crunchy when reheated. No, you don’t need a pro kitchen—just a hot waffle iron and a smarter batter. Hungry yet?
Why You’ll Love This Recipe
- Serious crunch. Coconut flour absorbs moisture, and with the right ratios, it delivers edges that actually snap.
- Meal-prep gold. Make a batch, freeze, and re-toast—texture returns like you just made them.
- Gluten-free by default. No specialty blends or weird gums required.
- Simple pantry ingredients. Eggs, coconut flour, milk of choice, a little fat, and baking powder.
- Customizable sweetness. Use sugar, maple, or your favorite zero-cal sweetener. Your call.
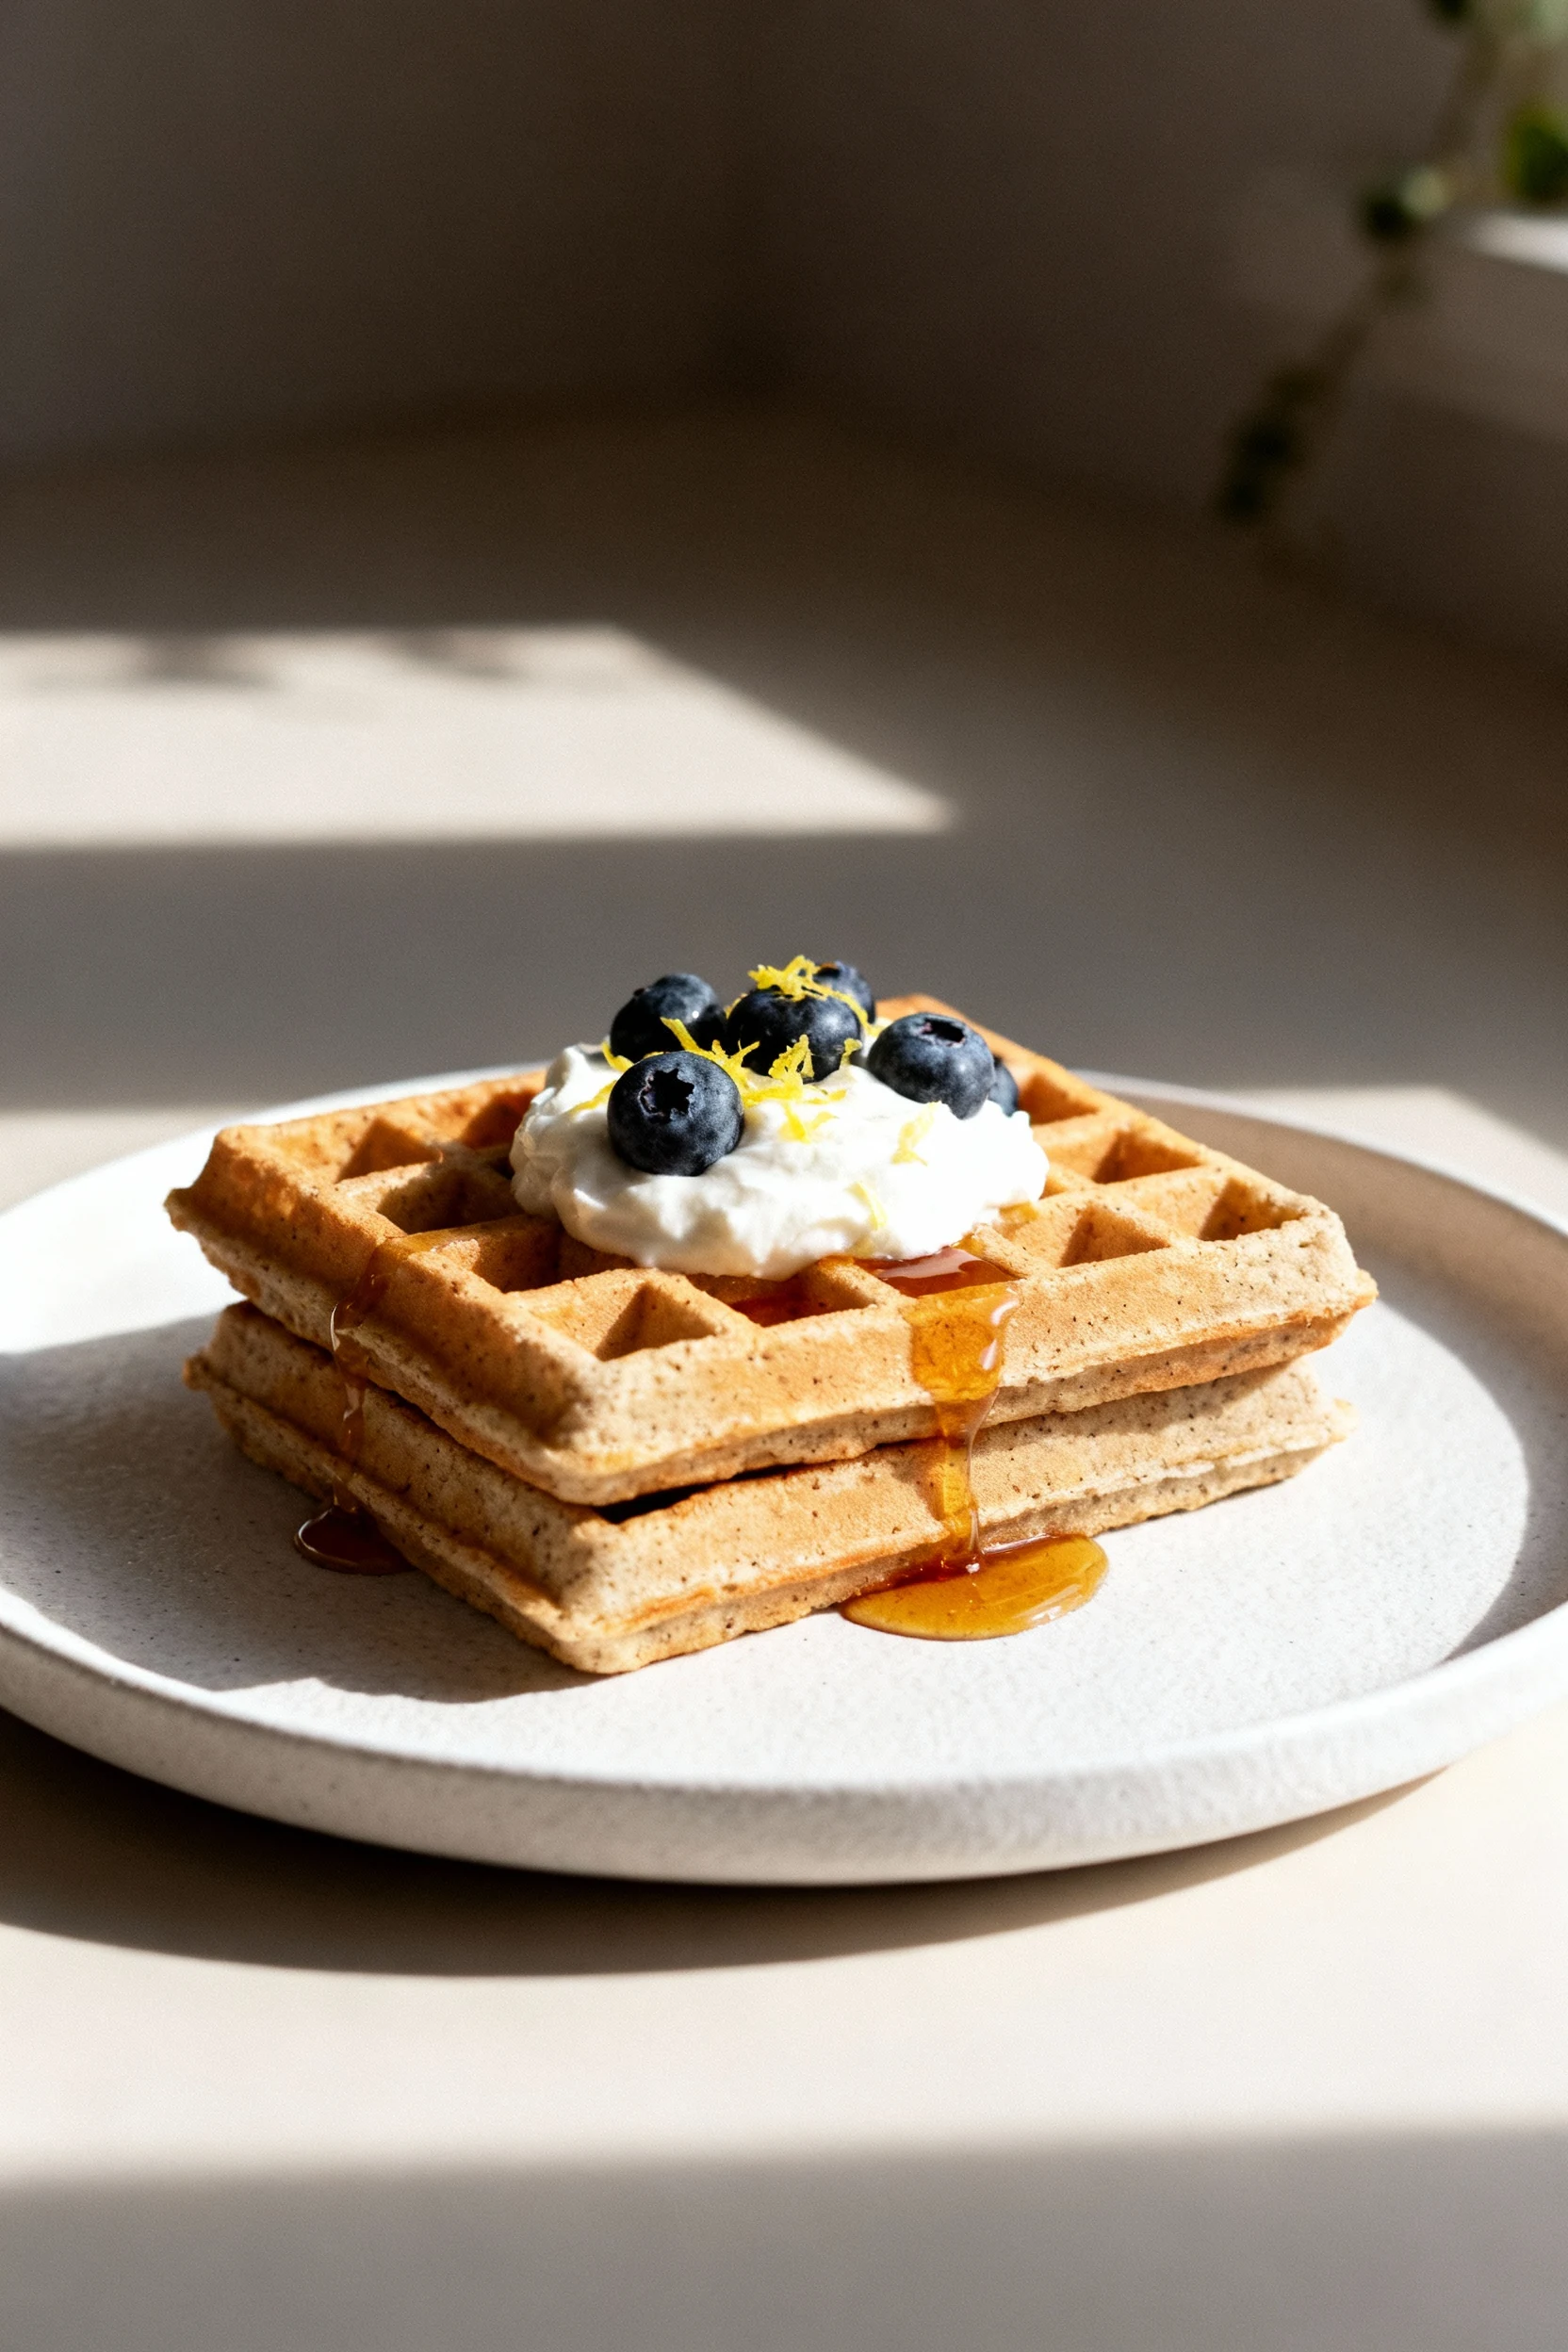
- Family-approved. Crisp outside, tender inside, and sturdy enough to hold fruit, yogurt, or nut butter towers.
Ingredients
- 4 large eggs, room temperature
- 1/2 cup milk of choice (dairy, almond, or coconut milk)
- 3 tablespoons melted coconut oil or butter, plus more for the iron
- 1/3 cup coconut flour (sifted if clumpy)
- 1 teaspoon baking powder
- 1 teaspoon vanilla extract
- 1–2 tablespoons granulated sweetener (sugar, maple sugar, or erythritol/monk fruit), optional
- 1/4 teaspoon fine sea salt
- Optional crisp-booster: 1 tablespoon arrowroot or tapioca starch; for keto, use 1 tablespoon unflavored whey isolate
- Optional aromatics: 1/2 teaspoon cinnamon or zest of 1/2 lemon
Yield: About 4 large Belgian waffles or 6 standard waffles
Instructions
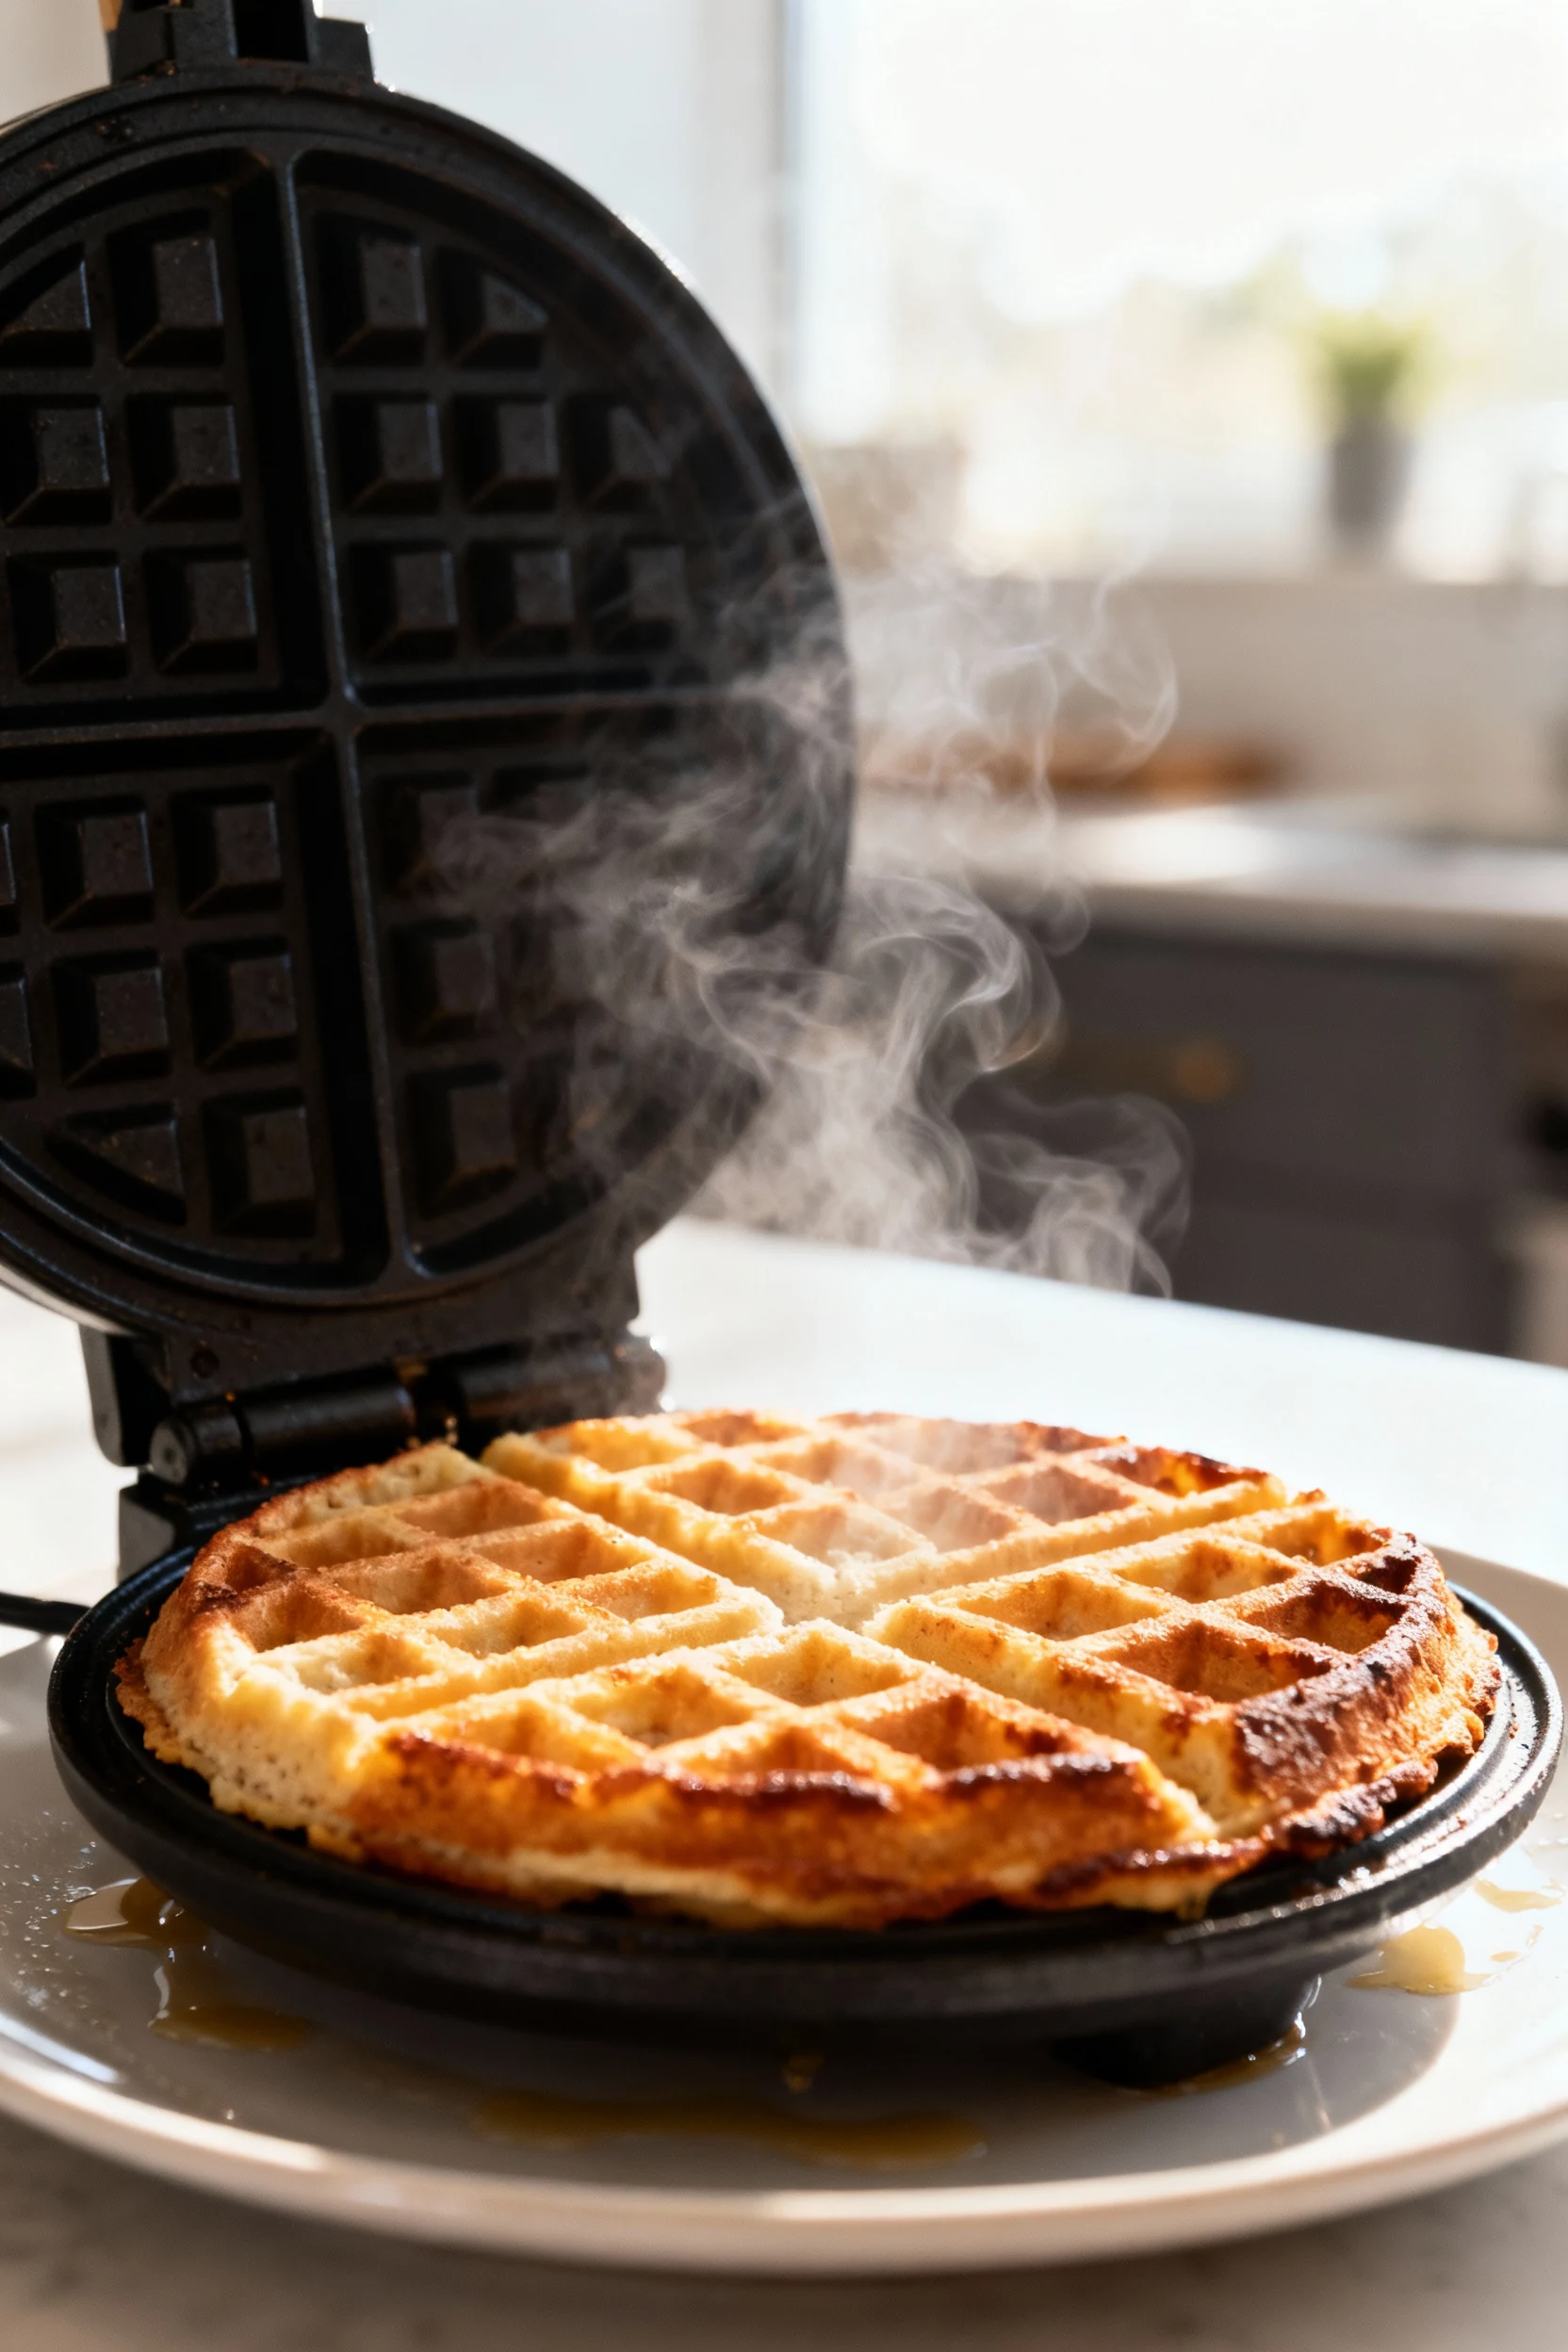
- Preheat your waffle iron on high. A hot iron equals crisp results. Brush the plates with melted butter or oil right before cooking.
- Whisk the wet ingredients. In a medium bowl, whisk eggs, milk, melted coconut oil (or butter), vanilla, and sweetener (if using) until smooth.
- Mix the dry ingredients. In a separate bowl, combine coconut flour, baking powder, salt, and the optional crisp-booster. Break up any lumps.
- Combine and rest. Add dry to wet and whisk until just combined. The batter will thicken as it sits. Rest 5–8 minutes to hydrate the coconut flour. If it becomes too thick, splash in 1–2 tablespoons more milk until it’s pourable but not runny.
- Grease and pour. Lightly grease the hot iron. Add enough batter to just cover the grid (usually 1/3–1/2 cup per waffle, depending on your iron). Don’t overfill unless you enjoy cleaning overflow. Same.
- Cook until deep golden and crisp. Close the lid and cook 3–5 minutes, or until steam mostly stops and the waffle lifts easily. Resist opening too early—let the Maillard magic happen.
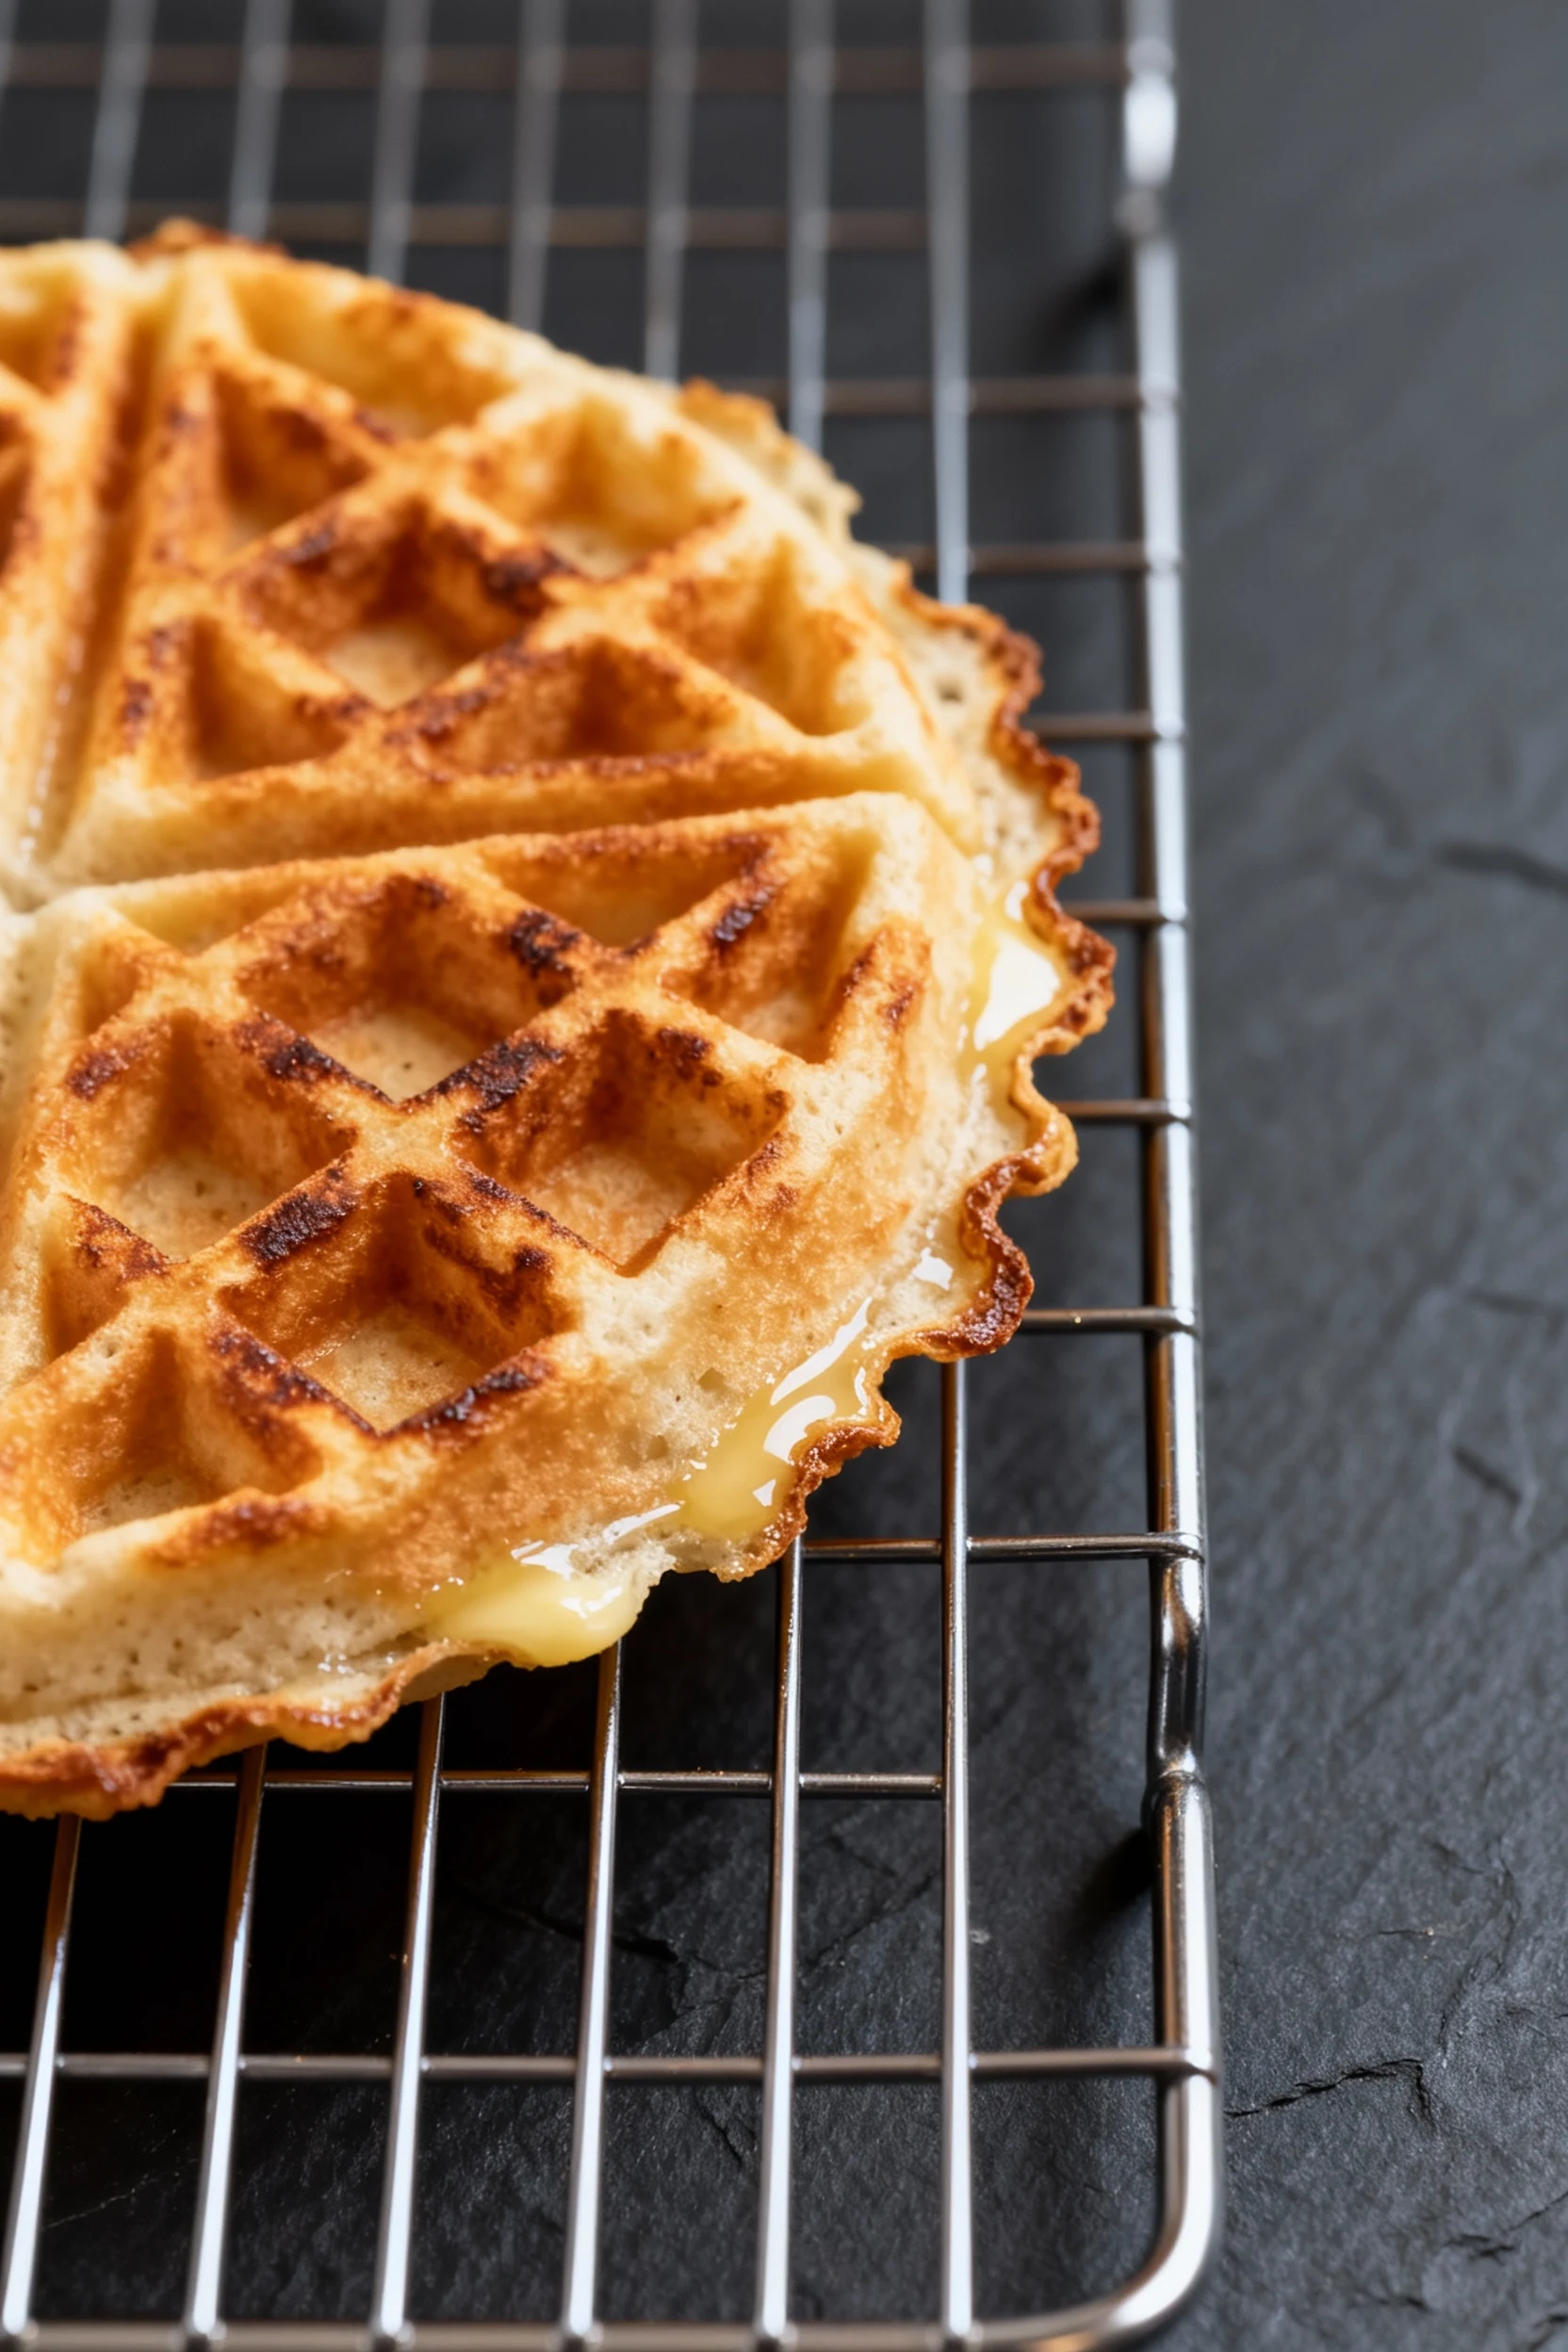
- Cool on a rack. Transfer finished waffles to a wire rack for 2–3 minutes. No stacking while hot or you’ll trap steam and lose crunch.
- Repeat. Re-grease the iron between batches as needed, adjusting batter thickness with a splash of milk if it tightens up.
- Serve or freeze. Enjoy hot, or let fully cool for freezing (details below).
Keeping It Fresh
Short-term: Store cooled waffles in an airtight container in the fridge for up to 3 days. Keep a paper towel between layers to absorb moisture.
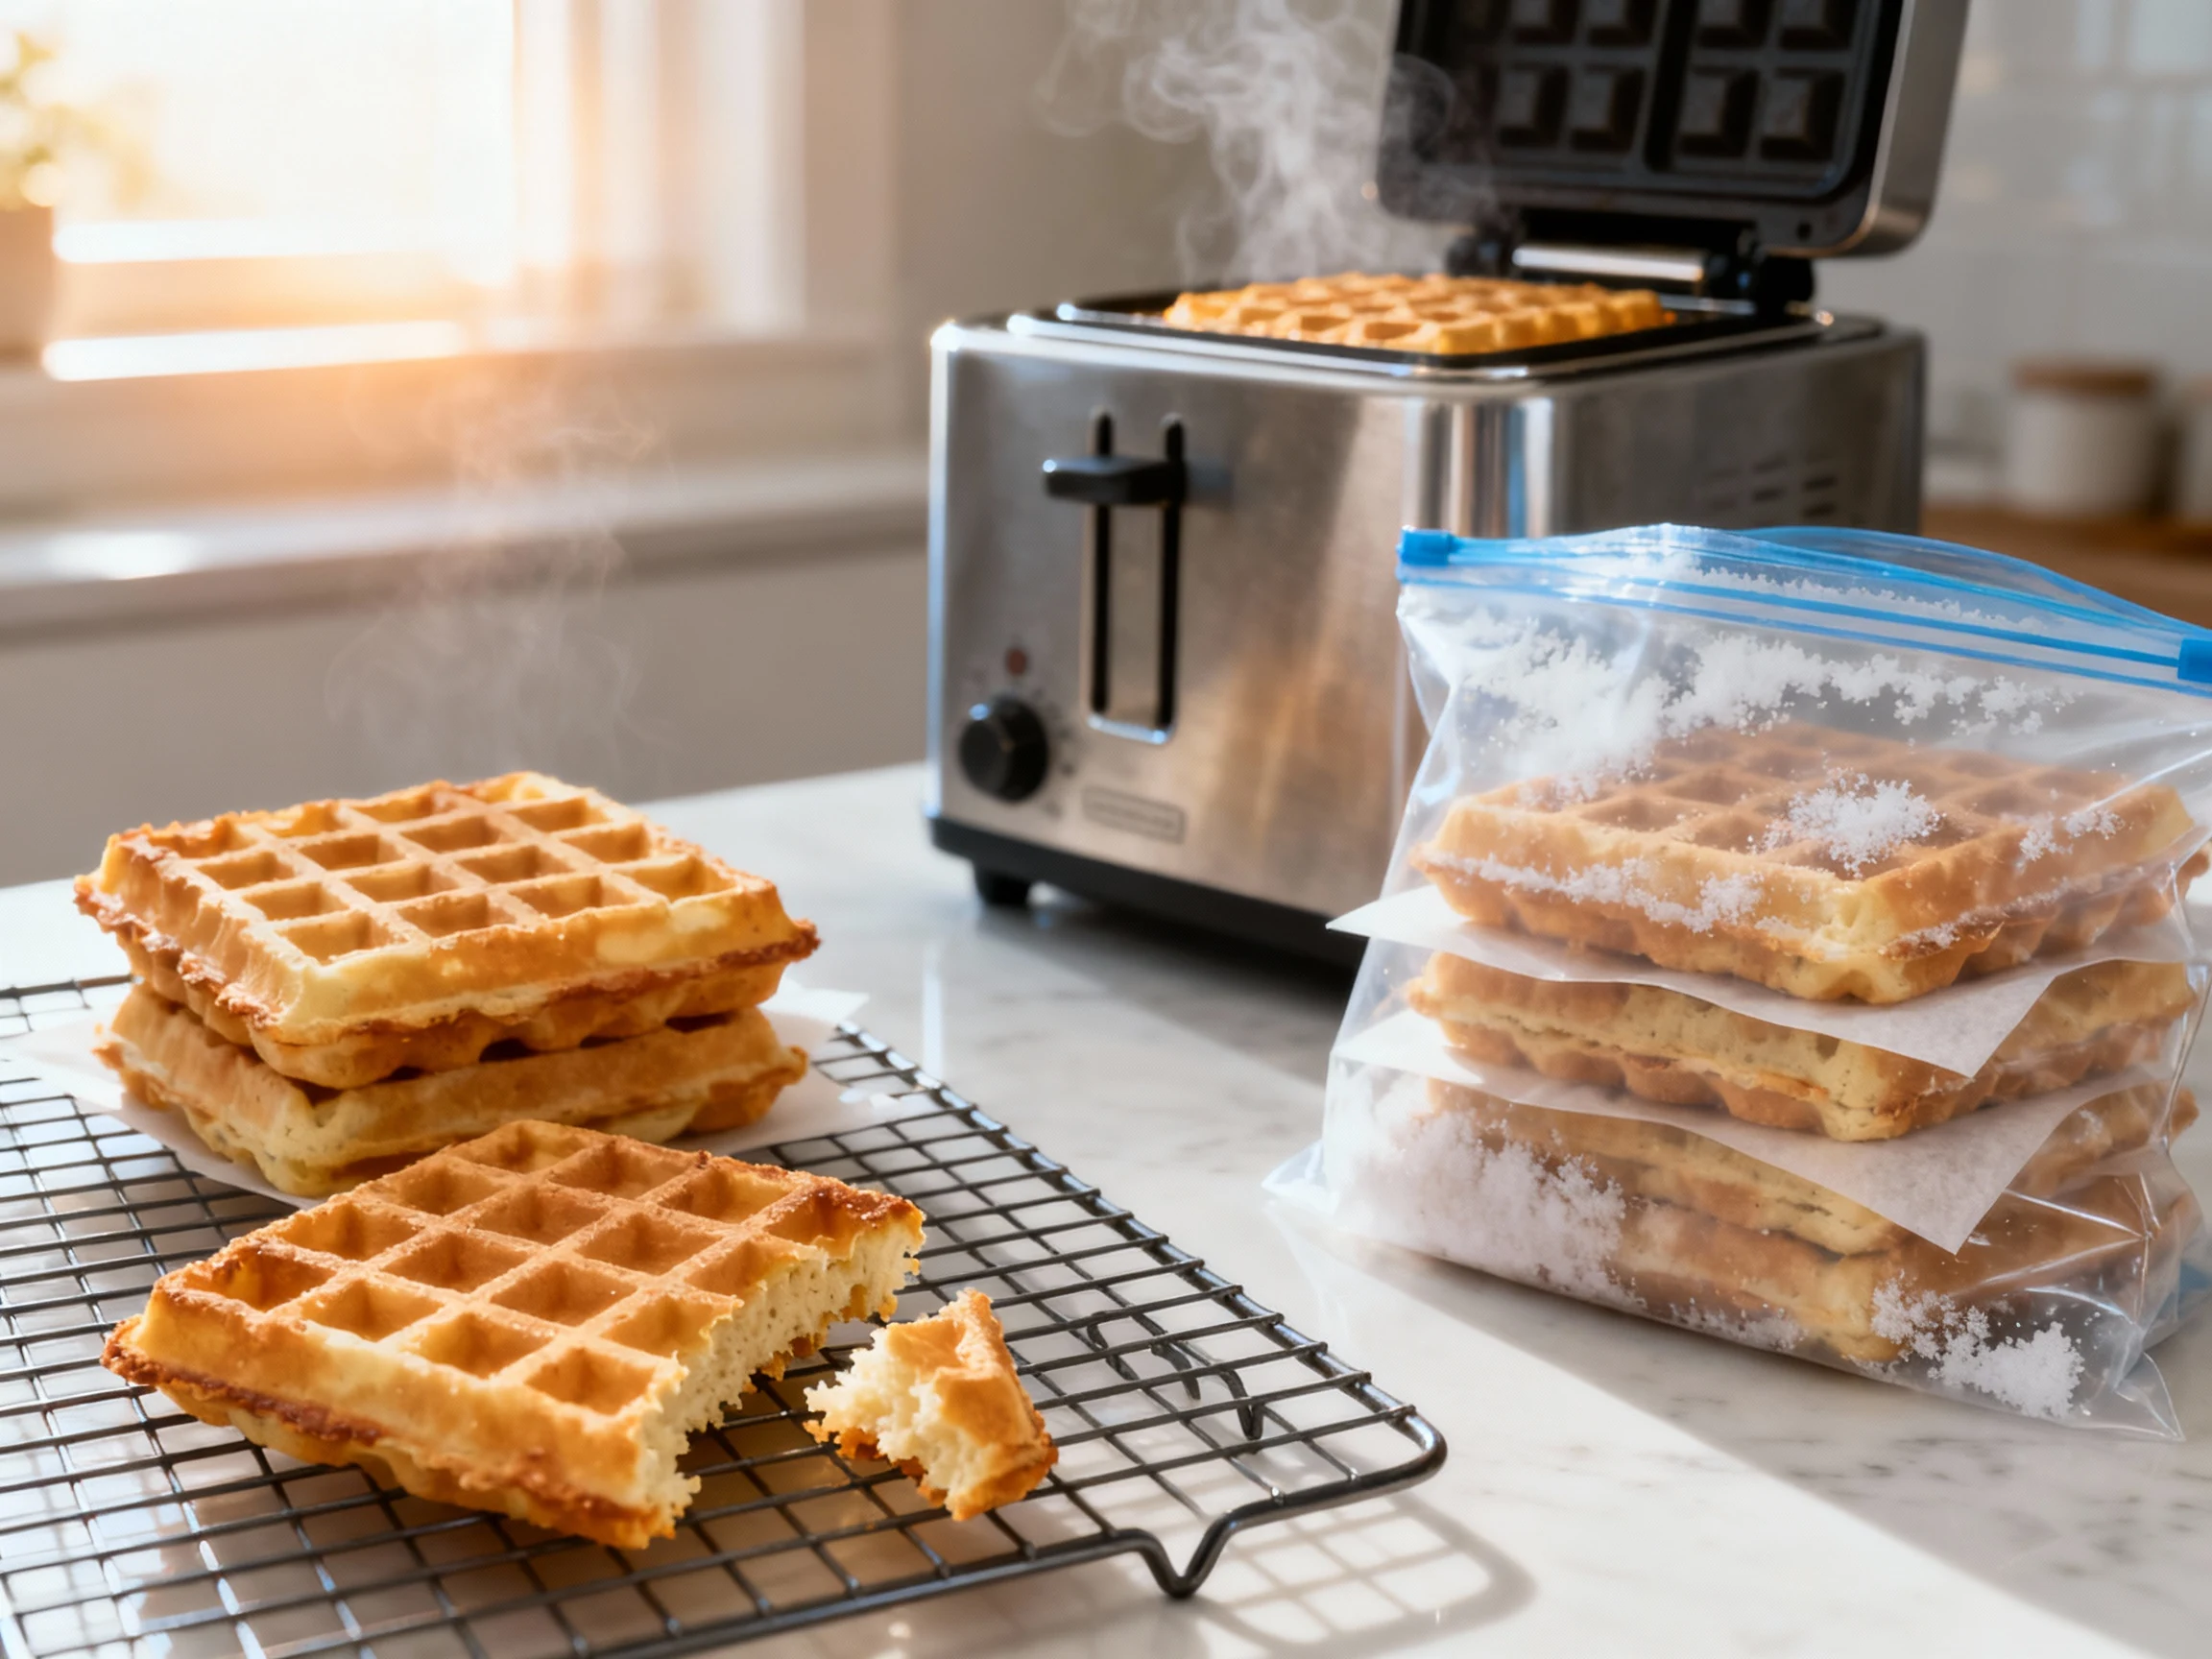
Freezer-friendly method:
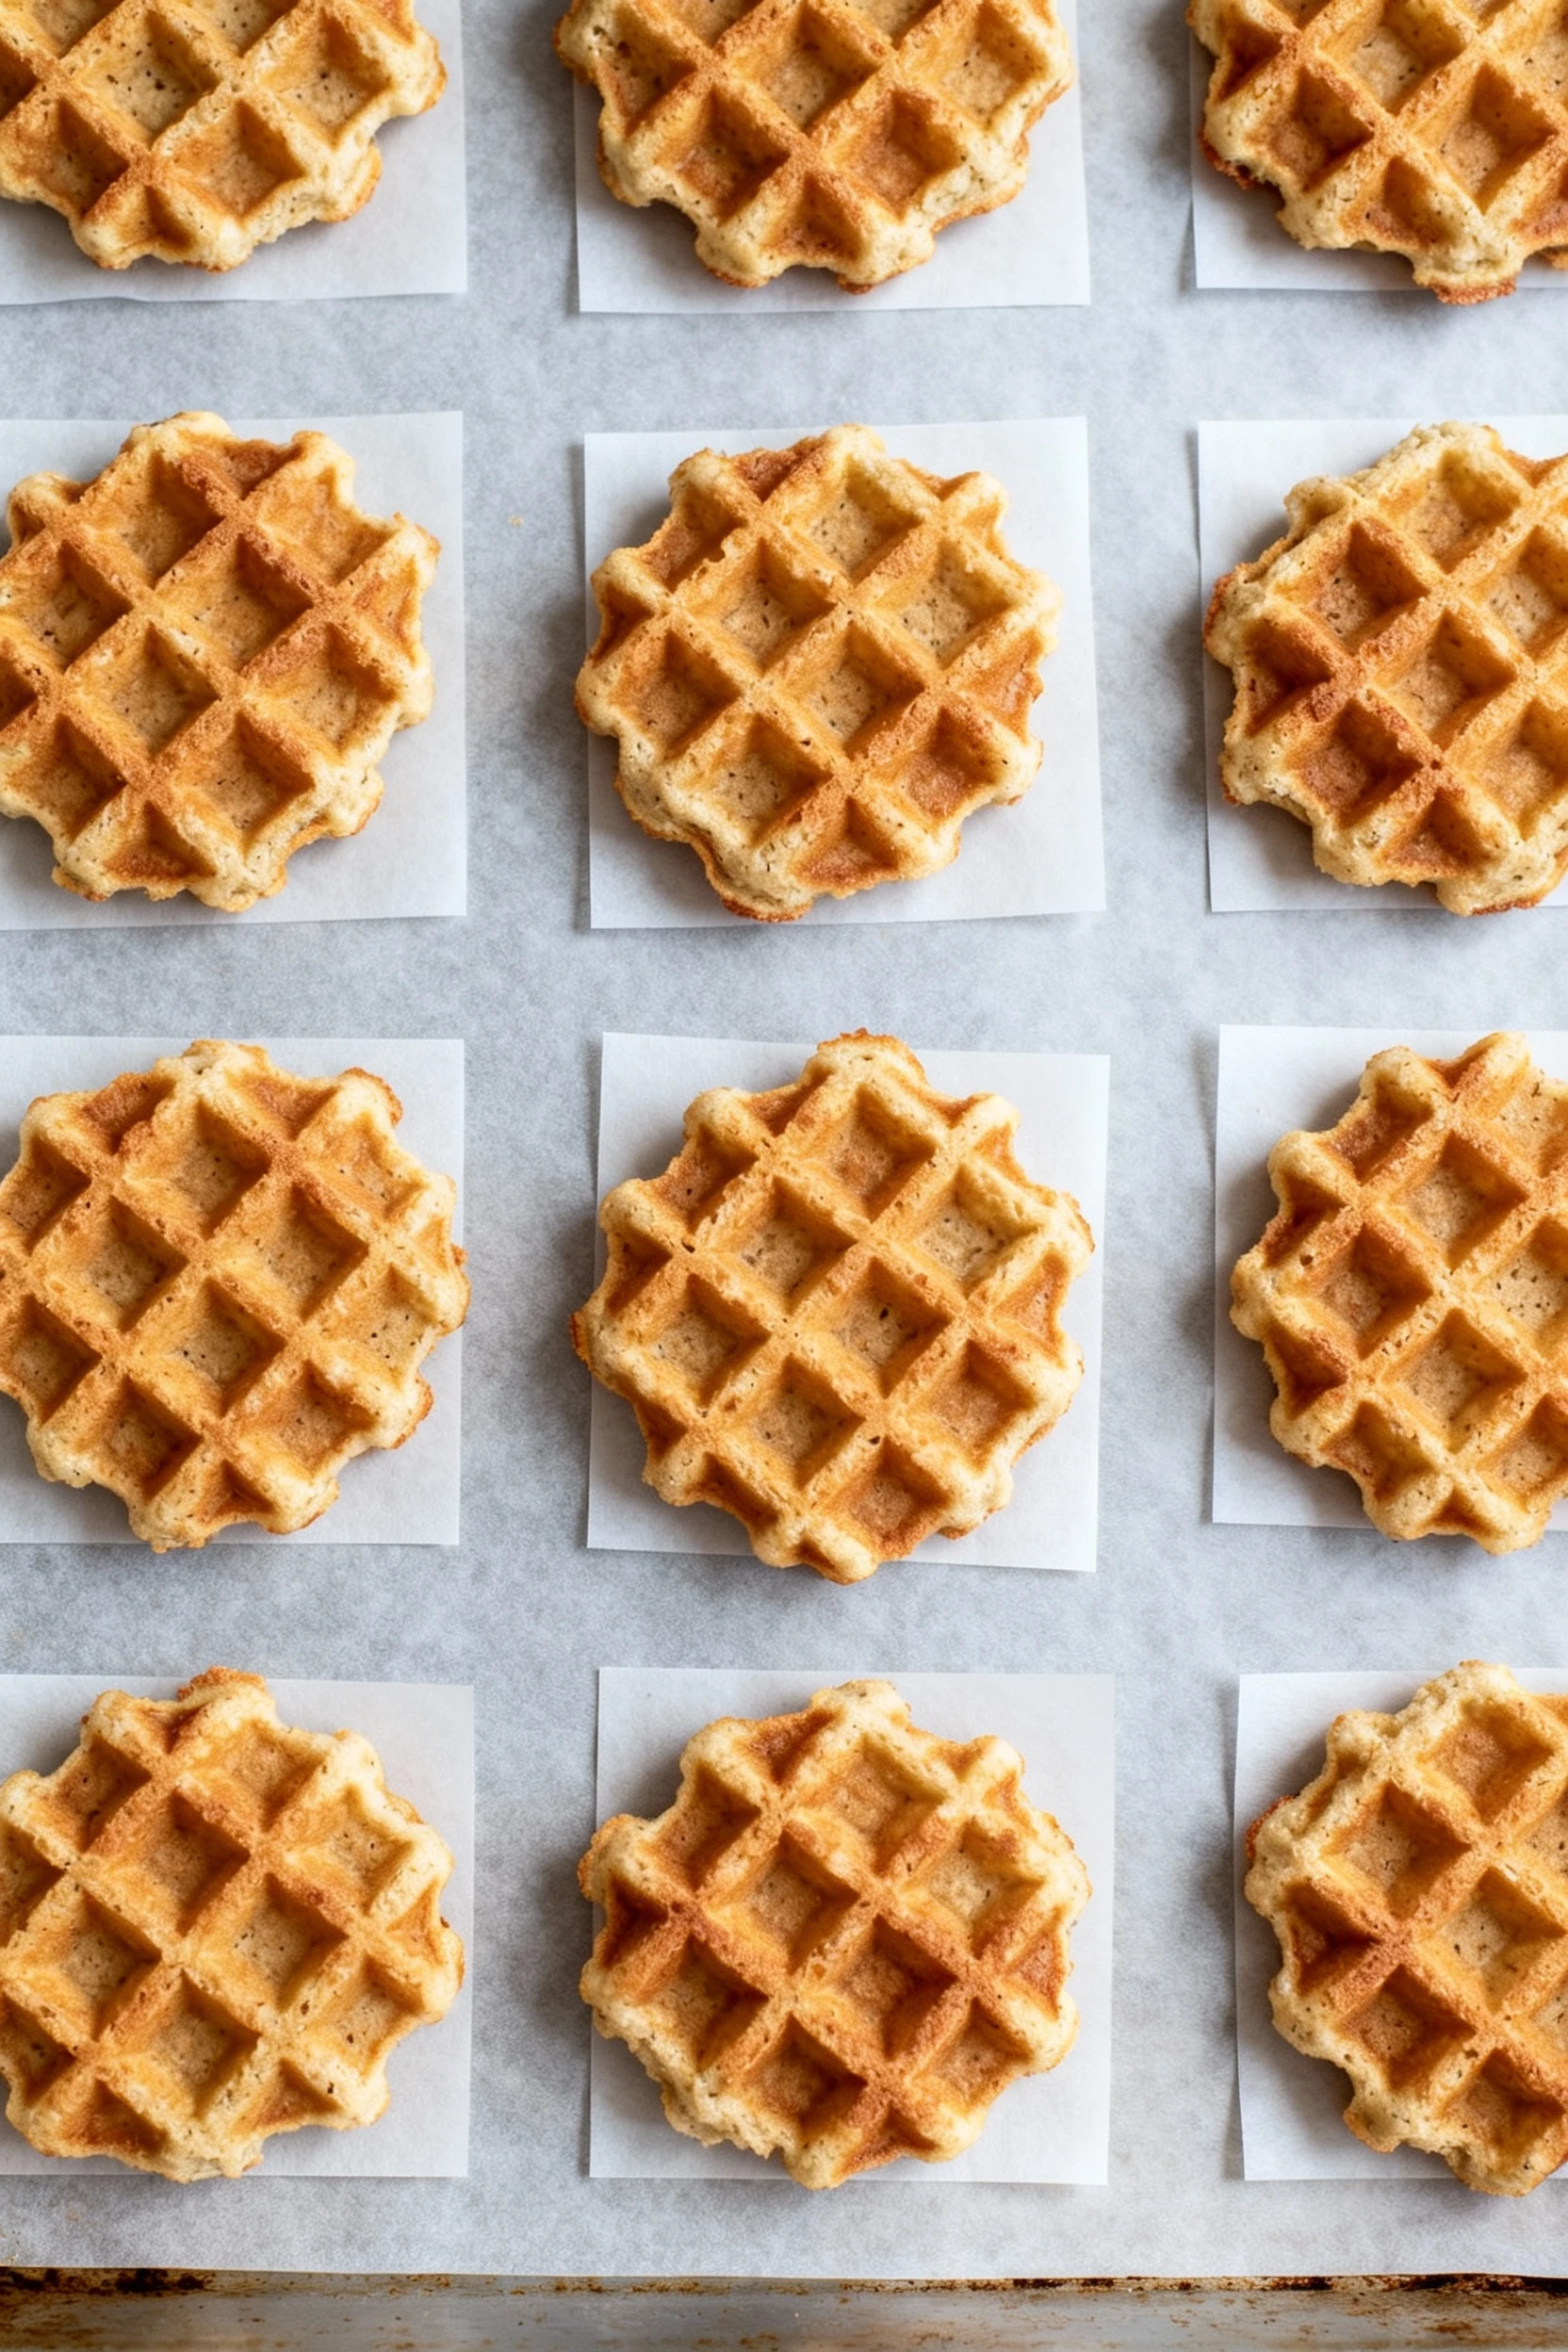
- Let waffles cool completely on a rack.
- Freeze in a single layer on a sheet pan until firm (about 1 hour).
- Stack with parchment between waffles and store in a freezer-safe bag for up to 2 months.
Best reheating for crisp:
- Toaster: 2–3 cycles on medium until hot and crisp.
- Air fryer: 360°F (182°C) for 4–6 minutes from frozen.
- Oven: 400°F (204°C) on a rack for 8–10 minutes. Avoid the microwave unless you like soft waffles (no judgment, just facts).
Why This is Good for You
High in fiber. Coconut flour brings a hefty dose of fiber that supports satiety and steady energy. Translation: fewer snack attacks before lunch.
Gluten-free and grain-free. Great for gluten-sensitive folks and anyone cycling away from grains without sacrificing weekend-brunch joy.
Balanced macros. Eggs bring complete protein; healthy fats from coconut oil or butter keep you full. Use a zero-cal sweetener if you’re watching carbs.
Customizable nutrition. Add whey isolate for more protein, swap dairy with almond or coconut milk, or top with Greek yogurt and berries for extra oomph.
What Not to Do
- Don’t skip preheating. A lukewarm iron guarantees stuck-on batter and soggy middles.
- Don’t overmix. Stir until combined, then stop. Overworking yields tough waffles (sad trombone).
- Don’t open the iron early. Let steam subside. Peeking = torn waffles and tears (yours).
- Don’t stack hot waffles. Steam equals sog. Cool on a rack for crisp edges that last.
- Don’t 1:1 swap almond flour. Coconut flour is ultra-absorbent; almond flour behaves differently. See Alternatives for how to pivot.
- Don’t drown the grid. Overfilling creates overflow and uneven cook. Use just enough to cover.
Alternatives
- Dairy-free: Use almond milk or canned light coconut milk and coconut oil. Same crisp, zero dairy.
- Keto-friendly: Skip arrowroot; use erythritol/monk fruit; consider heavy cream for the milk; add 1 tablespoon whey isolate for extra crunch.
- Higher protein: Add 1/4 cup unflavored whey or pea protein; thin with extra milk as needed for a pourable batter.
- Flavor boosts: Cinnamon + vanilla; lemon zest + blueberries; cocoa + espresso; toasted coconut + lime. Choose one so flavors don’t brawl.
- Almond flour version (non–coconut flour): Use 1 1/2 cups almond flour, 3 eggs, 1/2 cup milk, 2 tablespoons melted butter/oil, 1 teaspoon baking powder, pinch of salt. Texture will be cakier and less crisp.
- Egg-free (tricky): Coconut flour loves eggs. If you must, try 2 tablespoons ground flax + 6 tablespoons water (gelled) plus 1/2 cup aquafaba whipped to soft peaks. Expect less crisp, but still tasty IMO.
FAQ
Can I make these without dairy?
Yes. Use almond milk or coconut milk and choose coconut oil instead of butter. The waffles still crisp nicely and reheat like champs.
How do I keep them crispy after cooking?
Cool each waffle on a wire rack and avoid stacking while hot. For serving later, re-crisp in a toaster or 400°F oven for a few minutes. FYI, air fryers do stellar work here.
Why are my waffles sticking to the iron?
Your iron likely wasn’t hot enough, or it wasn’t greased. Preheat fully, brush with butter or oil before each batch, and wait until the steam slows before opening.
Can I use almond flour instead of coconut flour?
Not 1:1. Coconut flour absorbs far more liquid. If you want almond-flour waffles, use the alternative formula in the Alternatives section for the right texture.
Are these waffles keto?
They can be. Use a zero-cal sweetener, heavy cream or unsweetened almond milk, and skip the arrowroot. For extra crisp and protein, add 1 tablespoon whey isolate.
What’s the best way to freeze them?
Cool completely, freeze in a single layer until solid, then stack with parchment and store in a freezer bag. This prevents sticking and ice crystals that sabotage crunch.
How do I reheat from frozen?
Toast on medium for 2–3 cycles, or air fry at 360°F for 4–6 minutes. Oven works too—400°F for 8–10 minutes on a rack. Avoid the microwave unless you’re okay with soft.
My batter got super thick—what happened?
Coconut flour continues absorbing liquid as it rests. Thin with 1–3 tablespoons milk to reach a thick-but-pourable consistency. Don’t worry—this is normal.
Can I halve or double the recipe?
Yes. It scales well. If doubling, let the batter rest a few extra minutes and keep it moving between batches; add small splashes of milk if it firms up.
Do I need sugar for browning?
No, but a tablespoon helps browning and crispness. If skipping sugar, cook a touch longer and ensure your iron is fully preheated for that golden finish.
The Bottom Line
These waffles hit the trifecta: crisp edges, simple ingredients, and true freezer-friendliness. Make a stack once, stash the extras, and future-you gets a no-stress breakfast that tastes fresh every time. Keep the iron hot, rest the batter, and reheat with dry heat for maximum crunch. That’s the playbook—now go win your mornings, one golden square at a time.
Printable Recipe Card
Want just the essential recipe details without scrolling through the article? Get our printable recipe card with just the ingredients and instructions.