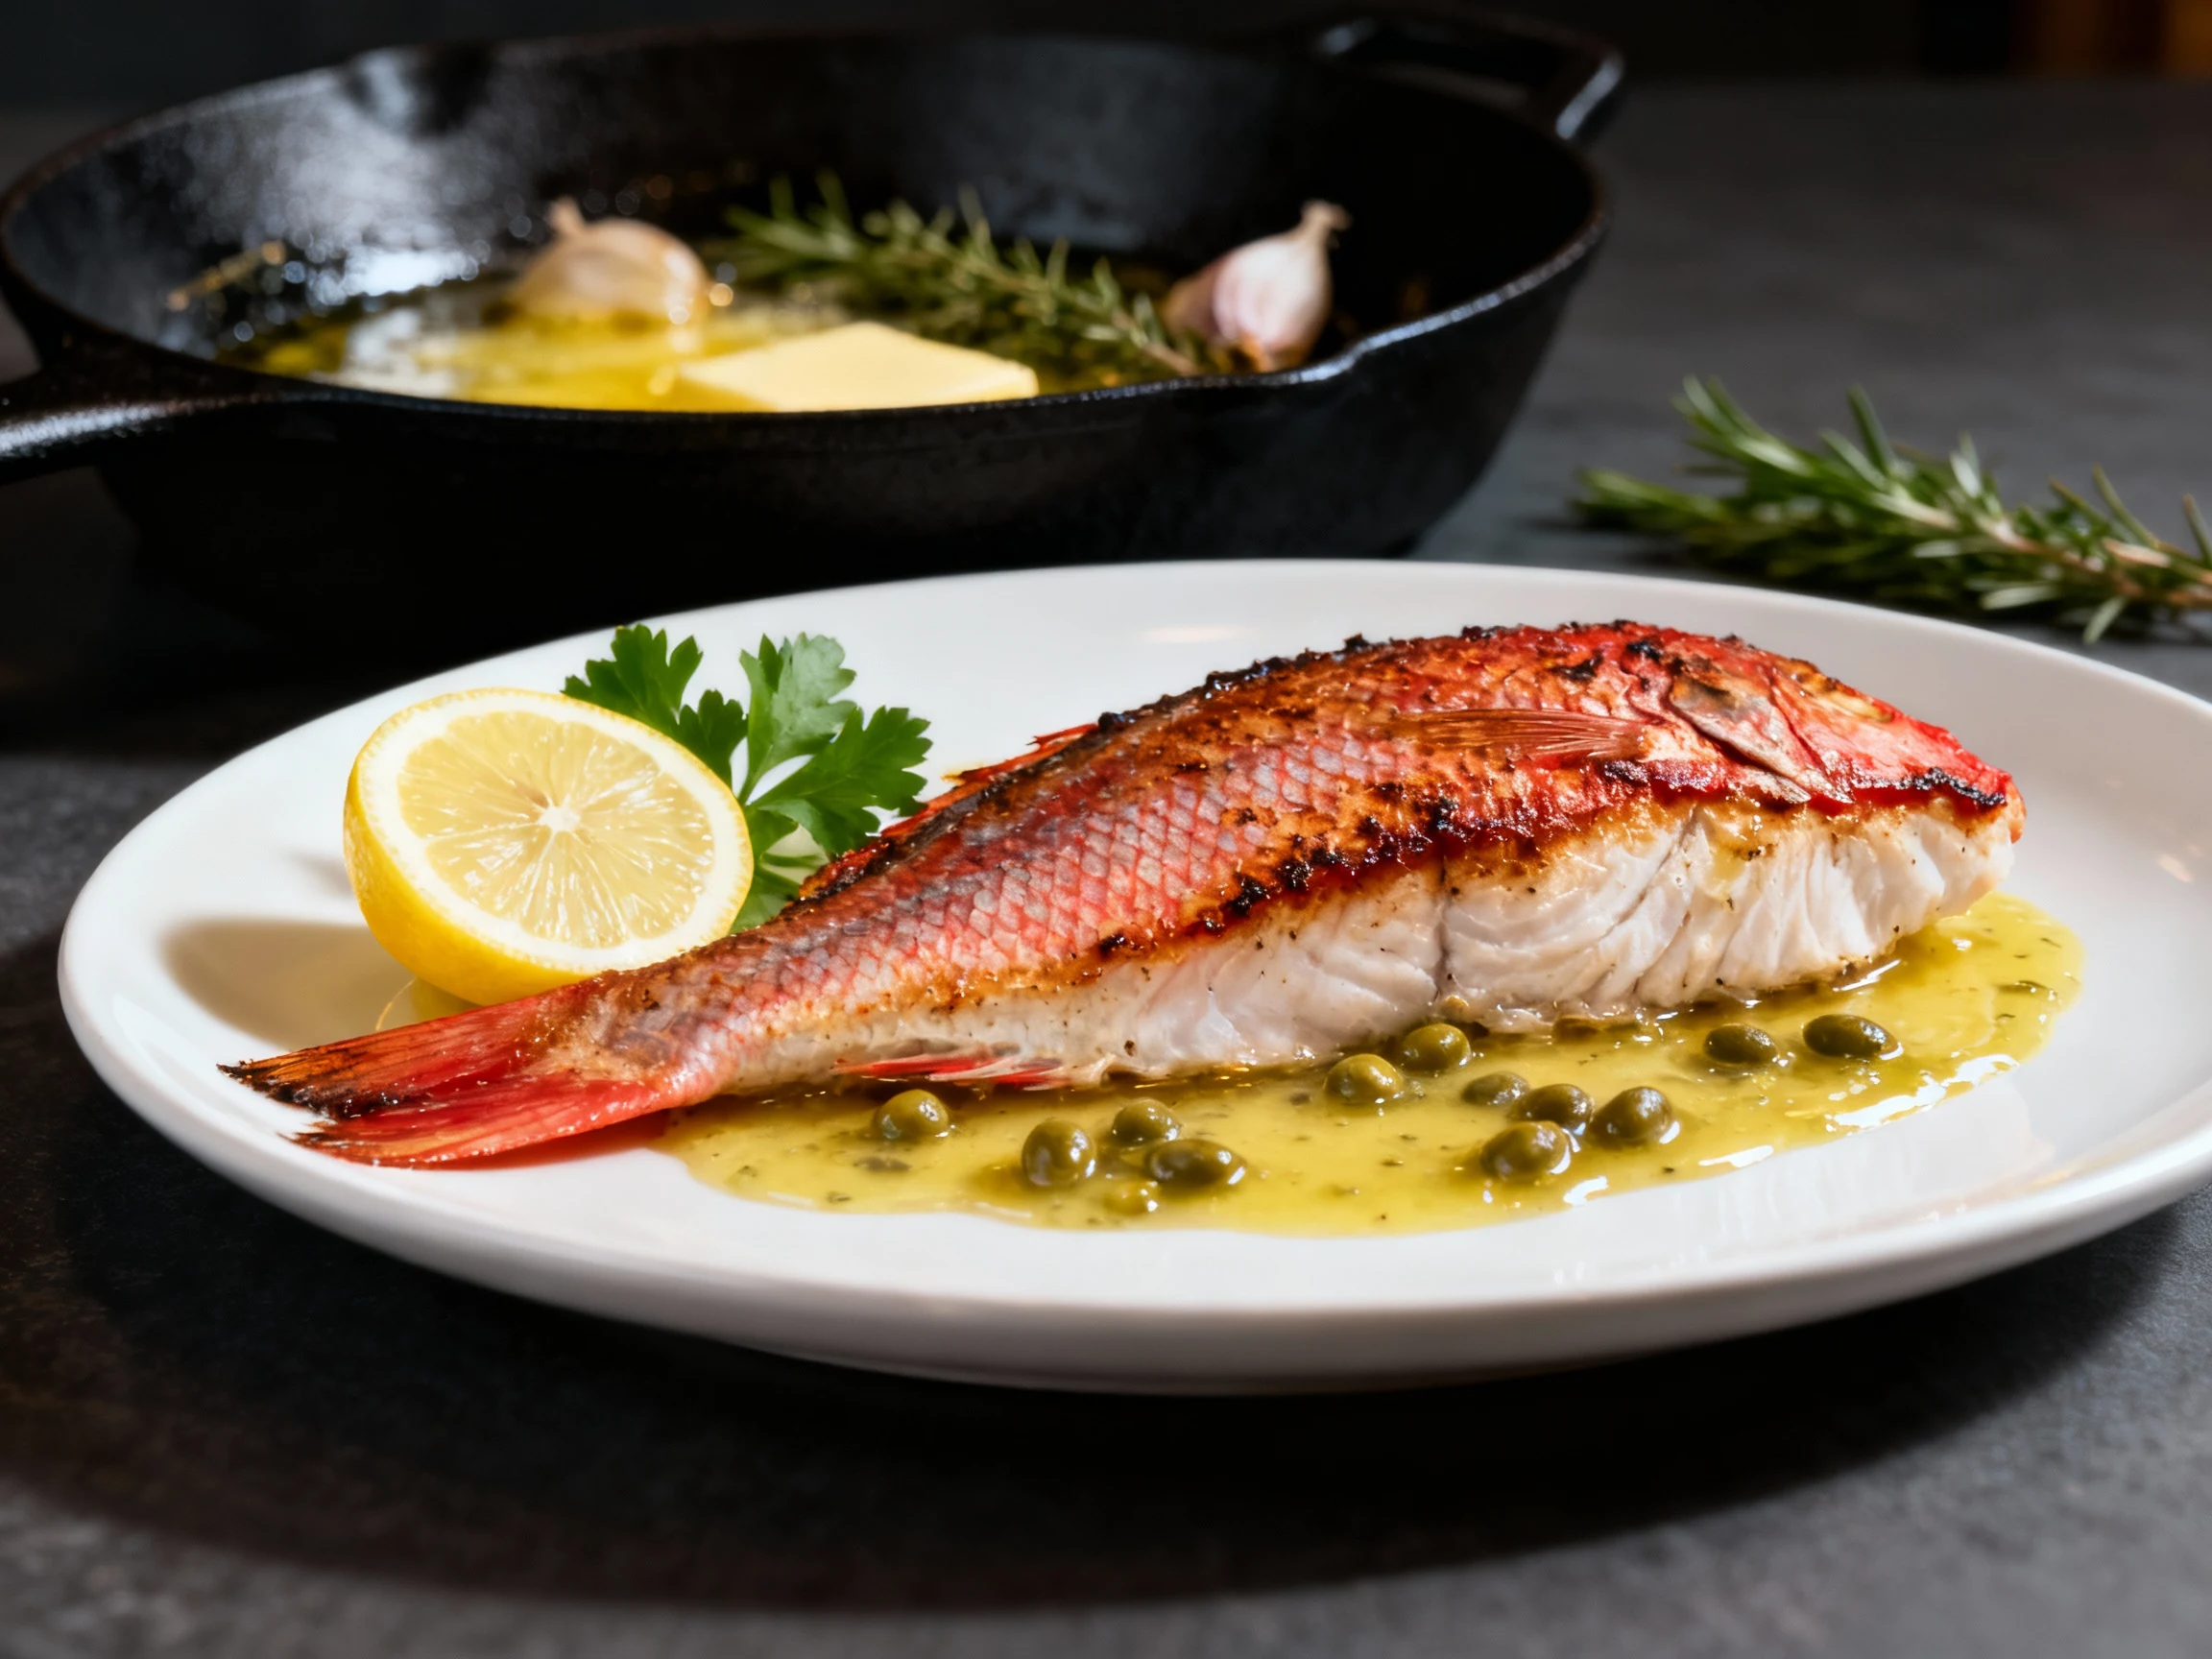
Pan-seared Red Snapper With Crispy Skin (restaurant-style): Home Win
Crackly skin, juicy fillet, and a lemon-caper flourish—all in under 20 minutes with pro-level technique and zero fancy equipment.
You don’t need a culinary degree to get swoon-worthy crispy fish—just a dry towel and a hot pan. The secret most restaurants won’t spell out? The skin does the heavy lifting while heat and patience do the rest. We’ll lock in moisture, render fat, and create a shattering crust that makes forks pause mid-air. Make this once and your weeknight seafood game jumps a full league. Ready to hear the sizzle you’ve been missing?
Why This Recipe Works
Getting that glass-like crunch on fish skin isn’t magic—it’s moisture control and heat management. Dry skin + high heat + minimal movement = epic crisp. Red snapper is perfect for this: thin skin, firm flesh, and clean flavor that loves citrus and herbs.
We cook skin-side down for most of the time so the skin dehydrates and crisps while protecting the flesh from overcooking. Then we finish fast with butter, aromatics, and lemon so you get richness without soggy skin. It’s restaurant tactics, simplified for home cooks who like wins.
What Goes Into This Recipe – Ingredients
- 2 skin-on red snapper fillets (6–8 oz each), well-scaled
- Kosher salt and freshly ground black pepper
- 2 tablespoons neutral oil (avocado, grapeseed, or canola)
- 2 tablespoons unsalted butter
- 2 garlic cloves, lightly crushed
- 2 fresh thyme sprigs (or parsley if you prefer)
- 1 lemon (zest and juice)
- 1 tablespoon capers, drained
- 1 small shallot, minced (optional, for pan sauce)
- 1 tablespoon chopped parsley, for finishing
- Flaky sea salt, to finish
- Paper towels (yes, your MVP)
The Method – Instructions
- Prep the fish: Check the skin for scales and scrape with a knife if needed. Pat the fillets bone-dry, especially the skin. FYI, 30–60 minutes uncovered in the fridge dries skin like a charm.
- Season smart: Salt both sides. Pepper only the flesh side so the skin doesn’t burn. Lightly zest the lemon over the flesh for aroma.
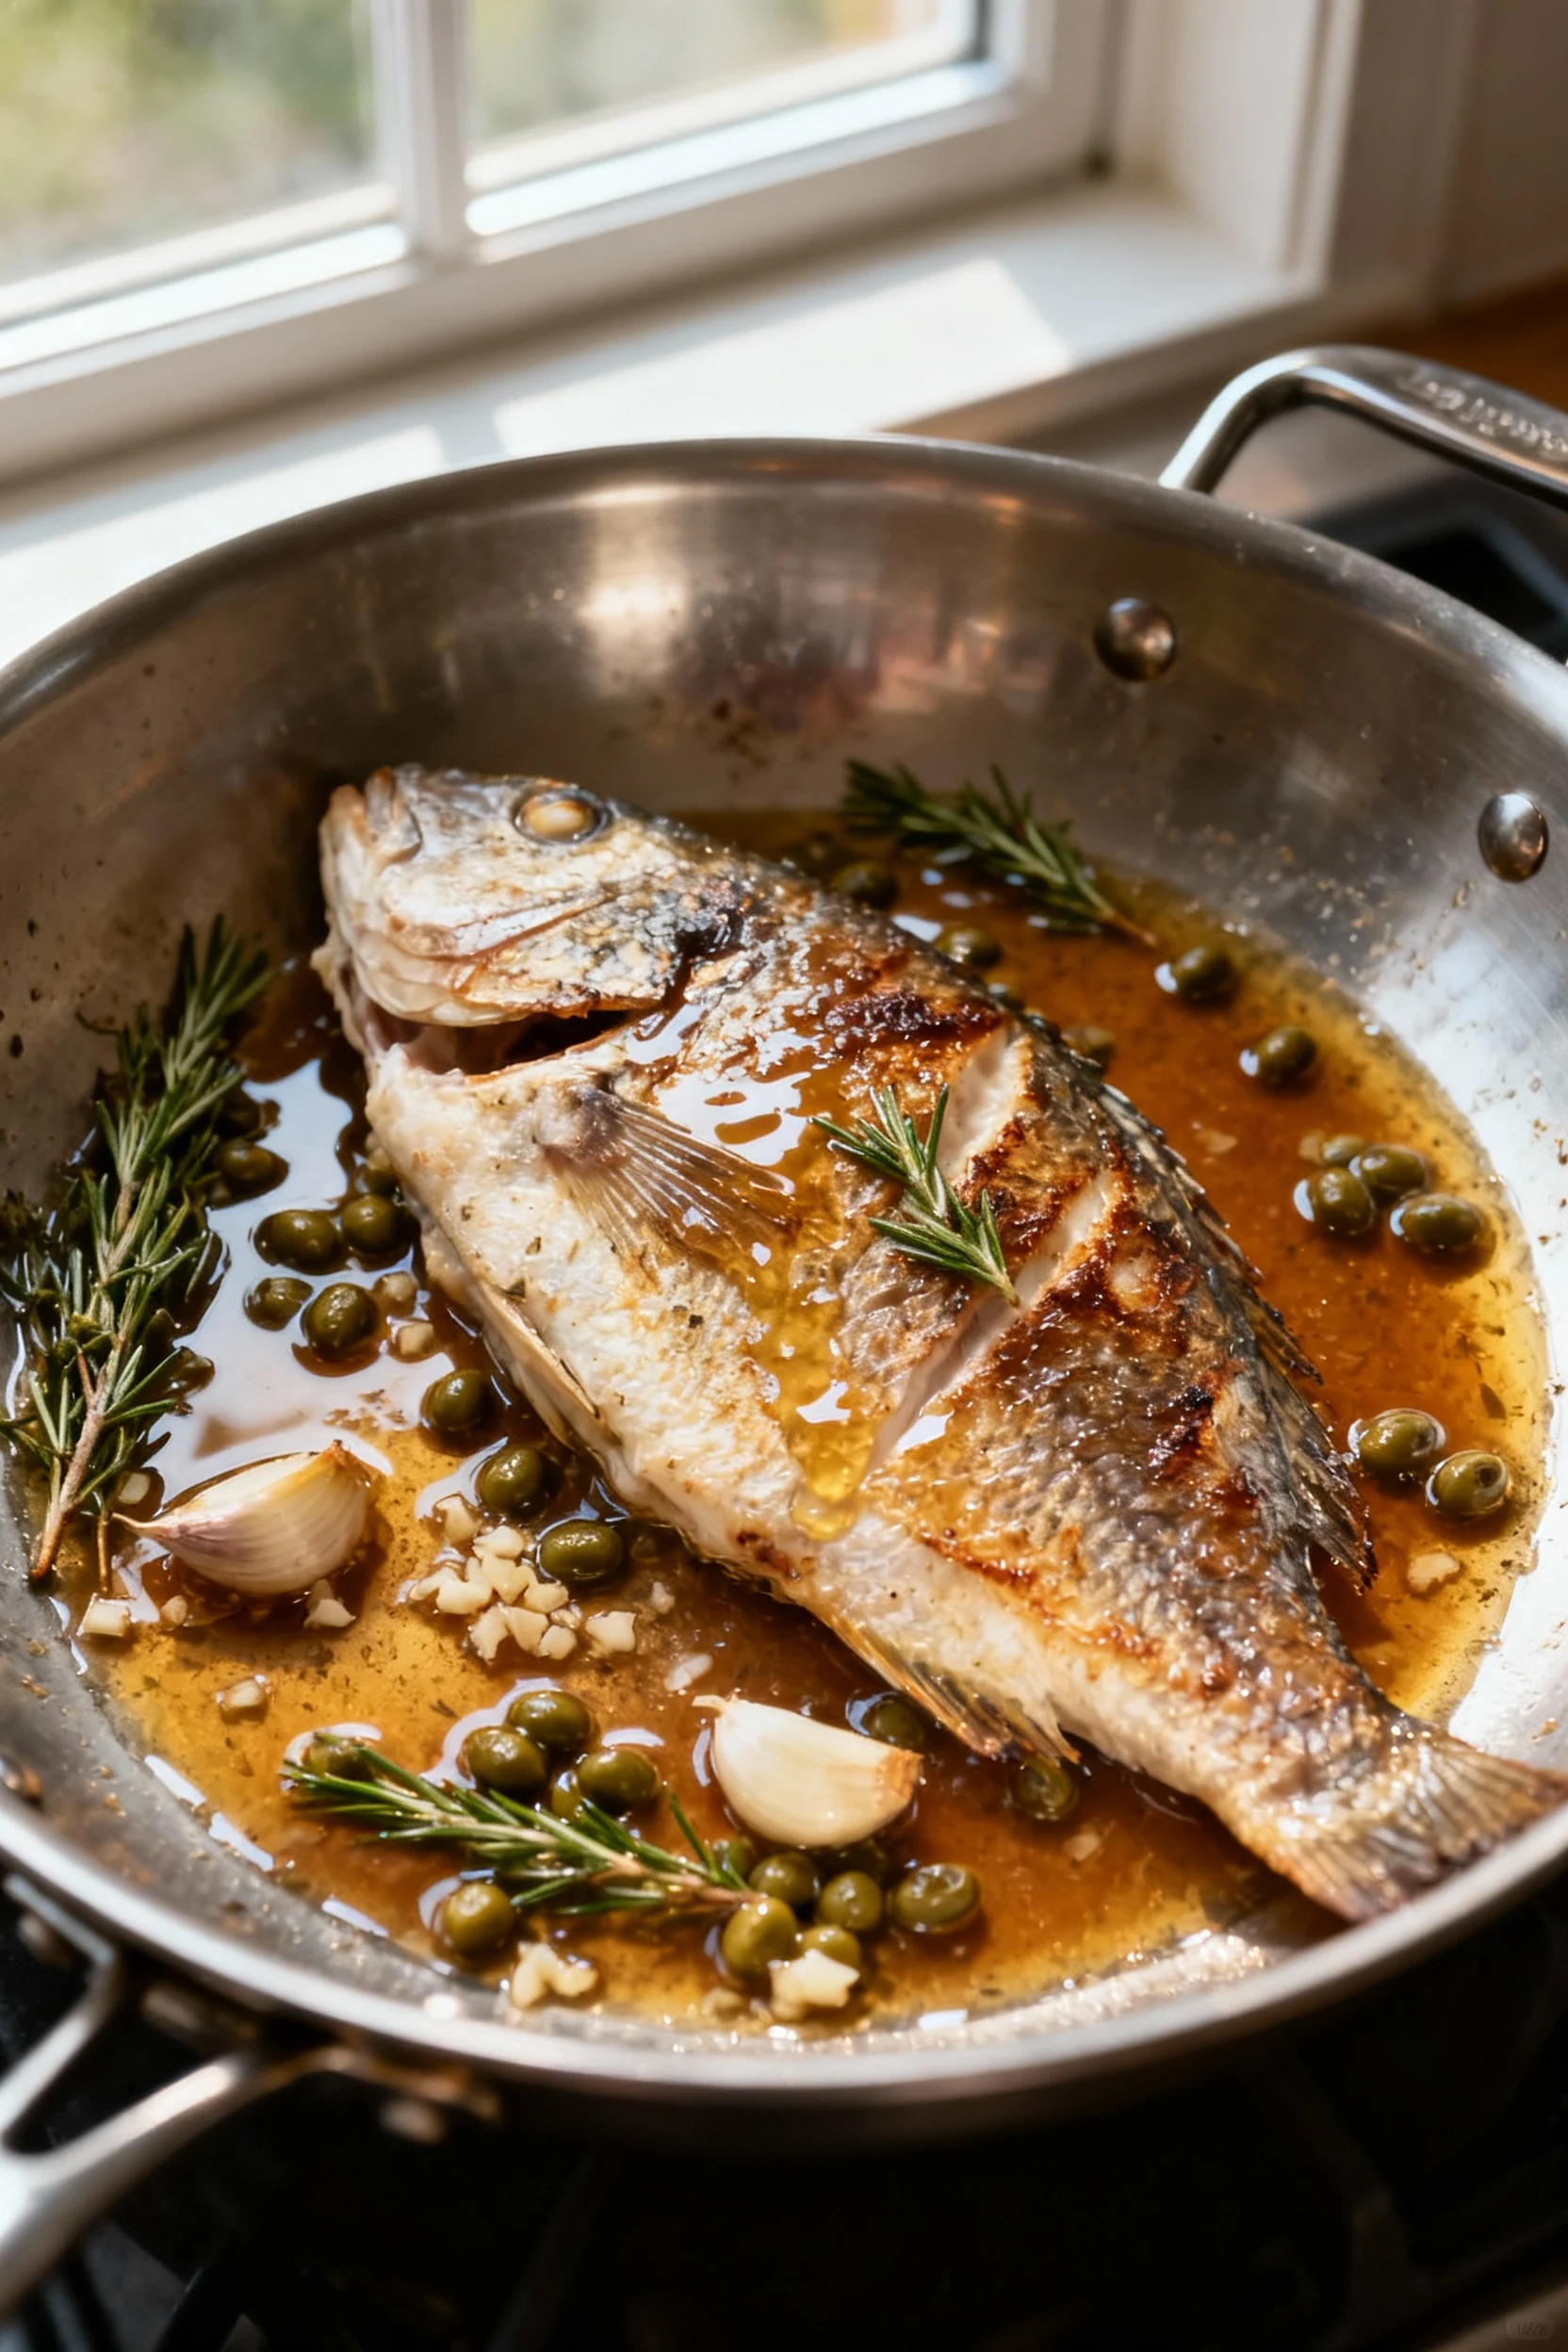
- Preheat the pan: Set a stainless or cast-iron skillet over medium-high until hot (2–3 minutes). Add oil and heat until it shimmers and flows easily.
- Skin-side down: Lay the fish away from you, skin-side down. Immediately press with a fish spatula for 20–30 seconds so the skin stays flat and doesn’t buckle.
- Adjust and let it crisp: Drop heat to medium. Cook undisturbed for 4–6 minutes. You’ll see the flesh turn opaque about two-thirds up and the edges of the skin go golden.
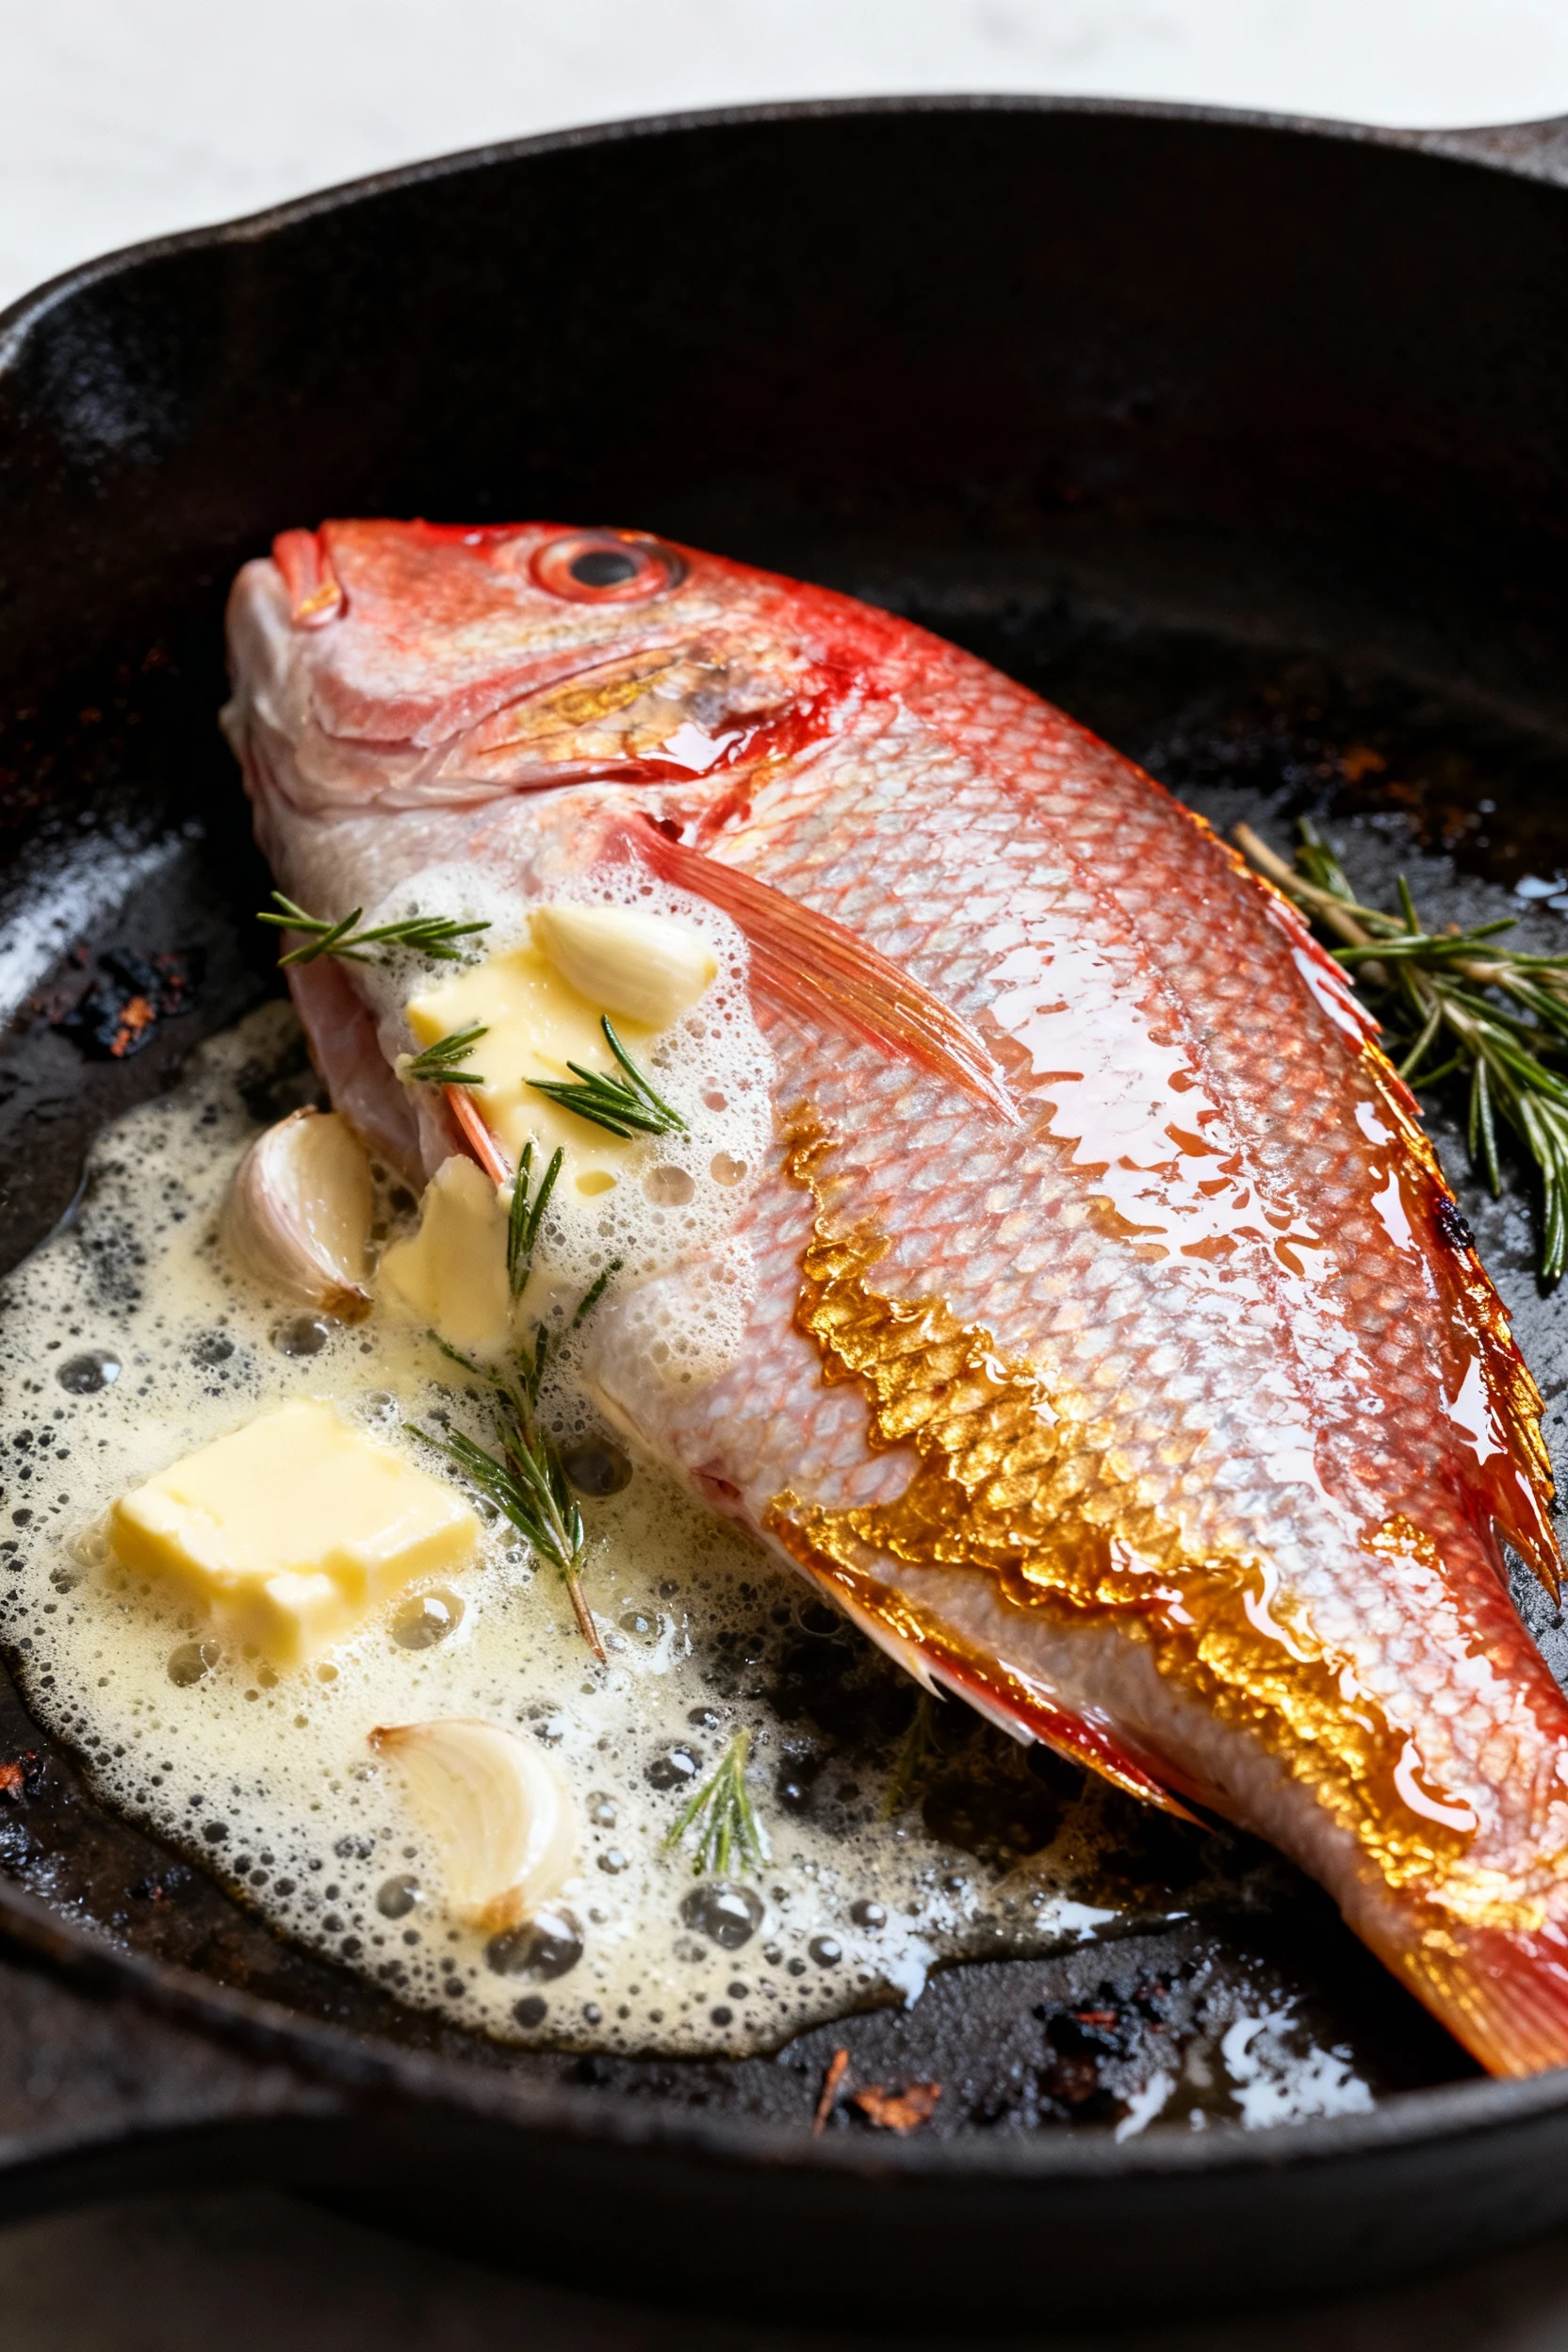
- Add flavors—keep skin dry: Toss in butter, garlic, and thyme to one side of the pan. Tilt the pan and spoon butter over the flesh only. Keep butter off the skin to protect that crunch.
- Quick flip: Flip the fish and cook the flesh side for 30–60 seconds. This is just a kiss of heat—no marathon.
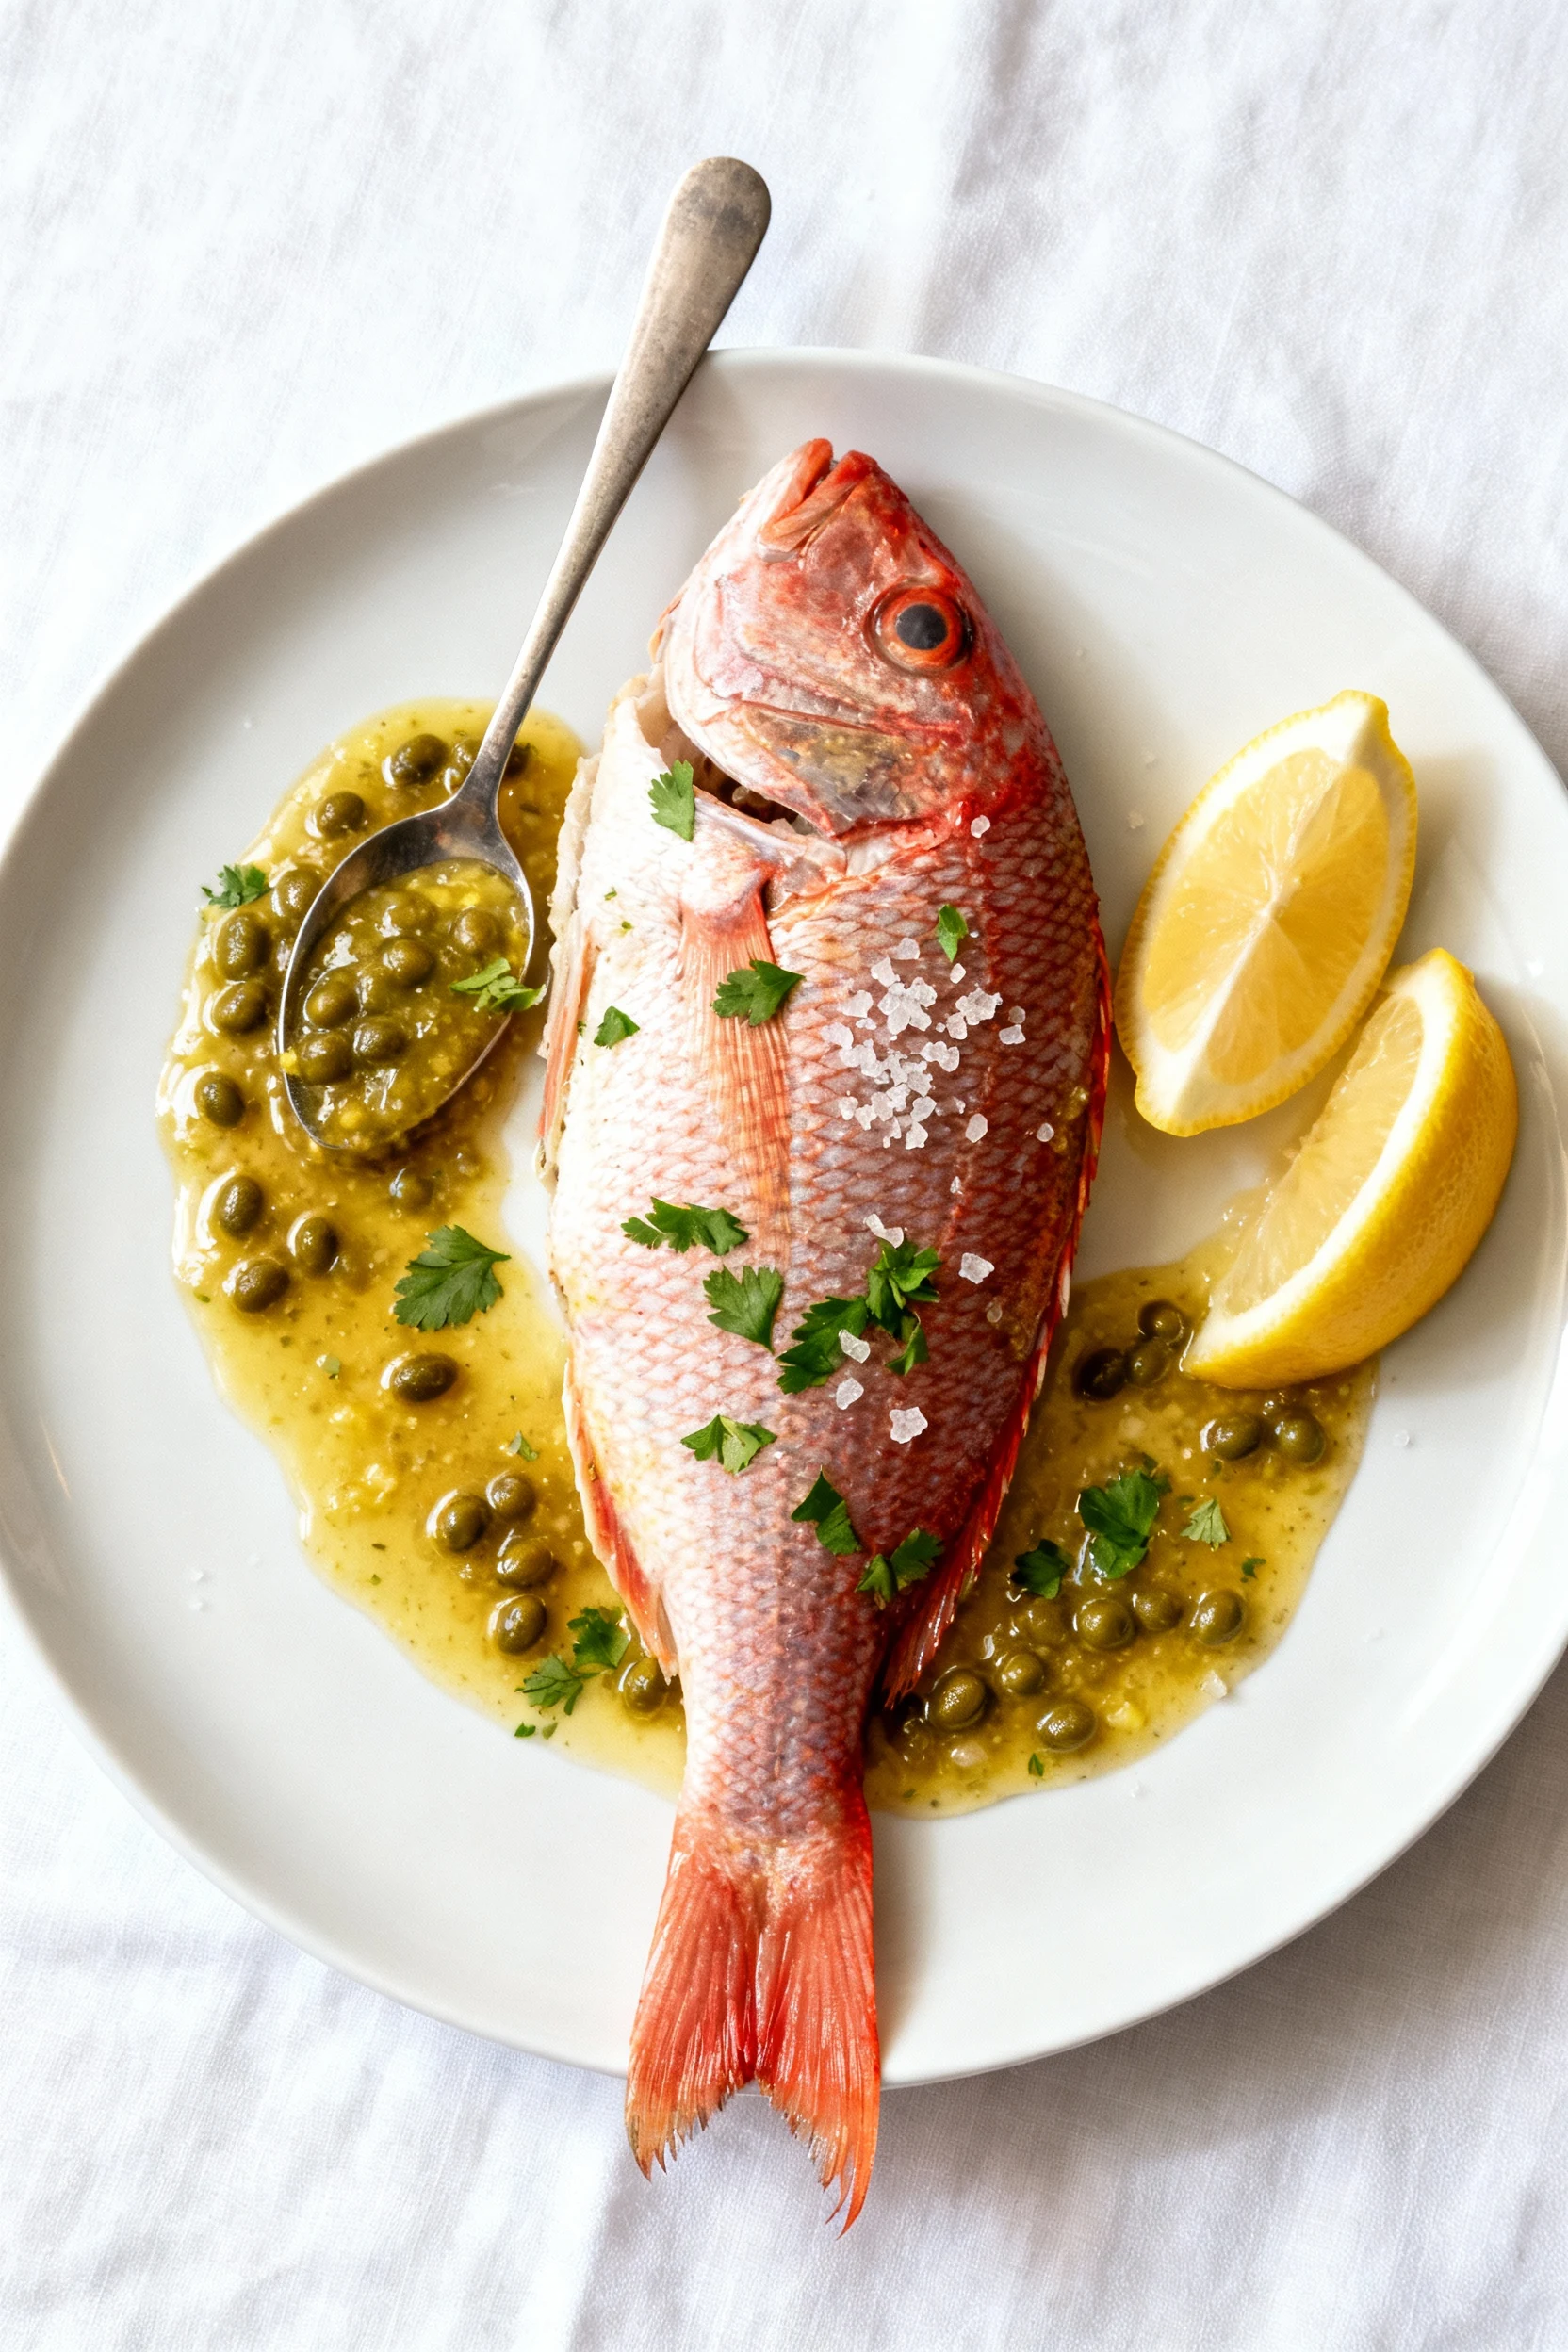
- Lemon-caper finish: With the fish still in, add capers and a squeeze of lemon. Swirl the pan for 10 seconds to wake everything up.
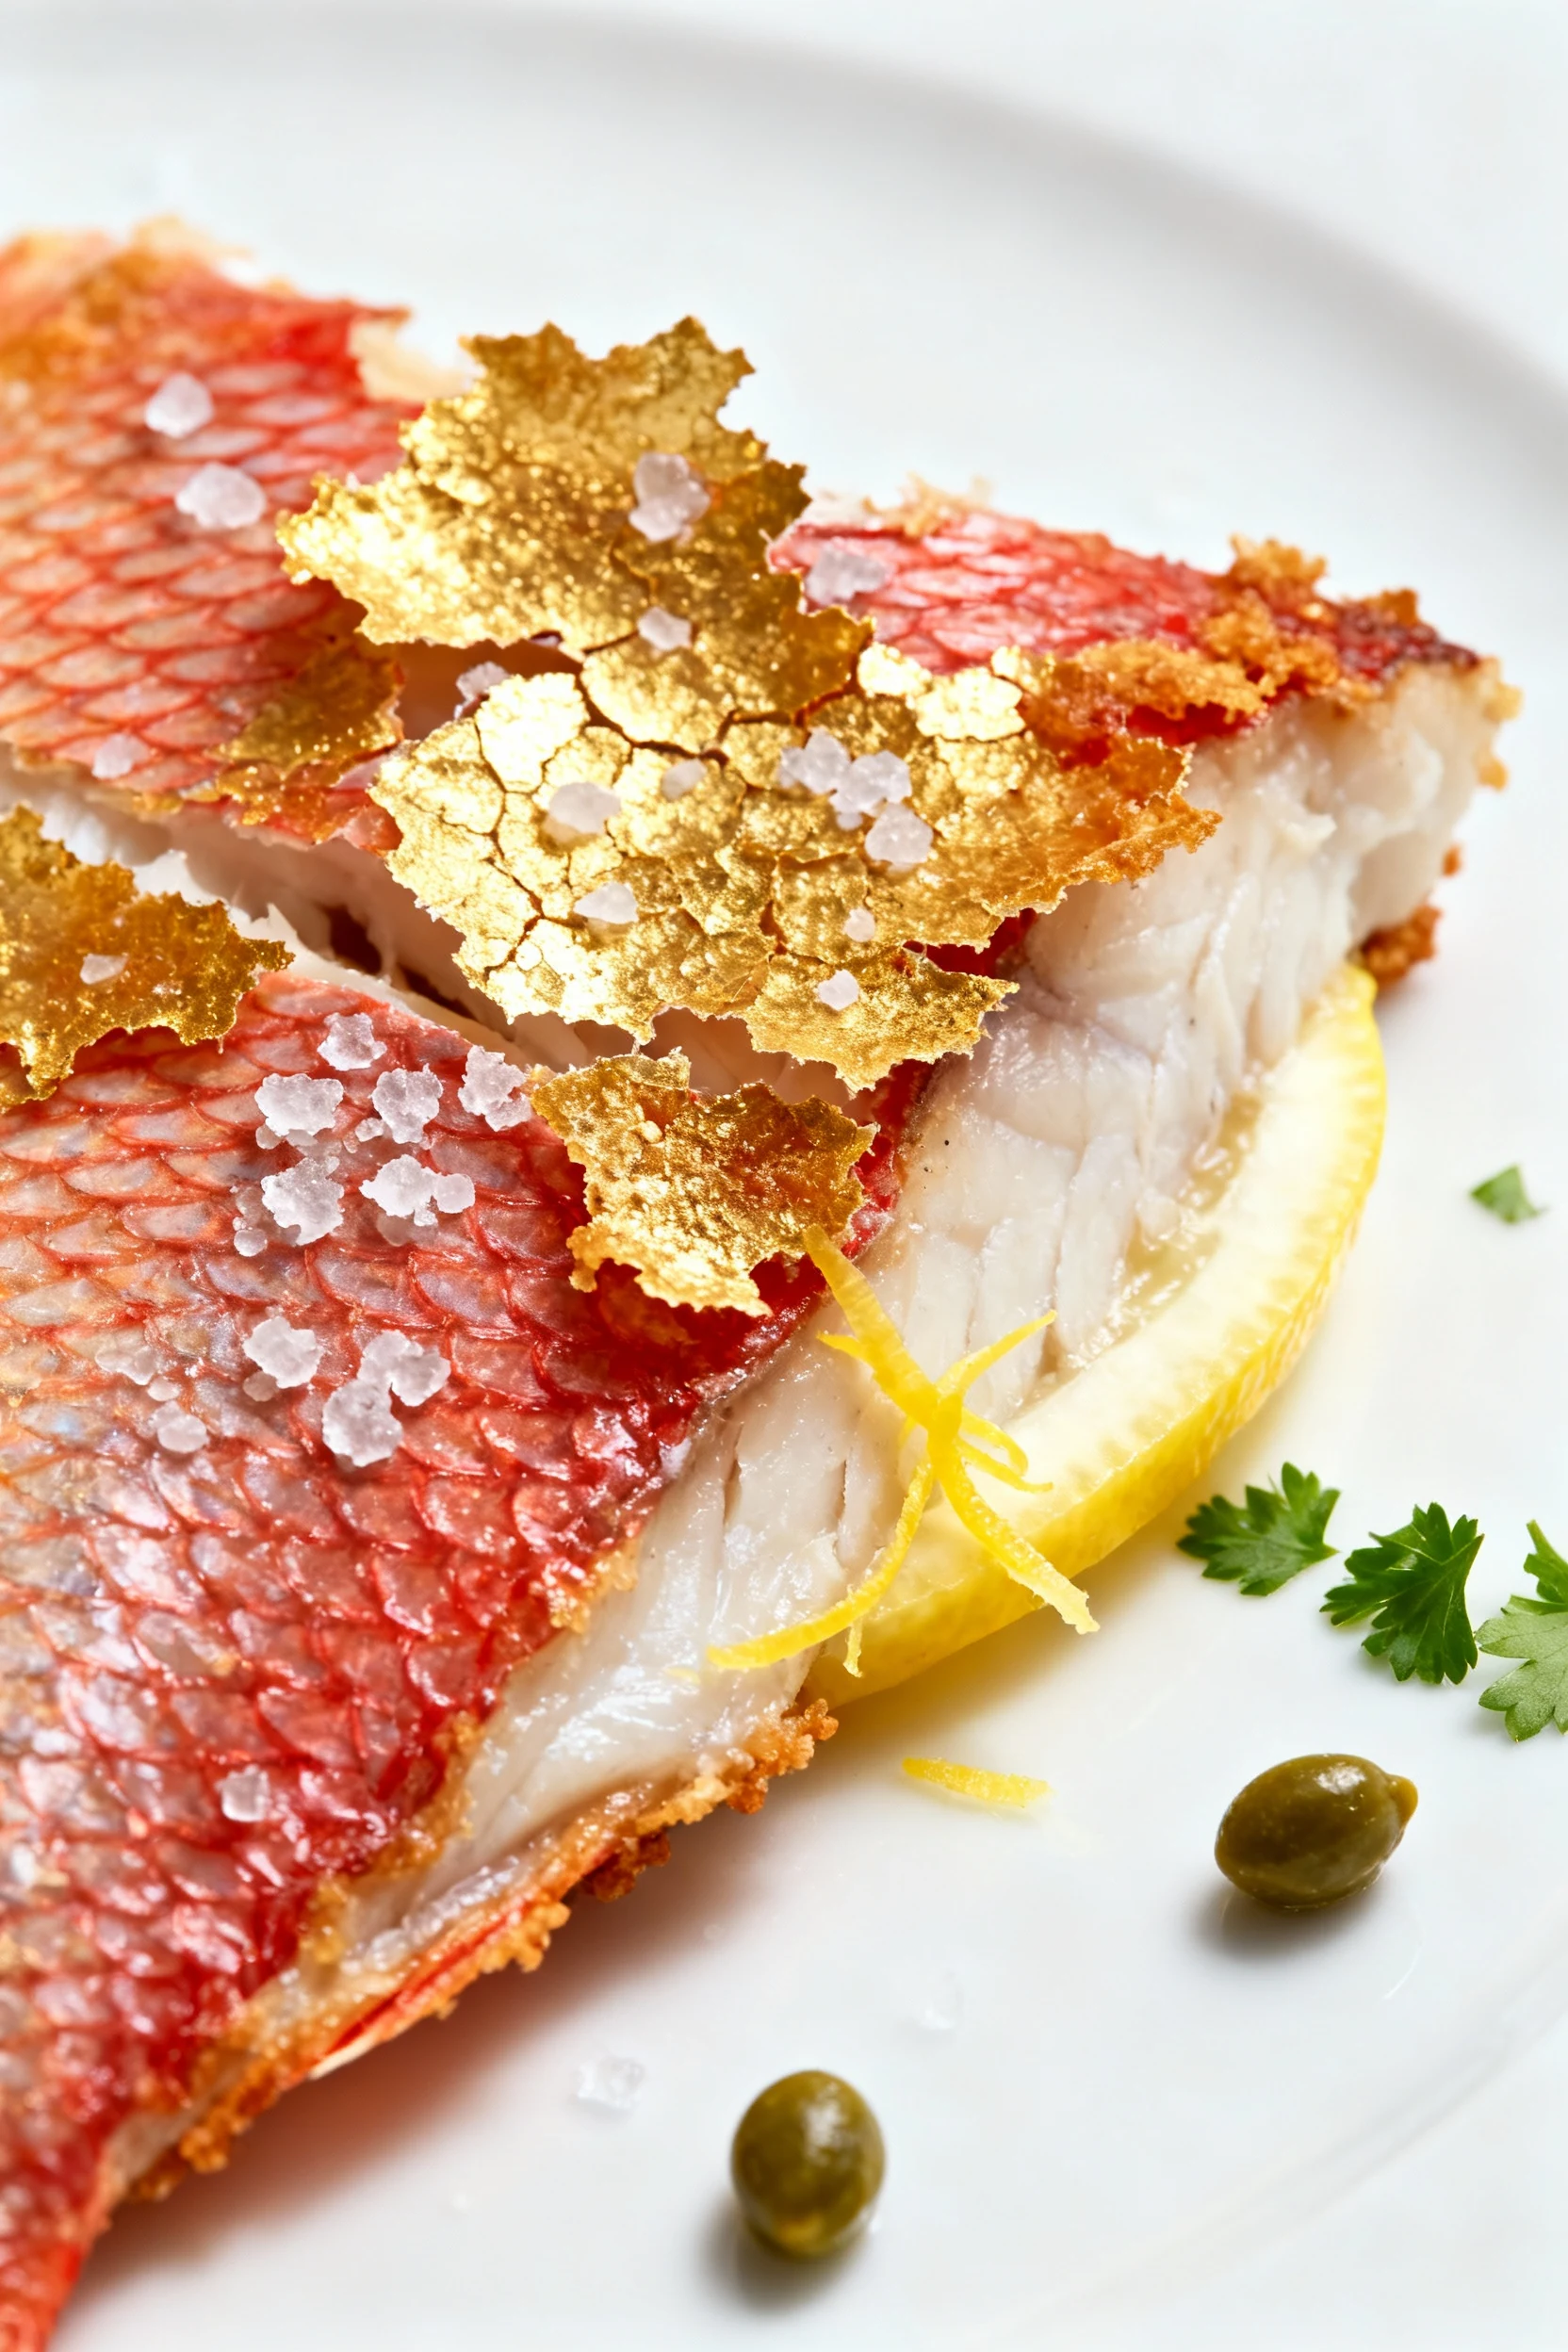
- Rest and plate: Transfer fish skin-side up. Sprinkle parsley and a touch of flaky salt. Serve with wedges of lemon.
- Optional pan sauce: Remove fish. Add shallot to the pan and sauté 30 seconds. Deglaze with 2 tablespoons white wine, reduce briefly, swirl in a knob of butter. Spoon around the fish, not on the skin.
Keeping It Fresh
Leftovers? Respect the crisp. Store fish in an airtight container, skin-side up, for up to 2 days. Don’t stack or the skin softens faster than a rom-com ending.
Reheat in a dry skillet, skin-side down over medium heat, 2–3 minutes until re-crisped. An air fryer at 375°F for 3–4 minutes also works. Avoid microwaves unless you enjoy rubber bands.
Raw fillets freeze well for 2–3 months if vacuum-sealed. Thaw overnight in the fridge, then pat dry like your life depends on it. Cook immediately after thawing.
Health Benefits
Red snapper provides lean protein with minimal saturated fat, making it a smart swap for heavier meats. It’s rich in omega-3 fatty acids, supporting heart and brain health.
You’ll get selenium, potassium, and B vitamins for energy and cell function. With a lemon-caper finish and measured butter, this stays balanced and satisfying.
Mercury note: snapper sits in the moderate range. Pregnant or nursing? Keep portions sensible and vary your seafood types, IMO.
Don’t Make These Errors
- Wet skin = soggy skin: If you skip drying, you’re steaming, not crisping.
- Cold pan, cold results: Heat the pan until oil shimmers. No shimmer, no crunch.
- Moving the fish: Resist the urge. Let the skin set or it will tear and stick.
- Low smoke-point oil: Olive oil will burn before the skin crisps. Use avocado, grapeseed, or canola.
- Butter too early: Butter burns and softens skin. Add it late and baste the flesh side.
- Overcooking: Snapper dries fast. Cook mostly on the skin side and flip briefly.
- Under-seasoning: Salt is texture’s best friend. It pulls moisture and sharpens flavor.
Alternatives
- Fish swaps: Sea bass, barramundi, branzino, or trout work beautifully. Salmon is great but fattier; adjust cook time.
- Flavor lanes: Try chili-lime, garlic-herb, or a smoky paprika rub. Or go big with romesco, chimichurri, or a ginger-scallion sauce.
- Gear: Cast iron delivers fierce crust; stainless is nimble and releases cleanly. Nonstick is forgiving but won’t crisp as hard.
- Finish methods: For thick fillets, sear skin-side down and finish in a 375°F oven for 3–5 minutes.
- Citrus switch-ups: Meyer lemon, yuzu, or orange zest add flair without overpowering the fish.
FAQ
How do I keep the skin from sticking?
Heat the pan fully, use high-smoke-point oil, and don’t move the fish until the skin releases naturally. Press the fillet for the first 20–30 seconds to keep it flat.
Do I need to score the skin?
For snapper, not always. If your fillet is thick or curls aggressively, make 2–3 shallow slashes across the skin. Keep them light so you don’t expose the flesh.
Can I use frozen red snapper?
Yes—thaw overnight in the fridge, then pat it bone-dry. Frozen fish holds extra moisture, so drying (and a slightly longer skin-side cook) is crucial.
What’s the best pan for crispy skin?
Cast iron or stainless steel. They build and maintain heat, creating that crisp. Nonstick is fine for easy release, but it won’t achieve the same crackle, TBH.
Can I skip butter?
Absolutely. Use oil only and finish with lemon and herbs. You’ll get clean flavors and a lighter profile with plenty of texture.
Why does my fish smell “fishy”?
Fresh snapper smells like the sea, not like a bait shop. Buy from a trusted source, cook it quickly, and don’t hold it more than 1–2 days.
What sides pair well?
Think bright and crunchy: fennel-citrus salad, garlicky green beans, roasted potatoes, or coconut rice. Anything that complements lemon and capers plays well.
The Bottom Line
This is the fast track to chef-level seafood at home. Dry the skin, heat the pan, trust the process, and finish with bold but tidy flavors. You’ll get crackly skin, juicy flesh, and that “did I just make this?” moment. Once you master this, crispy fish night becomes your signature flex.
Printable Recipe Card
Want just the essential recipe details without scrolling through the article? Get our printable recipe card with just the ingredients and instructions.