Summer Squash Recipes — Crispy Saucy and Weeknight Easy
Turn peak-season squash into golden, flavor-packed meals fast—budget-friendly, pantry-driven, and perfect for busy weeknights and cookouts.
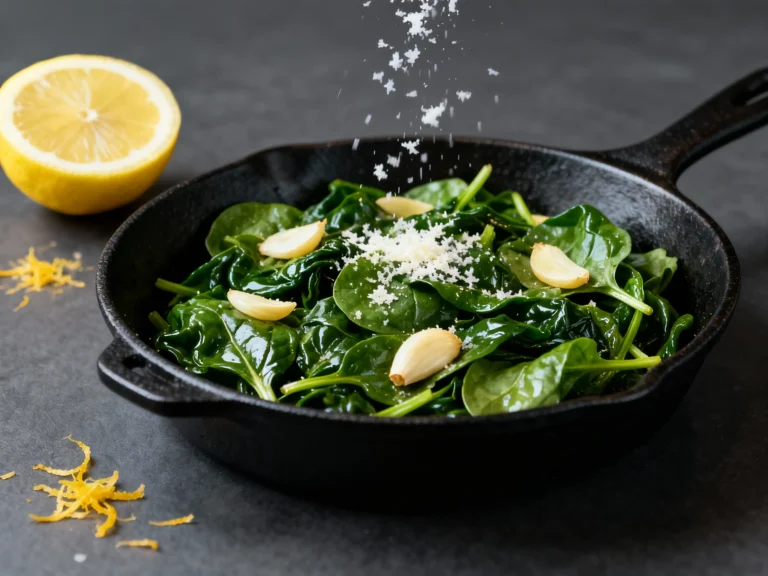
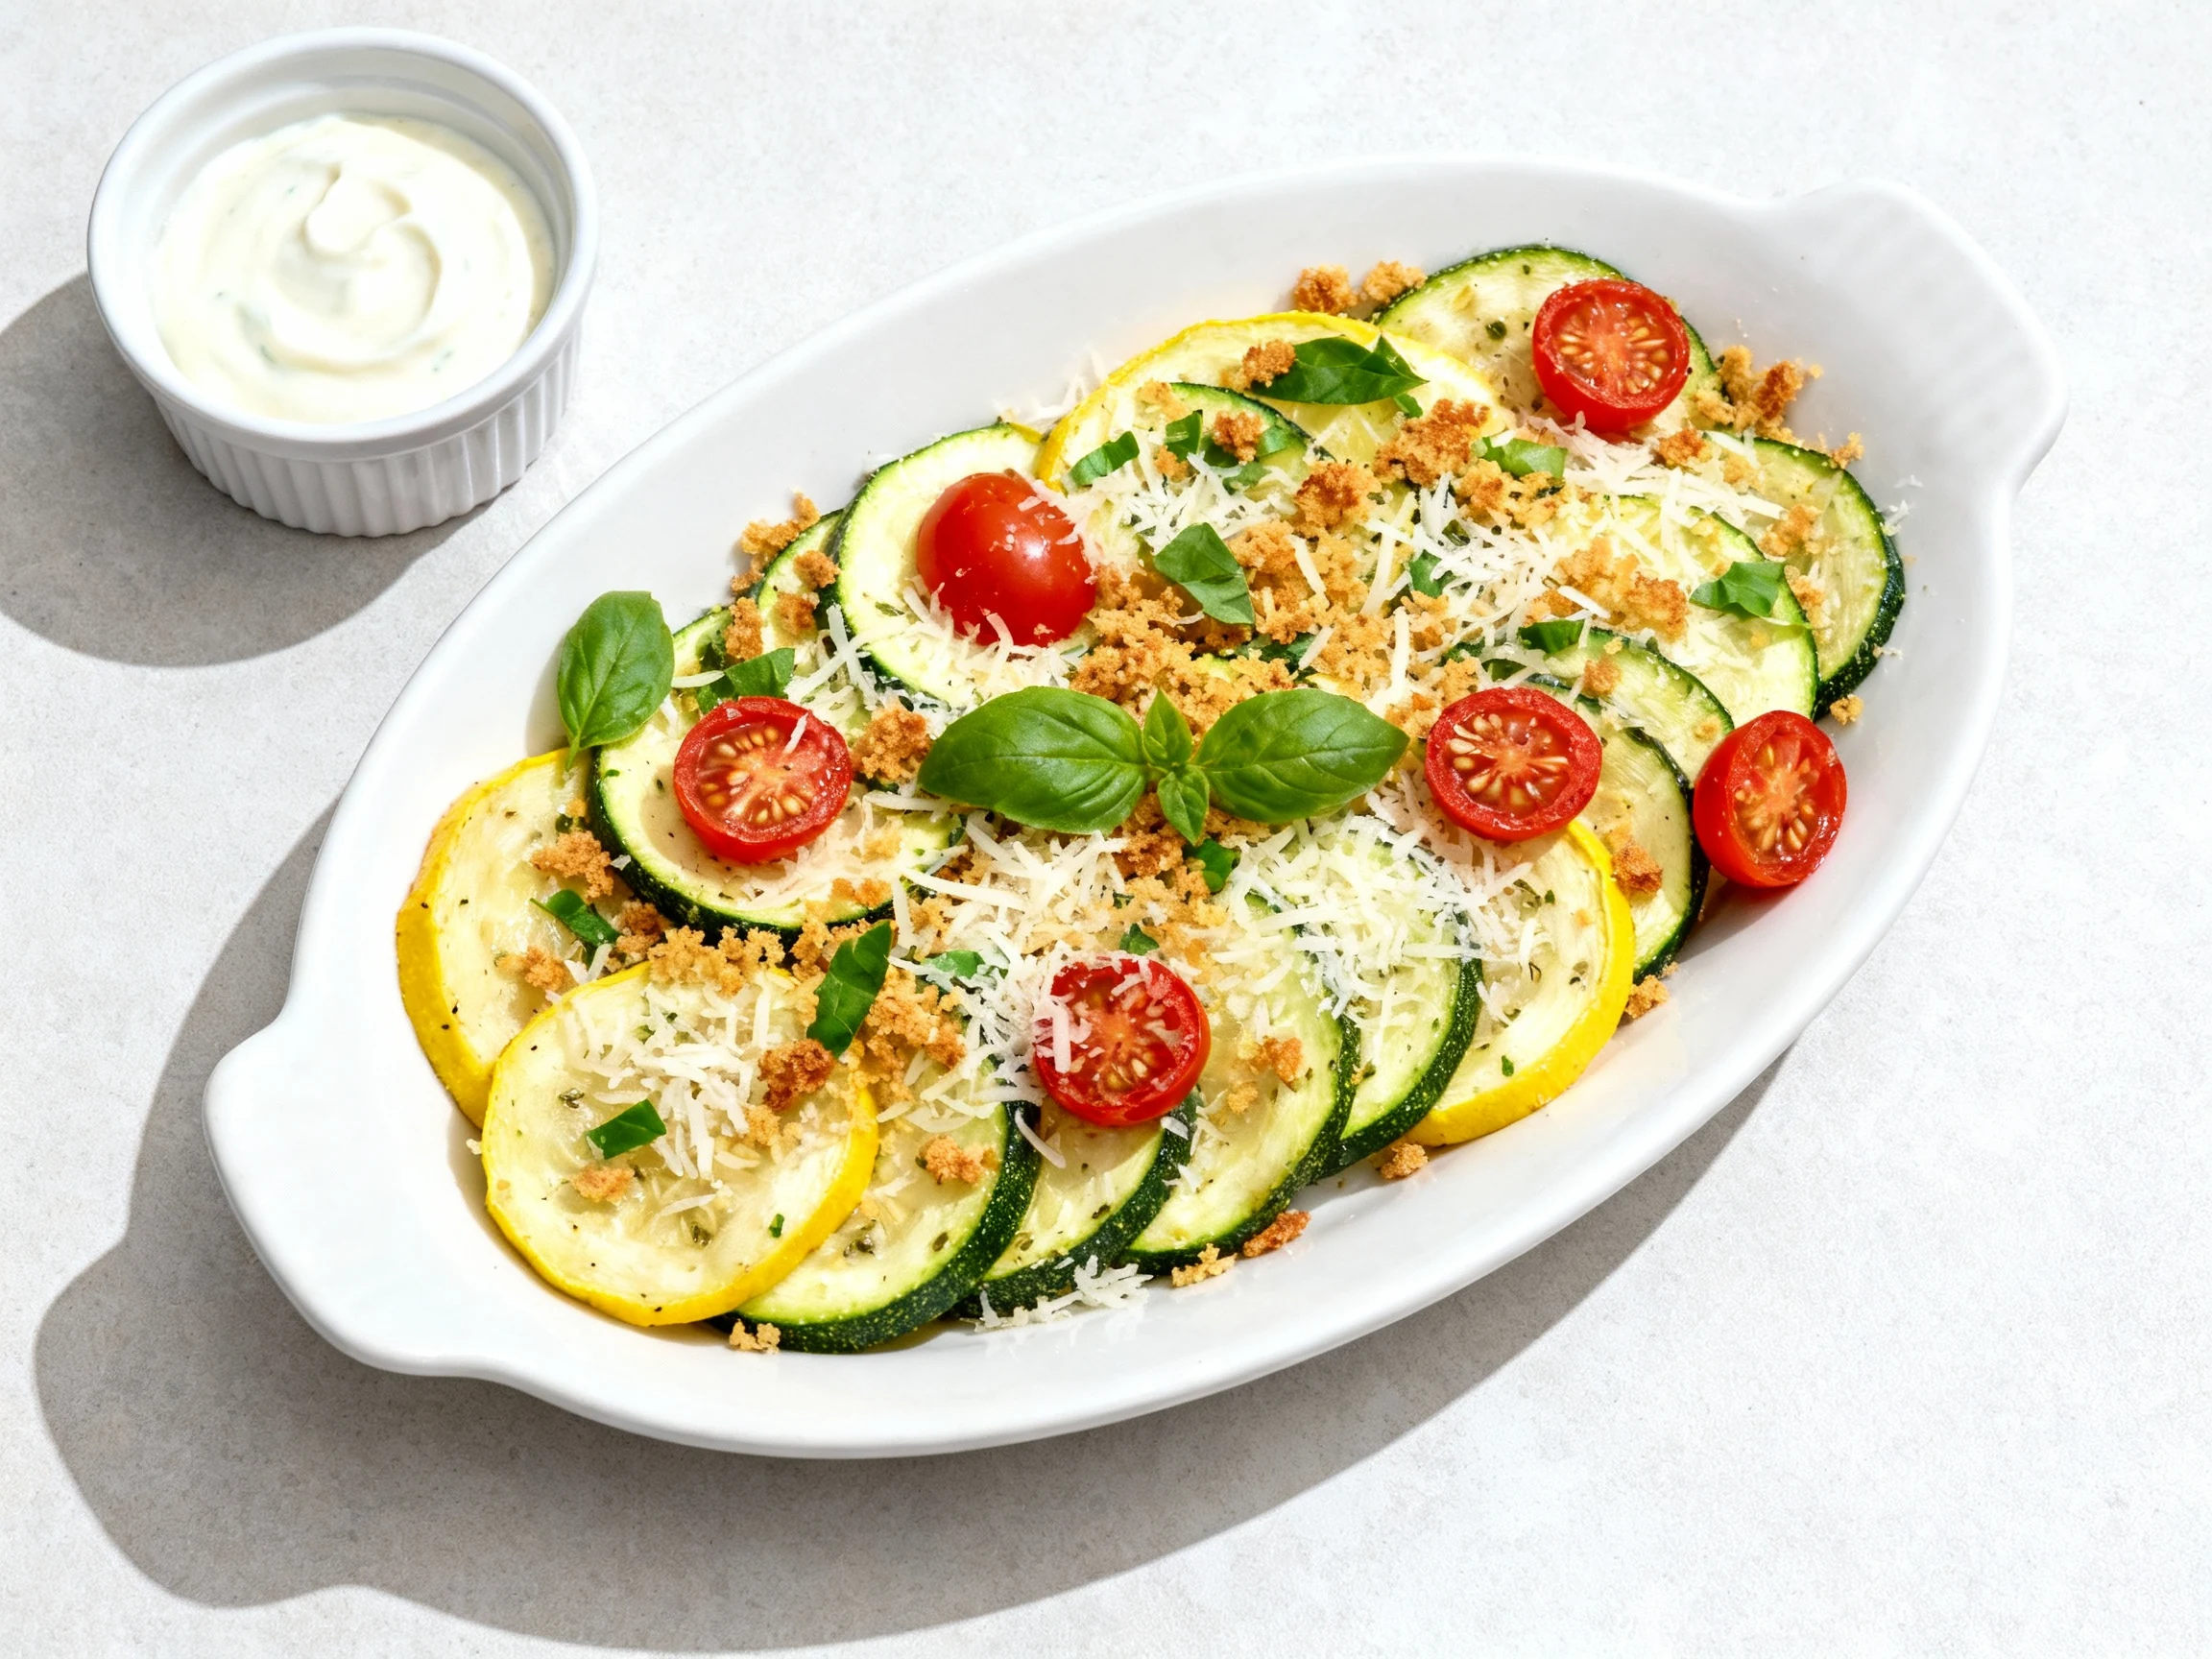
Here’s the move: take a humble pile of squash and turn it into a crispy, lemony, basil-loaded skillet that tastes like summer bragging rights. We’re talking real flavor ROI in under 25 minutes, without babysitting the oven or buying fancy ingredients. The secret? Aggressive heat, smart salting, and one sauce that makes everything sing. You’ll feel like a short-order chef, minus the stress. FYI, this isn’t side-dish energy—it’s main-event material.
What Makes This Recipe Awesome
- Fast: From grocery bag to plate in about 20–25 minutes, including a quick sauce.
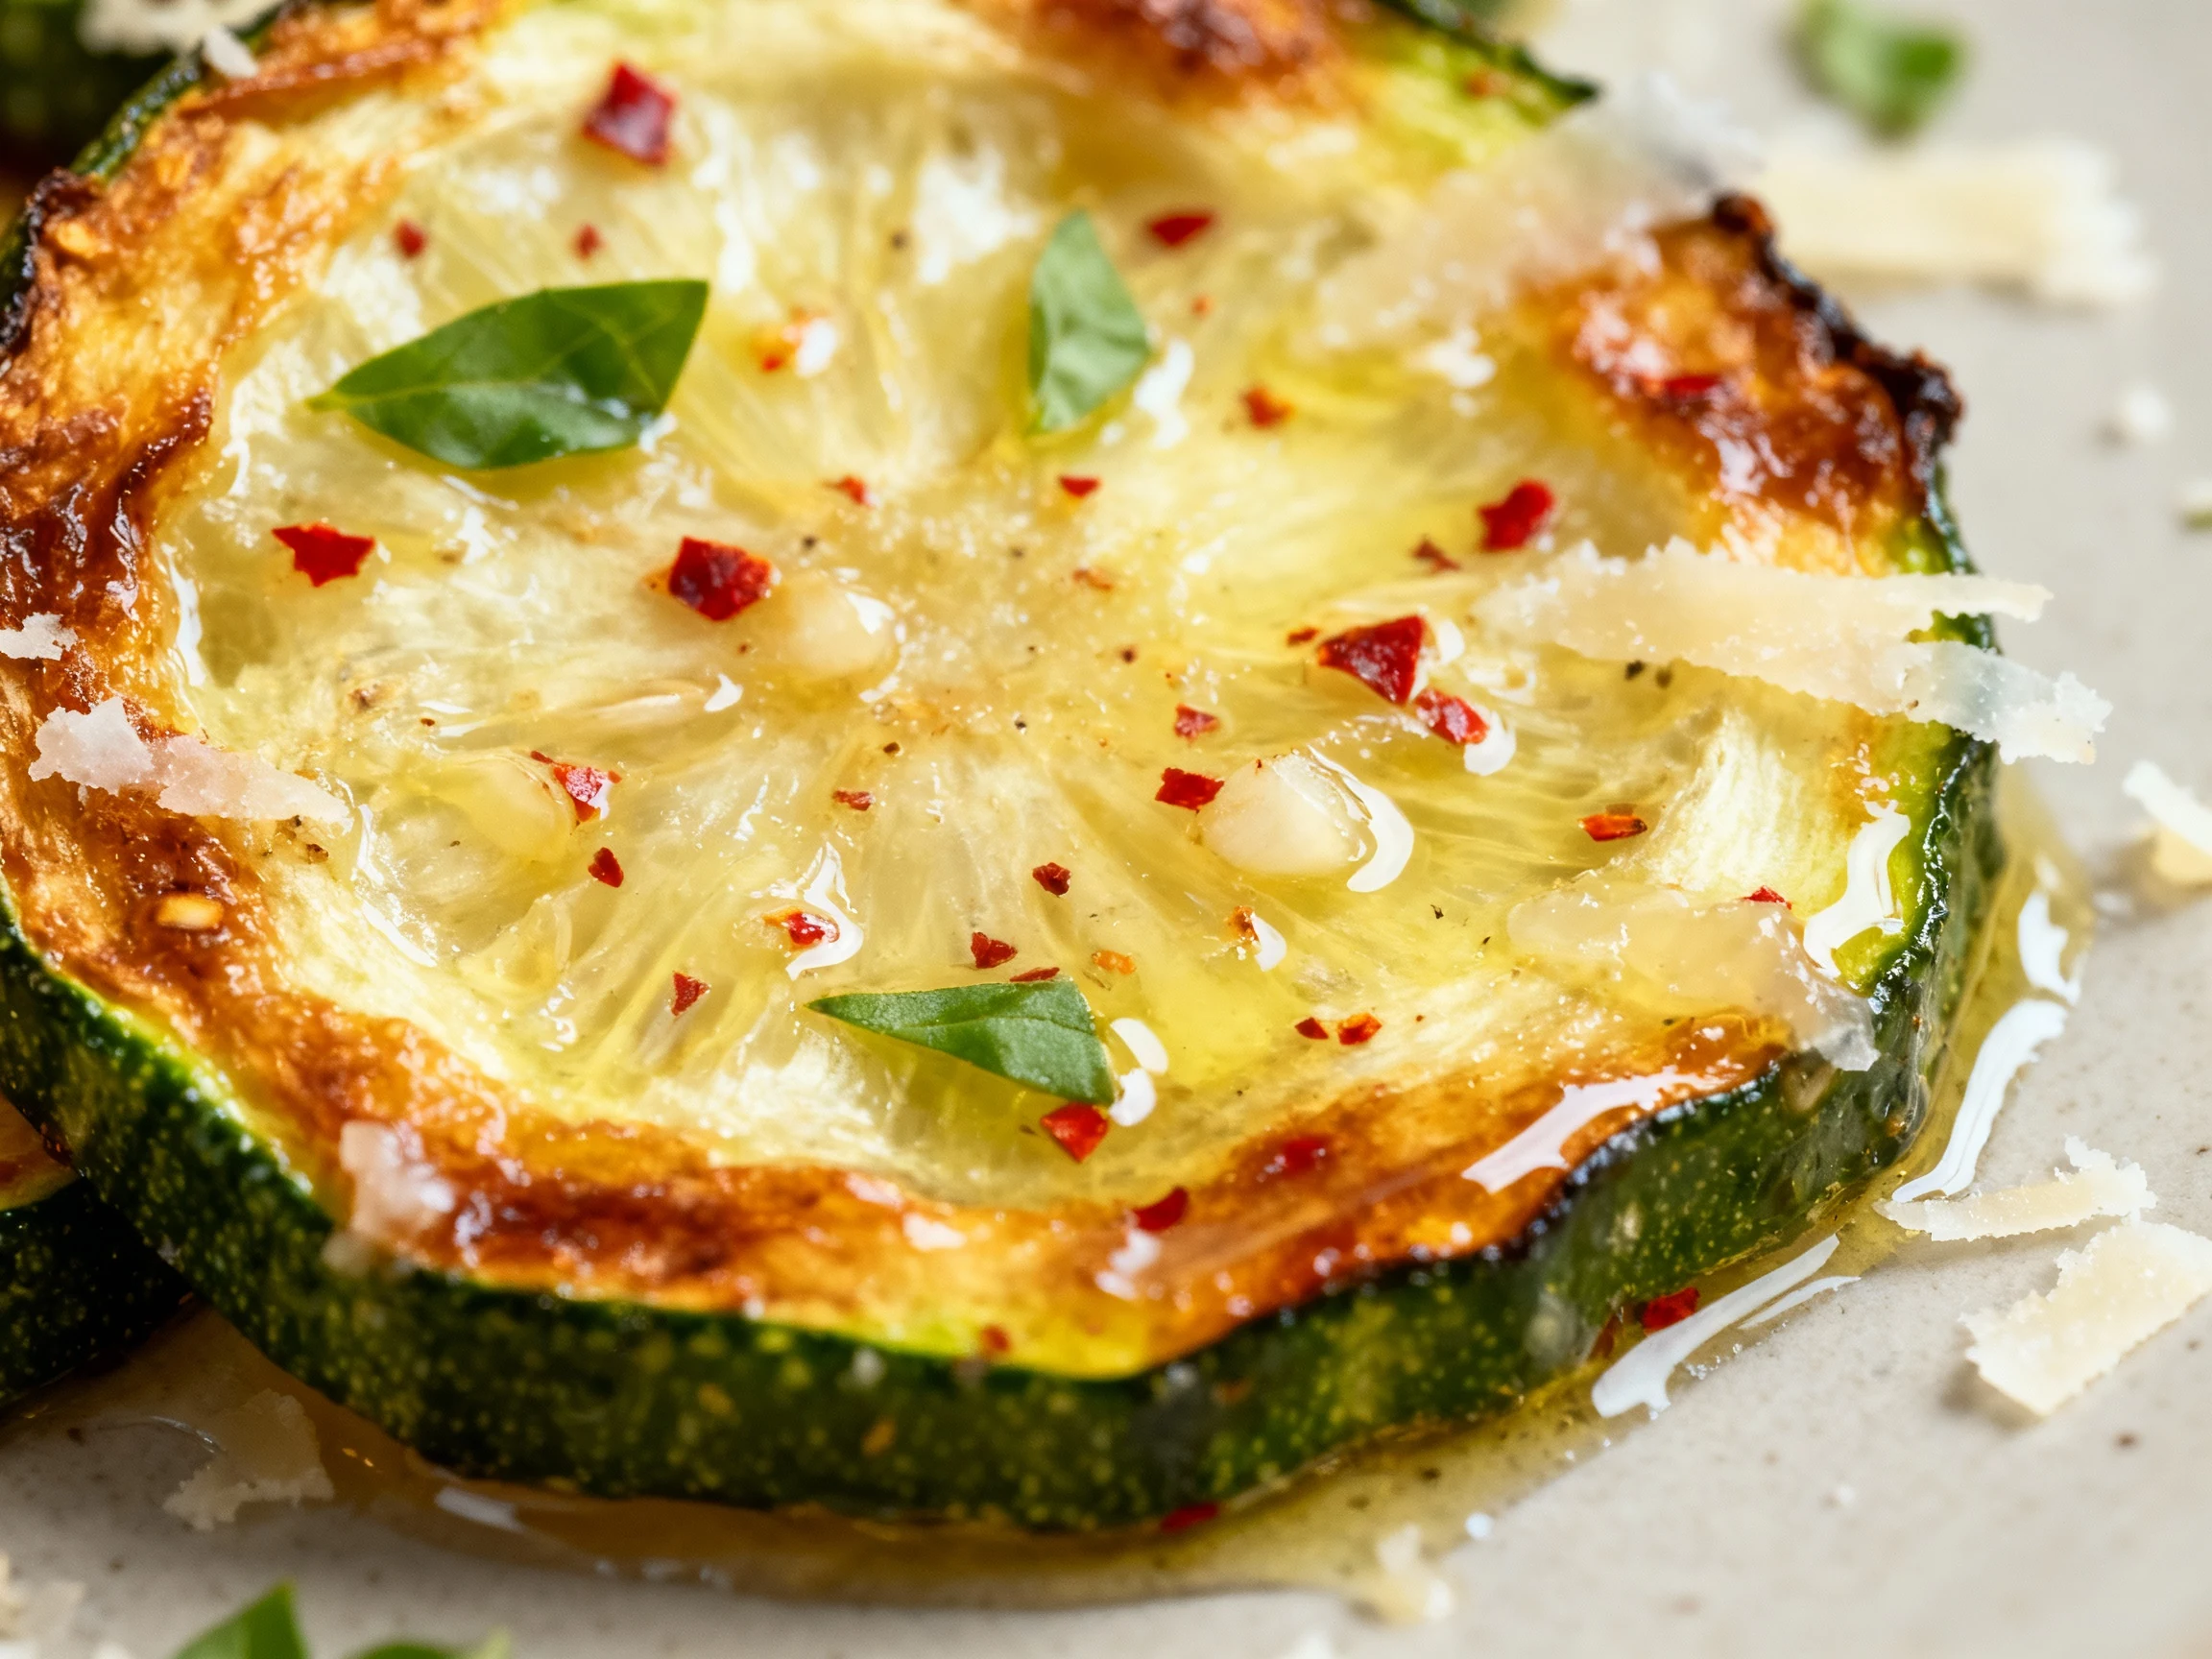
- Texture wins: Golden edges and tender centers—no soggy, gray, sad squash here.
- Punchy flavor: Lemon, garlic, chili, and Parmesan deliver bold, high-contrast bites.
- Flexible: Works as a side, a topping for grains, or toss-with-pasta dinner.
- Affordable: Mostly pantry staples; squash is seasonally cheap and plentiful.
- One pan: Minimal dishes and cleanup so you can eat sooner and relax faster.
What Goes Into This Recipe – Ingredients
- 2 pounds summer squash (mix of zucchini and yellow squash), sliced into 1/2-inch rounds
- 1 teaspoon kosher salt, plus more to taste
- 1/2 teaspoon freshly ground black pepper
- 2 tablespoons olive oil
- 2 tablespoons unsalted butter
- 3 cloves garlic, minced
- 1 teaspoon red pepper flakes (adjust to heat preference)
- Zest and juice of 1 lemon
- 1/3 cup finely grated Parmesan (or Pecorino)
- 1/4 cup fresh basil, chopped (mint also works)
- Optional add-ins: 1/2 cup cherry tomatoes, halved; 1/4 cup toasted panko breadcrumbs
Quick Lemon Yogurt (Optional, for serving)
- 1/2 cup plain Greek yogurt
- 1 tablespoon olive oil
- 1 small garlic clove, grated
- Pinch of salt and black pepper
- 1 teaspoon lemon juice (or more to taste)
How to Make It – Instructions
- Prep the squash: Cut squash into 1/2-inch rounds. Pat dry with paper towels to remove surface moisture. Toss with 1 teaspoon salt and 1/2 teaspoon pepper.
- Heat the skillet: Place a large, heavy skillet over medium-high heat. Add 2 tablespoons olive oil and let it shimmer.
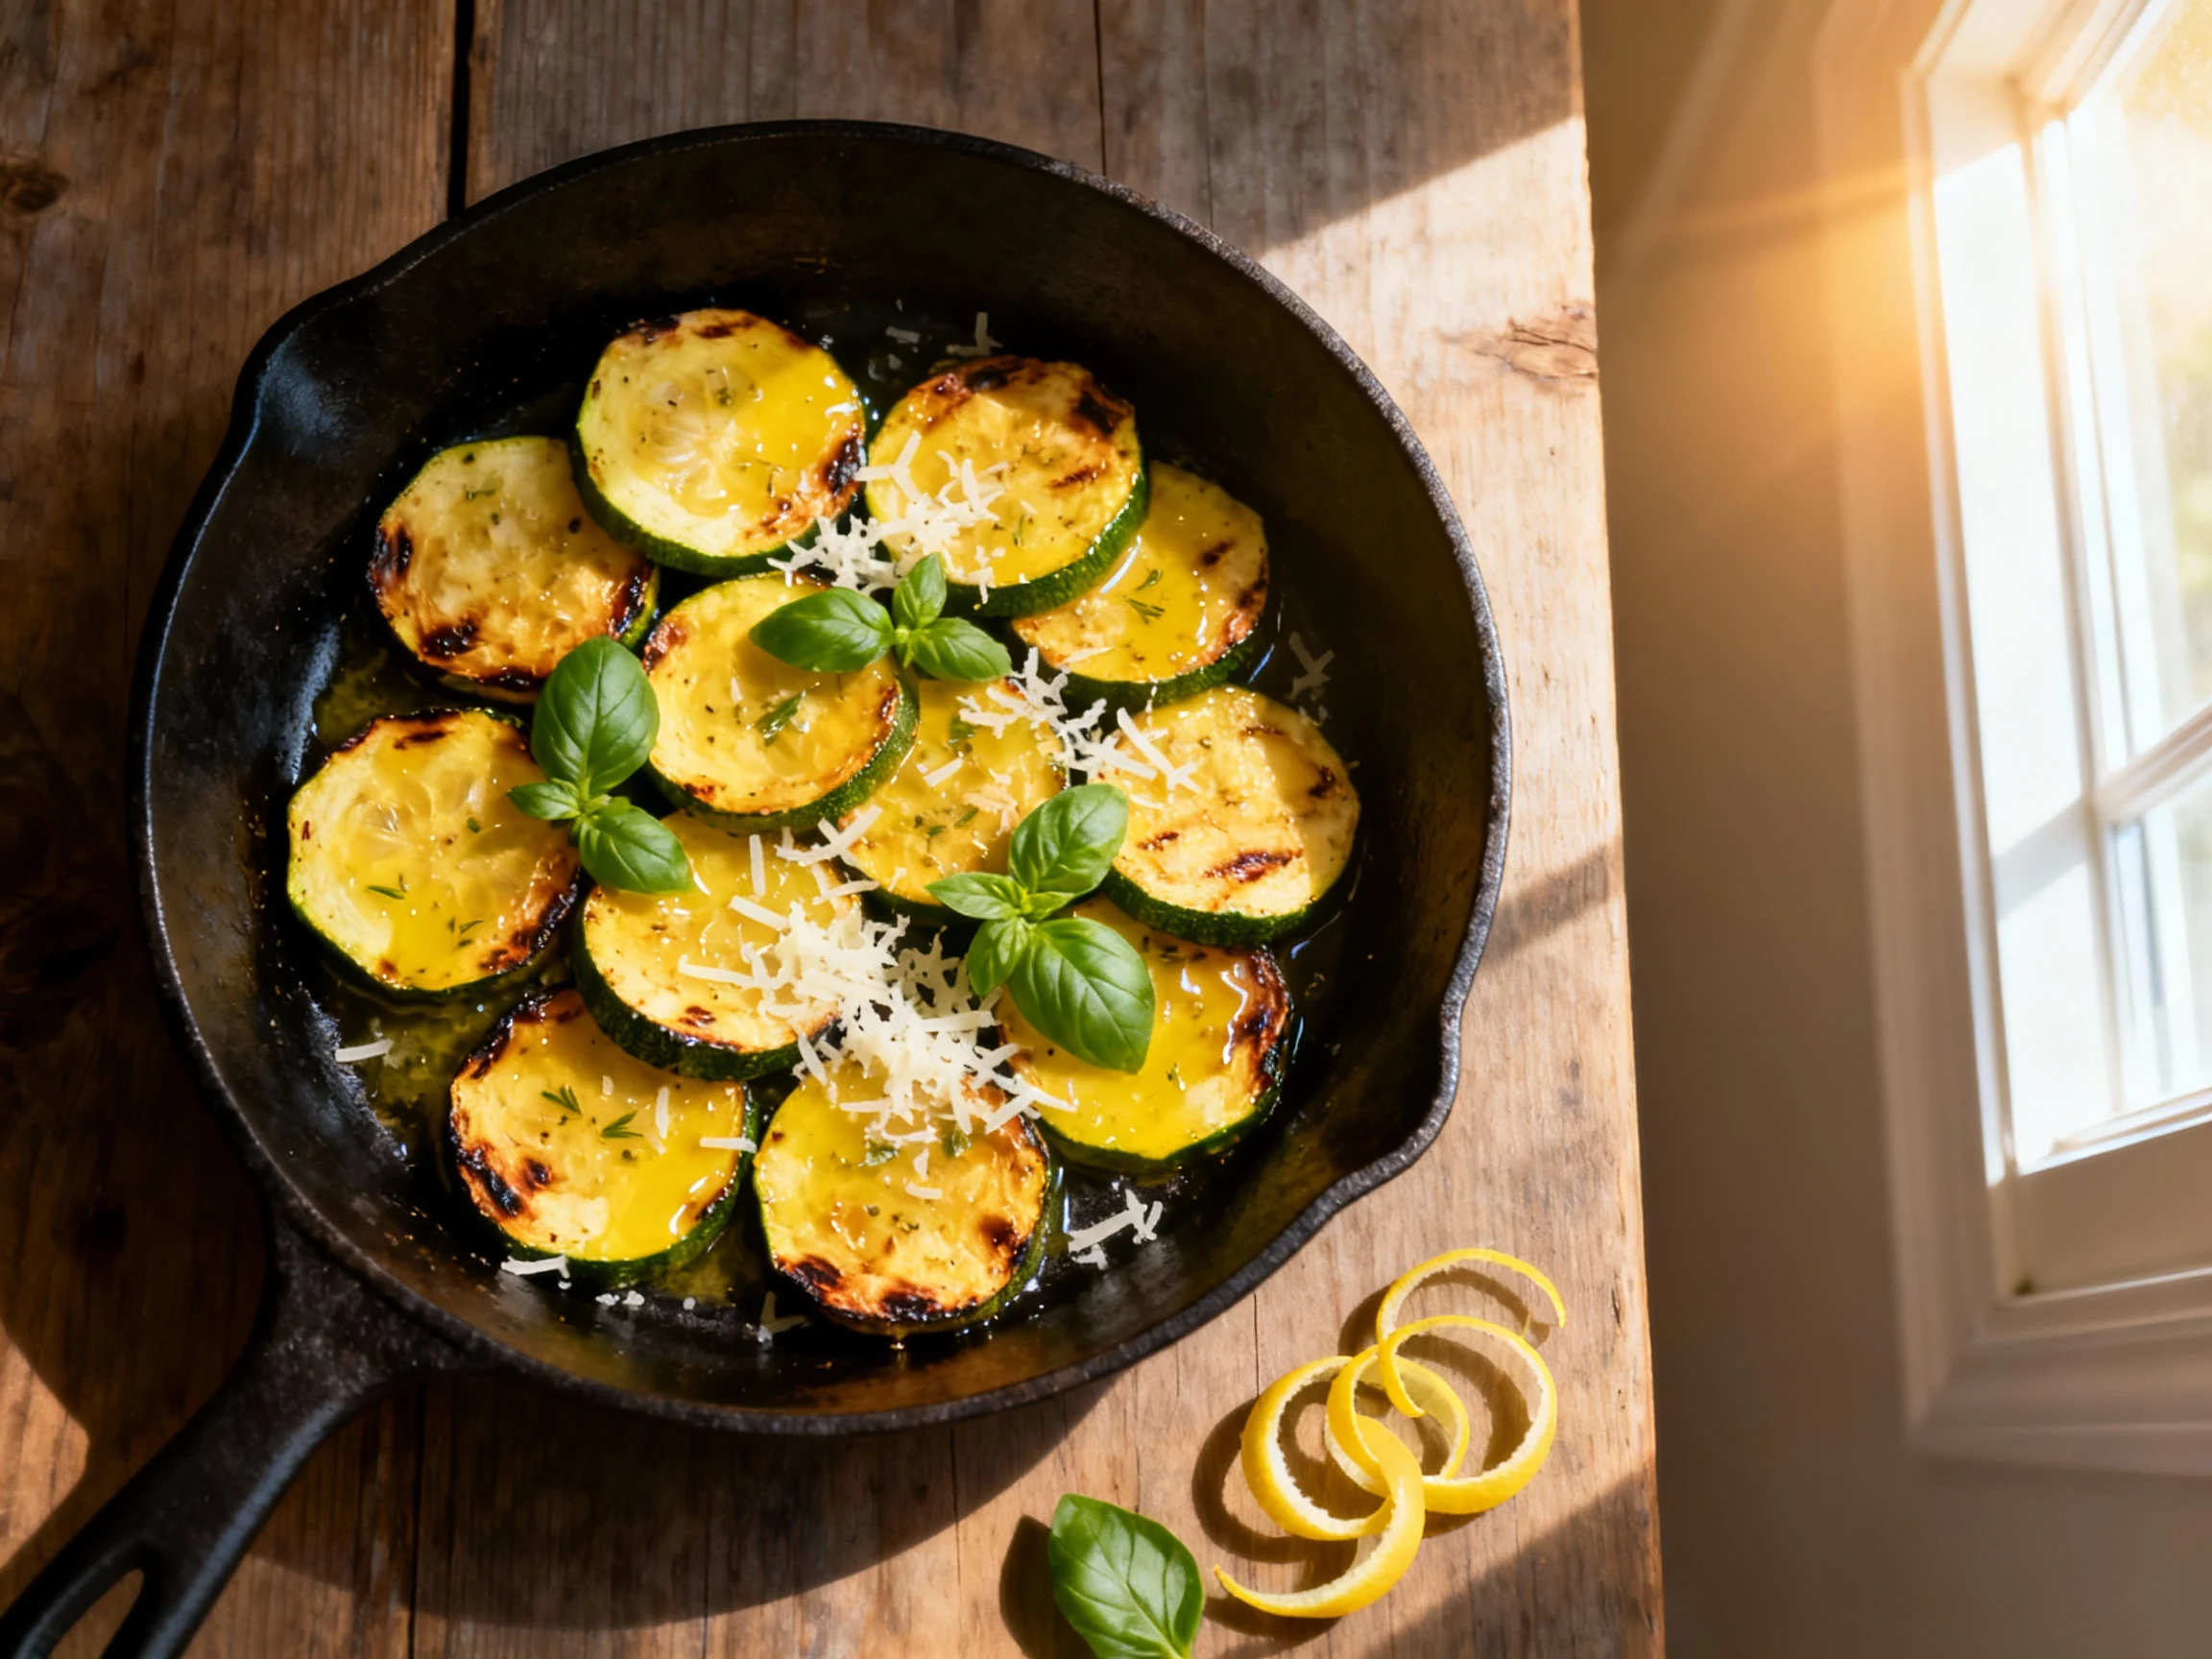
- Sear for color: Lay squash rounds in a single layer. Don’t crowd. Cook 2–3 minutes per side until golden and slightly charred. Work in batches if needed.
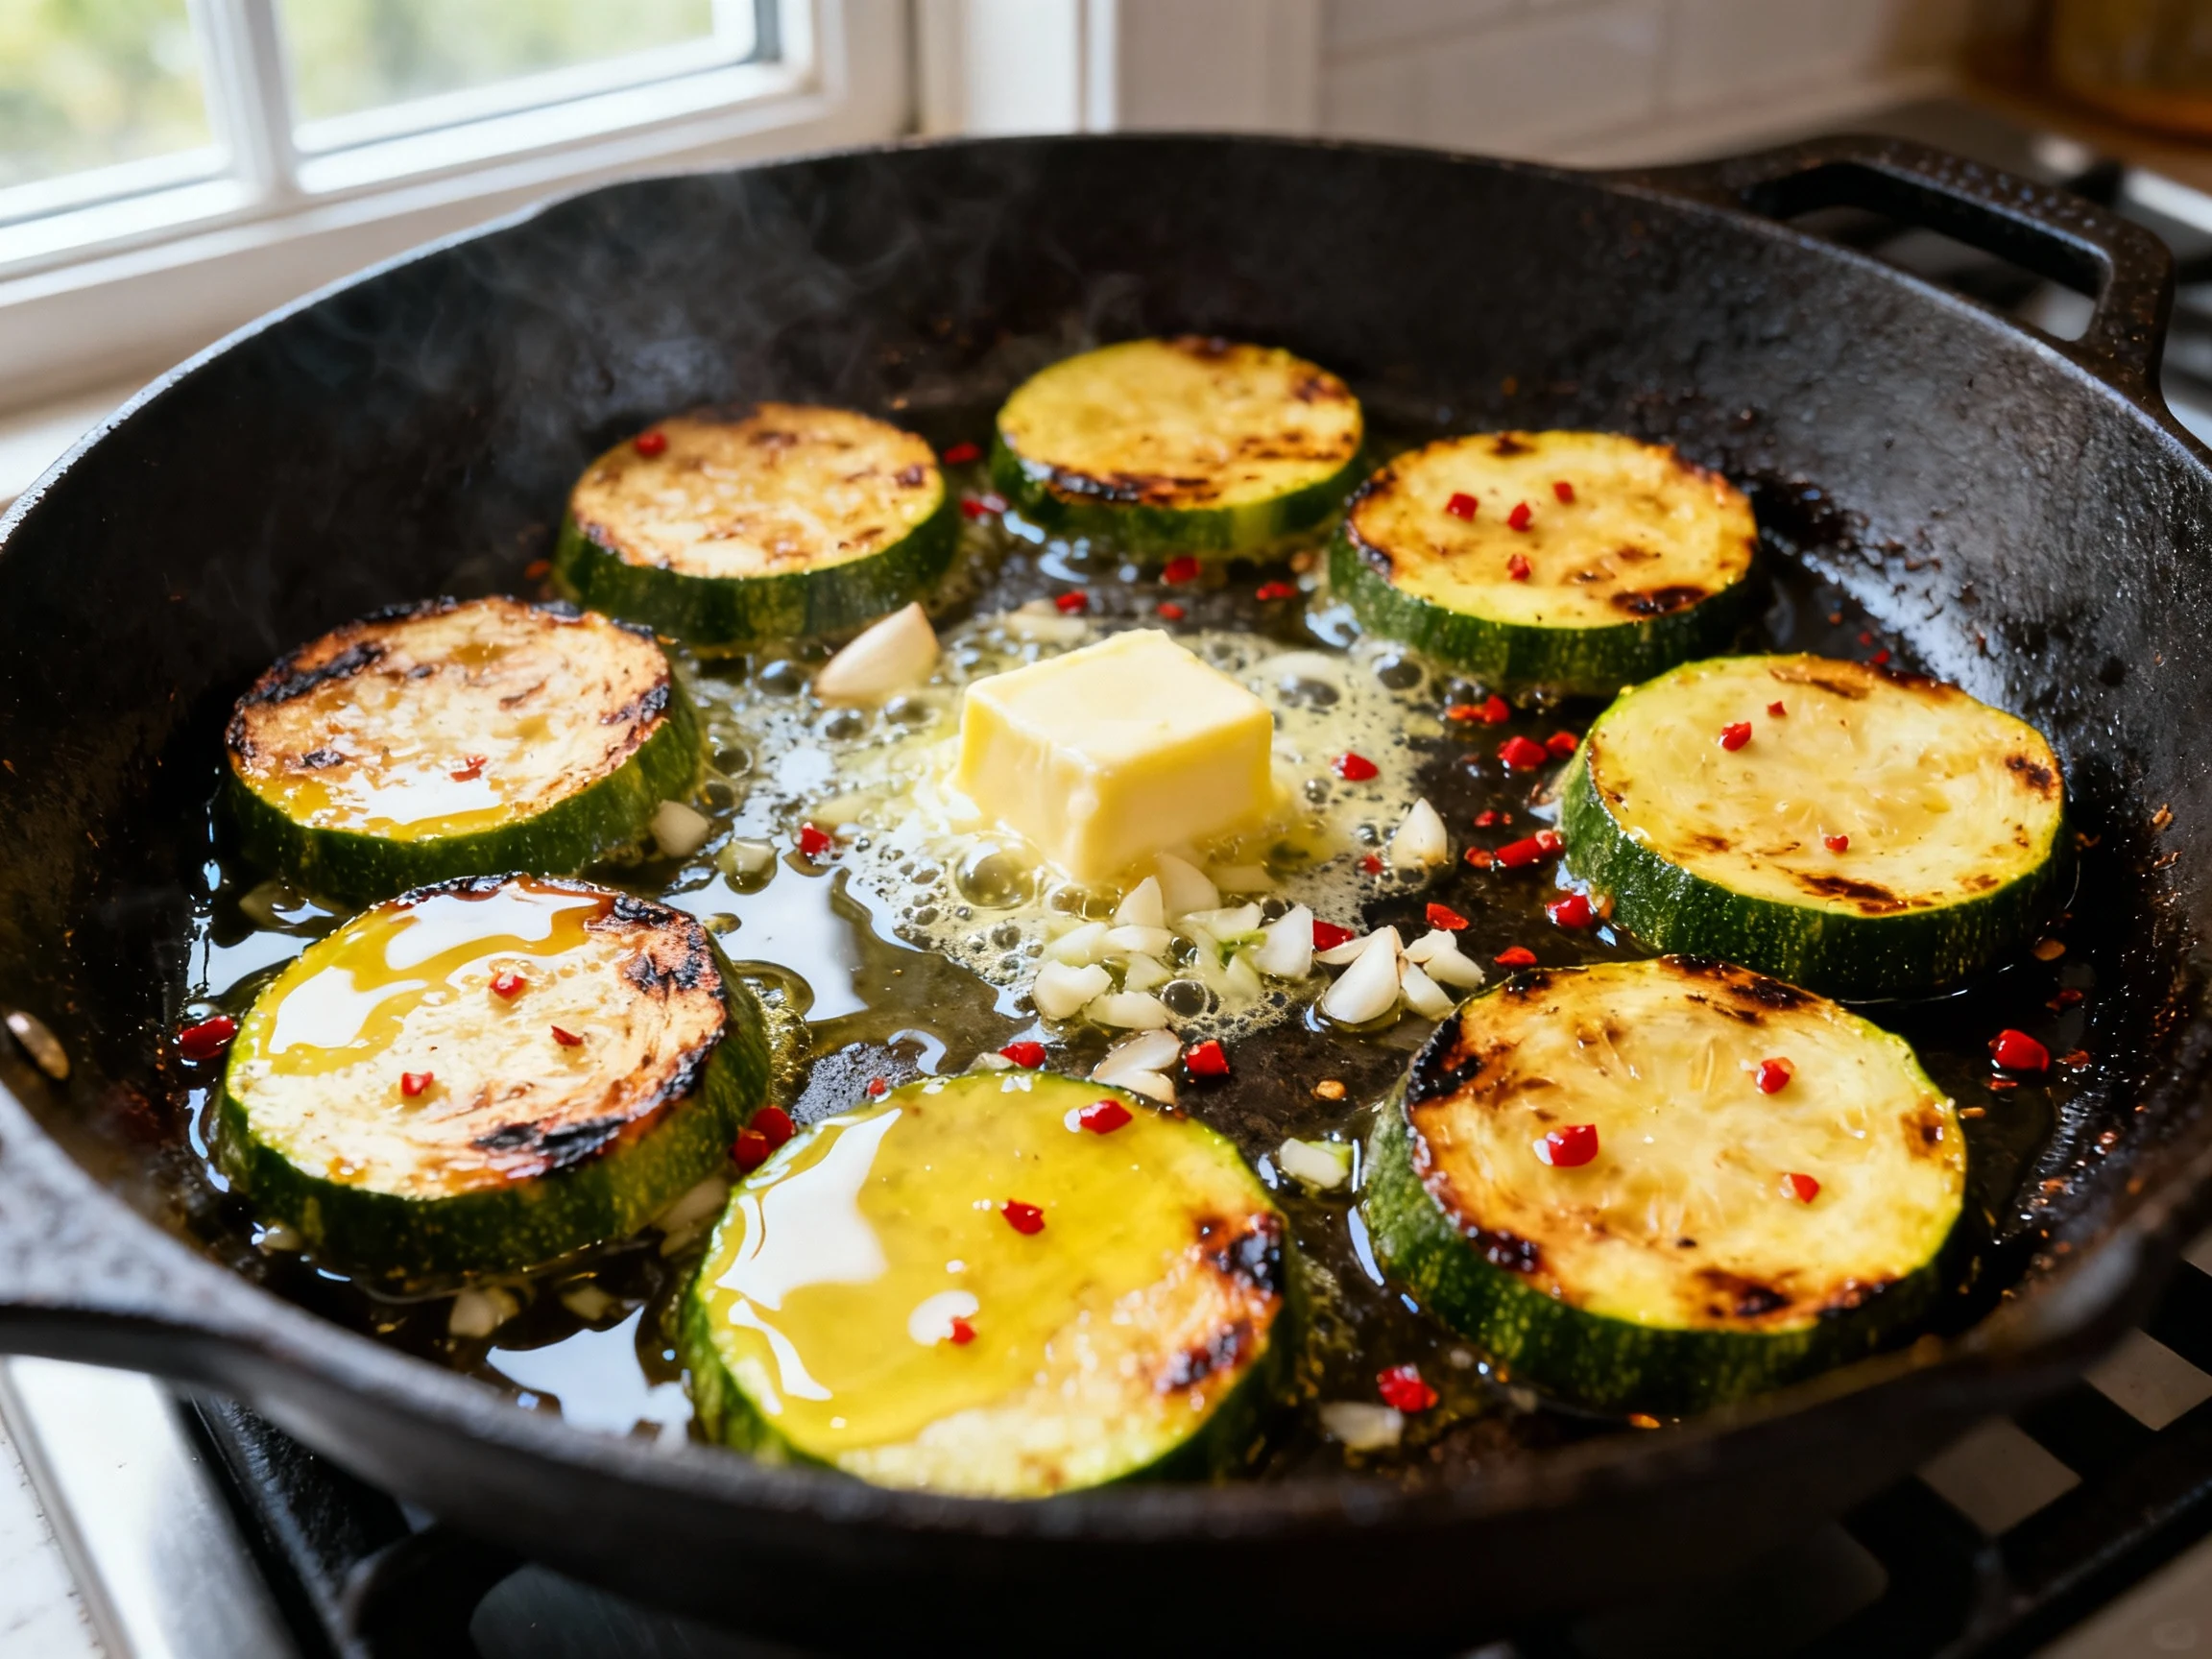
- Build the flavor: Reduce heat to medium. Add 2 tablespoons butter. Stir in 3 minced garlic cloves and 1 teaspoon red pepper flakes for 30 seconds until fragrant.
- Lemon magic: Add zest and juice of 1 lemon. Toss to coat and loosen any browned bits. If using cherry tomatoes, add now and cook 1 minute until just softened.
- Finish and season: Turn off the heat. Sprinkle in 1/3 cup Parmesan and 1/4 cup chopped basil. Taste and adjust salt, pepper, and lemon.
- Crunch option: If you want extra texture, top with toasted panko right before serving so it stays crisp.
- Make the sauce (optional): Stir Greek yogurt, olive oil, grated garlic, salt, pepper, and lemon juice until smooth. Dollop on plates or serve on the side.
- Serve: Spoon squash onto a platter. Finish with a final sprinkle of basil or Parm. Add yogurt dollops if using. Eat while hot and crisp.
Preservation Guide
Short term: Refrigerate leftovers in a shallow, airtight container for up to 3 days. Keep any yogurt sauce separate.
Reheat: Use a skillet over medium-high heat with a touch of oil for 2–3 minutes. Avoid the microwave; it kills crispness faster than bad news spreads on the internet.
Freeze: You can freeze cooked squash in a zip-top bag for up to 1 month. Texture softens, so use it later in soups, frittatas, or pasta sauces.
Prep ahead: Slice squash up to 24 hours ahead and store wrapped in paper towels in the fridge. Mix the yogurt sauce up to 3 days ahead.
Pro tip: If you salted squash early, re-blot before cooking. Moisture is the enemy of browning.
What’s Great About This
- Crowd-pleasing flavors: Garlicky lemon butter + Parm + basil is a combo that gets instant yes votes.
- Macros you’ll love: Lots of fiber, micronutrients, and protein from yogurt and cheese.
- Weeknight-proof: No marinade, no oven, no fuss. Just heat, sear, finish, eat.
- Versatile use cases: Pile over quinoa, fold into omelets, top toast, or serve with grilled protein.
- Seasonal and smart: Uses peak produce when it’s cheapest and best-tasting. Efficiency meets flavor.
What Not to Do
- Don’t crowd the pan: Overlapping rounds steam and turn mushy. Work in batches.
- Don’t skip drying: Wet squash = no browning. Pat those slices like you mean it.
- Don’t burn the garlic: Add it after searing, not before. Burnt garlic tastes like regret.
- Don’t overcook: Aim for tender-crisp. If it’s floppy all the way through, you went too far.
- Don’t forget acid: Lemon balances sweetness and fat. Without it, flavors feel flat.
- Don’t overload cheese: Cheese is a finisher, not a disguise. Let the squash shine.
Different Ways to Make This
- Sheet-pan version: Toss squash with oil, salt, pepper. Roast at 450°F for 15–18 minutes, flipping once. Finish with lemon, Parm, basil.
- Grill it: Cut into planks, oil and season. Grill 2–3 minutes per side. Finish with garlic-lemon butter off heat.
- Air fryer: Cook rounds at 400°F for 10–12 minutes, shaking halfway. Toss with butter, lemon, Parm.
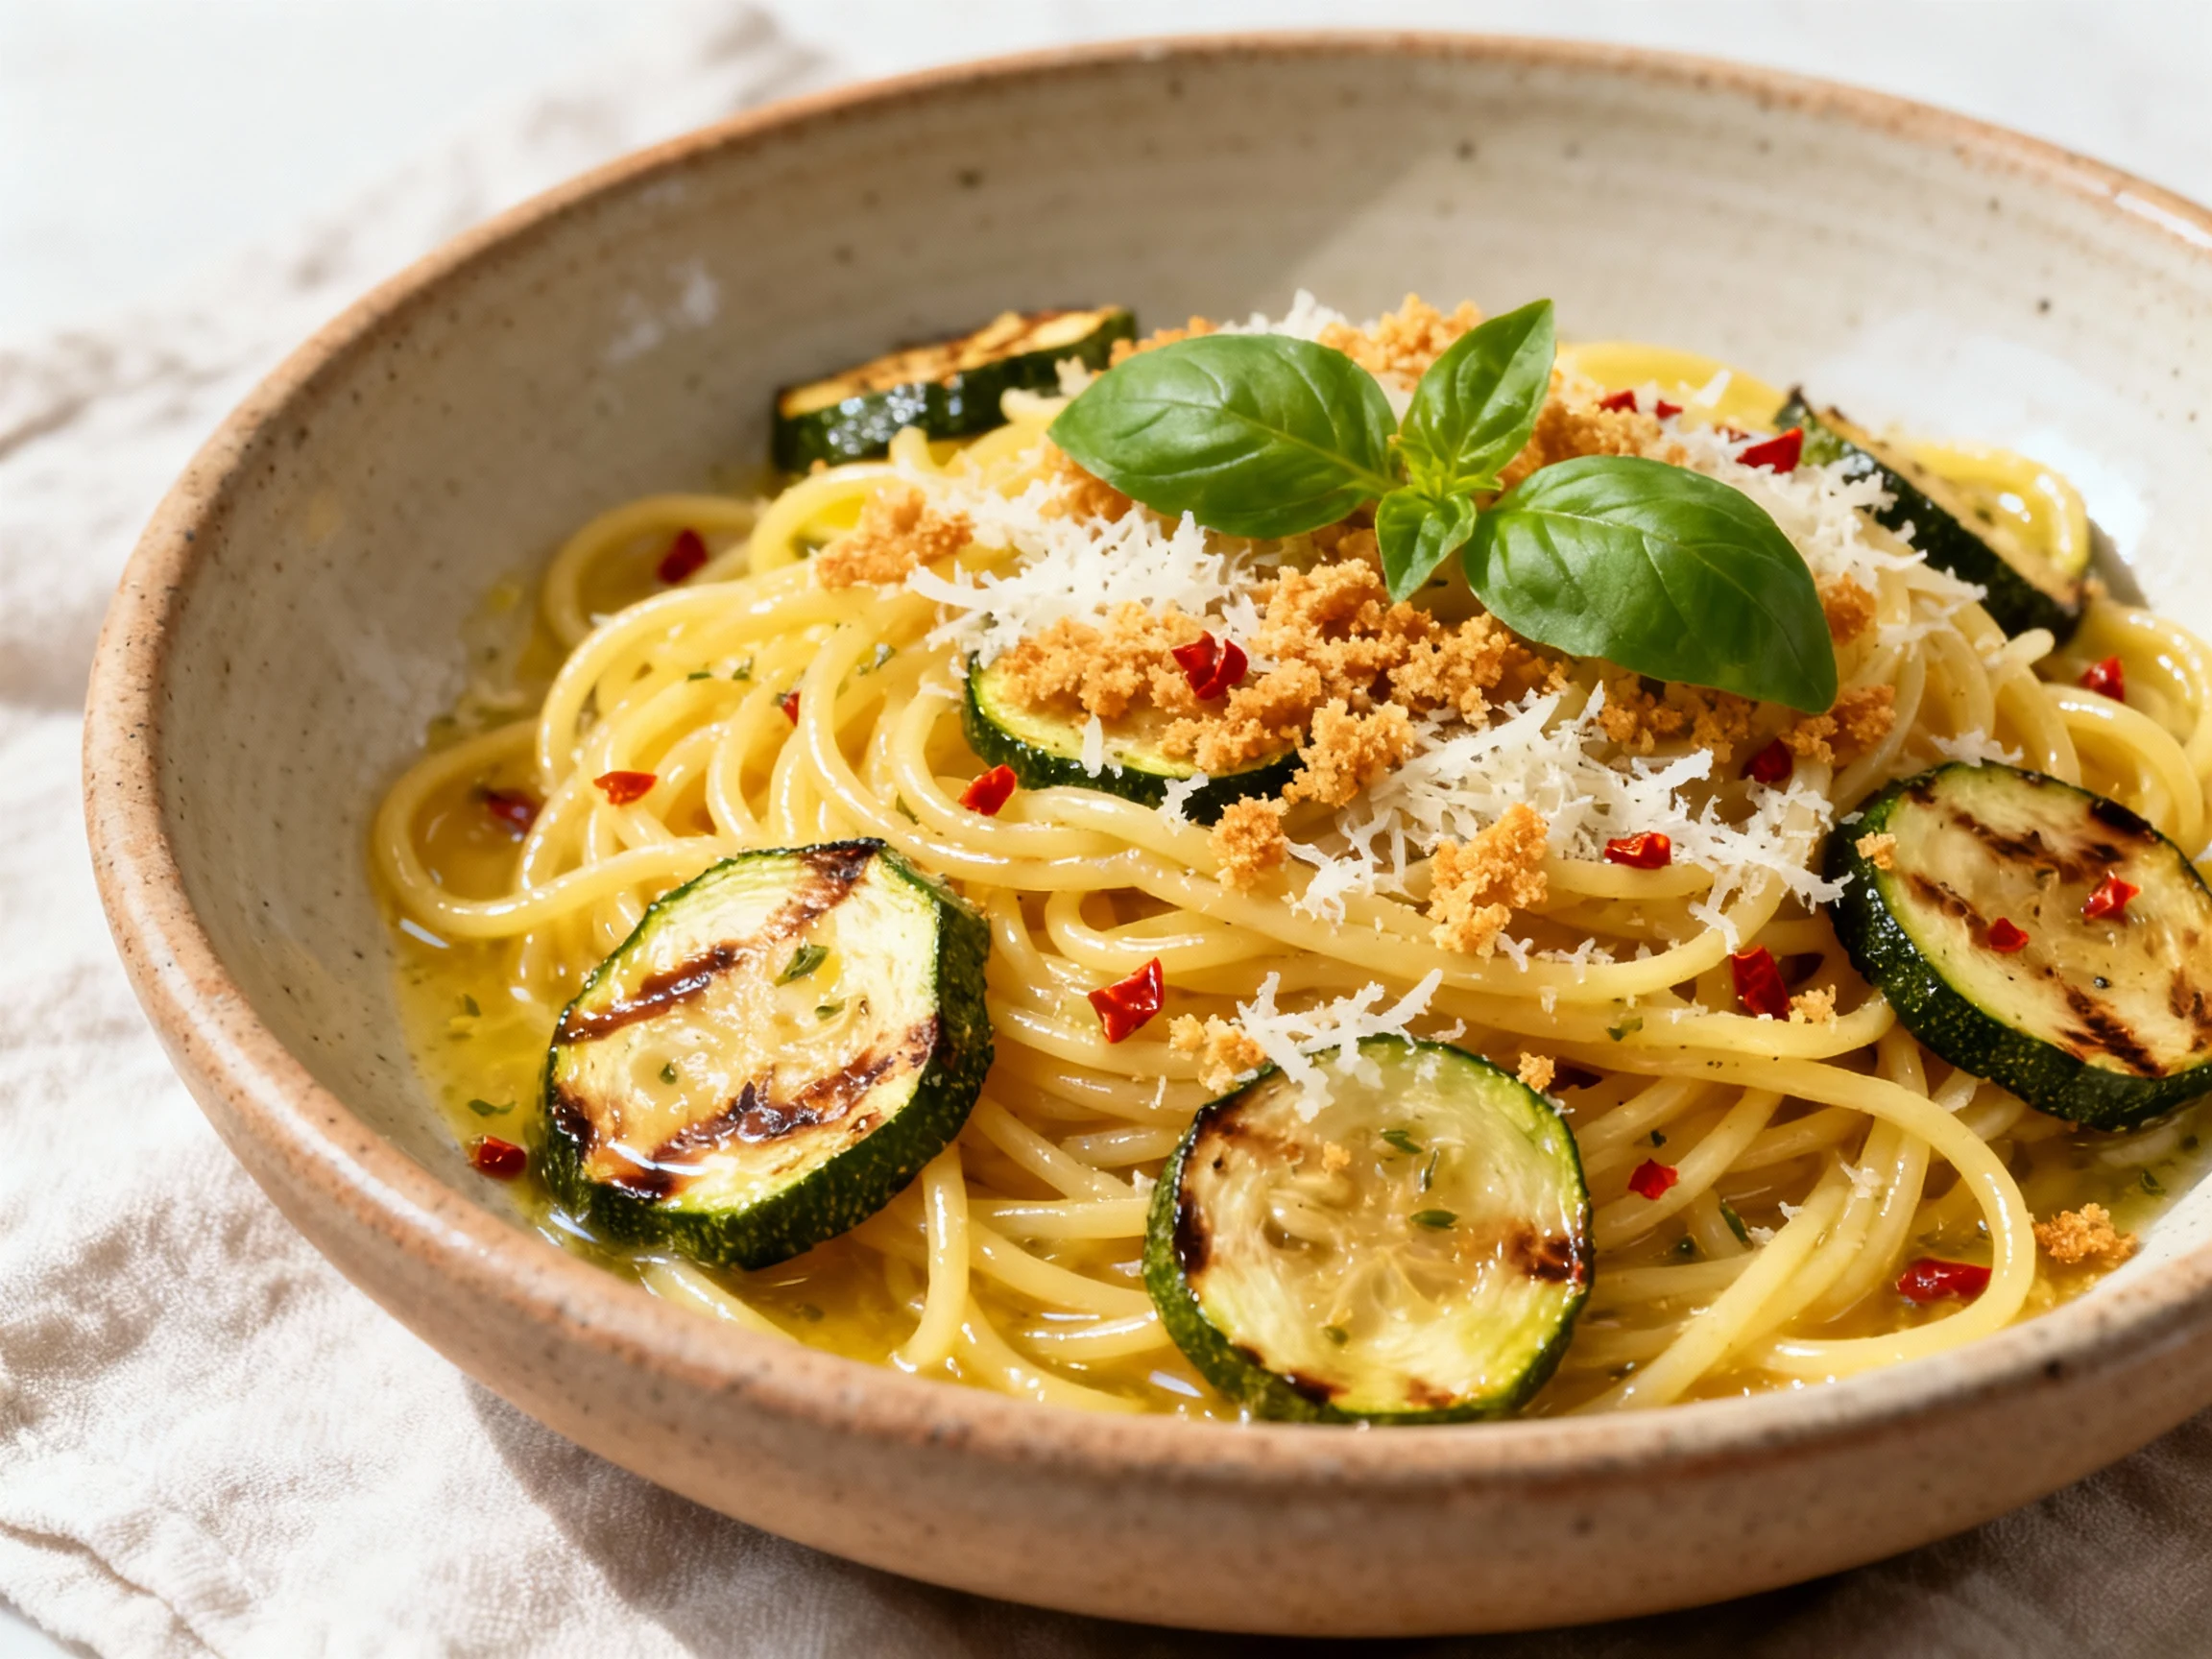
- Pasta night: Add seared squash to hot spaghetti with a splash of pasta water, extra lemon, and more Parm. Basil confetti on top.
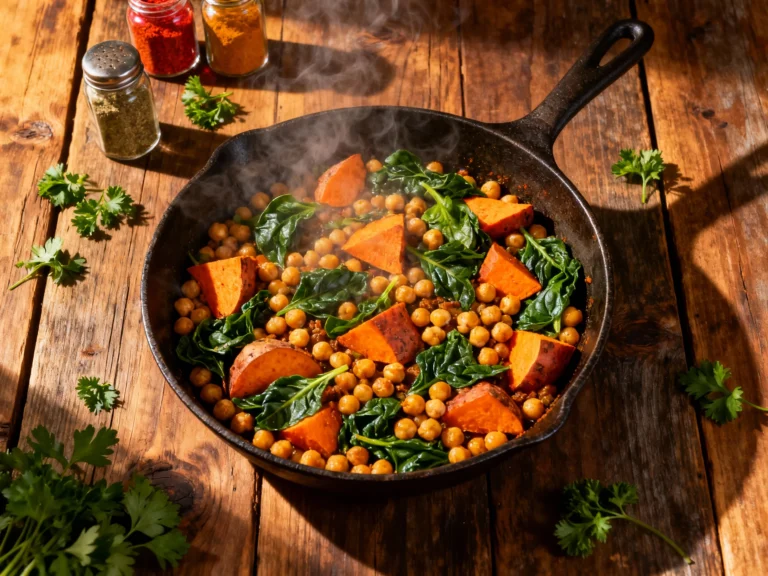
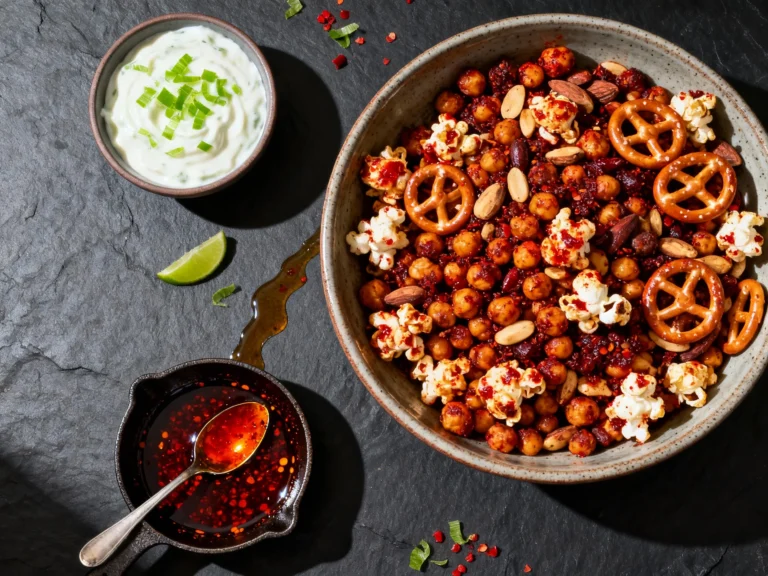
- Protein boost: Add sautéed shrimp, chicken sausage, or crispy chickpeas. You’ve got dinner, not just a side.
- Herb swap: Try mint for cooling contrast, dill for brightness, or parsley for a clean, peppery finish.
- Spice lane: Switch chili flakes for Aleppo pepper, smoked paprika, or a pinch of cumin for warmth.
- Crunch city: Top with toasted almonds, walnuts, or panko for extra texture. Crunch is addictive—use wisely.
FAQ
How do I keep squash from getting soggy?
Slice thicker (1/2 inch), blot well, and cook in a single layer over medium-high heat. High heat drives off moisture fast, and spacing prevents steaming. Finish with lemon off heat to keep edges crisp.
Can I make this dairy-free?
Yes. Use olive oil instead of butter, skip the Parmesan, and add a sprinkle of nutritional yeast for umami. Serve with dairy-free yogurt or just a squeeze of extra lemon.
Which squash varieties work best?
Zucchini and yellow crookneck are the classic duo. Patty pan also works—slice into wedges. Smaller, younger squash have fewer seeds and taste sweeter, IMO.
Is the yogurt sauce necessary?
Not at all—it’s optional. The skillet squash is bold enough to stand alone. The yogurt simply adds cool, tangy contrast and a bit more protein.
Can I use a nonstick pan?
Yes, but cast iron or stainless gives better browning. If you use nonstick, keep the heat medium-high and don’t move the squash until the first side is set and golden.
What’s the ideal thickness for slicing?
About 1/2 inch. Thinner slices cook too quickly and soften before browning; thicker slices brown nicely outside while staying tender inside.
How spicy is this with chili flakes?
Mild to medium. Start with 1/2 teaspoon if you’re sensitive. You can always add more at the end—heat is easier to increase than decrease.
Can I meal prep this?
Yes. Sear and chill, then reheat in a hot skillet for 2–3 minutes. Add lemon and basil fresh when serving to restore brightness. Keep yogurt sauce separate.
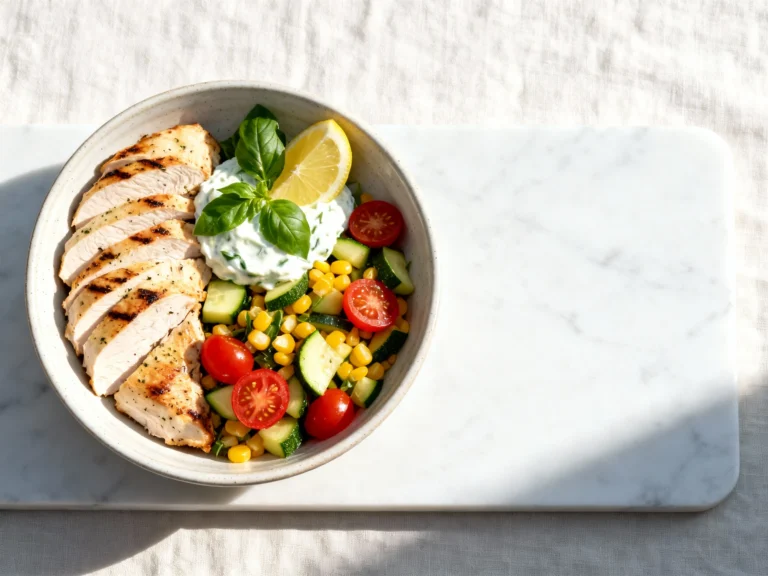
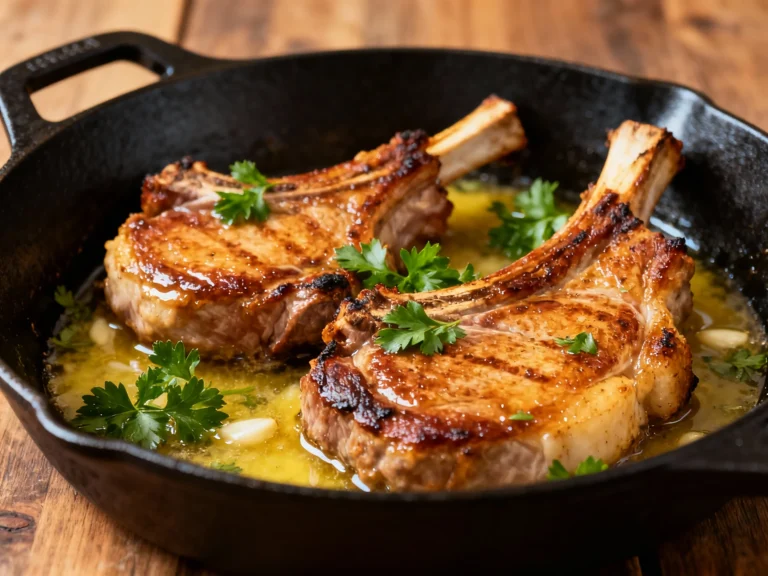
What proteins pair well with this?
Grilled chicken, salmon, shrimp, or Italian sausage. For vegetarian options, add crispy chickpeas, marinated tofu, or a jammy soft-boiled egg.
How do I scale the recipe for a crowd?
Sear in batches and hold finished squash on a sheet pan in a 250°F oven. Toss with lemon, Parm, and basil right before serving so nothing wilts or turns soggy.
My Take
Squash gets unfairly labeled as watery and bland, but that’s just bad technique showing up to the party. With heat, salt, and a smart finish, it becomes crisp, bright, and honestly addictive. This skillet approach is my go-to because it respects the vegetable and respects your time. It’s simple, repeatable, and adaptable—everything a weeknight cook needs. TBH, once you nail the sear and the lemon, you’ll wonder why you ever settled for mush.
Printable Recipe Card
Want just the essential recipe details without scrolling through the article? Get our printable recipe card with just the ingredients and instructions.