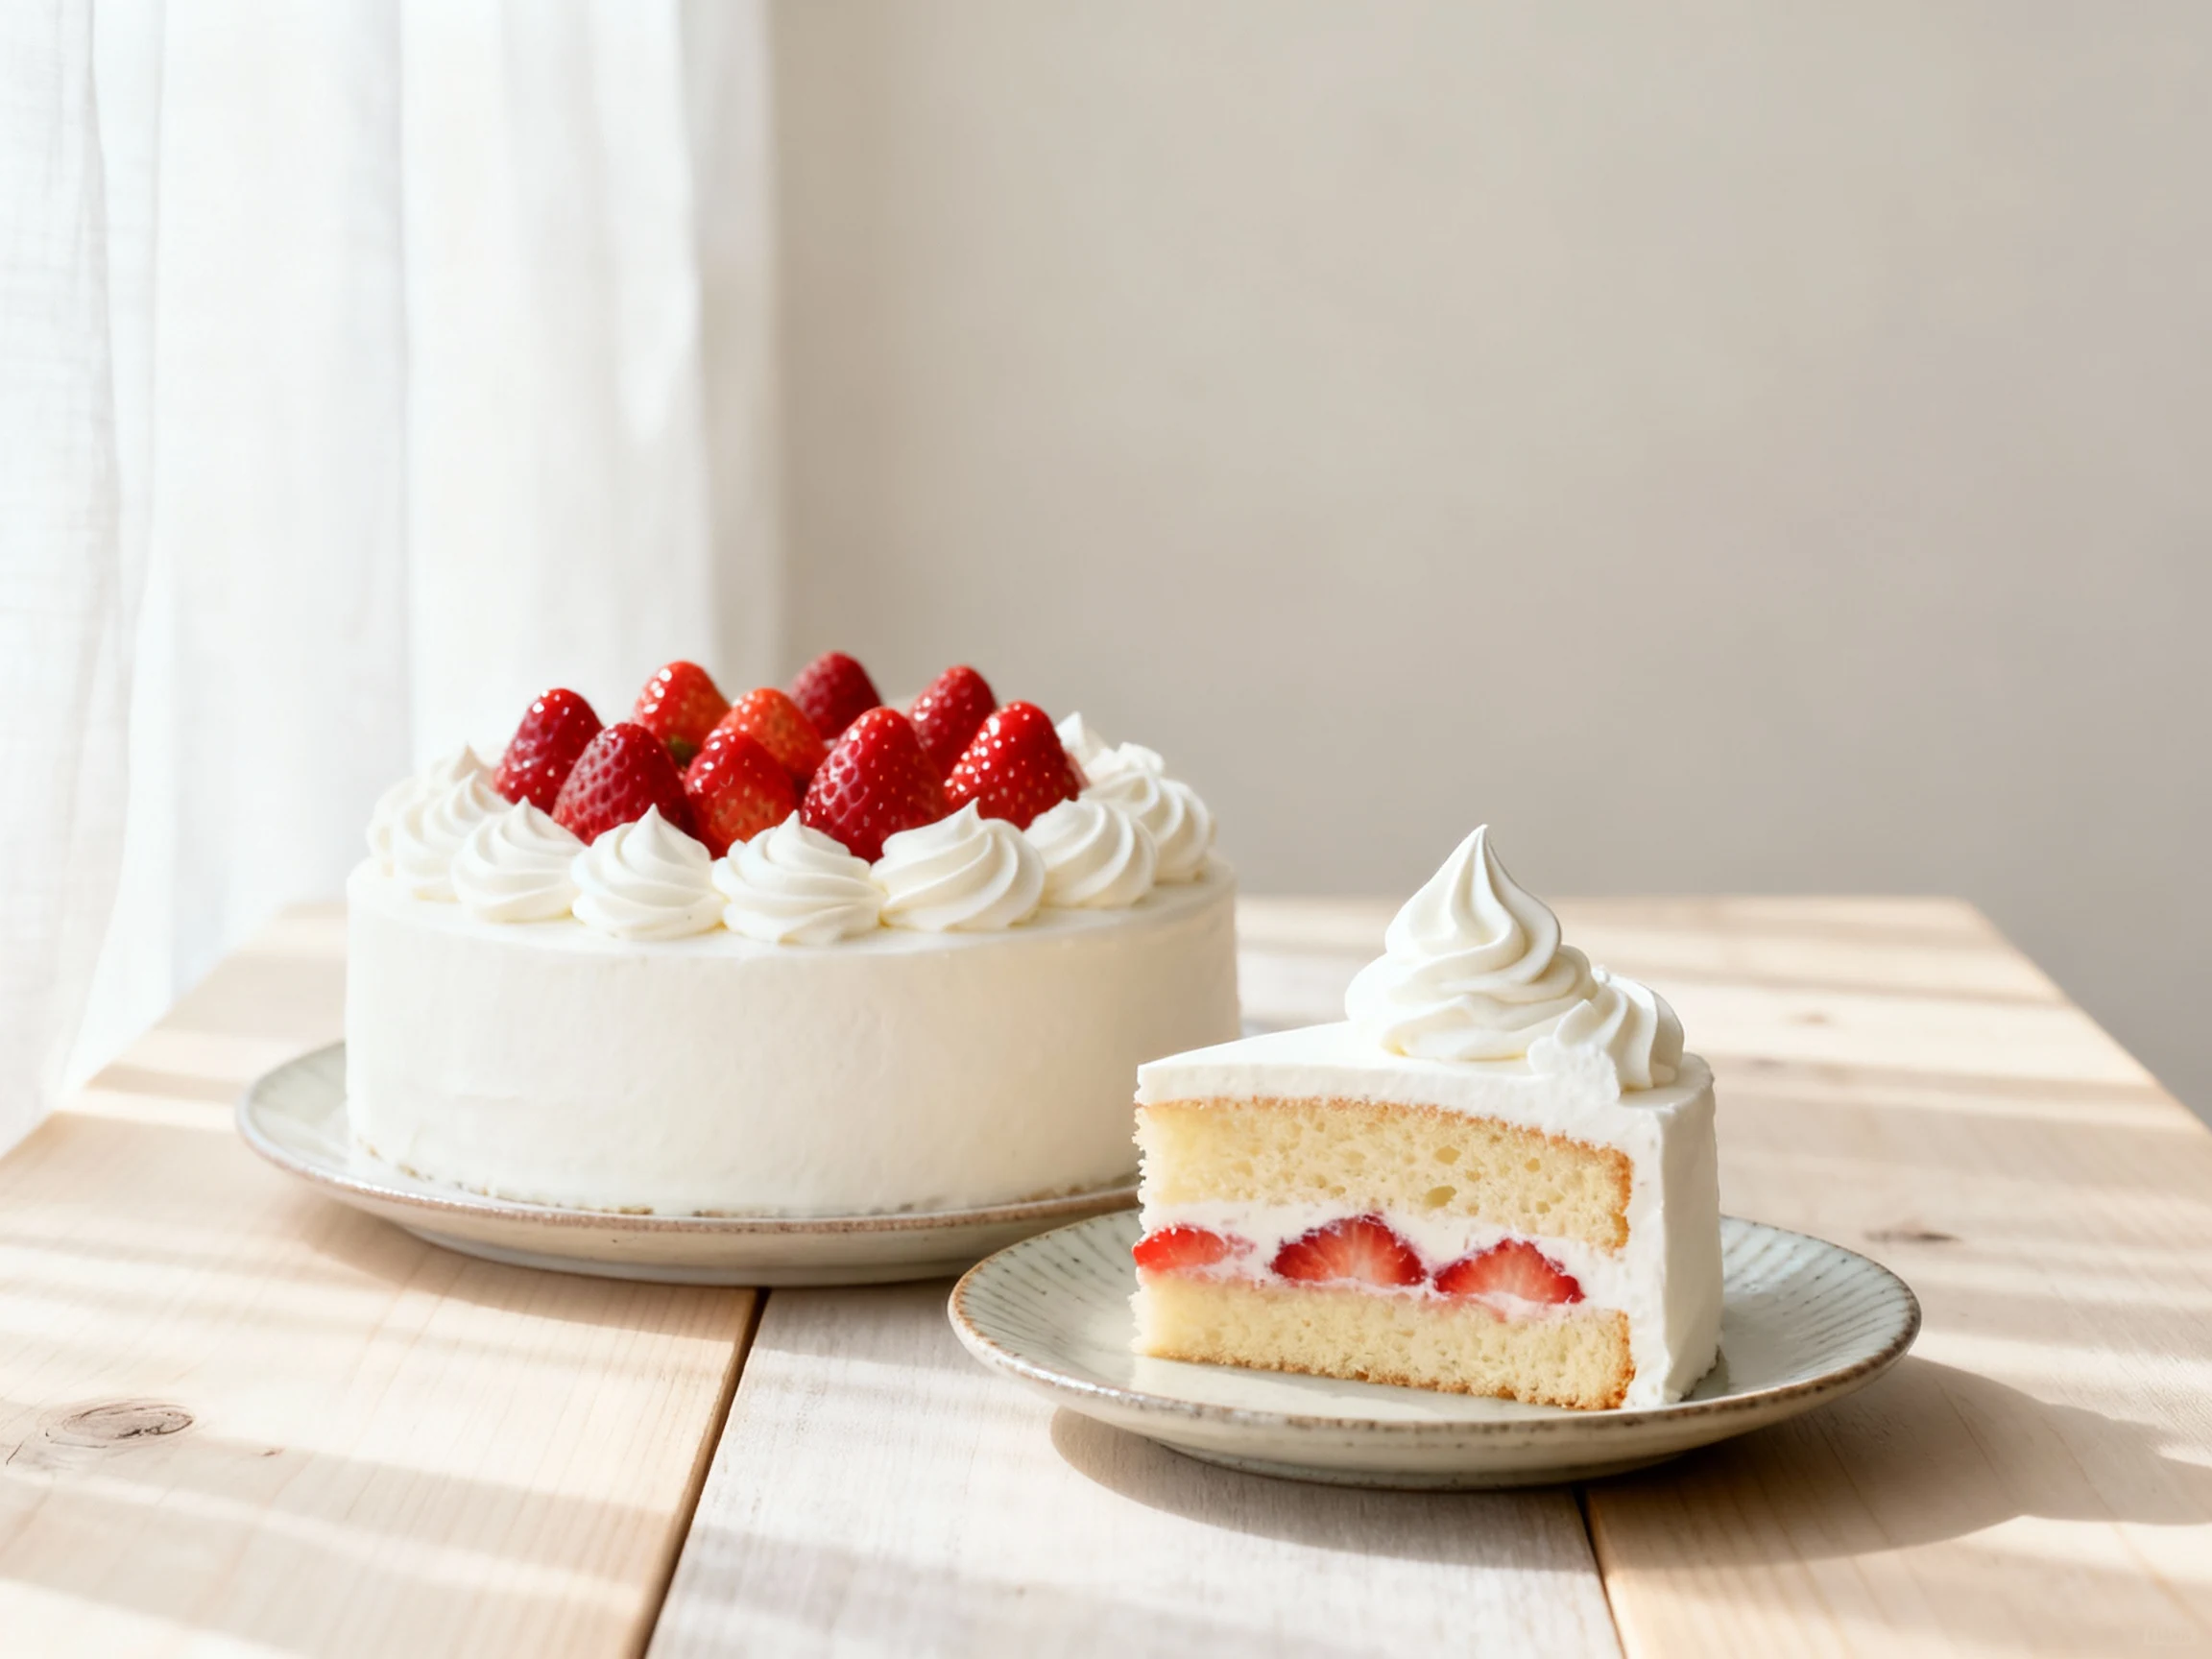
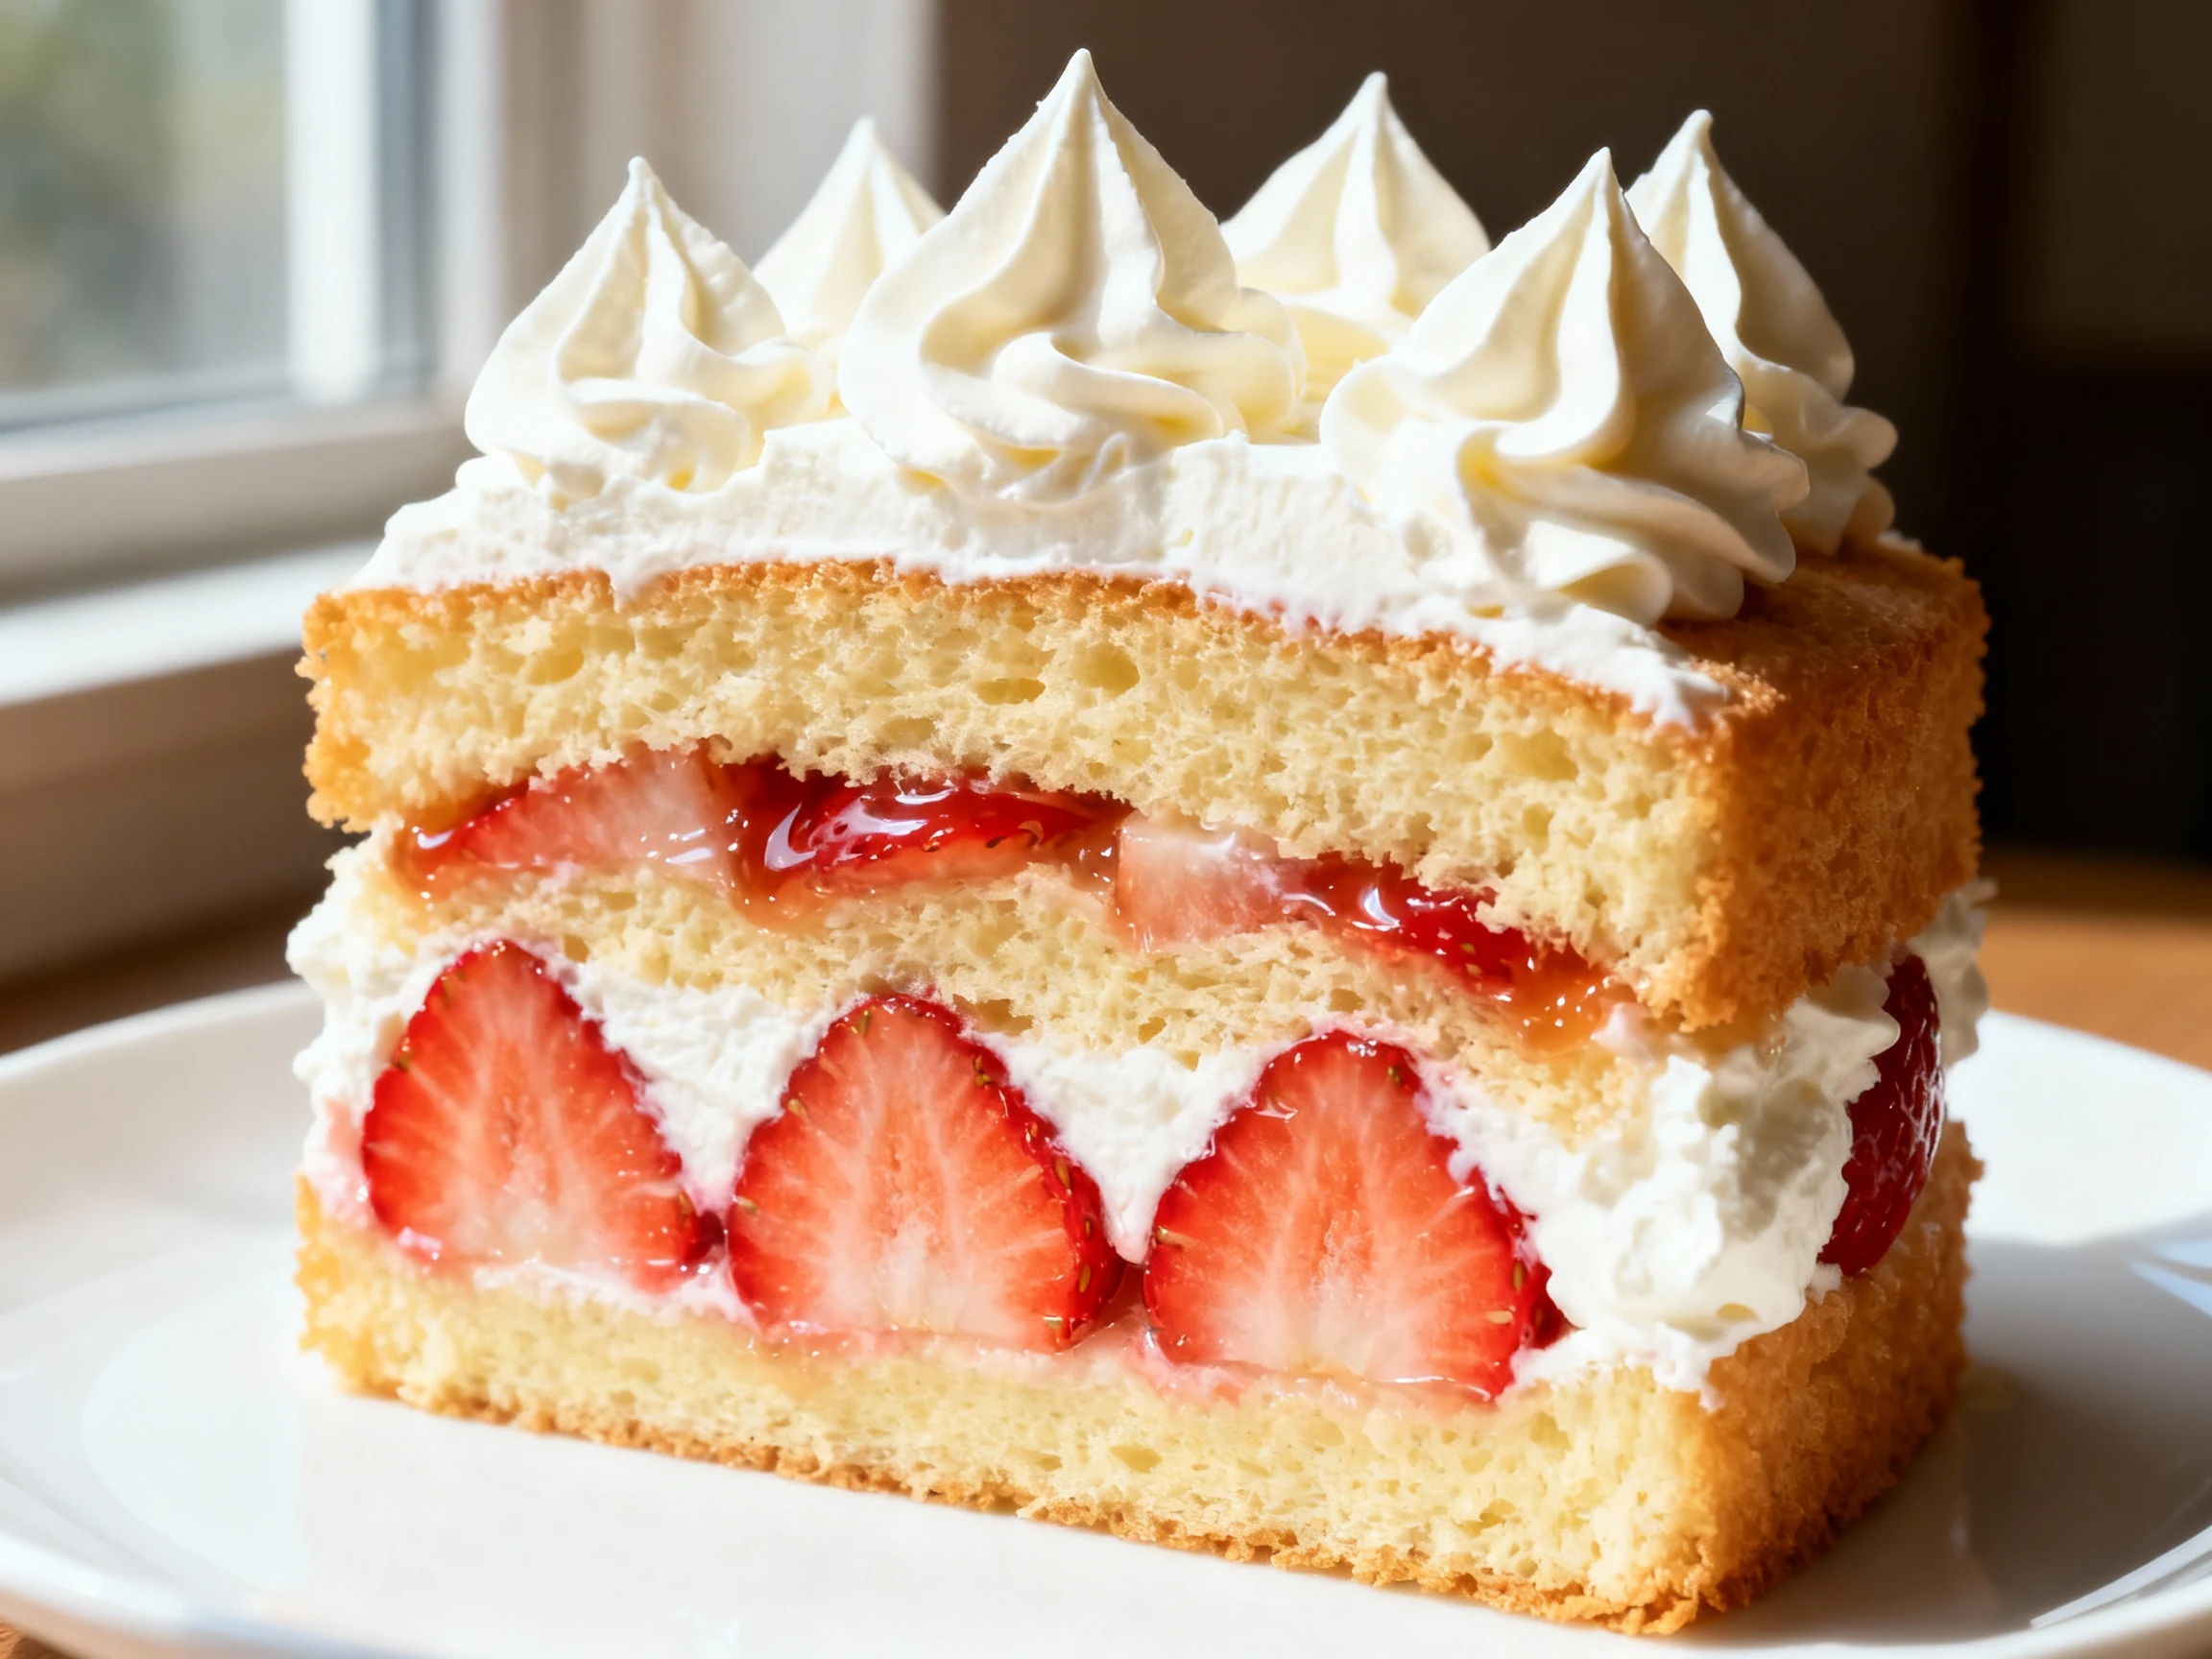
Japanese-style Strawberry Shortcake Sponge With Whipped Cream
Bakery-soft layers, fresh berries, and pillowy cream made easy with step-by-step cues—perfect for birthdays, tea time, or date night.
You don’t need a pastry diploma to make a cake that stops conversations. You need the right moves: hot-whipped eggs, featherlight folds, and cream that holds a swoop. This is that elusive combo—tender sponge, real strawberries, and whipped cream that tastes like a cloud, not a sugar bomb. Bake it once for a friend’s birthday and suddenly you’re “the cake person.” TBH, this is the kind of dessert that makes store-bought slices feel like a glitch in the matrix.
What Makes This Recipe Awesome
- Bakery-soft texture: We use a warm whole-egg whip and cake flour for a sponge that’s ultra-light yet slices clean.
- Balanced sweetness: Fresh berries and barely-sweet vanilla whipped cream keep it elegant, not cloying.
- Moist every time: A quick simple syrup brush guarantees zero dry bites. No sawdust vibes here.
- Foolproof steps: Clear visual cues—ribbon stage, fold technique, peak checks—so you nail it without guesswork.
- Make-ahead friendly: Bake the sponge a day ahead; assemble fresh for maximum wow with minimal stress.
- No fancy gear: A hand mixer, two bowls, and a whisk get it done. Your stand mixer can flex, but it’s not mandatory.
Shopping List – Ingredients
For the Sponge (8-inch round, two layers)

- 4 large eggs (room temperature)
- 120 g granulated sugar (about 1/2 cup + 2 tbsp)
- 120 g cake flour (1 cup, leveled and sifted)
- 30 g unsalted butter (2 tbsp)
- 40 g whole milk (3 tbsp)
- 1 tsp pure vanilla extract or vanilla bean paste
- 1/8 tsp fine salt
For the Syrup
- 60 g sugar (1/4 cup)
- 60 ml water (1/4 cup)
- 1 tsp Kirsch or strawberry liqueur (optional)

For the Whipped Cream & Filling
- 480–600 ml heavy cream (36%+) (2–2 1/2 cups), well-chilled
- 40–60 g powdered sugar (1/3–1/2 cup), to taste
- 1 tsp vanilla extract
- Pinch of salt (balances sweetness)
- 1–2 tbsp mascarpone or 1 tsp powdered gelatin (optional, for stability)
- 400–500 g fresh strawberries (about 1 lb), hulled and dried
Equipment (Helpful)
- Two 8-inch round cake pans (or bake one and slice)
- Parchment rounds, offset spatula, serrated knife
- Hand or stand mixer, fine-mesh sieve, kitchen scale (FYI: huge for accuracy)
How to Make It – Instructions
- Prep the pans and oven: Line pan bottoms with parchment. Do not grease the sides. Preheat to 325°F (163°C).
- Warm the eggs and sugar: In a metal bowl, whisk eggs, sugar, and salt over a simmering water bath until 100–110°F and the sugar dissolves. Don’t cook the eggs.
- Whip to ribbon stage: Beat on high 6–8 minutes until the mixture triples, turns pale, and falls in a thick ribbon that sits on itself for 3–4 seconds.
- Prep butter-milk mixture: Melt butter with milk until warm (about 120°F). Stir in vanilla. Keep warm so it stays fluid.
- Sift and fold: Sift cake flour over the egg foam in 2–3 additions. Fold gently with a wide spatula, turning the bowl, until no streaks remain. Do not deflate.
- Temper the butter: Scoop about 1 cup of batter into the warm butter-milk; mix gently. Fold this enriched portion back into the main batter just until combined. Few, light strokes.
- Pan and bake: Divide batter between pans (or use one tall pan). Bake 22–27 minutes until tops spring back and a skewer comes out clean.
- Cool correctly: Run a thin knife around edges immediately to prevent shrinkage. Invert after 5 minutes, peel parchment, then cool completely on racks.
- Make the syrup: Simmer water and sugar 1–2 minutes. Cool and add Kirsch if using.
- Prep strawberries: Choose 8–10 prettiest for the top. Slice the rest. Pat dry so they don’t weep into the cream.
- Whip the cream: Beat cold cream, powdered sugar, vanilla, and salt to medium peaks—glossy, holds a swoop with a soft tip. For extra stability, beat in mascarpone at the end or bloom gelatin and stream it in while whipping.
- Level and slice: If you baked one cake, split it horizontally with a serrated knife to make two even layers.
- Assemble layer 1: Brush the cut side with 1–2 tbsp syrup. Spread a 1/2–3/4 cup layer of cream. Arrange sliced strawberries in a single dense layer. Top with another thin layer of cream.
- Add layer 2: Place the second cake layer cut side down. Brush with syrup. Press gently to set.
- Crumb coat: Spread a thin layer of cream over sides and top to trap crumbs. Chill 10–15 minutes.
- Final coat and decorate: Add a thicker coat of cream, smooth or swoop as you like. Pipe rosettes and crown with halved or whole strawberries.
- Chill to set: Refrigerate 1–2 hours before slicing. Use a hot, dry knife for clean cuts.
How to Store
- Short-term: Refrigerate, covered, up to 48–72 hours. The cream stays stable and the sponge remains tender.
- Make-ahead: Bake sponge 1 day ahead; wrap well at room temp. Slice berries and whip cream the day you assemble.
- Freezing: Freeze sponge only (up to 2 months). Do not freeze the fully assembled cake—fresh strawberries turn mushy.
- Odor guard: Keep the cake in a covered box so it doesn’t taste like last night’s garlic pasta. You’ve been warned.
Benefits of This Recipe
- Light yet satisfying: You get airy texture with real dairy richness—no heavy buttercream crash.
- Lower sugar, cleaner flavor: Fruit and dairy shine without a sugar blanket, IMO.
- Reliable technique: Warm-whip method and simple syrup create consistent results across kitchens.
- Flexible timeline: Split the work: bake, chill, assemble. Your schedule wins.
- Gorgeous presentation: Minimalist white swirls plus glossy berries = instant celebration energy.
What Not to Do
- Don’t overmix: Heavy-handed folding kills the foam and flattens your sponge. Gentle is the vibe.
- Don’t overbake: Dry cake equals regret. Start checking at 22 minutes.
- Don’t skip syrup: It adds moisture and subtle flavor. Two minutes of effort, huge payoff.
- Don’t use wet strawberries inside: Pat them dry. Extra juice = slippy layers and streaky cream.
- Don’t overwhip cream: You want medium peaks, not butter granules.
- Don’t grease pan sides: The batter needs to climb the walls; grease gets in the way.
- Don’t slice warm cake: Warm crumbs shred. Cool completely for clean layers.
- Don’t open the oven early: A draft can deflate the rise. Patience.
Variations You Can Try
- Matcha shortcake: Whisk 1–1.5 tbsp matcha into the flour for a green tea twist.
- Cocoa sponge: Swap 15 g of flour for Dutch cocoa. Pair with raspberries.
- Yuzu or lemon syrup: Add citrus zest or juice to the syrup for bright, zippy notes.
- Mascarpone chantilly: Beat in 3–4 tbsp mascarpone for extra-stable cream.
- Berry medley: Mix strawberries with sliced peaches or blueberries in summer.
- Strawberry jam layer: Thin a couple tablespoons of jam with syrup and paint over the cake before cream.
- Jar cakes: Layer cubes of sponge, cream, and berries in mason jars for picnics.
- Sheet-cake version: Bake in a 9×13 pan, slice in half, and stack for an easy two-layer.
- Alcohol-free: Skip liqueur; add a splash of vanilla or rosewater to the syrup.
- Gluten-free: Use a 1:1 gluten-free cake flour blend; handle extra gently.
FAQ
Can I use all-purpose flour instead of cake flour?
Yes, but lighten it. Replace 2 tablespoons of each cup of all-purpose flour with cornstarch and sift well. The texture won’t be quite as delicate as true cake flour, but it’ll still taste fantastic.
Why did my sponge deflate?
Usually overmixing or underwhipping. Hit a true ribbon stage before folding, and fold with wide, gentle strokes to avoid deflating the foam. Also bake promptly—don’t let the batter sit around.
Can I bake one tall cake and slice it?
Absolutely. Use a deep 8-inch pan, extend bake time by 5–8 minutes, and cool fully. Use a long serrated knife and turntable for even halves.
How do I stabilize whipped cream without gelatin?
Add 1–2 tablespoons mascarpone or cream cheese at the end of whipping, or whisk in 1 tablespoon milk powder with the sugar. You’ll get clean slices and longer fridge life.
Can I use frozen strawberries?
For topping, no—they bleed and get mushy. For the inner layer, you can thaw, drain, and pat them dry, but fresh fruit gives the cleanest look and bite.
How sweet should the cream be?
Keep it subtle: 40–60 g powdered sugar per 500–600 ml cream. You want the berries to lead and the cream to support, not the other way around.
What’s ribbon stage, really?
Lift the whisk and let batter fall: it should leave a thick trail that sits on the surface for 3–4 seconds before blending in. Pale color, tripled volume—that’s your green light.
Do I need a stand mixer?
Nope. A hand mixer works great. It may take a minute longer to reach ribbon stage—watch the cues, not the clock.
Can I make this a day ahead?
Yes. Assemble the cake, chill uncovered 20 minutes to set, then cover and refrigerate. Add fresh berries on top within a few hours of serving for maximum gloss.
Can I reduce the sugar in the sponge?
You can trim 10–15%, but sugar supports structure. Go too low and the cake won’t rise or stay moist. If you want “less sweet,” reduce the cream sugar instead.
What knife should I use to slice?
A long serrated knife heated under hot water, wiped dry between cuts. Gentle sawing motion. No smashing—let the blade do the work.
The Bottom Line
This isn’t just a pretty cake—it’s a masterclass in lightness and balance. You get pillowy sponge, lush cream, and bright strawberries in a repeatable system you can trust. Follow the cues, keep a gentle hand, and your kitchen turns into your favorite patisserie. Bonus: everyone will assume you spent all day on it, and you don’t have to correct them.
Printable Recipe Card
Want just the essential recipe details without scrolling through the article? Get our printable recipe card with just the ingredients and instructions.