Cake Recipes Without Oven That Taste Like Bakery Wins
Make a fluffy, rich cake using a pan, pot, or fridge setup—fast prep, minimal tools, and results that look party-ready.
You want cake. Not “someday cake,” not “when I buy an oven” cake—cake now.
Good news: you can get a legit, sliceable, crowd-impressing cake with a stovetop, a steamer, or even your fridge.
This isn’t a sad workaround, either. It’s the shortcut people sleep on because they think baking requires a giant metal box.
If you can boil water, whisk batter, and resist opening the lid every 30 seconds, you can pull this off.
And yes, you’ll still get that “how is this so soft?” reaction. The smug satisfaction is optional, but recommended.
What Makes This Recipe So Good
It delivers the two things people actually want: tender crumb and big flavor, without the oven drama.
Steaming (or gentle stovetop baking) keeps the cake moist because it adds humidity instead of blasting it dry.
You also get a forgiving cook method: the heat stays steady, the batter rises evenly, and you don’t need perfect timing to avoid heartbreak.
Best part: you can customize it fast—vanilla, chocolate, citrus, coffee—without changing the core method.
What You’ll Need (Ingredients)
These amounts make one 8-inch round cake (or a similar volume in a loaf or deep pan). If you only have smaller pans, split the batter and cook in batches.
- 2 cups all-purpose flour
- 1 cup granulated sugar
- 2 teaspoons baking powder
- 1/2 teaspoon baking soda
- 1/2 teaspoon fine salt
- 2 large eggs (room temperature)
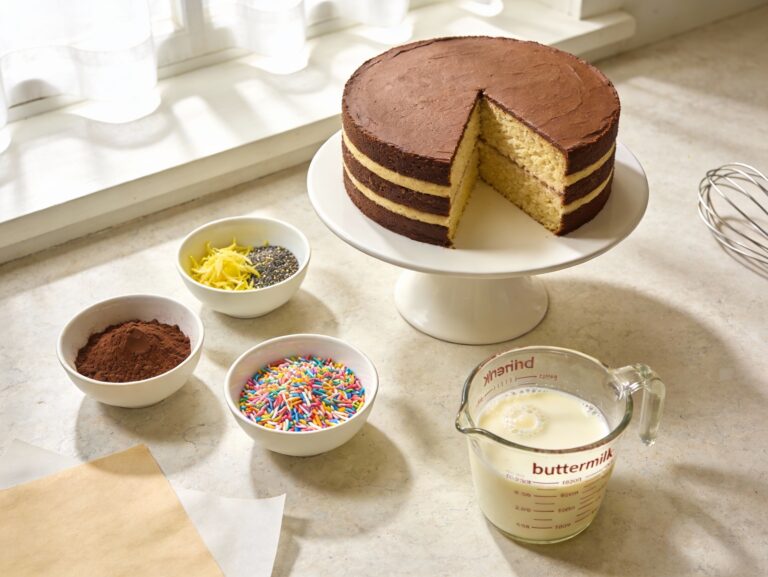
- 3/4 cup milk (or buttermilk for extra tenderness)
- 1/2 cup neutral oil (canola, sunflower, or light olive oil)
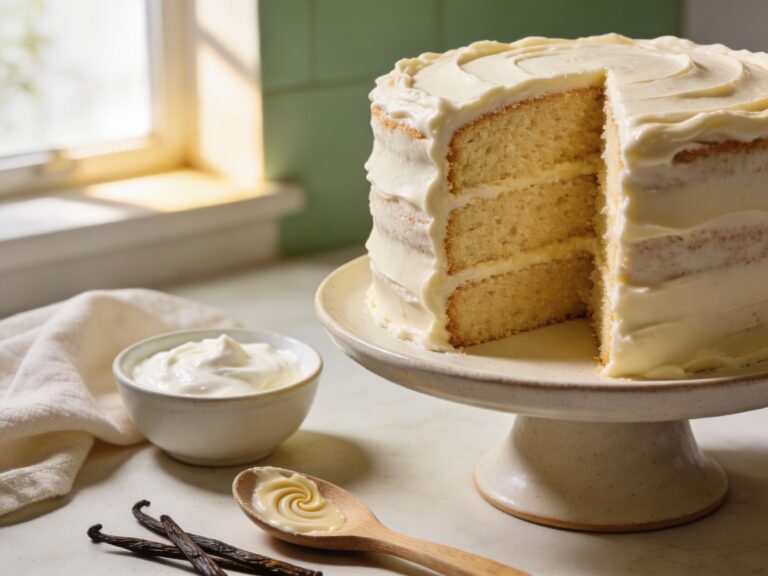
- 1/2 cup plain yogurt or sour cream
- 2 teaspoons vanilla extract
- 1 tablespoon lemon juice or vinegar (helps lift and balance sweetness)
- Optional: 2 tablespoons cocoa powder (for a light chocolate version)
- Optional: chocolate chips, berries, or chopped nuts (1/2 cup)
For topping, keep it simple: powdered sugar, a quick chocolate ganache, or whipped cream. Nobody needs a three-hour frosting saga.
The Method – Instructions
You can cook this cake in a large pot with a lid, a deep skillet with a lid, or a steamer setup. The goal is gentle heat plus trapped steam.
-
Set up your “no-oven oven.” Put a metal rack, trivet, or folded kitchen towel in the bottom of a large pot. Add 1 to 1 1/2 inches of water, then cover and bring to a simmer.
-
Prep your pan. Grease an 8-inch cake pan (or any heat-safe pan that fits your pot). Line the bottom with parchment if you have it. If you don’t, grease well and dust with flour.
-
Mix dry ingredients. In a bowl, whisk flour, sugar, baking powder, baking soda, and salt until evenly combined.
-
Mix wet ingredients. In a second bowl, whisk eggs, milk, oil, yogurt, vanilla, and lemon juice until smooth and glossy.
-
Combine without overthinking it. Pour wet into dry and whisk just until no dry pockets remain. If you’re adding chips or berries, fold them in gently.
-
Rest the batter for 5 minutes. This short pause hydrates the flour and makes the cake more tender. Use the time to stop poking the simmering pot like it owes you money.
-
Pour and protect. Pour batter into the pan. Cover the top of the pan with foil to block water droplets from falling in. This step saves your cake from becoming “mystery pudding.”
-
Steam-bake it. Place the pan on the rack inside the pot. Cover with the lid and cook on low to medium-low heat for 40 to 55 minutes.
-
Do the doneness test. Check at 40 minutes. A toothpick should come out clean or with a few moist crumbs. If it’s wet batter, cook 5 to 8 minutes more and test again.
-
Cool like a pro. Remove the pan carefully. Let it cool 10 minutes, then turn out onto a plate or rack. Cool fully before slicing, unless you enjoy crumbly chaos.
-
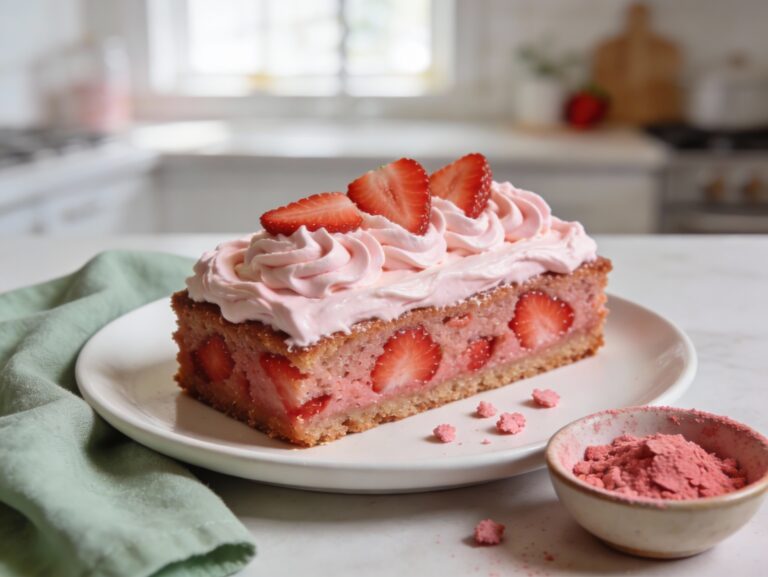
Finish with a simple topping. Dust powdered sugar, drizzle ganache, or add whipped cream. Keep it cute, keep it easy.
Heat tip: if your pot runs hot, keep the flame low and steady. You want gentle steam, not aggressive boiling that shocks the cake.
How to Store
Store the cooled cake in an airtight container at room temperature for up to 2 days. It stays soft because steaming builds moisture into the crumb.
For longer storage, refrigerate it up to 5 days. Wrap slices or the whole cake tightly so it doesn’t pick up “fridge vibes.”
To freeze, wrap in plastic wrap, then a freezer bag. Freeze up to 2 months. Thaw at room temperature and refresh with a quick dusting of sugar or a drizzle of sauce.
Benefits of This Recipe
- No oven needed, just a pot and a lid
- Moist, tender texture thanks to gentle steam
- Budget-friendly ingredients you likely already have
- Customizable flavors without complicated technique
- Less risk of over-browning or drying out
FYI, this method also works great in hot weather when turning on an oven feels like volunteering for a sauna.
Avoid These Mistakes
- Boiling too hard: Aggressive boiling makes uneven heat and can collapse the cake. Keep a gentle simmer.
- Skipping the rack: If the pan sits directly on the pot bottom, the cake can burn before it cooks through.
- Letting water drip into the batter: Cover the pan with foil so condensation doesn’t ruin the top.
- Overmixing the batter: Too much whisking makes the cake dense and chewy. Mix just until combined.
- Opening the lid nonstop: Every peek drops heat and steam. Check near the end, not every five minutes.
IMO the biggest trap is impatience. The cake needs steady, boring heat to become amazing. Let it do its thing.
Variations You Can Try
Use the same base method and swap flavors based on your mood and pantry. This cake is flexible, unlike your schedule.
- Chocolate stovetop cake: Replace 1/4 cup flour with 1/4 cup cocoa powder. Add 1/2 cup chocolate chips for extra drama.
- Lemon yogurt cake: Add 1 tablespoon lemon zest and swap vanilla for 1 teaspoon lemon extract.
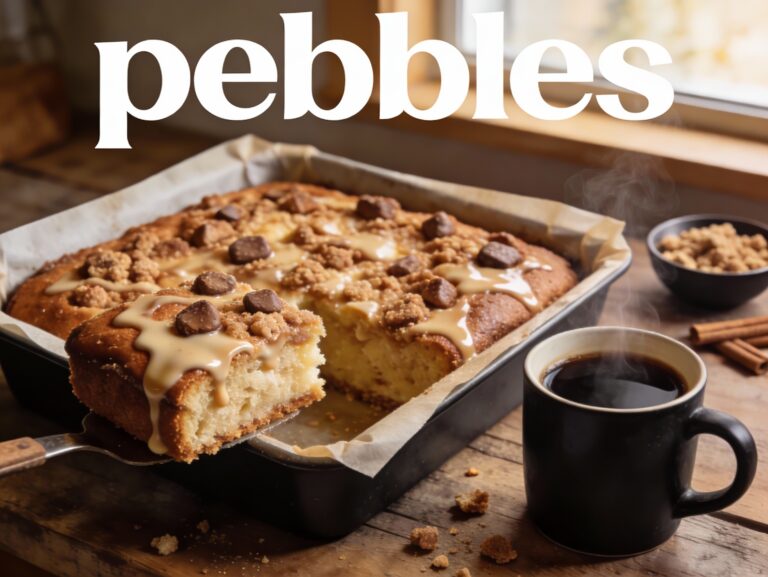
- Coffee mocha cake: Dissolve 2 teaspoons instant coffee in the milk, then add 1 tablespoon cocoa powder.
- Coconut milk cake: Use coconut milk instead of regular milk and add 1/2 cup shredded coconut.
- Spiced chai cake: Add 1 teaspoon cinnamon, 1/4 teaspoon ginger, and a pinch of cardamom.
If you want a “frosted” vibe without fuss, spread thick yogurt sweetened with honey on top and add fruit. It’s basically dessert with good manners.
FAQ
Can I make this without eggs?
Yes. Replace each egg with 1/4 cup unsweetened applesauce or a mashed ripe banana. The texture will be slightly denser but still soft and tasty.
What if I don’t have a cake pan?
Use any heat-safe metal bowl, loaf pan, or even a smaller pan and cook in two rounds. Just make sure it fits in your pot with space for steam to circulate.
How do I know my pot setup is safe?
Keep the water level below the rack so water never touches the pan. Use low to medium-low heat, and never let the pot boil dry—add hot water if needed.
Can I cook it in a nonstick skillet instead of a pot?
Yes, if the skillet is deep and has a tight lid. Place a rack or trivet inside if possible, or use a smaller pan that can sit above the water line.
Why did my cake turn gummy?
Usually it’s undercooked or overmixed. Cook a bit longer with gentle heat, and next time mix only until the batter comes together.
Can I make it sweeter or less sweet?
Absolutely. Reduce sugar to 3/4 cup for a less-sweet cake, or increase to 1 1/4 cups for a more dessert-forward bite. Don’t go wild unless you want a texture change.
Can I add frosting without an oven-made cake falling apart?
Yes, once it cools fully. A simple ganache, cream cheese frosting, or whipped cream works well because the crumb is moist and stable.
Wrapping Up
You don’t need an oven to make a cake that feels like a celebration. You need a pot, steady heat, and the confidence to stop treating cake like it requires a degree.
This method gives you a soft, flavorful cake that looks impressive and tastes even better the next day.
Pick a variation, keep the lid closed, and let the steam do the heavy lifting. Then slice it up and act surprised when everyone asks for the recipe.
Printable Recipe Card
Want just the essential recipe details without scrolling through the article? Get our printable recipe card with just the ingredients and instructions.