Doctored Cake Mix Recipes That Taste Bakery-made
Turn a basic box into a rich, fluffy cake for birthdays, potlucks, or weeknights using simple pantry upgrades and zero stress.
You don’t need a culinary degree to make people ask, “Where did you buy this?” You need a box of mix, a few strategic add-ins, and the audacity to take credit. This is the cheat code bakers won’t admit they use when time is tight and expectations are loud. The goal isn’t “good for a mix.” The goal is “hide the box before anyone sees it.” Ready to win dessert without sacrificing your whole Saturday?
The Secret Behind This Recipe
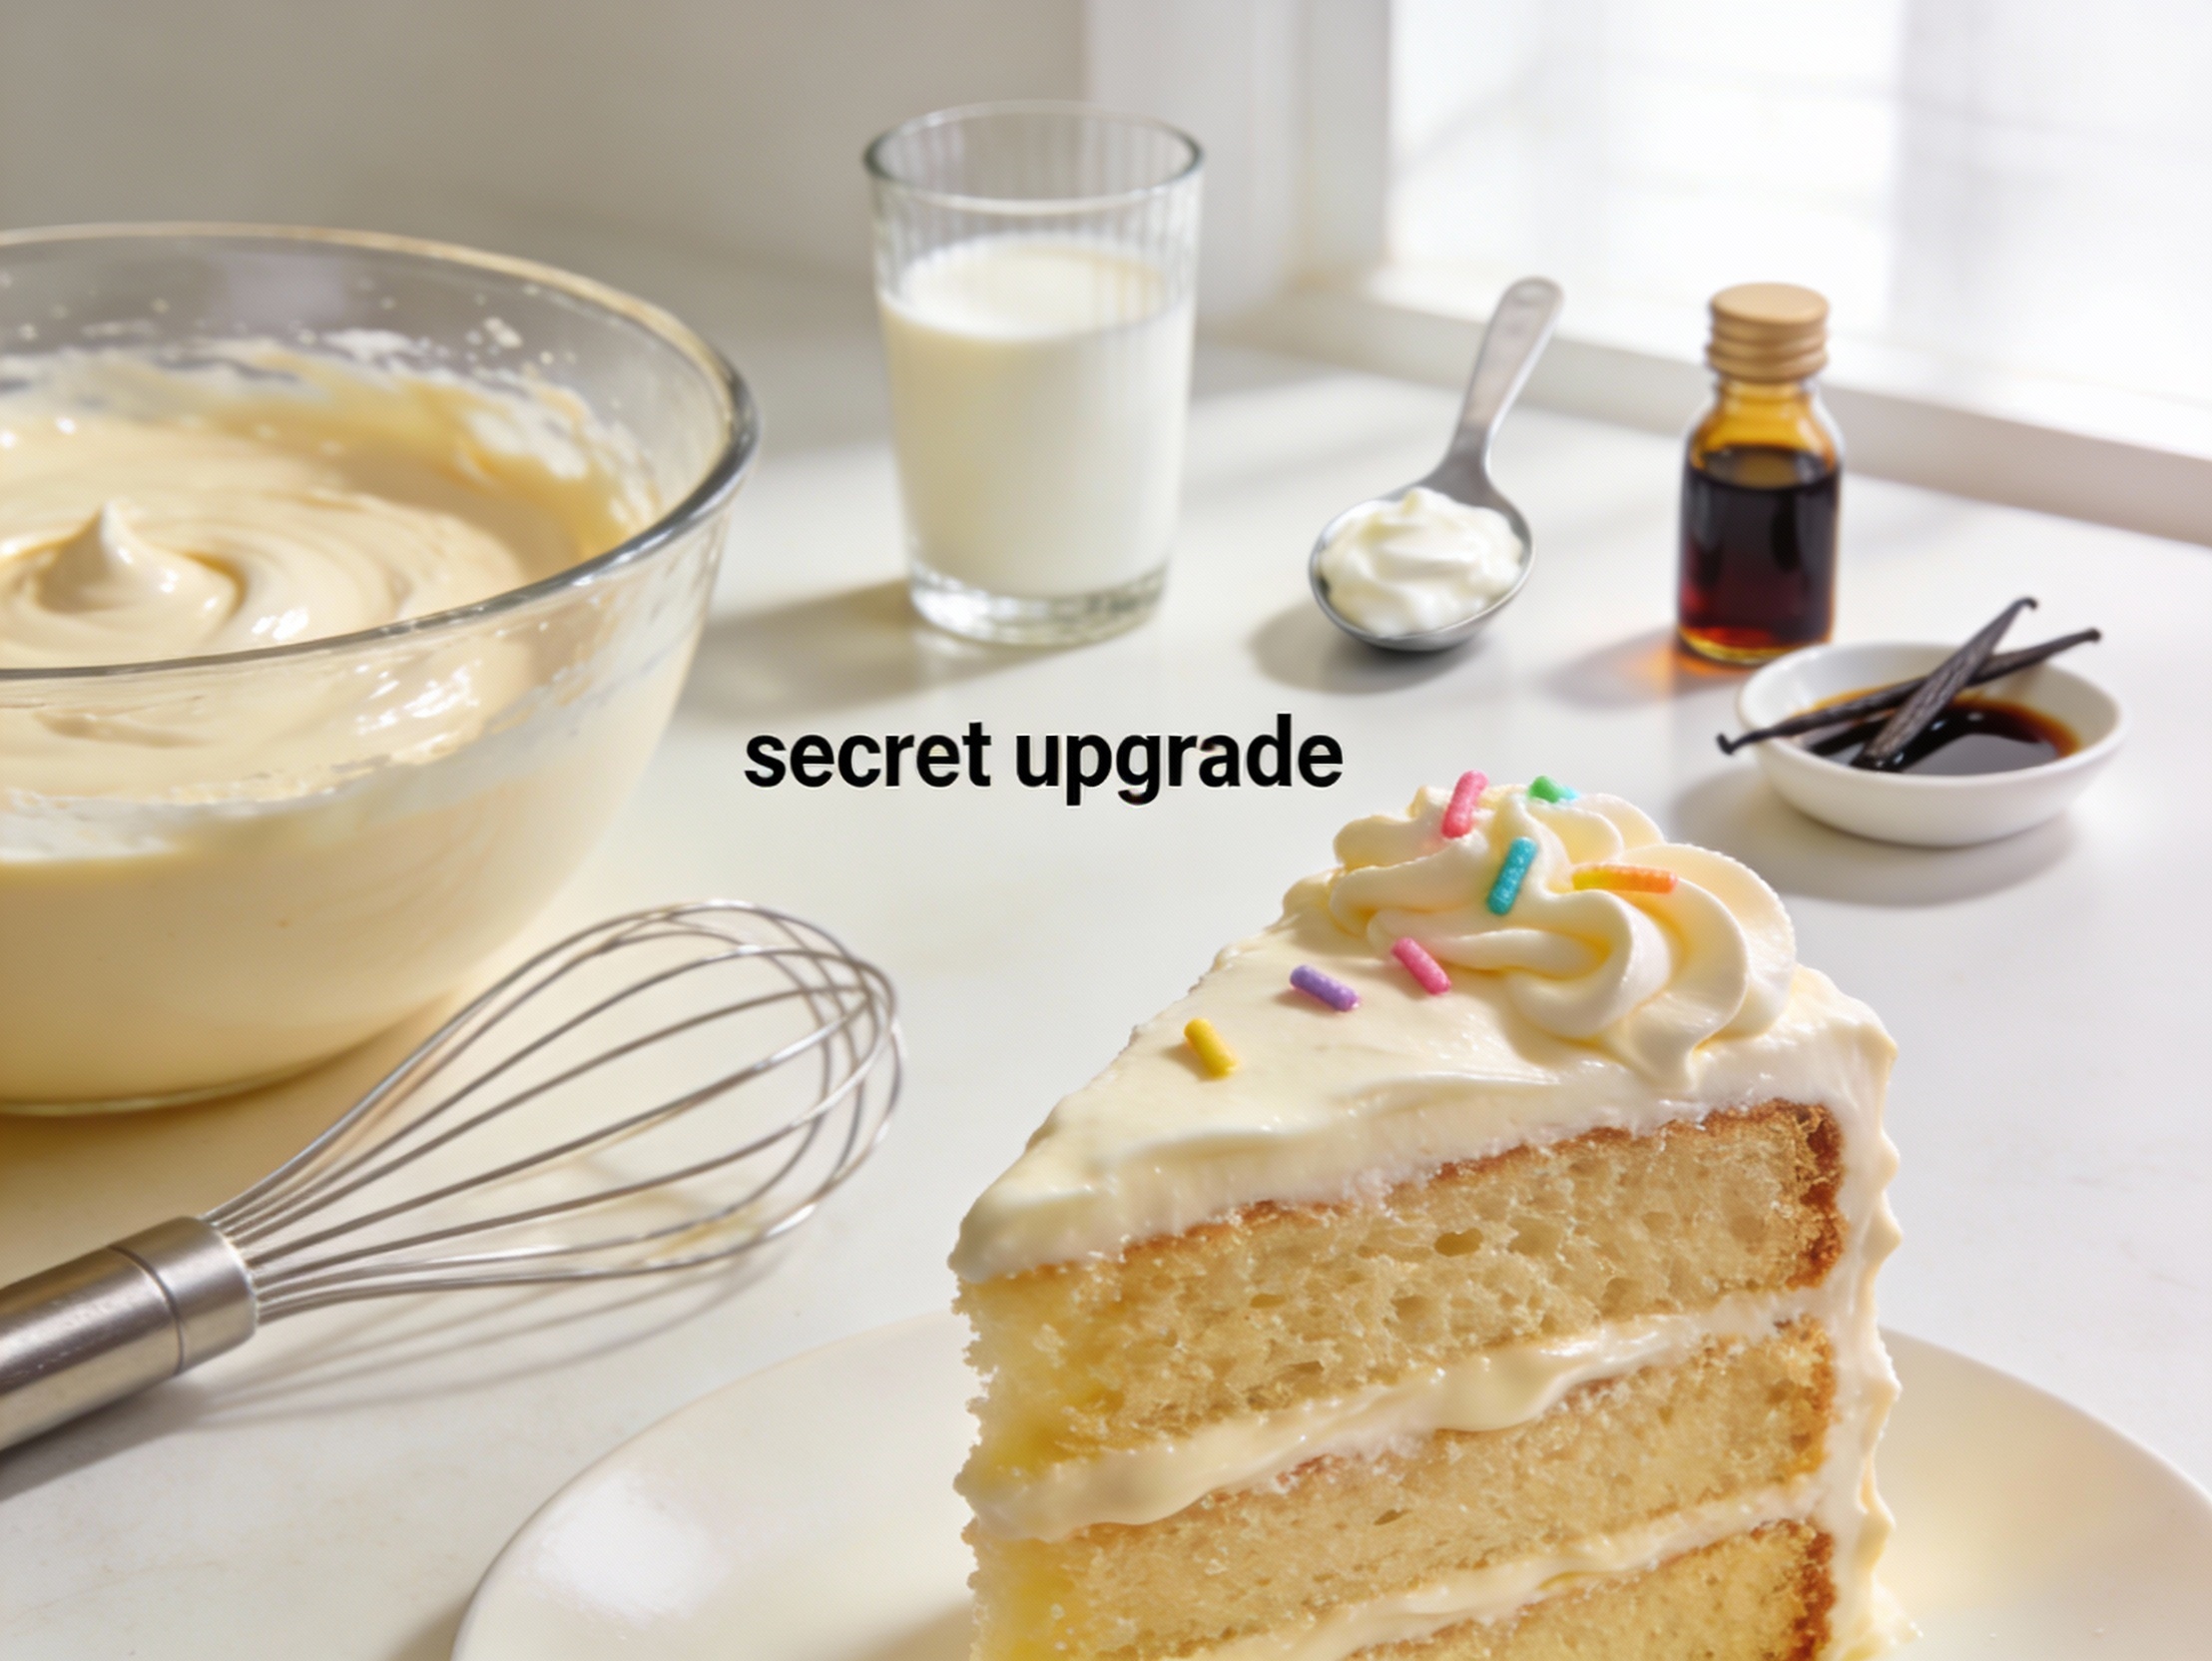
The “doctoring” works because boxed mix already has structure built in: flour balance, leavening, and flavor base. Your job is to upgrade texture and moisture while adding richer flavor so it tastes homemade. Swap water for dairy, add extra fat, and bring in real vanilla and a pinch of salt to sharpen sweetness. Then fold in something with personality: pudding mix for softness, sour cream for tang, or chocolate chips for the “oops I got fancy” vibe.
Think of it like upgrading a budget hotel room. The foundation stays the same, but you bring better pillows, better lighting, and snacks that don’t taste like regret. The box gives you reliability. Your add-ins give you that bakery-style crumb and a flavor that doesn’t scream “aisle 7.”
Shopping List – Ingredients
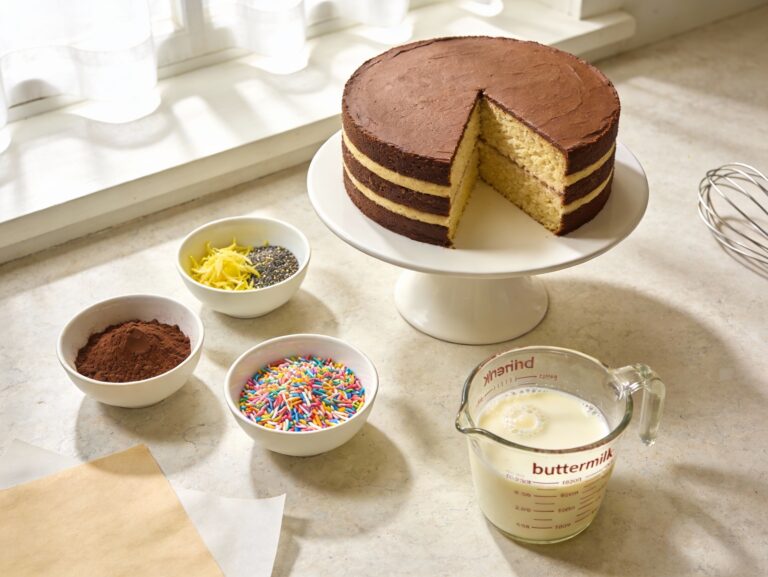
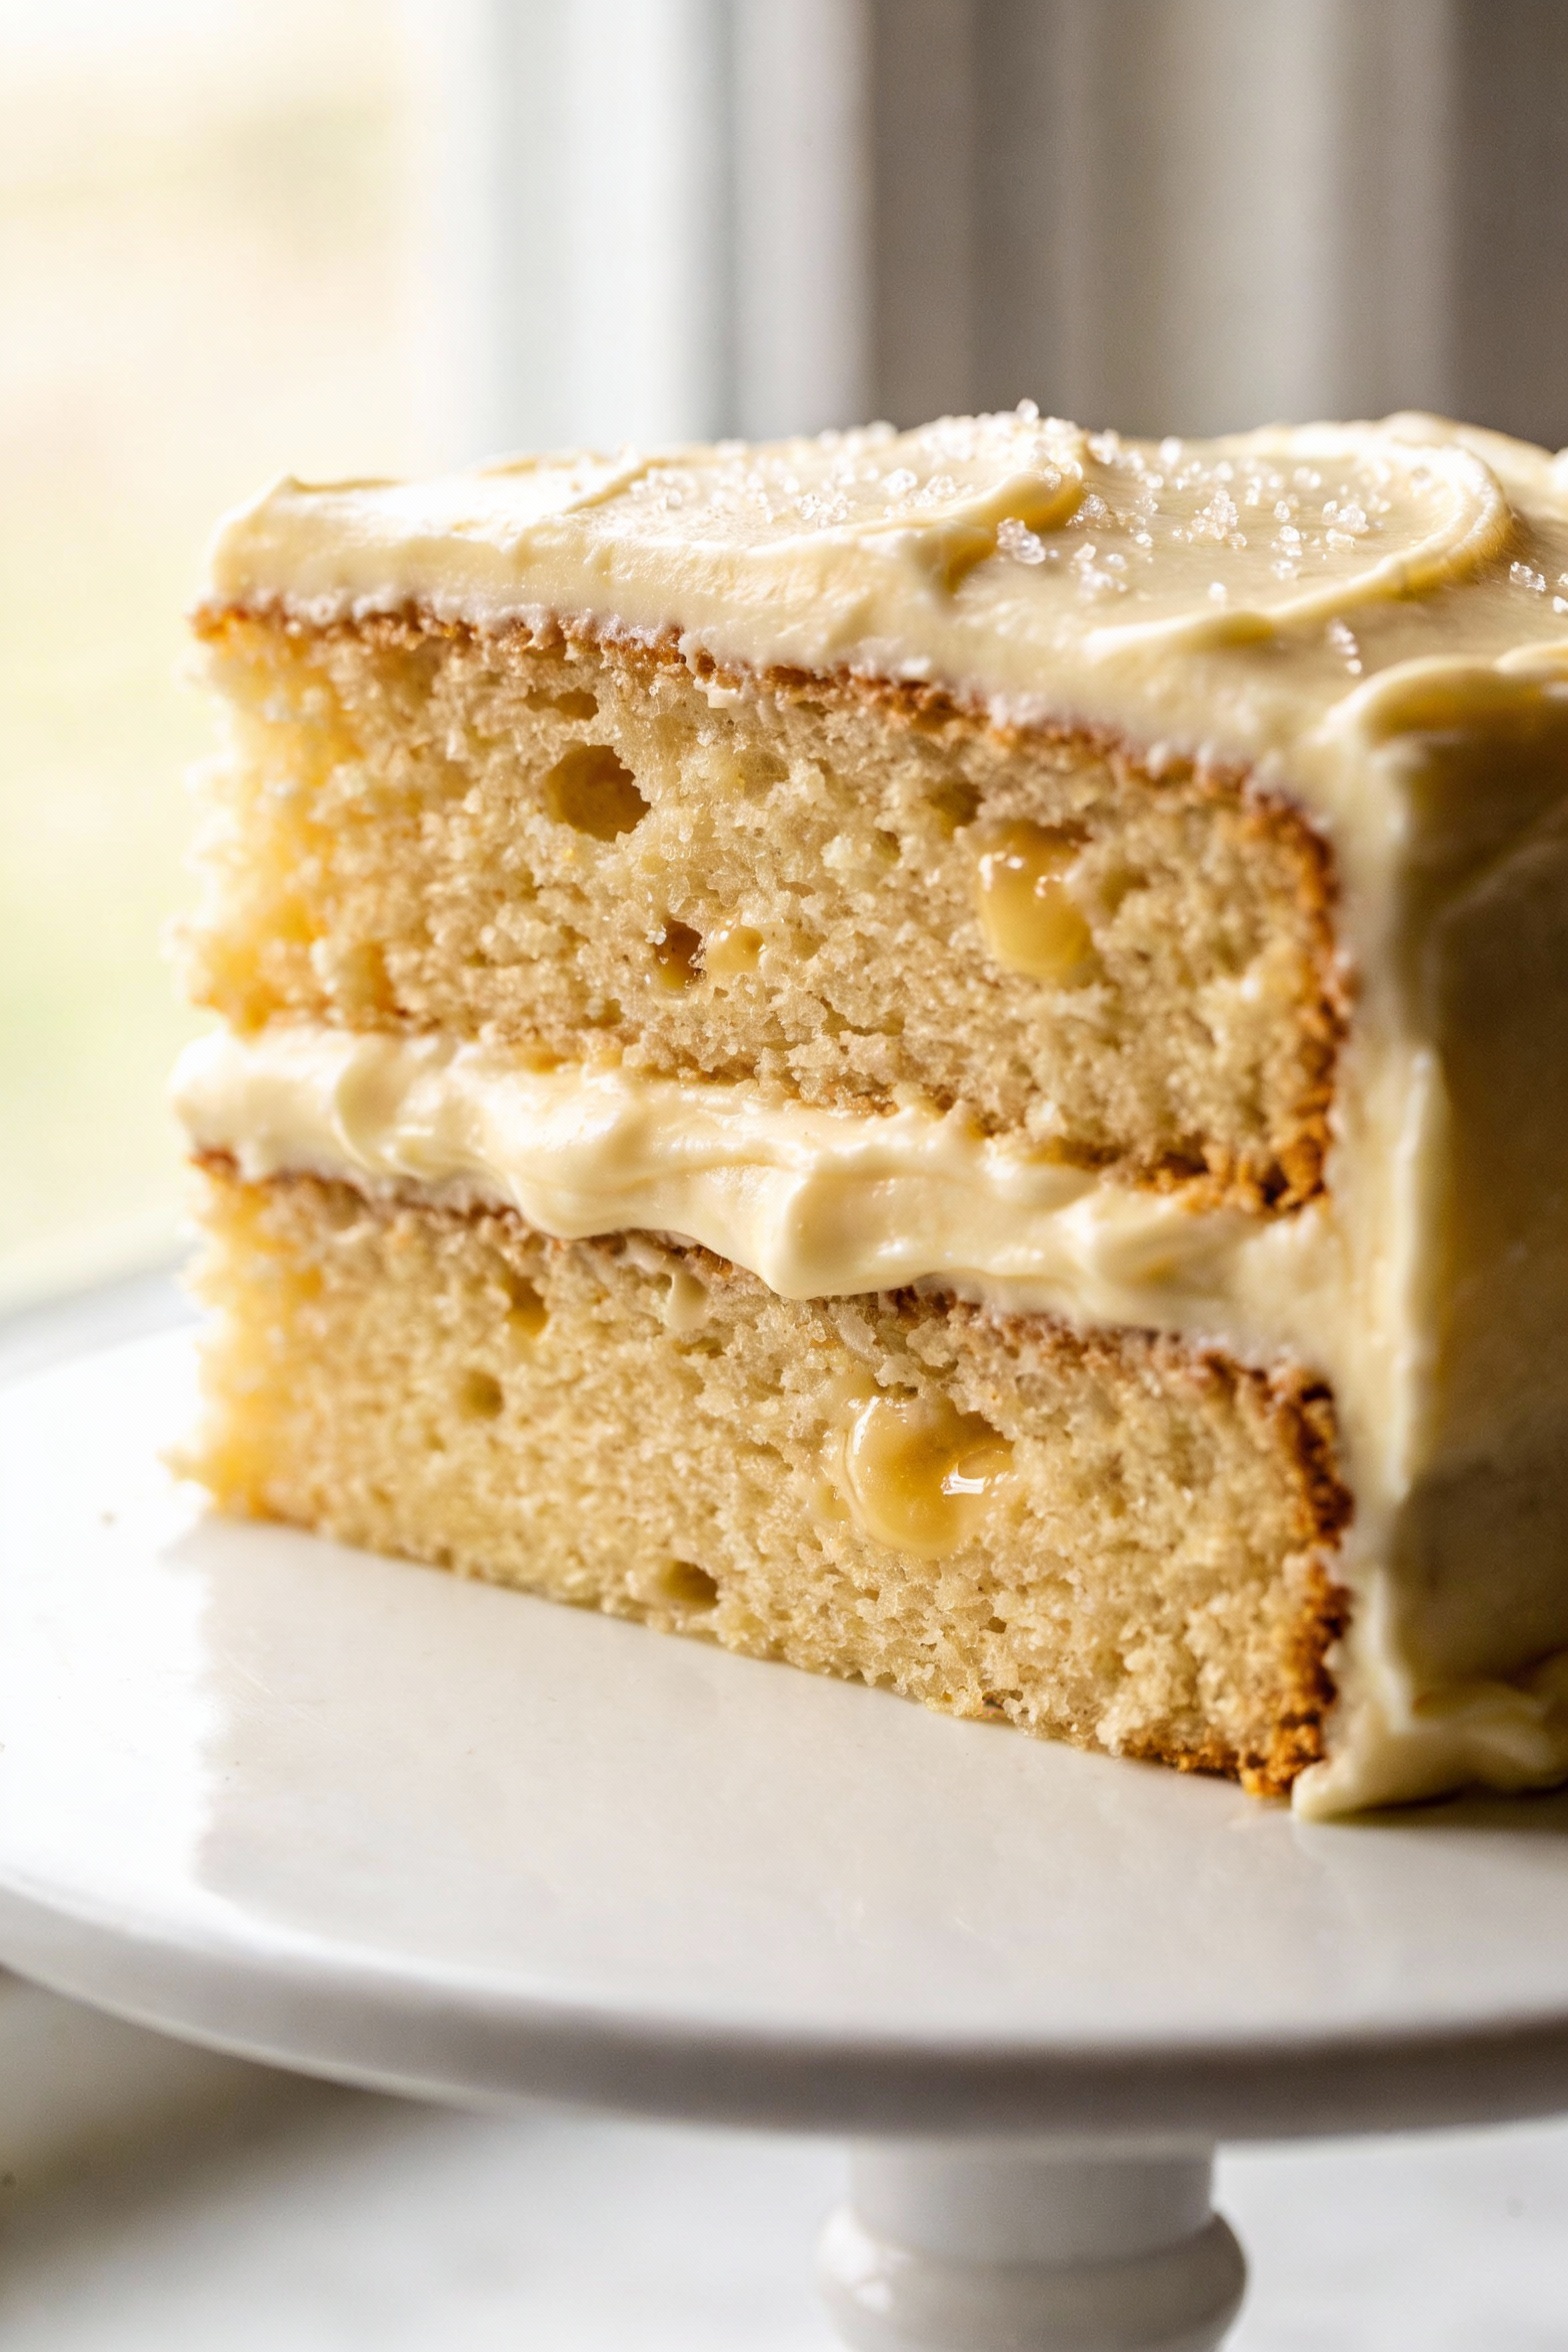
This makes one ultra-moist, bakery-style vanilla cake (or cupcakes) with a simple, high-impact vanilla buttercream. You can remix flavors later, but start here to nail the method.
- 1 box vanilla or yellow cake mix (15.25 oz)
- 1 small box instant vanilla pudding mix (3.4 oz)
- 4 large eggs
- 1 cup whole milk (or buttermilk)
- 1/2 cup melted unsalted butter (cooled slightly)
- 1/4 cup sour cream (or full-fat Greek yogurt)
- 2 teaspoons pure vanilla extract
- 1/2 teaspoon fine salt
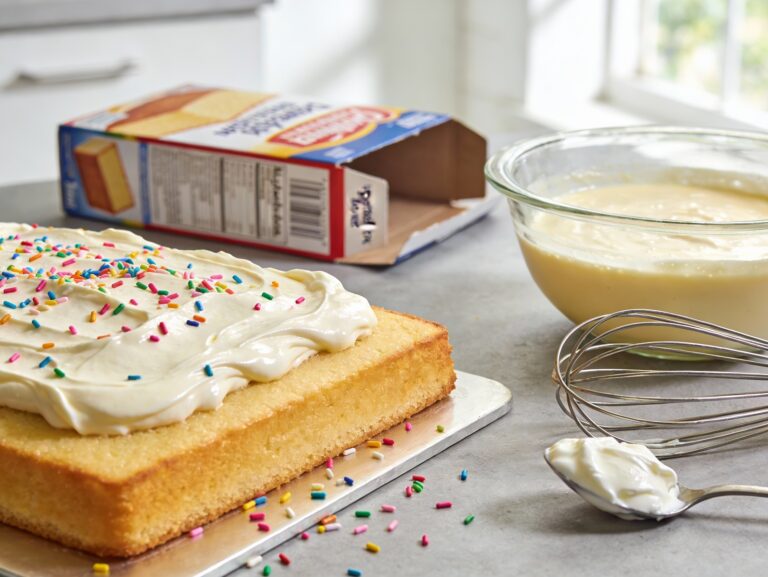
- Optional: 1/2 cup sprinkles or 1 cup chocolate chips
Vanilla Buttercream (optional but highly recommended):
- 1 cup unsalted butter, softened
- 3 1/2 to 4 cups powdered sugar
- 2 teaspoons vanilla extract
- 2 to 4 tablespoons milk or heavy cream
- Pinch of salt
Cooking Instructions
This listicle format keeps things simple and fast. Follow it once, then you’ll start “freestyling” like you invented baking. Please remain humble.
-
Preheat and prep. Heat oven to 350°F. Grease and flour two 8-inch pans, or line a 12-cup muffin tin with liners.
-
Combine the dry base. In a large bowl, whisk cake mix, pudding mix, and salt until evenly blended. This prevents random pudding pockets that feel like sweet gravel.
-
Add the wet upgrades. Add eggs, milk, melted butter, sour cream, and vanilla. Start mixing on low so you don’t create a powdered sugar blizzard, then increase to medium.
-
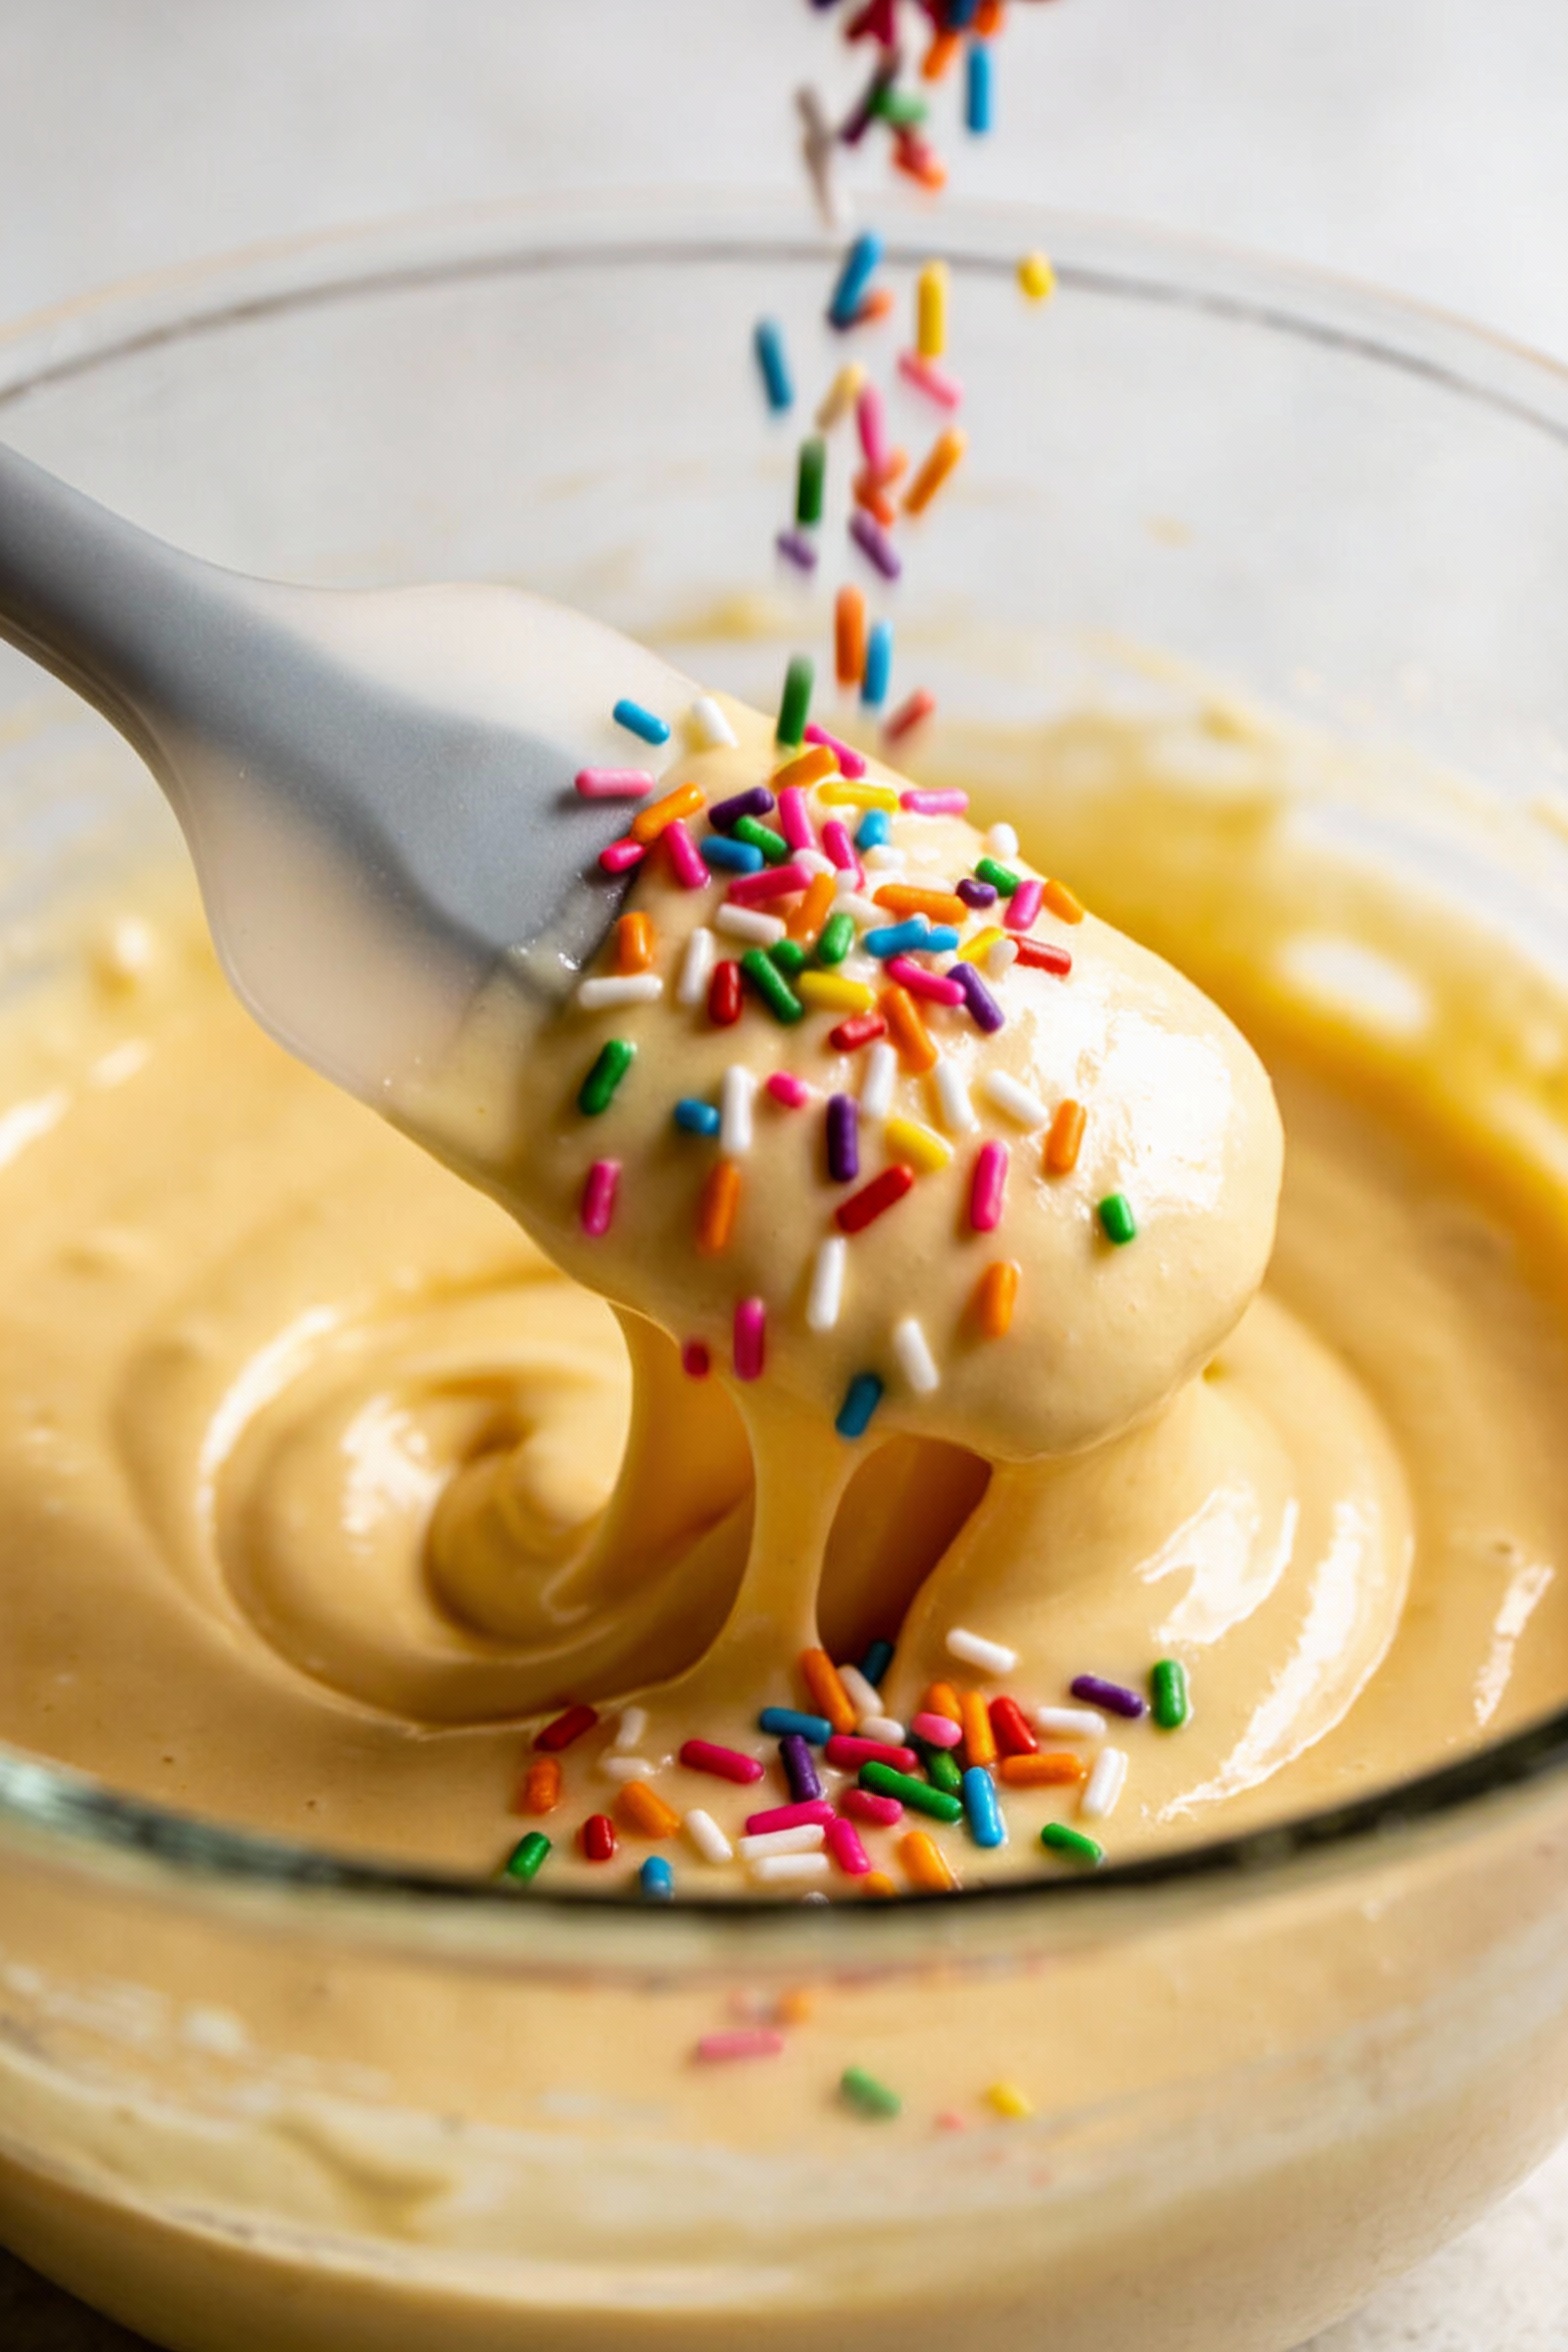
Mix to the right texture. Beat for about 2 minutes at medium speed until the batter looks smooth and slightly thicker than standard mix batter. You want glossy, not overworked.
-
Fold in the fun (optional). Gently fold in sprinkles or chips with a spatula. Don’t overmix, unless you want “gray sprinkle streaks” as your signature style.
-
Fill the pans evenly. For cake pans, divide batter evenly. For cupcakes, fill liners about 2/3 full so they dome nicely without turning into muffin tops.
-
Bake with a timer and your eyes. Cake pans: 25 to 33 minutes. Cupcakes: 16 to 20 minutes. A toothpick should come out with a few moist crumbs, not wet batter.
-
Cool correctly. Let cakes cool 10 minutes in pans, then turn out onto a rack. Cool completely before frosting, unless you enjoy watching buttercream melt into sadness.
-
Make quick buttercream. Beat softened butter for 2 minutes until fluffy. Add powdered sugar gradually, then vanilla, salt, and enough milk/cream to reach a smooth, spreadable texture.
-
Frost and finish. Stack layers with frosting between, then crumb-coat if you want clean edges. Top with sprinkles, berries, or shaved chocolate and accept compliments politely.
Storage Tips
Store unfrosted cake layers tightly wrapped at room temperature for up to 2 days. If it’s warm in your kitchen, move them to the fridge after day one. For frosted cakes, refrigerate in a covered container, then let slices sit at room temperature 20 to 30 minutes before serving for the best texture.
Freezing works amazingly here. Wrap cooled layers in plastic wrap, then foil, and freeze up to 2 months. Thaw overnight in the fridge, then bring to room temp before frosting. FYI, cupcakes freeze well too, and future-you will feel like a genius.
Health Benefits
Let’s be real: this is dessert, not a smoothie bowl. Still, you can make smarter choices without turning it into “cake that tastes like a compromise.” Using milk and eggs adds protein and helps create a more satisfying texture, which can reduce the urge to go back for three sad slices.
Sour cream or Greek yogurt brings a little tang and richness so you can use slightly less frosting and still feel like you “got the full experience.” Portion control also gets easier when the cake actually tastes great, because you don’t keep eating to chase flavor. Also, joy counts as a health benefit, IMO.
Don’t Make These Errors
-
Overmixing the batter: Mix until smooth, then stop. Overmixing can make the crumb tight and rubbery, which is not the vibe.
-
Using cold ingredients: Cold sour cream and cold eggs can make the batter lumpy. Let them sit out 20 minutes for smoother mixing.
-
Swapping everything at once: Don’t change the liquids, add pudding, add extra eggs, and add fruit all in one first attempt. Start with the base method, then experiment.
-
Underbaking “because it looks done”: The top can brown early. Trust the toothpick test and the gentle spring-back when you tap the center.
-
Frosting a warm cake: You already know. But you’ll still be tempted. Walk away and drink water like an adult.
Different Ways to Make This
Once you learn the method, you can pivot flavors fast without learning a whole new recipe each time. Keep the structure the same and tweak the “personality” ingredients. Your kitchen becomes a bakery, minus the rent and the existential dread.
-
Chocolate version: Use chocolate cake mix and chocolate pudding. Add 1 teaspoon espresso powder for deeper flavor and a “why is this so good?” reaction.
-
Lemon pop: Use lemon cake mix, swap vanilla pudding for lemon pudding, and add 1 tablespoon lemon zest. Finish with a simple glaze instead of buttercream.
-
Strawberry shortcake vibe: Use white cake mix, fold in 1/2 cup chopped freeze-dried strawberries, and top with whipped cream frosting and fresh berries.
-
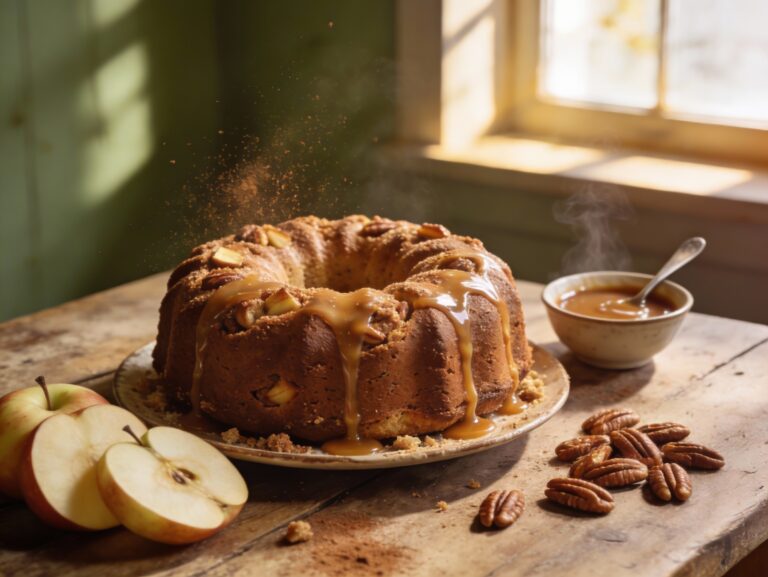
Carrot-cake shortcut: Use spice cake mix, add 1 teaspoon cinnamon, fold in 1 cup finely grated carrots, and frost with cream cheese frosting.
-
Coconut dream: Use yellow cake mix, add 1/2 teaspoon coconut extract, fold in 1/2 cup shredded coconut, and top with toasted coconut.
-
Marble bakery look: Make vanilla batter, then swirl in 1/2 cup chocolate ganache or thick chocolate syrup. Don’t over-swirl or it turns into brown chaos.
If you want a clean formula, remember this: dairy beats water, butter beats oil (most of the time), and a little salt makes sweetness taste more expensive. The rest is just customizing the “wow factor.”
FAQ
Can I use oil instead of melted butter?
Yes. Use 1/2 cup vegetable oil in place of the melted butter for a super-moist crumb. Butter gives richer flavor, while oil keeps it softer for longer, so choose based on what matters most.
Do I have to add pudding mix?
No, but it makes the texture noticeably softer and more bakery-like. If you skip it, keep the milk and sour cream for moisture and consider adding an extra teaspoon of vanilla.
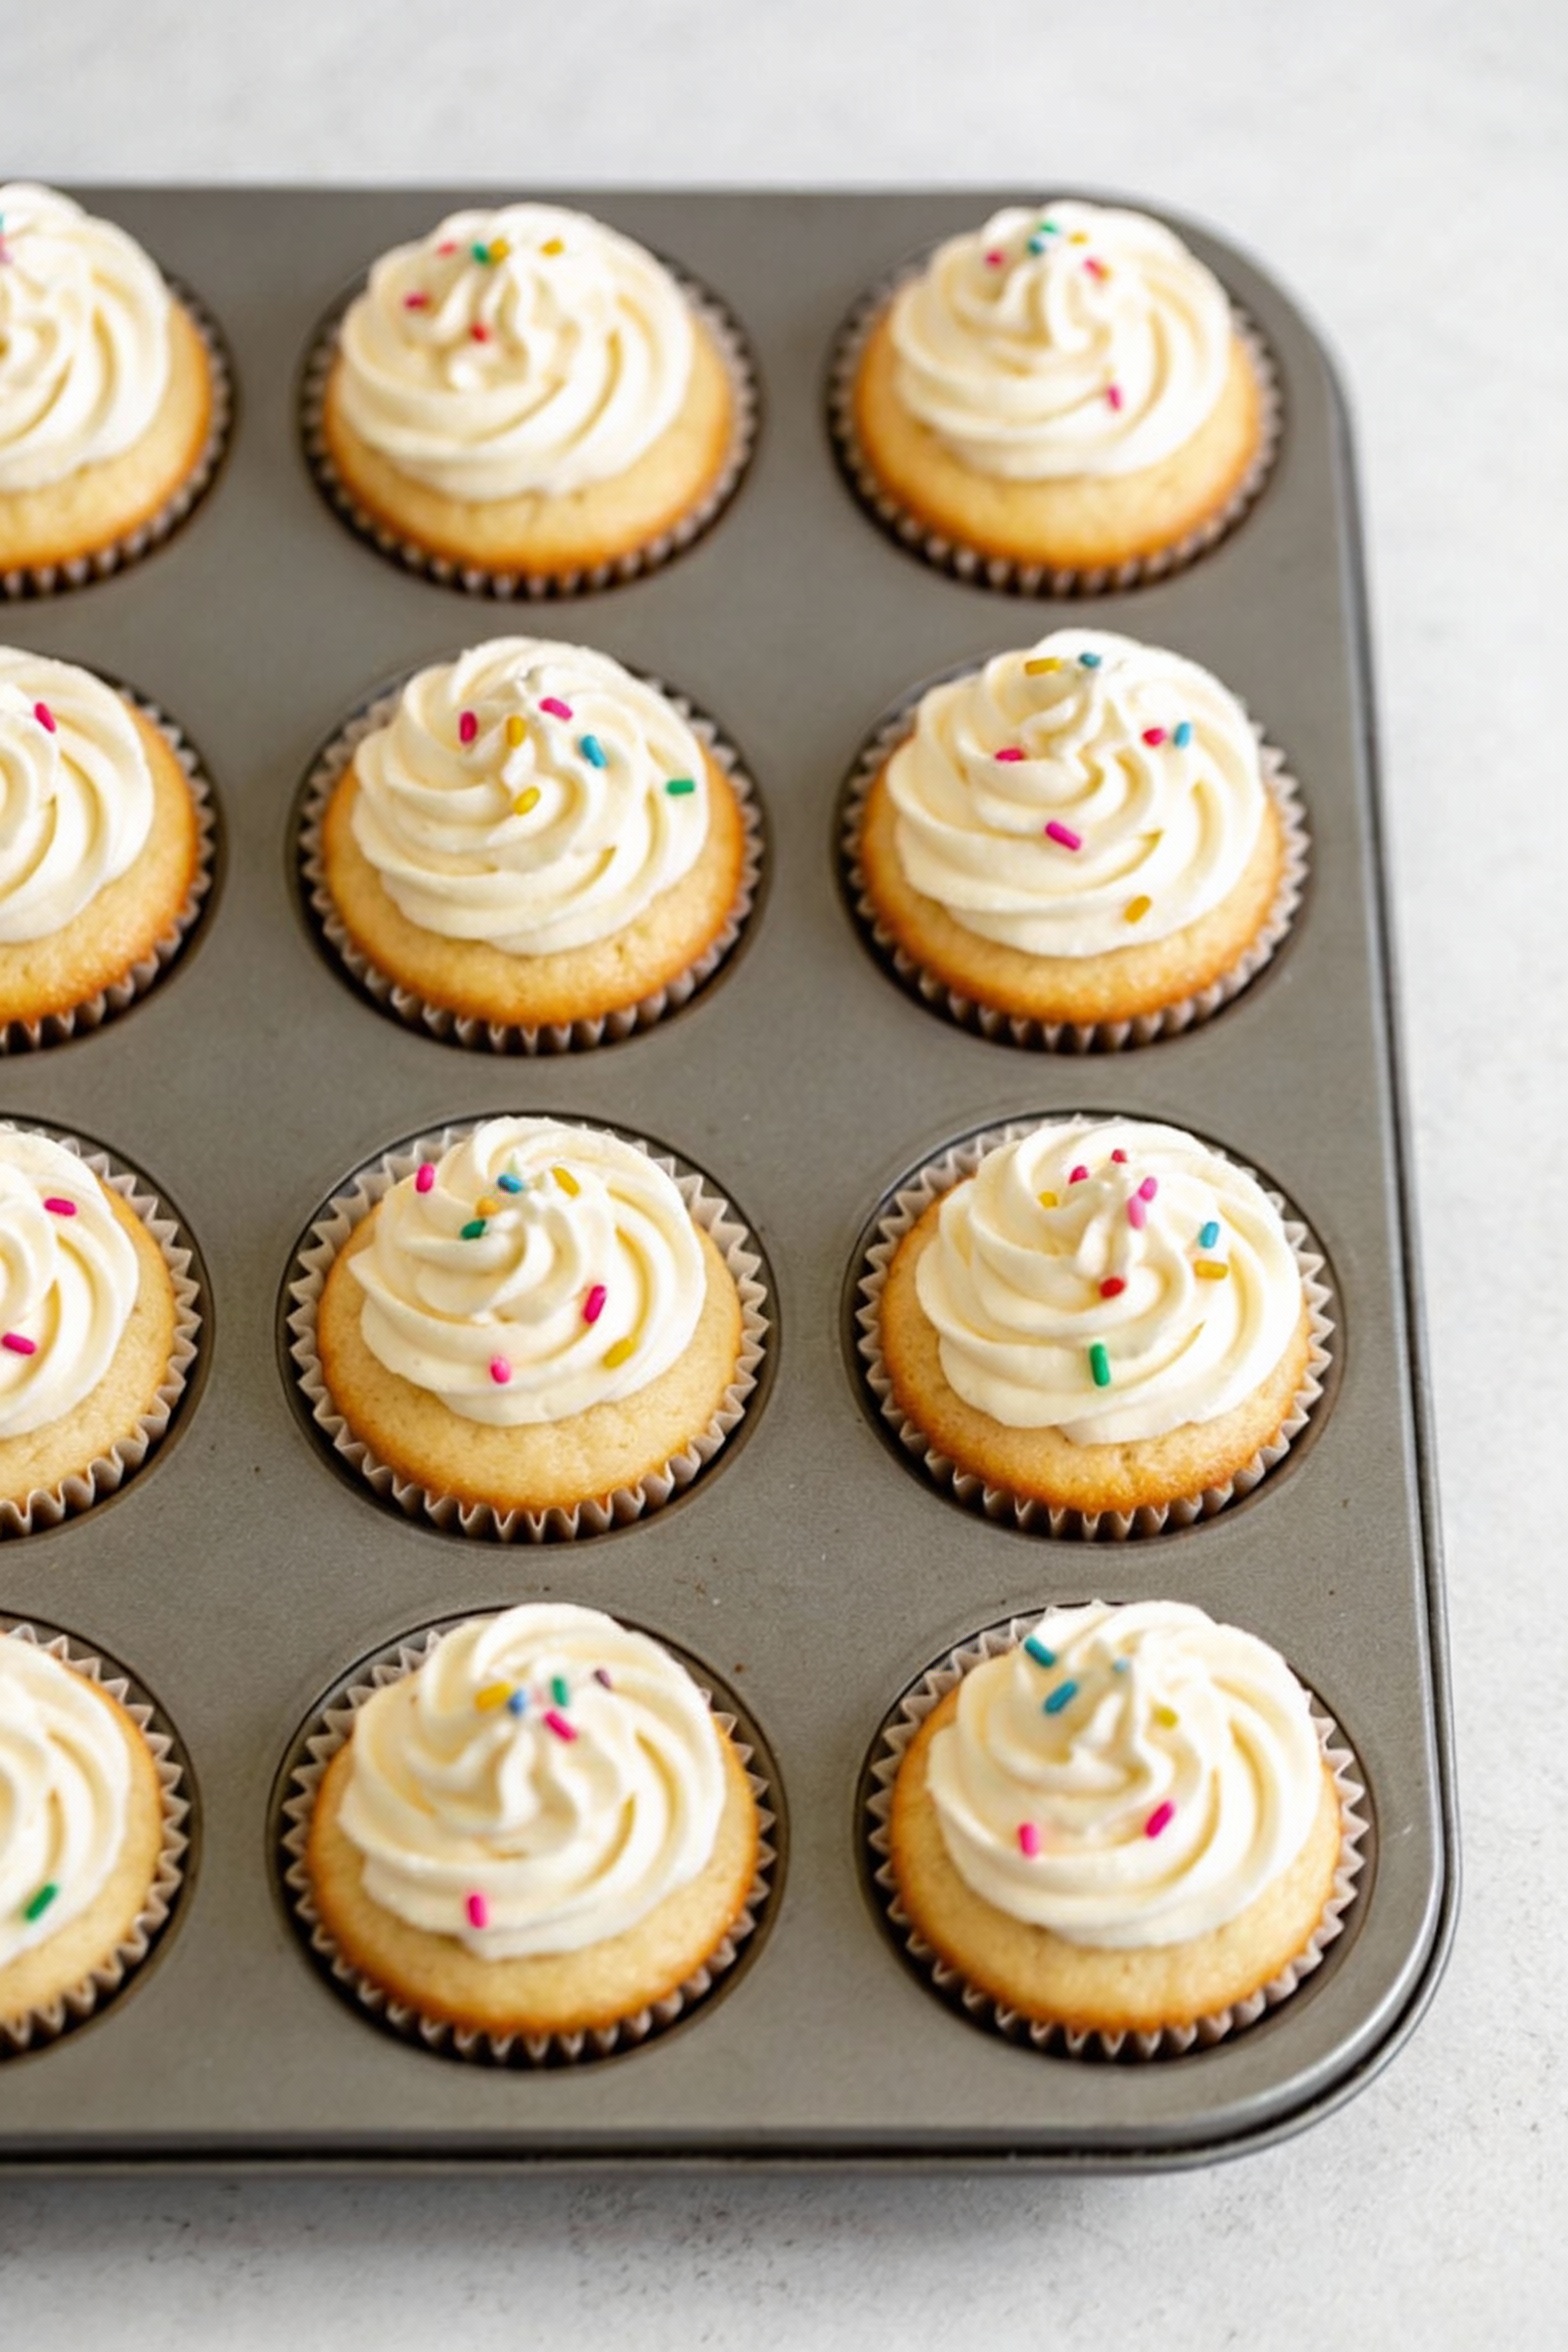
How do I turn this into cupcakes?
Line a muffin tin and fill each liner about 2/3 full. Bake at 350°F for 16 to 20 minutes, then cool completely before frosting. This recipe typically yields 22 to 24 cupcakes, depending on how generous you get.
What pan sizes work best?
Two 8-inch round pans work great, as does a 9×13-inch pan. For a 9×13, bake around 30 to 38 minutes and start checking early. Glass pans can bake slower, so don’t trust the clock blindly.
Can I make it ahead for a party?
Yes. Bake the cake layers a day or two ahead, wrap tightly, and store at room temperature or in the fridge if it’s warm. Frost the day of, or frost the night before and refrigerate, then bring to room temp before serving.
Why did my cake sink in the middle?
Usually it’s underbaking, overmixing, or opening the oven door too early. Bake until the center springs back and a toothpick comes out with moist crumbs. Also make sure your oven runs at the right temperature if this happens often.
Wrapping Up
A boxed mix can taste like a bakery cake when you upgrade the moisture, add real flavor, and stop treating “water and oil” like sacred law. This method gives you a reliable, fluffy crumb and a rich taste that feels homemade, even on a weeknight. Keep the base formula, then riff with flavors once you’ve nailed the texture. And if someone asks for the recipe, smile and say, “It’s my special one.” That’s technically true.
Printable Recipe Card
Want just the essential recipe details without scrolling through the article? Get our printable recipe card with just the ingredients and instructions.